
1. Introduction
Welcome to the SRJTEK LCD Screen Replacement manual for the Samsung Galaxy A11. This guide provides essential information and instructions to assist you with the installation, operation, and maintenance of your new screen. Please read this manual thoroughly before attempting any installation.
2. Important Compatibility Information
This SRJTEK LCD screen replacement is specifically designed for the following Samsung Galaxy A11 models:
- SM-A115F
- SM-A115M
- SM-A115M/DS
This product is NOT compatible with SM-A115U or SM-A115A models.
Please note that this is a small size version, with the glass measuring approximately 159.5mm. If you are unsure of your phone's specific model or screen size, please verify it in your phone's settings or by measuring the existing screen before proceeding with the replacement.
3. Package Contents
Upon opening your package, please ensure all the following items are present:
- SRJTEK LCD Screen Assembly with Frame for Samsung Galaxy A11
- Disassembly Tool Card
- Suction Cup
- Pry Tools (plastic)
- Screwdrivers (various sizes)
- SIM Ejector Pin
- Dust Absorber
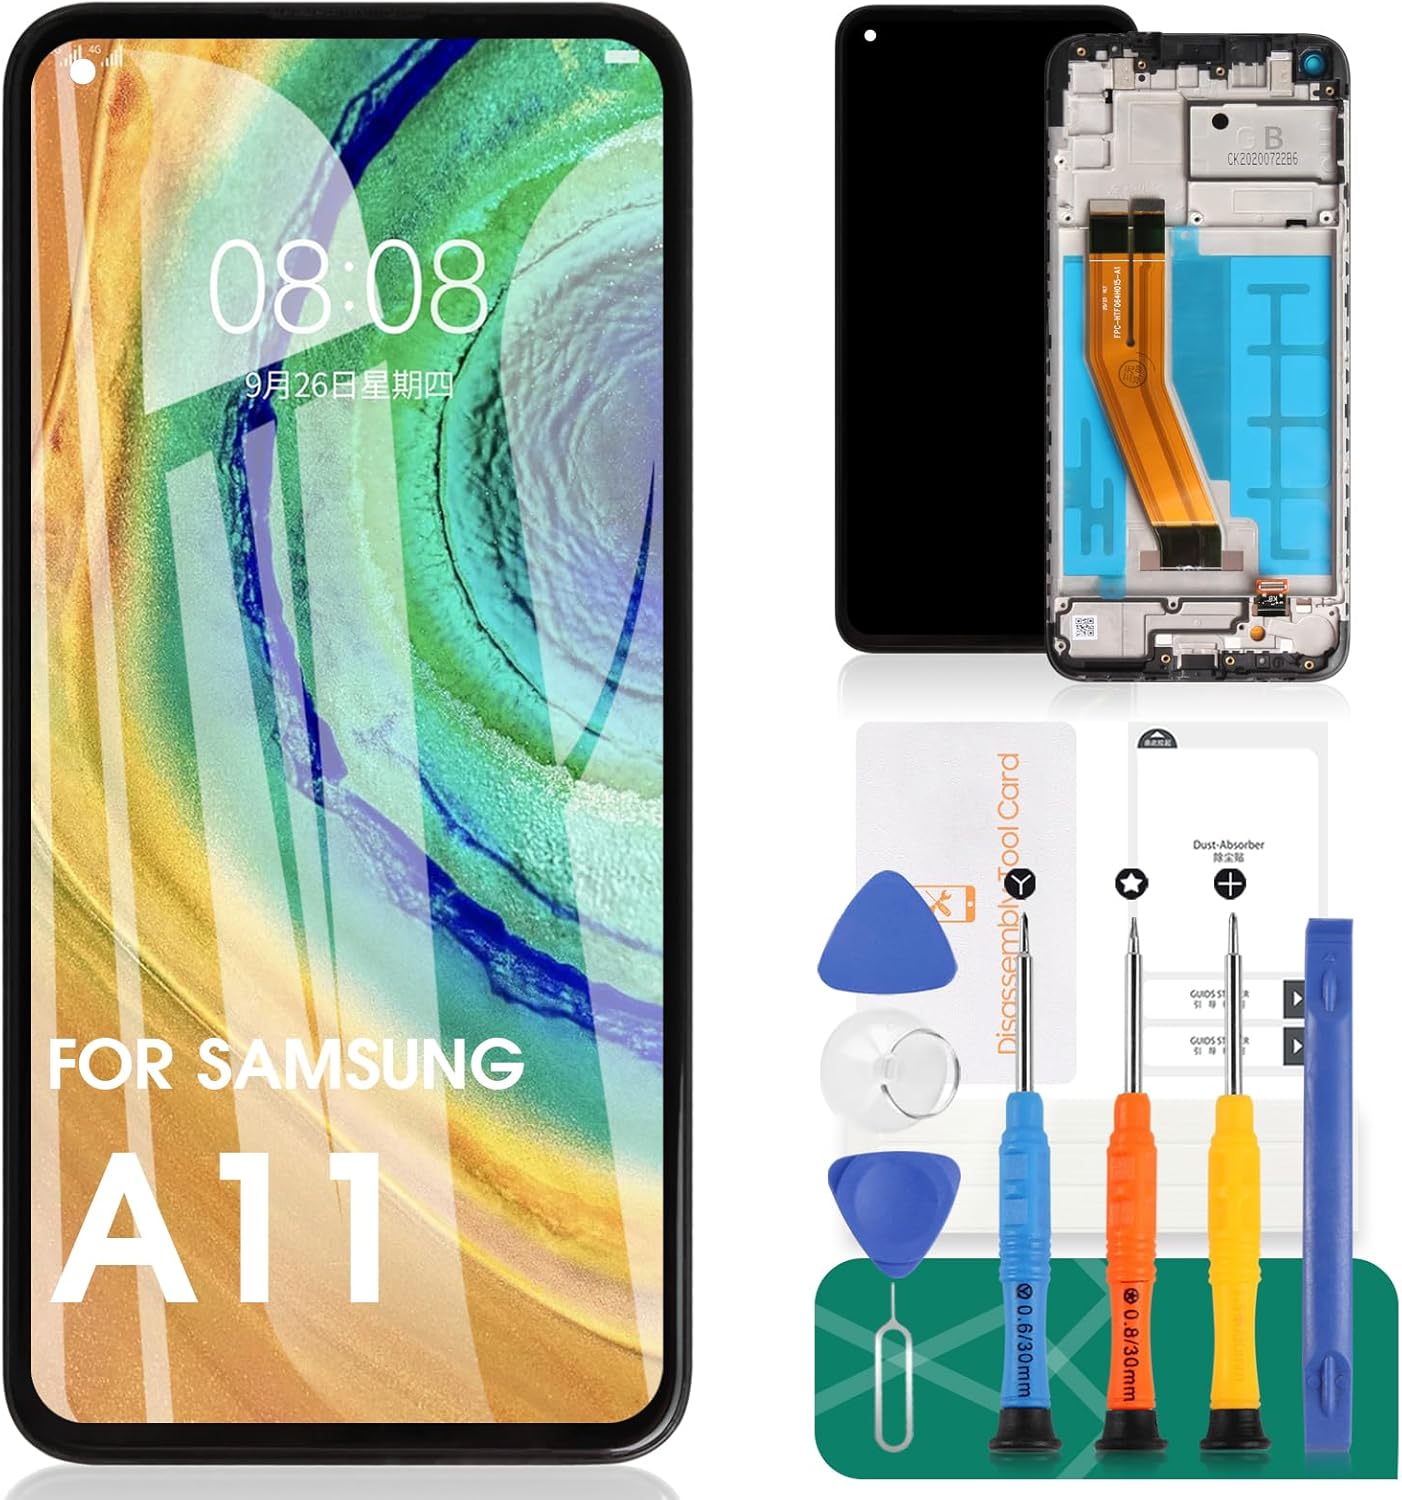
Image 3.1: Contents of the SRJTEK Samsung Galaxy A11 LCD Screen Replacement kit, including the screen assembly and various repair tools.
4. Setup and Installation
Disclaimer: Screen replacement requires precision and technical skill. Incorrect installation can damage your device or the new screen. It is highly recommended to seek professional assistance for installation. If you choose to proceed yourself, do so with extreme caution.
Pre-Installation Steps:
- Power Off Device: Ensure your Samsung Galaxy A11 is completely powered off before beginning.
- Backup Data: Back up all important data on your phone to prevent any loss during the repair process.
- Discharge Battery: If possible, discharge the phone's battery below 25% to reduce the risk of fire if the battery is accidentally punctured during removal.
- Prepare Workspace: Work in a clean, well-lit, and static-free environment.
Installation Procedure (General Guide):
The following steps are a general overview. Specific details may vary. Refer to online repair guides or professional videos for your exact model.
- Remove SIM Tray: Use the SIM ejector pin to remove the SIM card tray.
- Open Phone: Carefully heat the edges of the phone to soften the adhesive. Use the suction cup and pry tools to gently separate the back cover or screen assembly from the phone frame.
- Disconnect Battery: Locate and disconnect the battery flex cable to prevent short circuits.
- Disconnect Old Screen: Carefully disconnect the flex cables connecting the old screen to the motherboard.
- Remove Old Screen: Remove any screws or adhesive holding the old screen in place and carefully lift it out.
- Connect New Screen (Test First): Before fully installing, connect the new screen's flex cables to the motherboard. Do NOT apply adhesive yet. Power on the phone to test the display and touch functionality.
- Install New Screen: If the test is successful, power off the phone, disconnect the battery, and then carefully remove the new screen. Apply new adhesive (not included) to the frame and securely place the new screen assembly. Reconnect all flex cables and the battery.
- Reassemble Phone: Carefully reassemble the phone, ensuring all screws and components are in their correct positions.
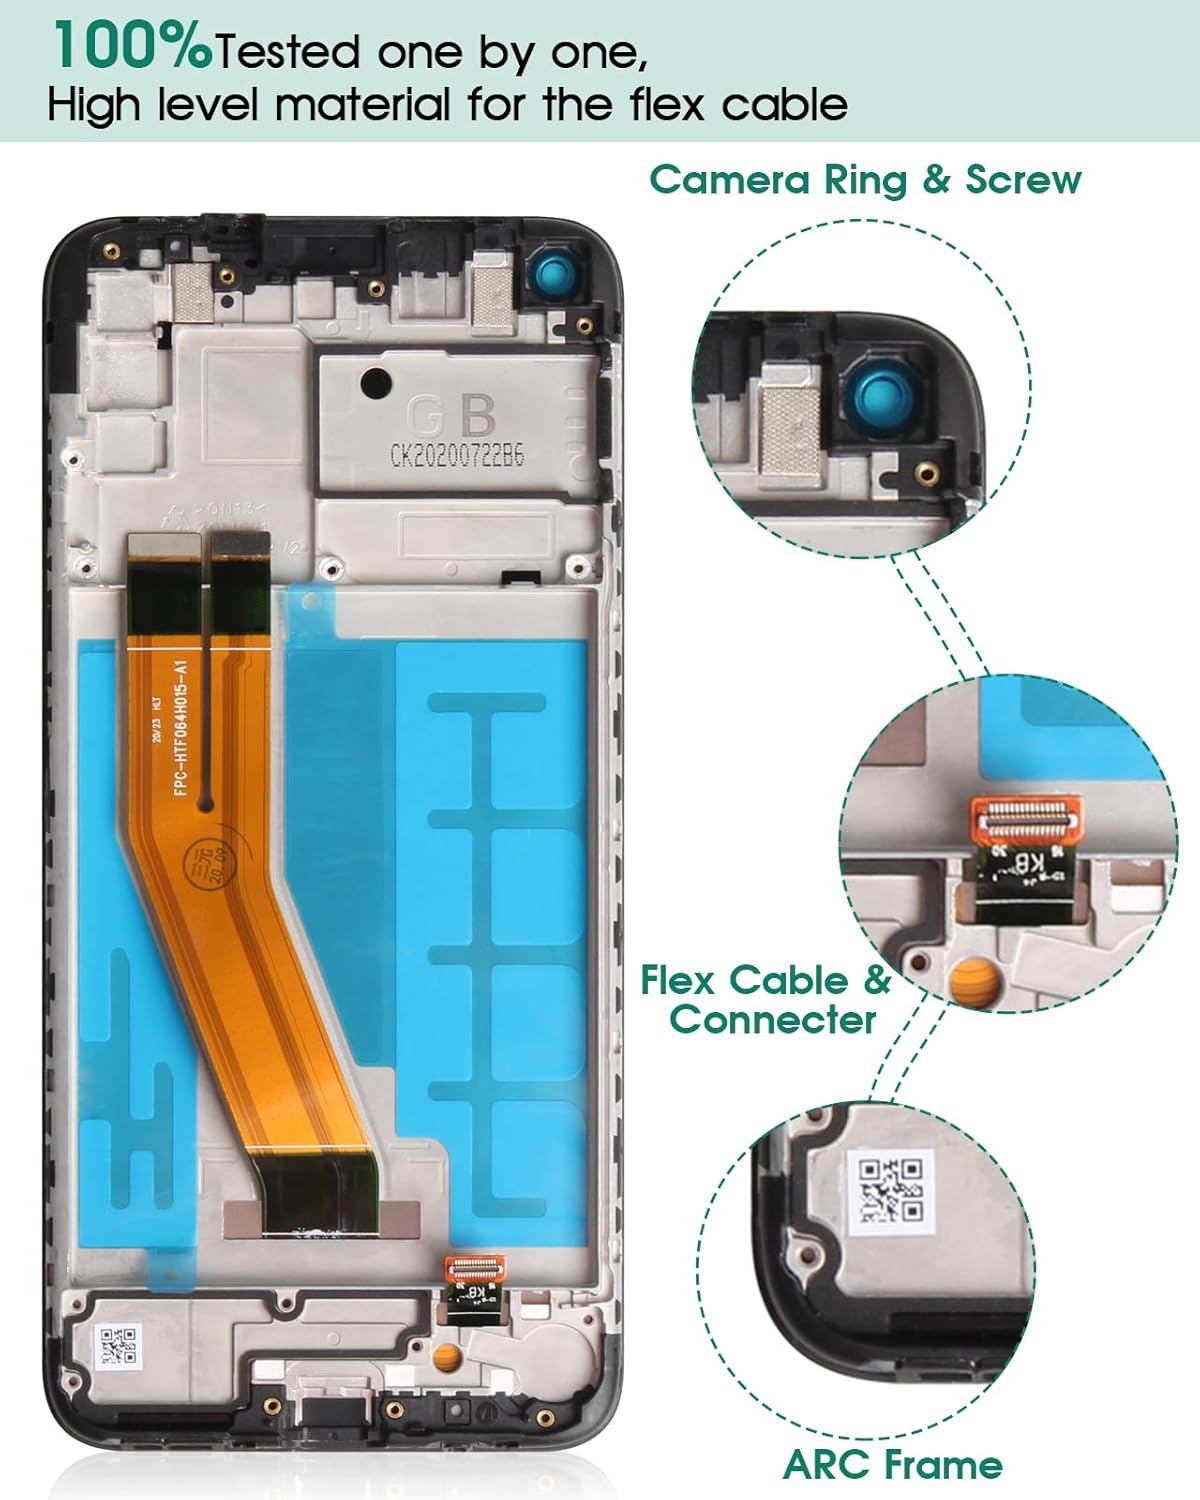
Image 4.1: Detailed view of the screen's internal components, highlighting the flex cable, connector, camera ring, and ARC frame for proper installation.
5. Operating (Post-Installation Checks)
After successful installation, perform the following checks to ensure optimal functionality:
- Power On: Turn on your device.
- Display Check: Observe the screen for any dead pixels, discoloration, lines, or uneven backlighting.
- Touch Functionality: Test the touch response across the entire screen. Drag an app icon around the screen to ensure all areas respond correctly.
- Brightness Adjustment: Verify that the screen brightness can be adjusted smoothly.
- Front Camera/Sensors: If applicable, test the front camera and proximity sensor to ensure they are functioning correctly and not obstructed by the new screen.

Image 5.1: Illustration of the screen's high sensitivity and smooth touch function, providing a responsive user experience.

Image 5.2: Display effect comparison demonstrating superior viewing angles and clarity of the SRJTEK screen compared to standard alternatives.
6. Maintenance
To prolong the life and maintain the performance of your new screen, follow these maintenance guidelines:
- Cleaning: Use a soft, lint-free microfiber cloth to gently wipe the screen. For stubborn smudges, slightly dampen the cloth with water or a screen-specific cleaner. Avoid harsh chemicals.
- Protection: Consider using a screen protector and a protective case to guard against scratches and impacts.
- Avoid Pressure: Do not apply excessive pressure to the screen, as this can damage the LCD panel.
- Temperature and Moisture: Avoid exposing your device to extreme temperatures or high humidity. While the screen may offer some water resistance, proper installation is crucial for maintaining the phone's overall water resistance.
7. Troubleshooting
If you encounter any issues after installation, refer to the following troubleshooting tips:
- Screen Not Turning On:
• Ensure all flex cables are securely connected to the motherboard.
• Verify the battery is charged and properly connected.
• Try a hard reset of your device (refer to your phone's original manual for instructions). - Touch Not Responding or Inaccurate:
• Power off the device and carefully re-seat the screen's flex cables.
• Check for any debris or foreign objects between the screen and the frame.
• Ensure the screen protector (if any) is not interfering with touch sensitivity. - Display Issues (Lines, Discoloration, Dead Pixels):
• Power off the device and carefully re-seat the screen's flex cables.
• Inspect the flex cables and connectors for any visible damage.
• If the issue persists, the screen may be faulty. - Screen Size Mismatch:
• Double-check your phone's model number and compare it with the compatible models listed in Section 2. Measure the glass size (should be 159.5mm for this version).
If these steps do not resolve the issue, please contact SRJTEK customer support for further assistance.
8. Specifications
| Feature | Description |
|---|---|
| Product Name | SRJTEK LCD Screen Replacement |
| Compatible Models | Samsung Galaxy A11 (SM-A115F, SM-A115M, SM-A115M/DS) |
| Screen Glass Size | 159.5mm (Small Size Version) |
| Package Dimensions | 7.52 x 4.02 x 1.26 inches |
| Item Weight | 3.2 ounces |
| Manufacturer | SRJTEK |
| Key Features | Smooth Touch, 3D Arc Edge, 9H Hardness (Scratchproof), HD Effect, Enhanced Water Resistance (with proper installation) |
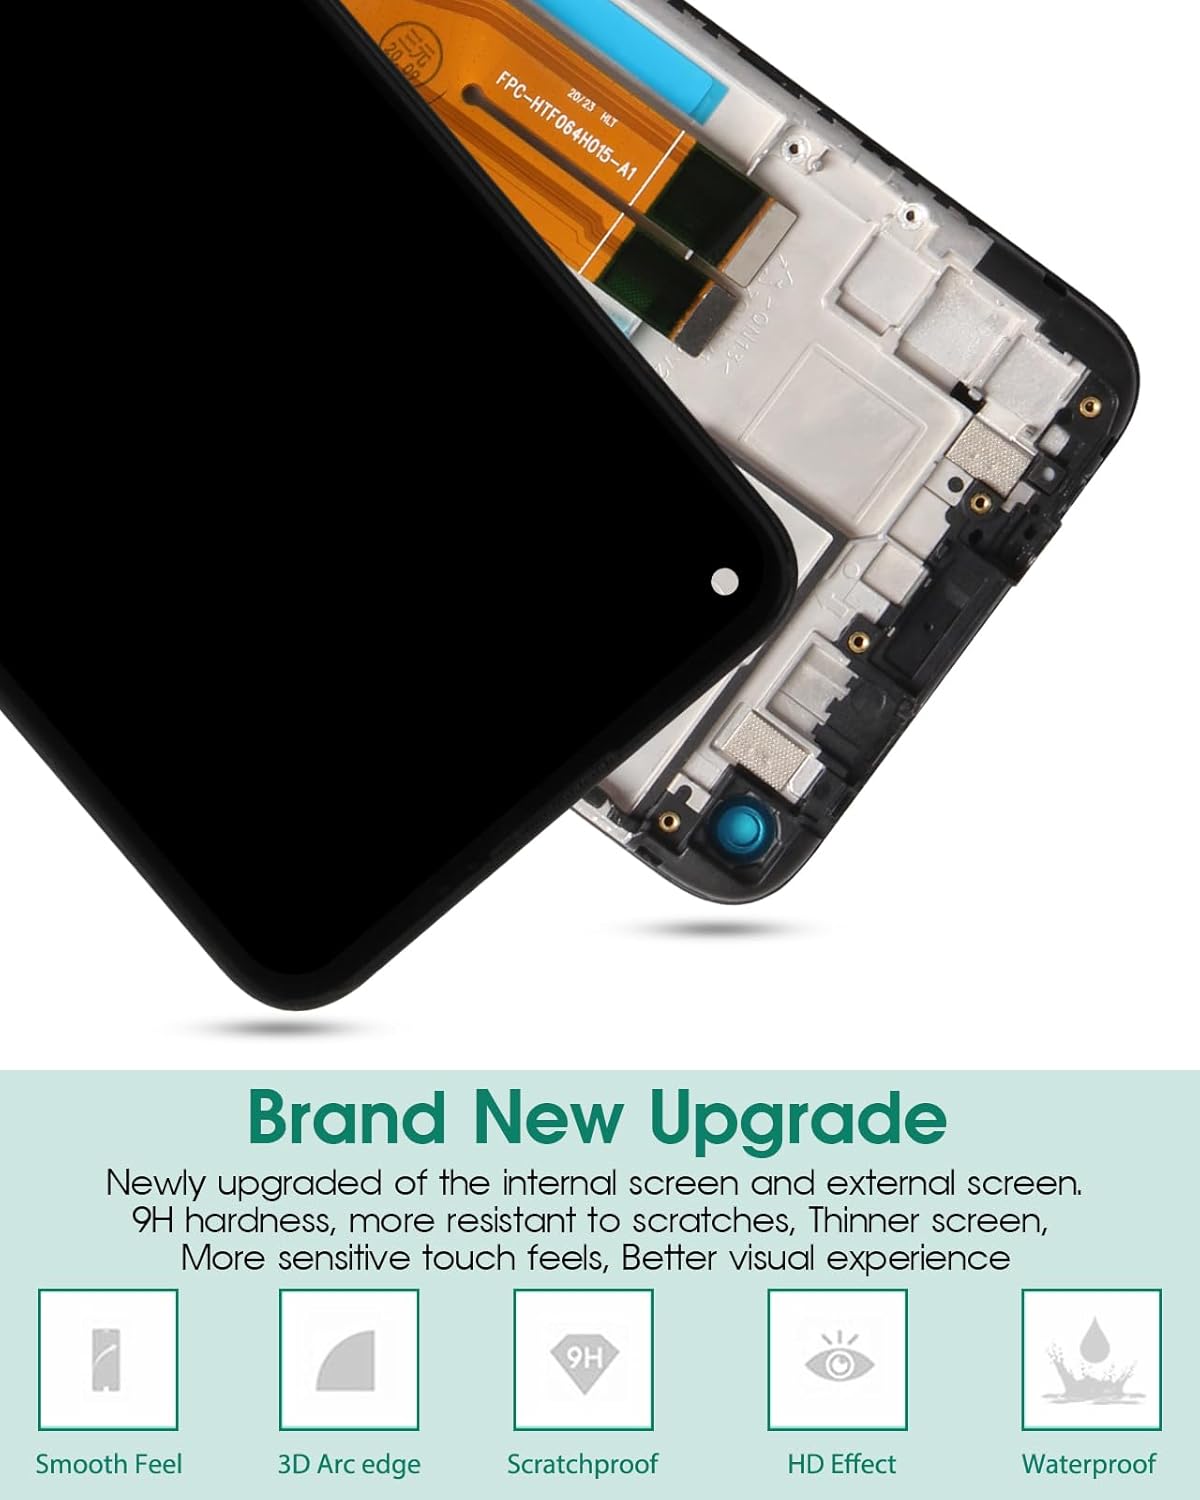
Image 8.1: Overview of the SRJTEK screen's enhanced features, including its durable 9H hardness and high-definition display.
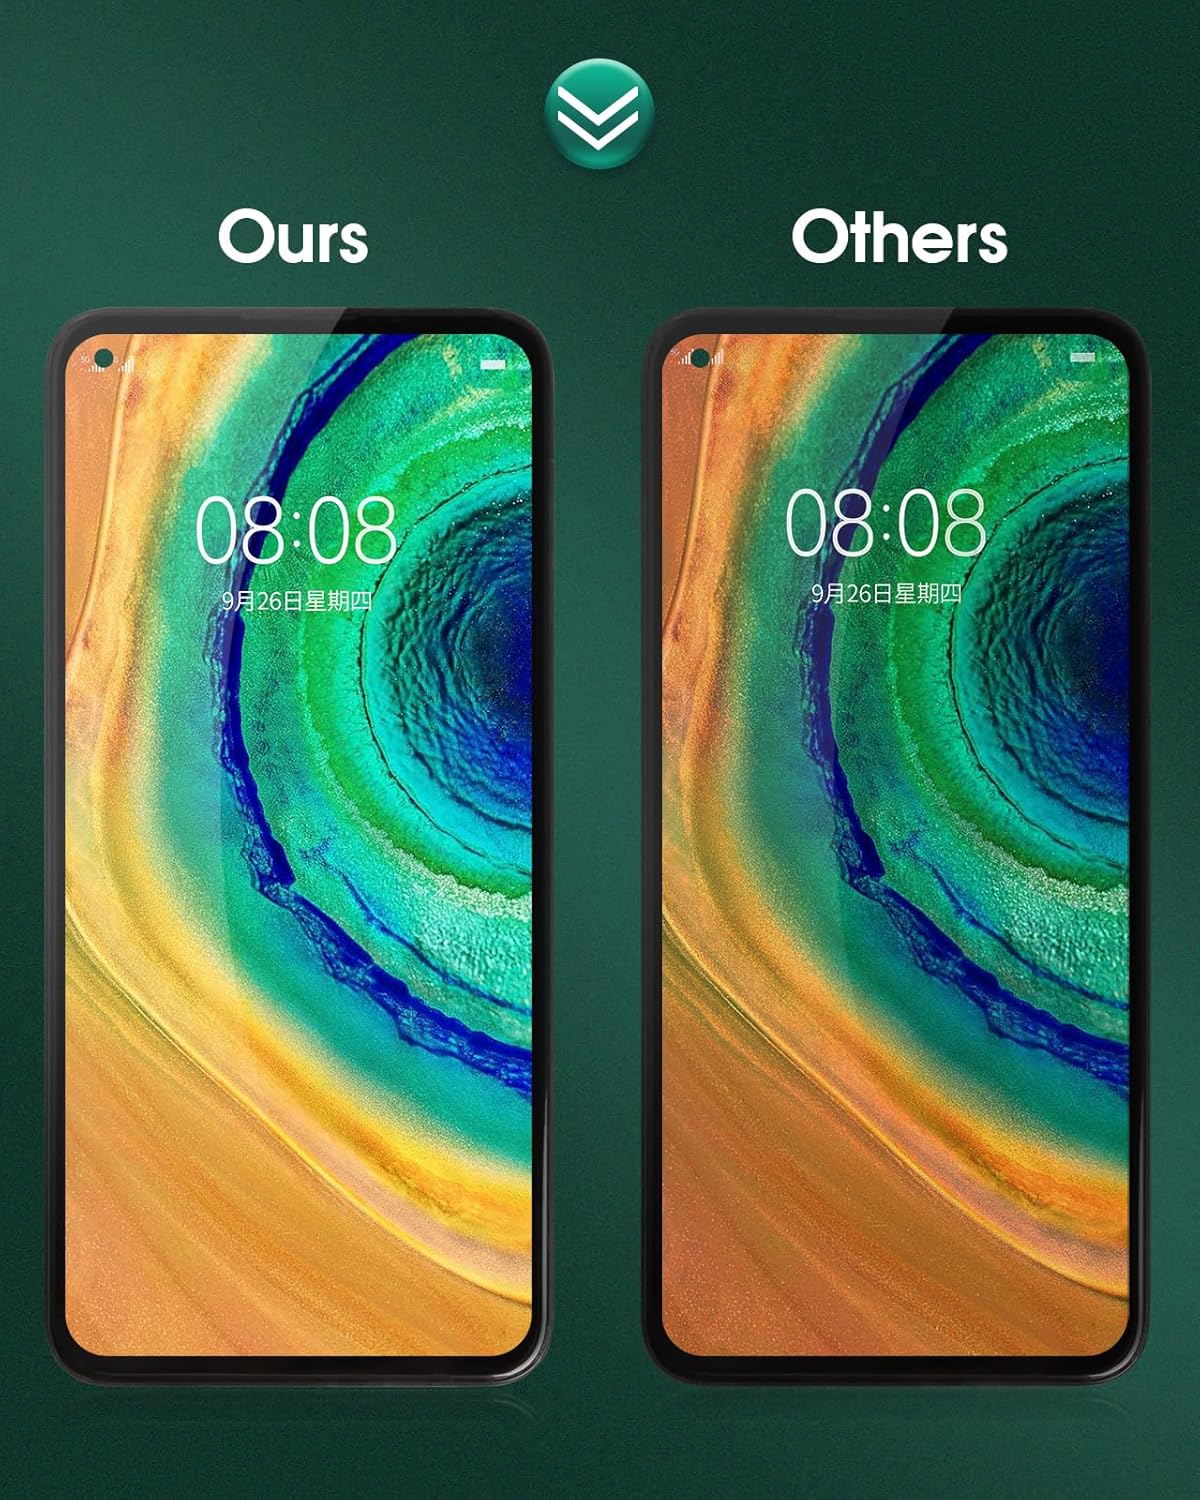
Image 8.2: Visual comparison highlighting the improved display quality of the SRJTEK screen.
9. Warranty and Support
SRJTEK stands behind the quality of its products. All screens undergo multiple tests before shipment to ensure functionality.
- Warranty: This product comes with a six-month warranty from the date of purchase.
- Customer Support: If you encounter any issues with your order or the product, please contact SRJTEK customer service. We are committed to assisting you within 24 hours.
For support, please refer to the contact information provided with your purchase or visit the official SRJTEK store page on Amazon.