
1. Introduction
Thank you for choosing the KLARSTEIN VapoAir Opal Smart Humidifier. This device is designed to improve air quality and comfort in your home by adding moisture to dry air. It features smart control via an app, an ionizer, a large 5-liter water tank, and multiple mist levels. Please read this manual carefully before use to ensure proper operation and maintenance.
2. Safety Instructions
- Always place the humidifier on a firm, flat, waterproof surface away from direct sunlight and heat sources.
- Do not place the humidifier near furniture or appliances that are sensitive to moisture.
- Keep the appliance out of reach of children and pets.
- Do not immerse the unit in water or other liquids.
- Unplug the humidifier from the power outlet before filling, cleaning, or moving it.
- Use only clean, cool tap water. Distilled or demineralized water is recommended to prevent mineral buildup.
- Do not add essential oils directly into the water tank; use the designated aroma diffuser tray.
- If the power cord is damaged, it must be replaced by the manufacturer, its service agent, or similarly qualified persons to avoid a hazard.
- Do not block the mist outlet.
3. Package Contents
Please check the package for the following items:
- KLARSTEIN VapoAir Opal Smart Humidifier
- Remote Control
- Instruction Manual
- Cleaning Brush (may be included)
4. Product Overview and Components
Familiarize yourself with the main parts of your humidifier:

Image: Front view of the KLARSTEIN VapoAir Opal Smart Humidifier, showcasing its sleek design and LED display.
- Mist Outlet: Where the mist is released into the air.
- Water Tank: Removable tank for water storage.
- Base Unit: Contains the ultrasonic transducer and heating element.
- Control Panel/LED Display: Touch-sensitive buttons and digital display for settings.
- Aroma Diffuser Tray: Small tray for essential oils (located at the bottom/side).
- Power Cord: For connecting to an electrical outlet.

Image: The KLARSTEIN VapoAir Opal Smart Humidifier with its dimensions labeled: 23cm (depth), 18cm (width), 37cm (height).
5. Setup
5.1 Unpacking
Carefully remove all packaging materials. Retain the packaging for future storage or transport.
5.2 Placement
Place the humidifier on a flat, stable surface at least 15 cm away from walls and furniture. Ensure the mist outlet is not directed towards any objects or walls.
5.3 Filling the Water Tank
- Ensure the humidifier is unplugged.
- Carefully lift the water tank from the base unit.
- Invert the water tank and unscrew the cap at the bottom.
- Fill the tank with clean, cool tap water. Distilled or demineralized water is recommended to minimize mineral residue. Do not fill past the MAX line.
- Screw the cap back on tightly.
- Place the filled water tank back onto the base unit, ensuring it is seated correctly. The auto-stop function will prevent operation if the tank is not properly placed or if water is absent.
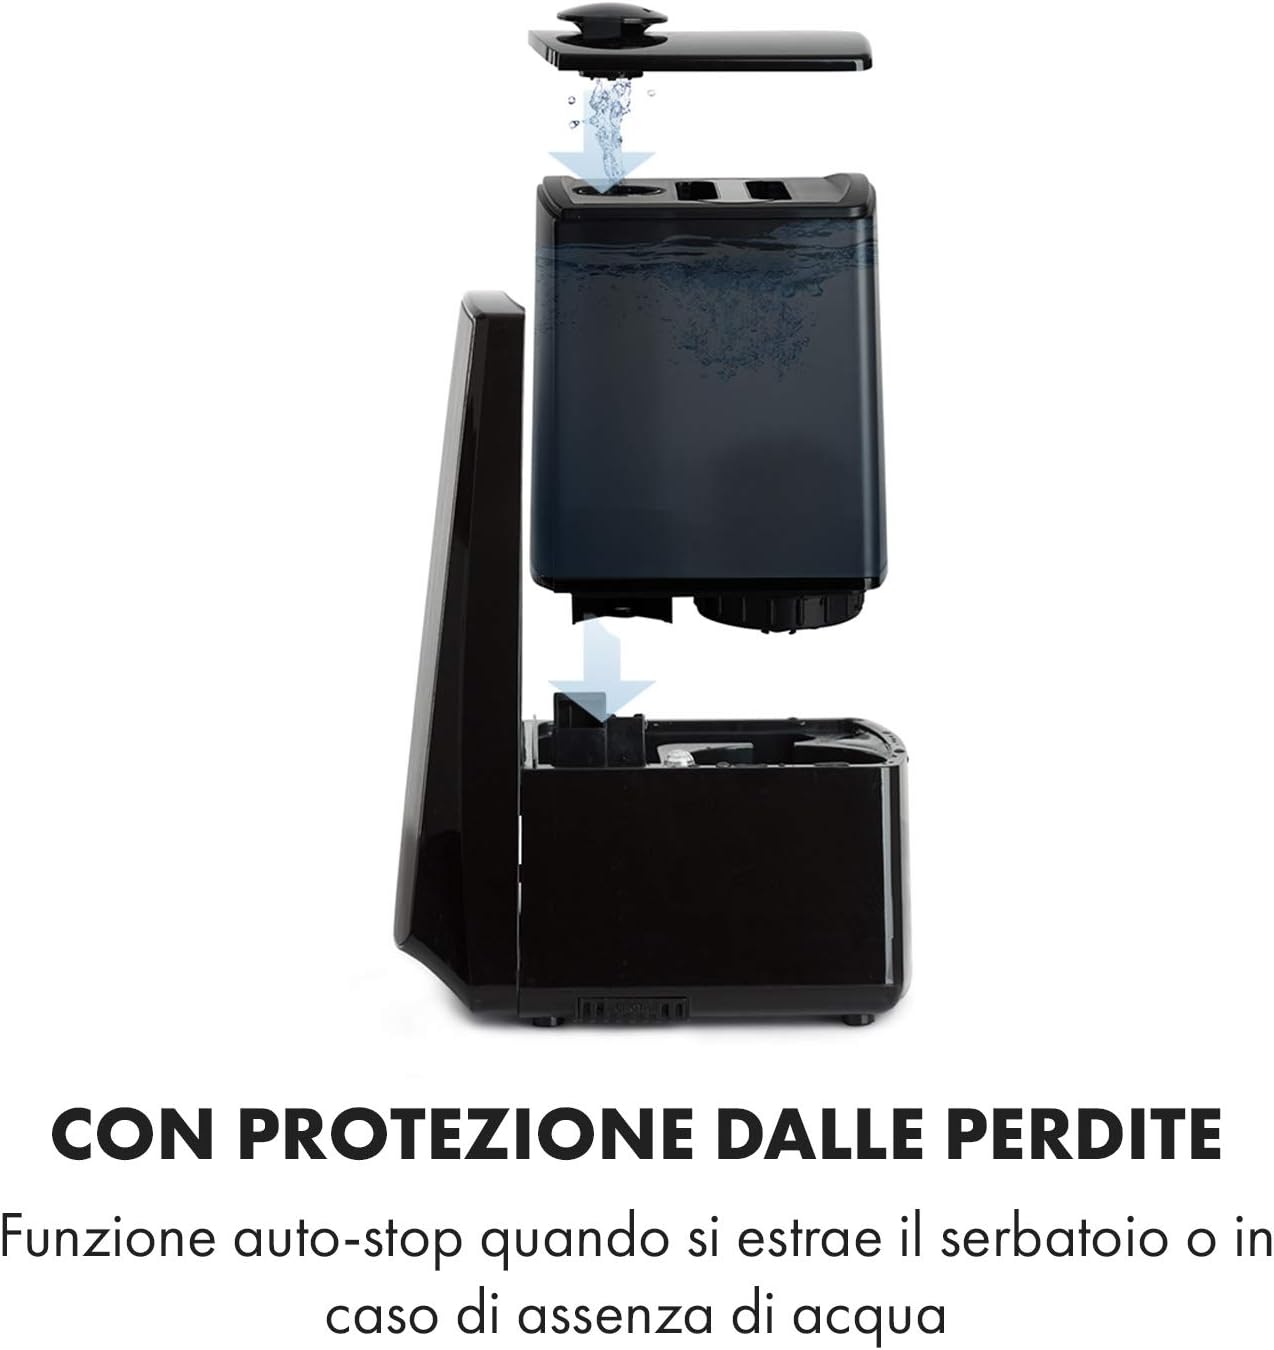
Image: Diagram illustrating the removal and refilling process of the water tank, highlighting the auto-stop feature when the tank is removed or empty.
5.4 Power Connection
Plug the power cord into a suitable electrical outlet (230V).
6. Operating Instructions
6.1 Control Panel Overview

Image: A close-up view of the humidifier's LED display and touch controls, showing a hand interacting with the buttons.
The LED display shows current humidity, temperature, and selected settings. The touch buttons allow control over various functions.
6.2 Power On/Off
Press the ON/OFF button on the control panel or remote control to turn the unit on or off.
6.3 Mist Level Adjustment
The humidifier offers 7 levels of mist output. Press the MIST button repeatedly to cycle through the mist intensity levels. The current level will be displayed on the screen.
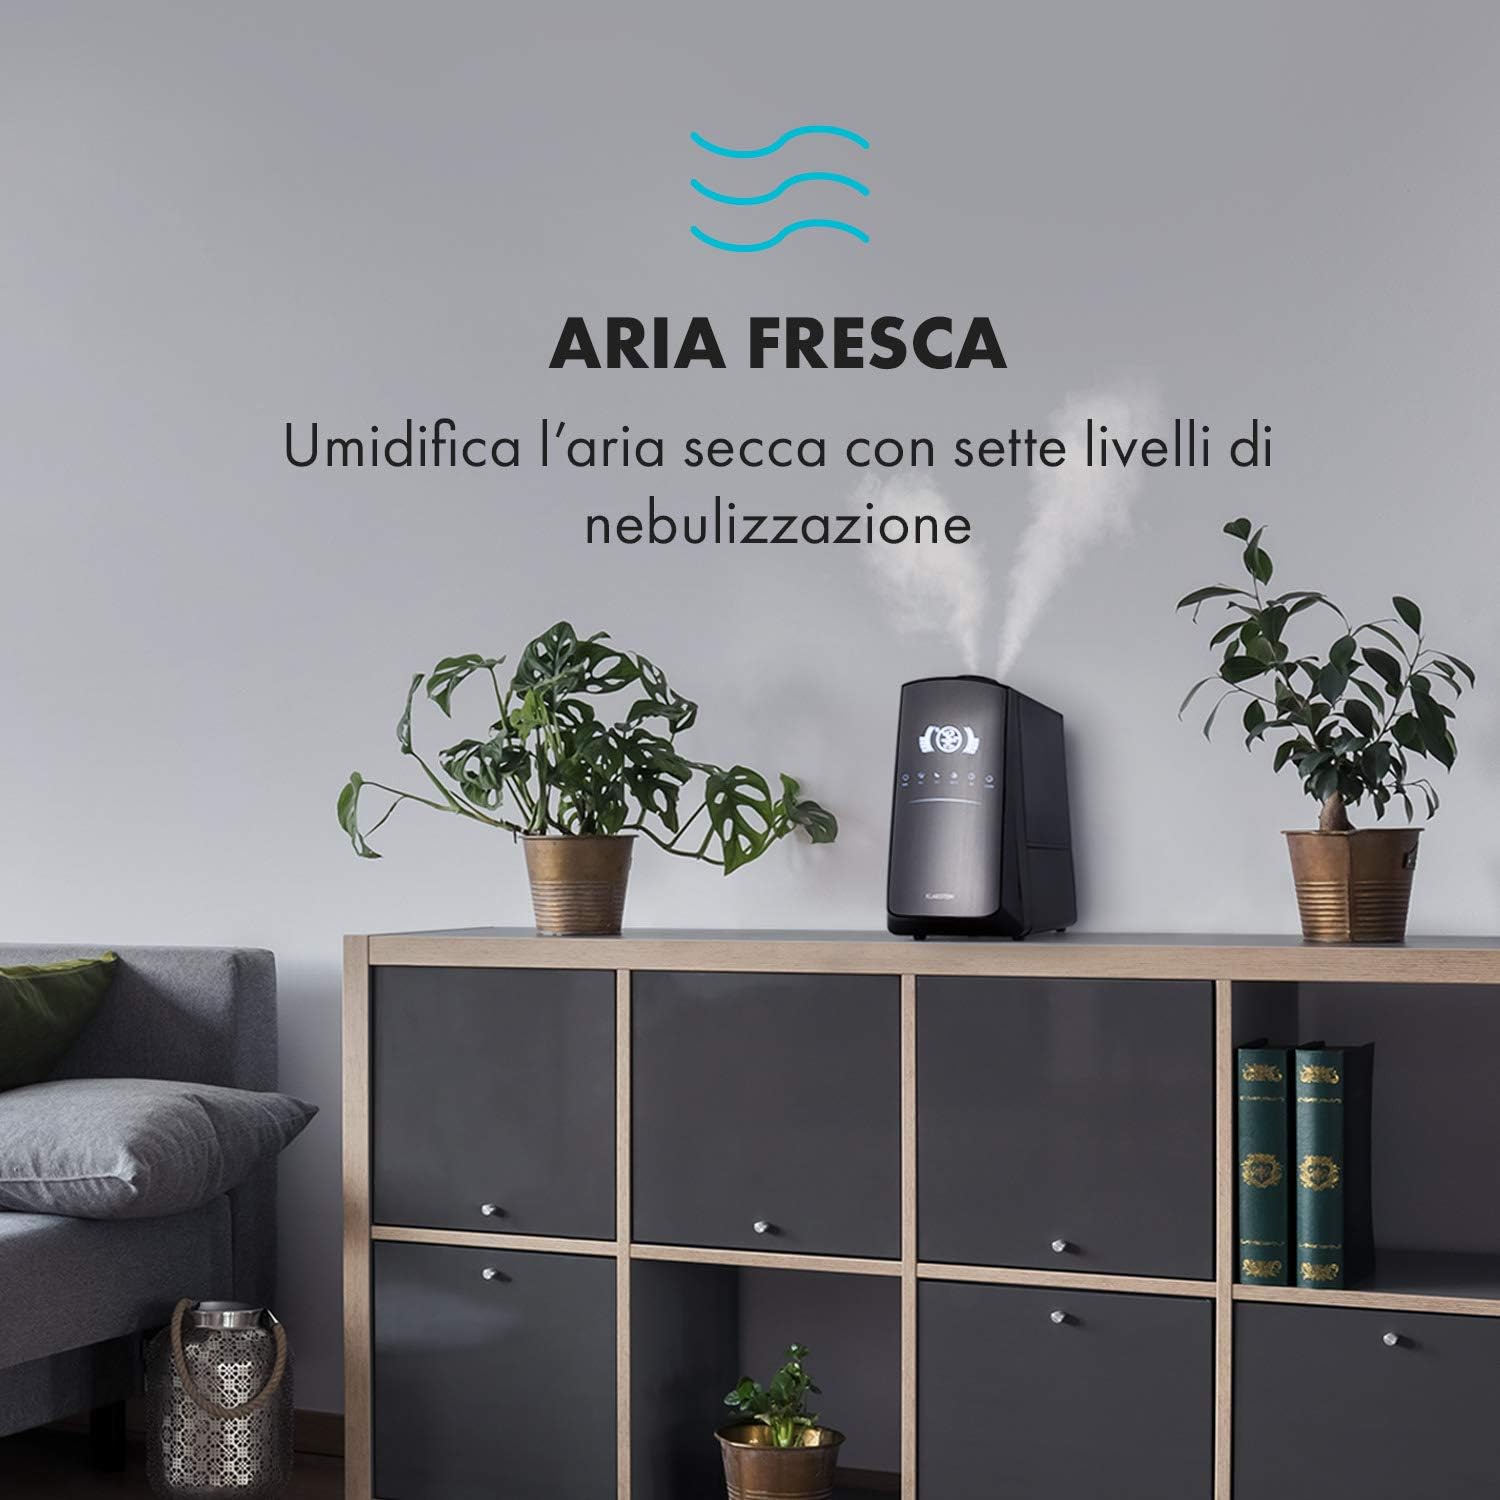
Image: The humidifier operating in a room, releasing mist to humidify the air.
6.4 Humidity Setting (Humidistat)
Press the HUMIDITY button to set your desired humidity level (e.g., 40% to 80% RH). The unit will automatically maintain this level, turning on and off as needed.
6.5 Warm/Cool Mist
Press the HEAT button to activate the warm mist function. Press again to switch back to cool mist. Warm mist can help raise room temperature slightly and is often preferred in colder climates.

Image: A close-up shot of the mist output, illustrating the option for either cool or warm mist.
6.6 Timer Function
Press the TIMER button to set an operating duration from 1 to 12 hours. The unit will automatically turn off after the set time.
6.7 Ionizer Function
Press the ION button to activate the ionizer. This function releases negative ions to help purify the air by attracting dust and other particles.
6.8 Aroma Diffuser
Pull out the aroma diffuser tray located at the bottom of the unit. Add a few drops of essential oil onto the sponge pad. Slide the tray back in. The mist will carry the aroma into the air.

Image: The integrated aroma diffuser tray, shown pulled out with an essential oil bottle and lemon slices nearby, indicating its use for adding scents.
6.9 Night Mode
Press the NIGHT button to dim the LED display and reduce operational noise for undisturbed sleep.

Image: The humidifier in a modern living space, illustrating its versatile functions like auto mode, heating, health, baby, night mode, and timer.
7. App Control
The KLARSTEIN VapoAir Opal Smart Humidifier can be controlled via a dedicated smartphone application.

Image: A person using a smartphone with the Klarstein app open, showing controls for the humidifier's settings and current humidity levels.
7.1 Downloading the App
Search for the 'Klarstein App Experience' in your smartphone's app store (available for Android and iOS).
7.2 Connecting to Wi-Fi
- Ensure your humidifier is plugged in and turned on.
- Open the Klarstein App and follow the on-screen instructions to add a new device.
- The humidifier requires a 2.4 GHz Wi-Fi network for connection. It is not compatible with 5 GHz networks. Ensure your router is configured to support 2.4 GHz or that your phone is connected to the 2.4 GHz band during setup.
- Once connected, you can control all humidifier functions remotely via the app.

Image: A smartphone displaying the Klarstein app interface, indicating smart home control via WiFi for Android and iOS devices.
8. Maintenance and Cleaning
Regular cleaning is essential for optimal performance and hygiene.
8.1 Daily Maintenance
- Empty and rinse the water tank daily.
- Wipe the inside of the water tank with a clean cloth.
8.2 Weekly Cleaning
- Unplug the unit before cleaning.
- Remove the water tank and empty any remaining water from both the tank and the base unit.
- Cleaning the Water Tank: Fill the tank with a mixture of water and white vinegar (1:1 ratio). Let it sit for 30 minutes, then rinse thoroughly.
- Cleaning the Base Unit: Gently wipe the ultrasonic transducer (the small disc in the center of the base) with a soft brush or cloth to remove mineral deposits. Do not scrape or use abrasive cleaners. You can use a cotton swab dipped in vinegar for hard-to-reach areas.
- Aroma Diffuser Tray: Remove and clean the sponge pad with mild soap and water. Allow it to dry completely before reinserting.
- Wipe all external surfaces with a soft, damp cloth.
8.3 Storage
If the humidifier will not be used for an extended period, clean it thoroughly, ensure all parts are dry, and store it in its original packaging in a cool, dry place.
9. Troubleshooting
| Problem | Possible Cause | Solution |
|---|---|---|
| No mist or low mist output |
|
|
| Unit does not turn on |
|
|
| Unpleasant odor |
|
|
| White dust around unit | Hard water with high mineral content | Use distilled or demineralized water. Clean the unit regularly. |
| Wi-Fi connection issues |
|
|
10. Specifications
| Feature | Specification |
|---|---|
| Brand | KLARSTEIN |
| Model Number | XJ3-VapoAirOpalSmart |
| Color | Black |
| Dimensions (L x W x H) | 23 x 18 x 37 cm |
| Weight | 2.5 kg |
| Power | 110 Watts |
| Voltage | 230 Volts |
| Water Tank Capacity | 5 Liters |
| Operating Time | Up to 2 hours (continuous, depending on mist level) |
| Special Features | Remote Control, Timer, App Control, Ionizer, LED Display, 7 Mist Levels, Warm/Cool Mist, Aroma Diffuser |
| Room Type | Living Room |
11. Warranty and Support
KLARSTEIN products are covered by a manufacturer's warranty. For detailed warranty information, please refer to the warranty card included with your product or visit the official KLARSTEIN website. For technical support, spare parts, or service inquiries, please contact KLARSTEIN customer service through their official channels.
Please retain your proof of purchase for warranty claims.


