
Introduction
Thank you for choosing the RCA Bluetooth Home Movie Projector. This manual provides essential information for setting up, operating, and maintaining your projector to ensure a high-quality entertainment experience. Your projector is designed for both indoor and outdoor use, offering a large projection size and versatile connectivity options.
The projector supports various resolutions up to 1080p via HDMI input and features a 4-inch LCD projection display with 33 lumens of white light output. It is equipped with integrated stereo speakers and Bluetooth 5.0 for connecting external audio devices. A 100-inch foldable movie screen is included to enhance your viewing experience.

Image: The RCA Projector, its included foldable screen, and a smartphone demonstrating connectivity.
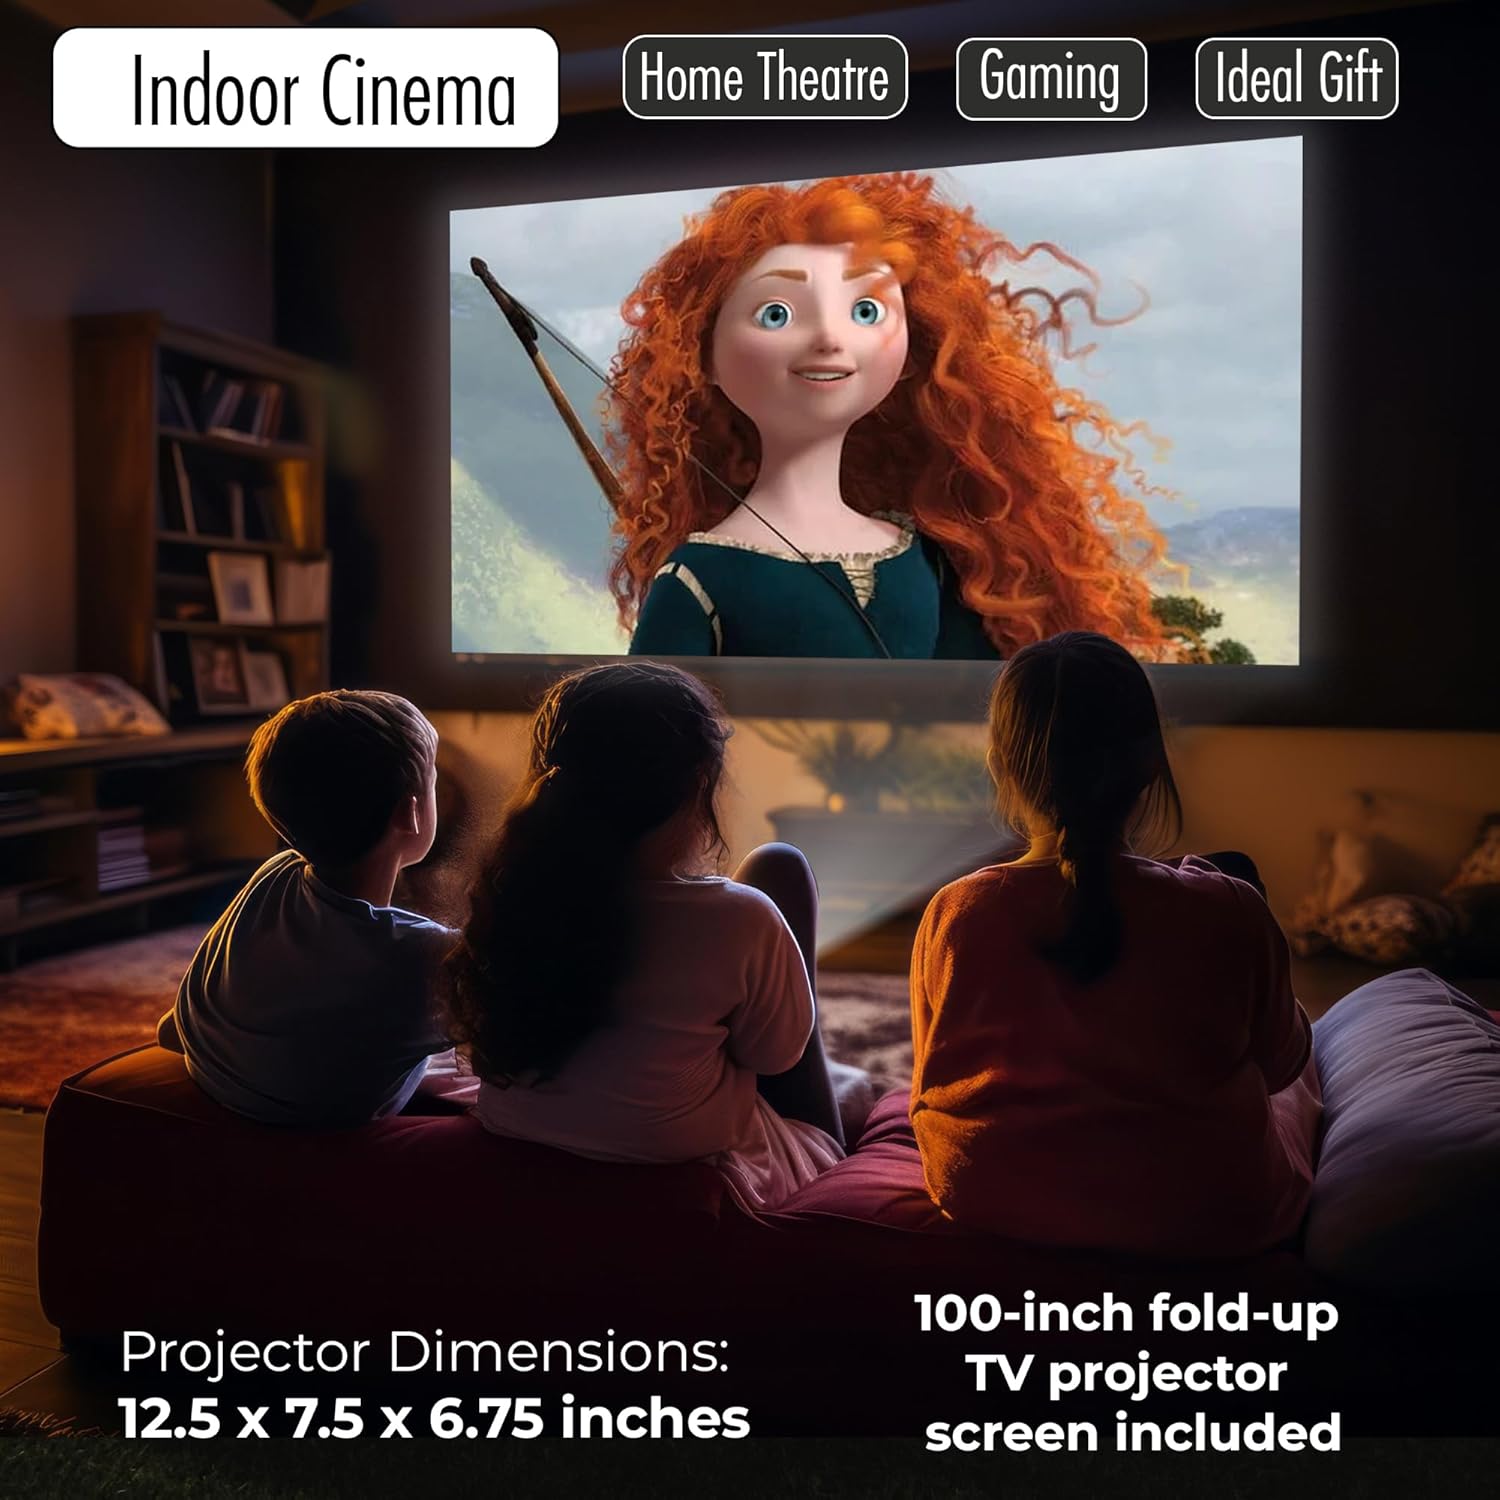
Image: The RCA Projector in a home cinema setting, highlighting its compact dimensions (12.5 x 7.5 x 6.75 inches) and the included 100-inch screen.
Setup
1. Unpacking and Placement
- Carefully remove all components from the packaging.
- Place the projector on a stable, flat surface. Ensure adequate ventilation around the unit.
- Position the projector at an appropriate distance from your projection surface (wall or screen) to achieve the desired image size (32 to 150 inches).
- If using the included 100-inch foldable screen, unfold it and secure it to a flat surface.
2. Power Connection
- Connect the power adapter to the projector's power input port.
- Plug the power adapter into a standard electrical outlet.
3. Connecting Input Devices
The projector offers multiple input options:
- HDMI: Connect devices like Roku TV, Blu-Ray Player, Apple TV, Fire Stick, gaming consoles, or laptops using an HDMI cable to one of the dual HDMI ports.
- USB: Insert a USB drive for media playback.
- A/V: Use the A/V input for older devices.
- VGA: Connect a computer via the VGA port.
- SD Card: Insert an SD card into the dedicated slot for photo and video playback.
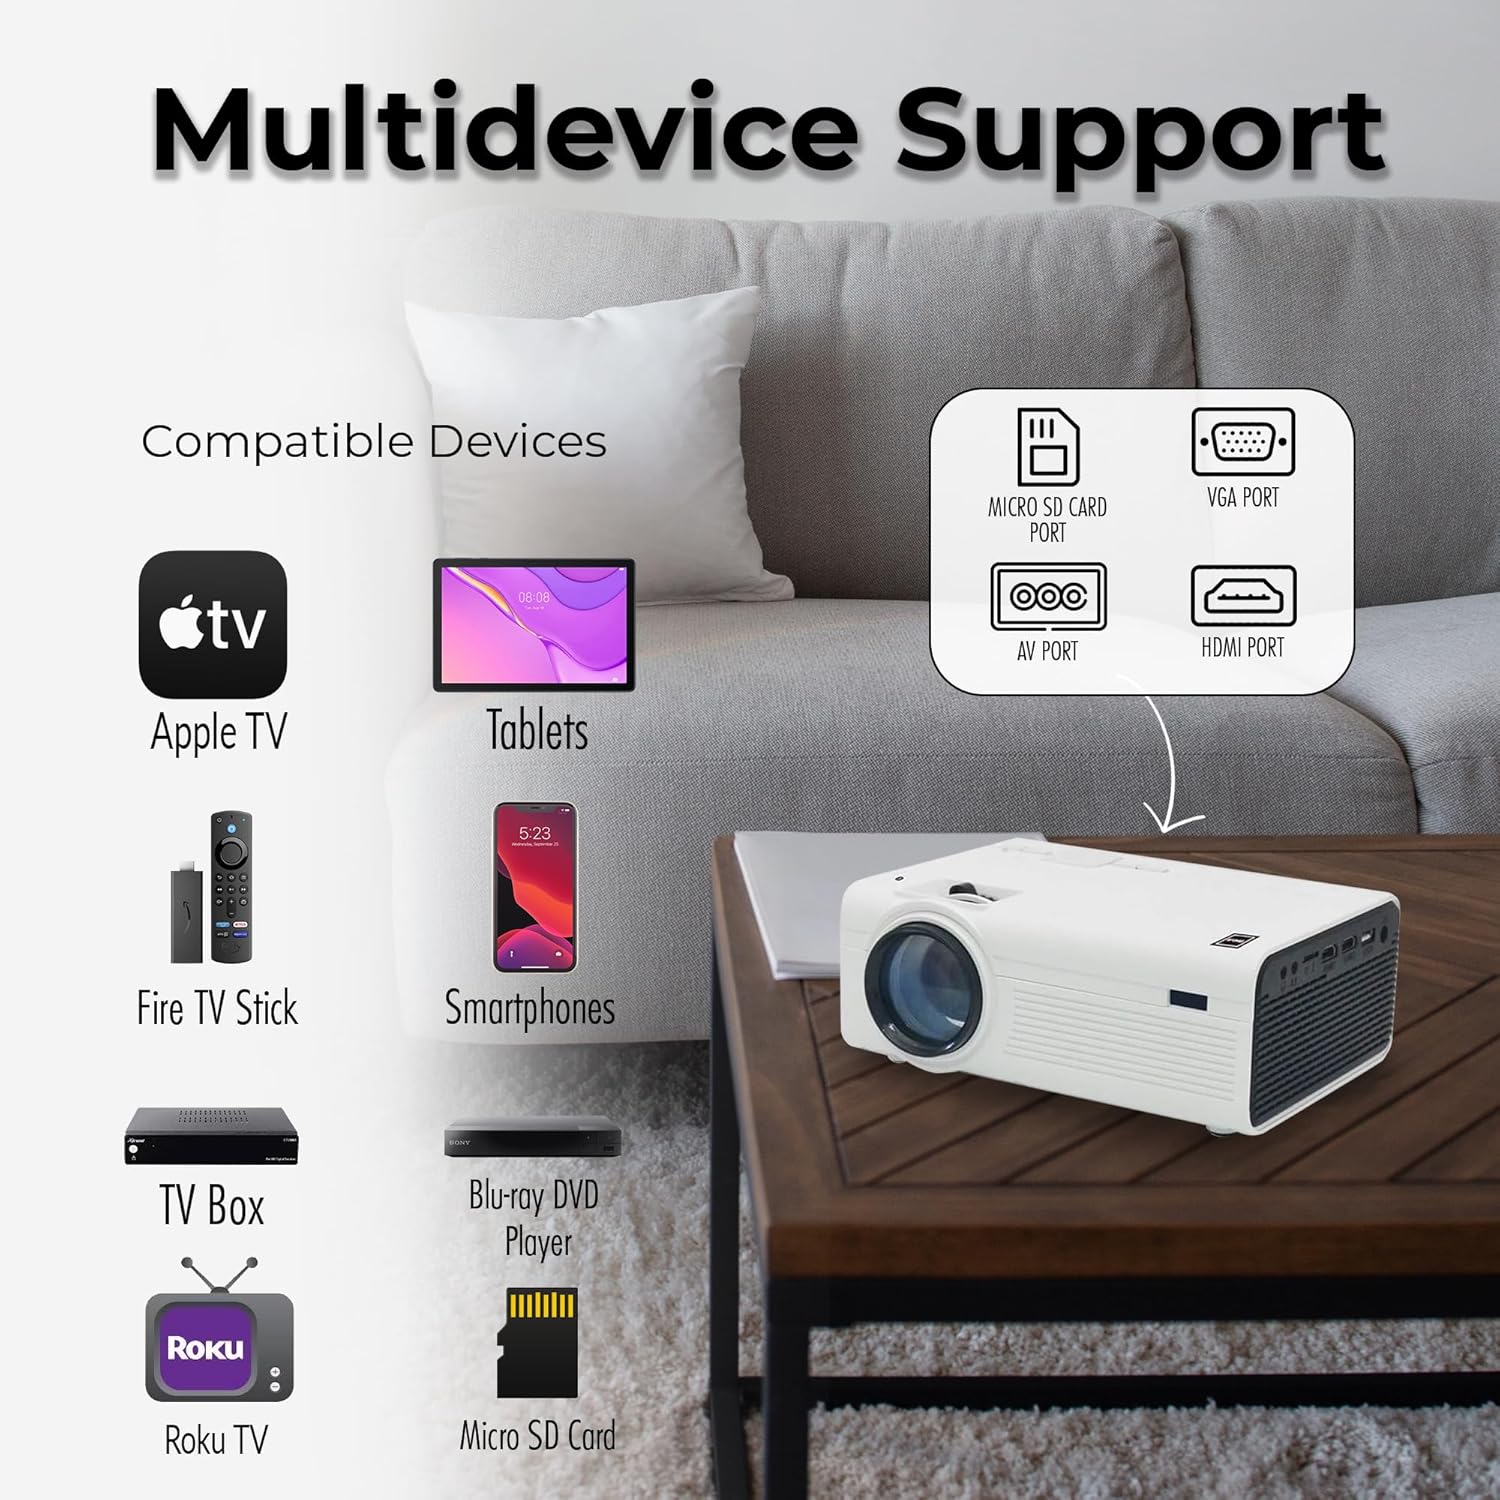
Image: Overview of the projector's multi-device compatibility and various input ports including Micro SD Card, AV Port, VGA Port, and HDMI Port.
Operating the Projector
1. Powering On/Off
- Press the power button on the projector or the remote control to turn the unit on.
- Press the power button again to turn it off.
2. Source Selection
- Use the 'Source' button on the remote control or projector to cycle through available input sources (HDMI1, HDMI2, USB, AV, VGA, SD).
- Select the desired input source corresponding to your connected device.
3. Image Adjustment
- Focus: Rotate the focus ring on the projector lens until the image appears sharp and clear.
- Keystone Correction: Adjust the keystone knob to correct trapezoidal distortion if the projector is not perfectly perpendicular to the screen.
- Projection Size: The image size can be adjusted by moving the projector closer or further from the screen, ranging from 32 to 150 inches.
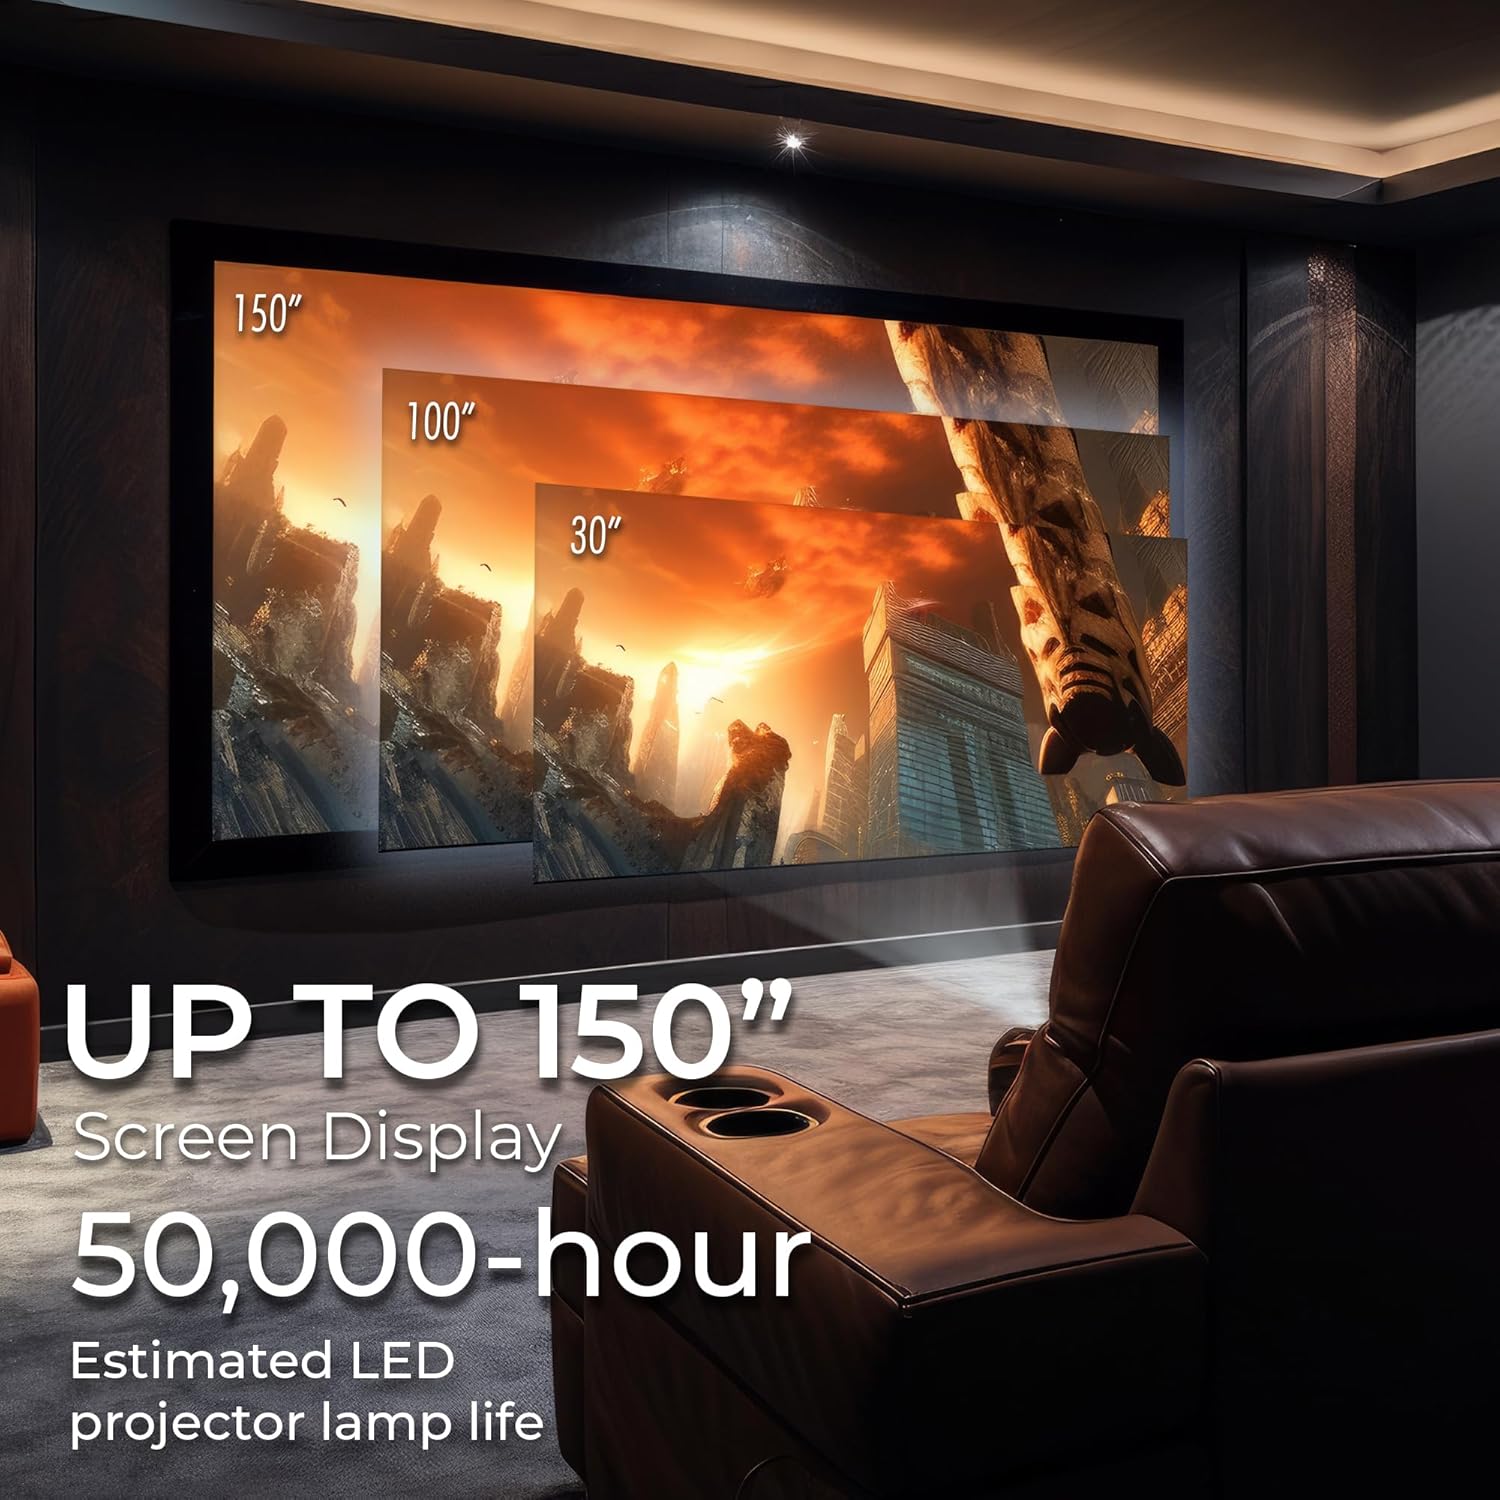
Image: Demonstrates the projector's capability to display screen sizes up to 150 inches, with an estimated LED lamp life of 50,000 hours.
4. Audio Settings
The projector features two integrated stereo speakers. For enhanced audio, you can connect to an external Bluetooth speaker.
- Bluetooth Connection: Activate Bluetooth on your external speaker and on the projector (refer to the on-screen menu for Bluetooth pairing instructions). Select your speaker from the list of available devices to pair.
- Adjust volume using the remote control or the projector's controls.
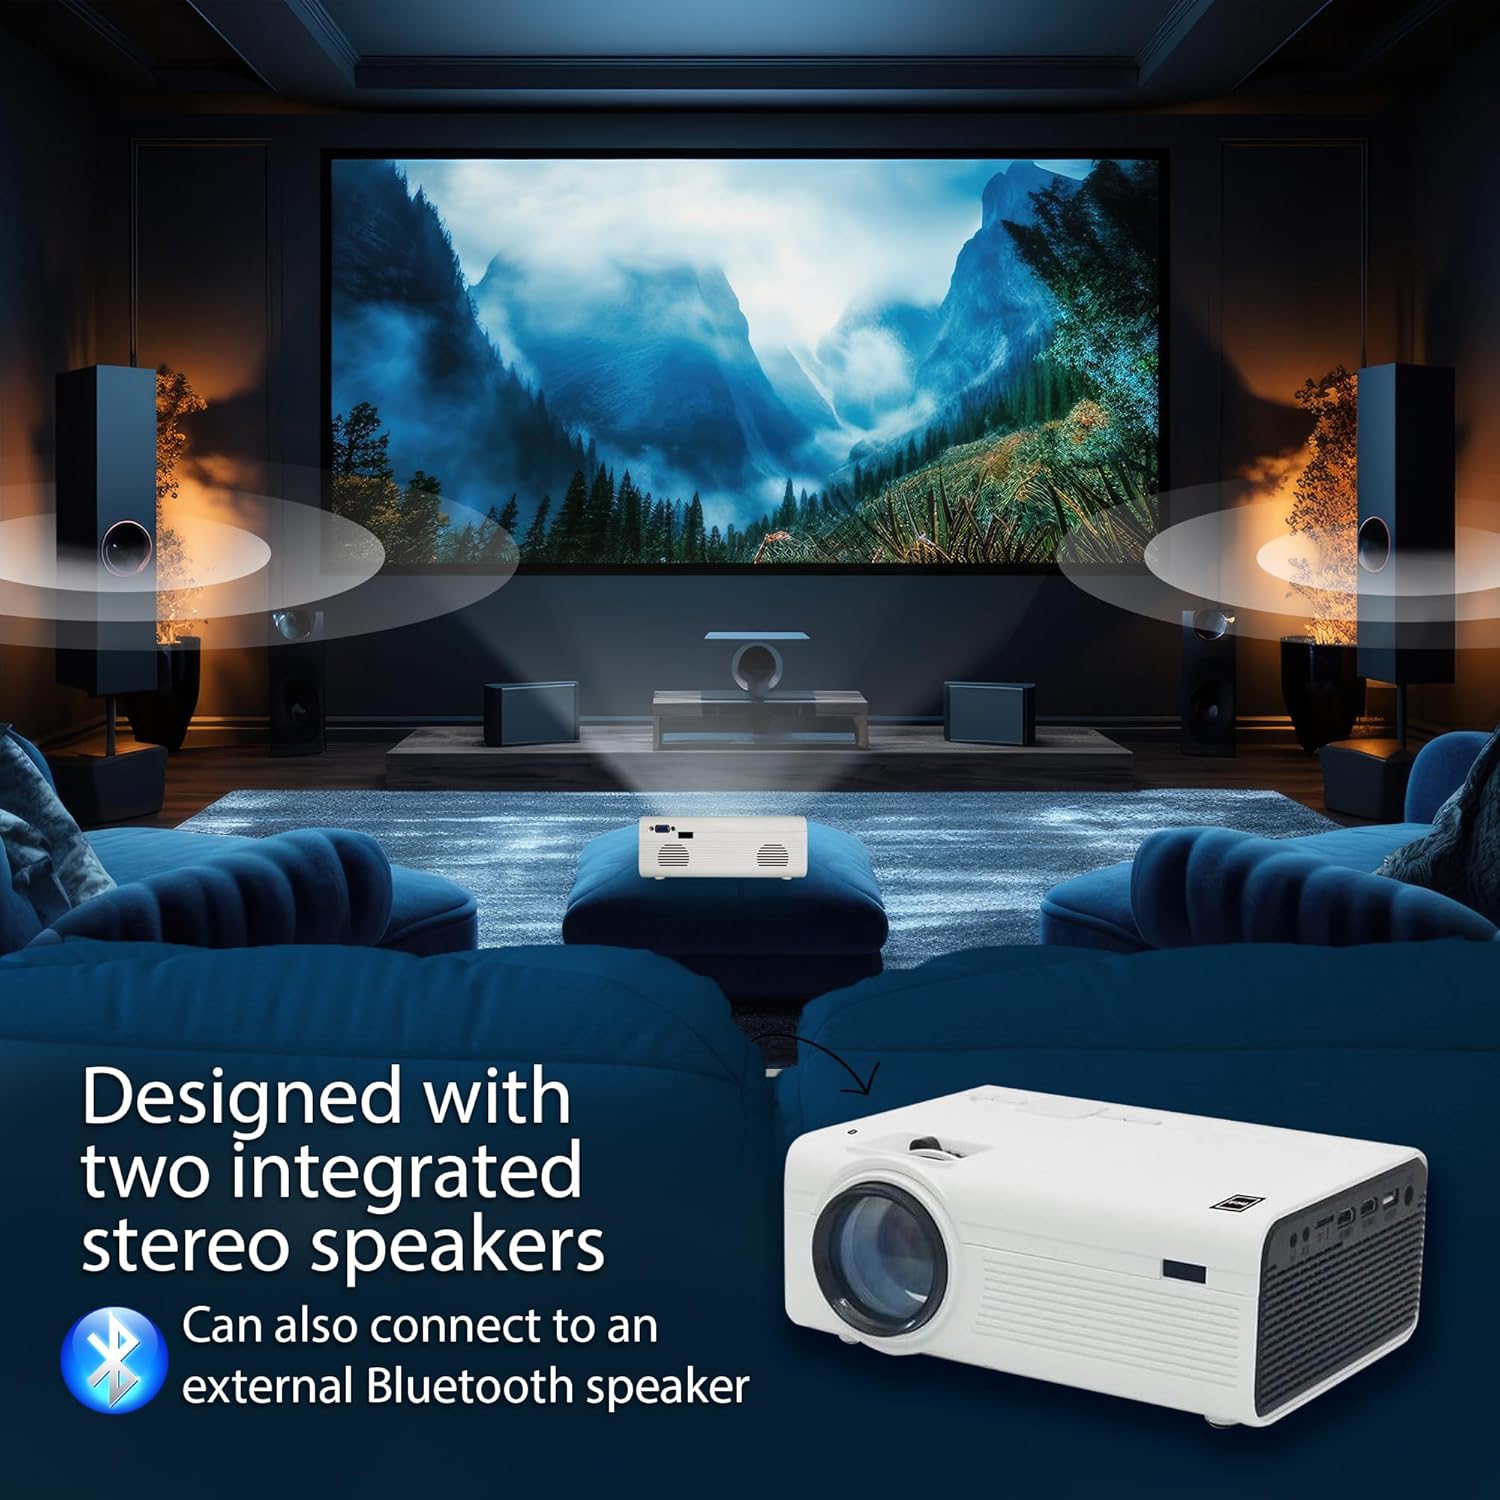
Image: The projector is designed with two integrated stereo speakers and can connect to an external Bluetooth speaker for enhanced audio.
5. Supported Media Formats
The projector supports a wide range of media formats:
- Video: AVI, MP4, MKV, FLV, MOV, RMVB, 3GP, MPEG1, MPEG2, MPG, TS, TP, VOB
- Audio: AAC, MP2, MP3, OGG, FLAC, WMA
- Picture: JPG, BMP, PNG
Maintenance
1. Cleaning the Projector
- Ensure the projector is powered off and unplugged before cleaning.
- Use a soft, dry cloth to wipe the exterior of the projector.
- For the lens, use a lens cleaning cloth and specialized lens cleaning solution. Do not use abrasive cleaners or solvents.
- Regularly clean the ventilation openings to prevent dust buildup, which can affect performance.
2. Lamp Life
The LED lamp in your projector has an estimated life of 50,000 hours, providing long-lasting performance without frequent lamp replacement.
3. Storage
When not in use for extended periods, store the projector in a cool, dry place, away from direct sunlight and extreme temperatures. Use the original packaging or a protective case to prevent dust and damage.
Troubleshooting
No Image Displayed
- Ensure the projector is powered on and the power indicator light is active.
- Verify that the correct input source is selected (e.g., HDMI1, USB).
- Check all cable connections (HDMI, USB, AV, VGA) to ensure they are secure.
- Test with a different input device or cable if possible.
Blurry Image
- Adjust the focus ring on the projector lens until the image is clear.
- Adjust the keystone correction if the image is distorted (trapezoidal).
- Ensure the projection surface is flat and smooth.
- The optimal viewing distance for clarity may vary; try adjusting the projector's distance from the screen.
No Sound
- Increase the volume on the projector and the connected source device.
- Check if the audio is muted on either the projector or the source device.
- If using an external Bluetooth speaker, ensure it is properly paired and connected.
- Verify that the audio format from your source device is supported by the projector.
Connectivity Issues
- For HDMI connections, ensure the cable is fully inserted into both the projector and the source device.
- For Bluetooth, ensure both devices are in pairing mode and within range.
- Restart both the projector and the connected device.
Specifications
| Feature | Detail |
|---|---|
| Brand | RCA |
| Model Number | RPJ199COMBO |
| Display Resolution | Native 800 x 480 (Supports up to 1080p via HDMI) |
| White Light Output | 33 Lumens |
| Projection Display | 4-inch LCD |
| Projection Size | 32 to 150 inches |
| LED Lamp Life | 50,000 hours |
| Connectivity | Bluetooth 5.0, Dual HDMI, A/V, USB, VGA, SD Card Slot |
| Audio | Integrated Stereo Speakers |
| Dimensions (L x W x H) | 12.5 x 7.5 x 6.75 inches |
| Item Weight | 3.8 pounds |
| Included Accessory | 100-inch Foldable Movie Screen |
Warranty Information
Specific warranty details for your RCA Projector are typically provided with the product packaging or can be found on the official RCA website. Please refer to the warranty card or documentation included with your purchase for information regarding coverage, duration, and terms.
Support
For further assistance, technical support, or service inquiries, please visit the official RCA support website or contact their customer service department. Contact information is usually available in the product packaging or on the manufacturer's website.