
Epson DS-530 II
Epson DS-530 II Color Duplex Document Scanner User Manual
Model: DS-530 II | Brand: Epson
1. Introduction
The Epson DS-530 II Color Duplex Document Scanner is designed for efficient and reliable document management in various environments. This manual provides comprehensive instructions for setting up, operating, maintaining, and troubleshooting your scanner to ensure optimal performance.

Figure 1: Epson DS-530 II Document Scanner in operation.
2. Key Features
- Fast Scan Speeds: Up to 35 pages per minute (ppm) / 70 images per minute (ipm) with one-pass duplex scanning.
- Robust Automatic Document Feeder (ADF): Features a 50-page ADF for scanning stacks of documents efficiently.
- High Daily Duty Cycle: Designed for reliability with a peak daily duty cycle of up to 4,000 sheets.
- Advanced Paper-Feed Technologies: Includes blank page removal, auto-rotation, auto cropping, Dynamic Skew Correction, Dirt Detection, Double-feed Detection, and Paper Protection for enhanced productivity.
- Broad Compatibility: Comes with TWAIN and ISIS drivers for seamless integration with most document management systems.
- Versatile Paper Handling: Capable of scanning business and ID cards, single sheets, extra-long pages up to 240 inches, and folded pages up to 11" x 17".
- Searchable PDFs and Editable Documents: Generate searchable PDFs and editable Word, PowerPoint, and Excel files; OCR software is included.
- Scan to Cloud: Intuitively scan directly to online storage accounts such as SharePoint, Evernote, and Google Drive using Epson Document Capture software.

Figure 2: Highlighting the scanner's robust daily duty cycle.
3. Setup Guide
3.1. Unboxing and Initial Placement
Carefully remove all components from the packaging. Ensure all protective materials are removed from the scanner. Place the scanner on a stable, flat surface with adequate space for document feeding and output.

Figure 3: What's included in the box.
3.2. Connecting the Scanner
- Connect the AC adapter to the scanner's power input and then plug it into a power outlet.
- Connect the SuperSpeed USB 3.0 cable to the scanner's USB port and then to an available USB port on your computer (PC or Mac).
3.3. Software Installation
To utilize the full functionality of your Epson DS-530 II scanner, you must install the necessary drivers and software. This typically includes TWAIN and ISIS drivers for compatibility with various document management systems, as well as Epson's Document Capture Pro software for managing scan jobs.
- Insert the installation CD (if provided) or download the latest software package from the official Epson support website.
- Follow the on-screen instructions to complete the installation. It is recommended to restart your computer after installation.
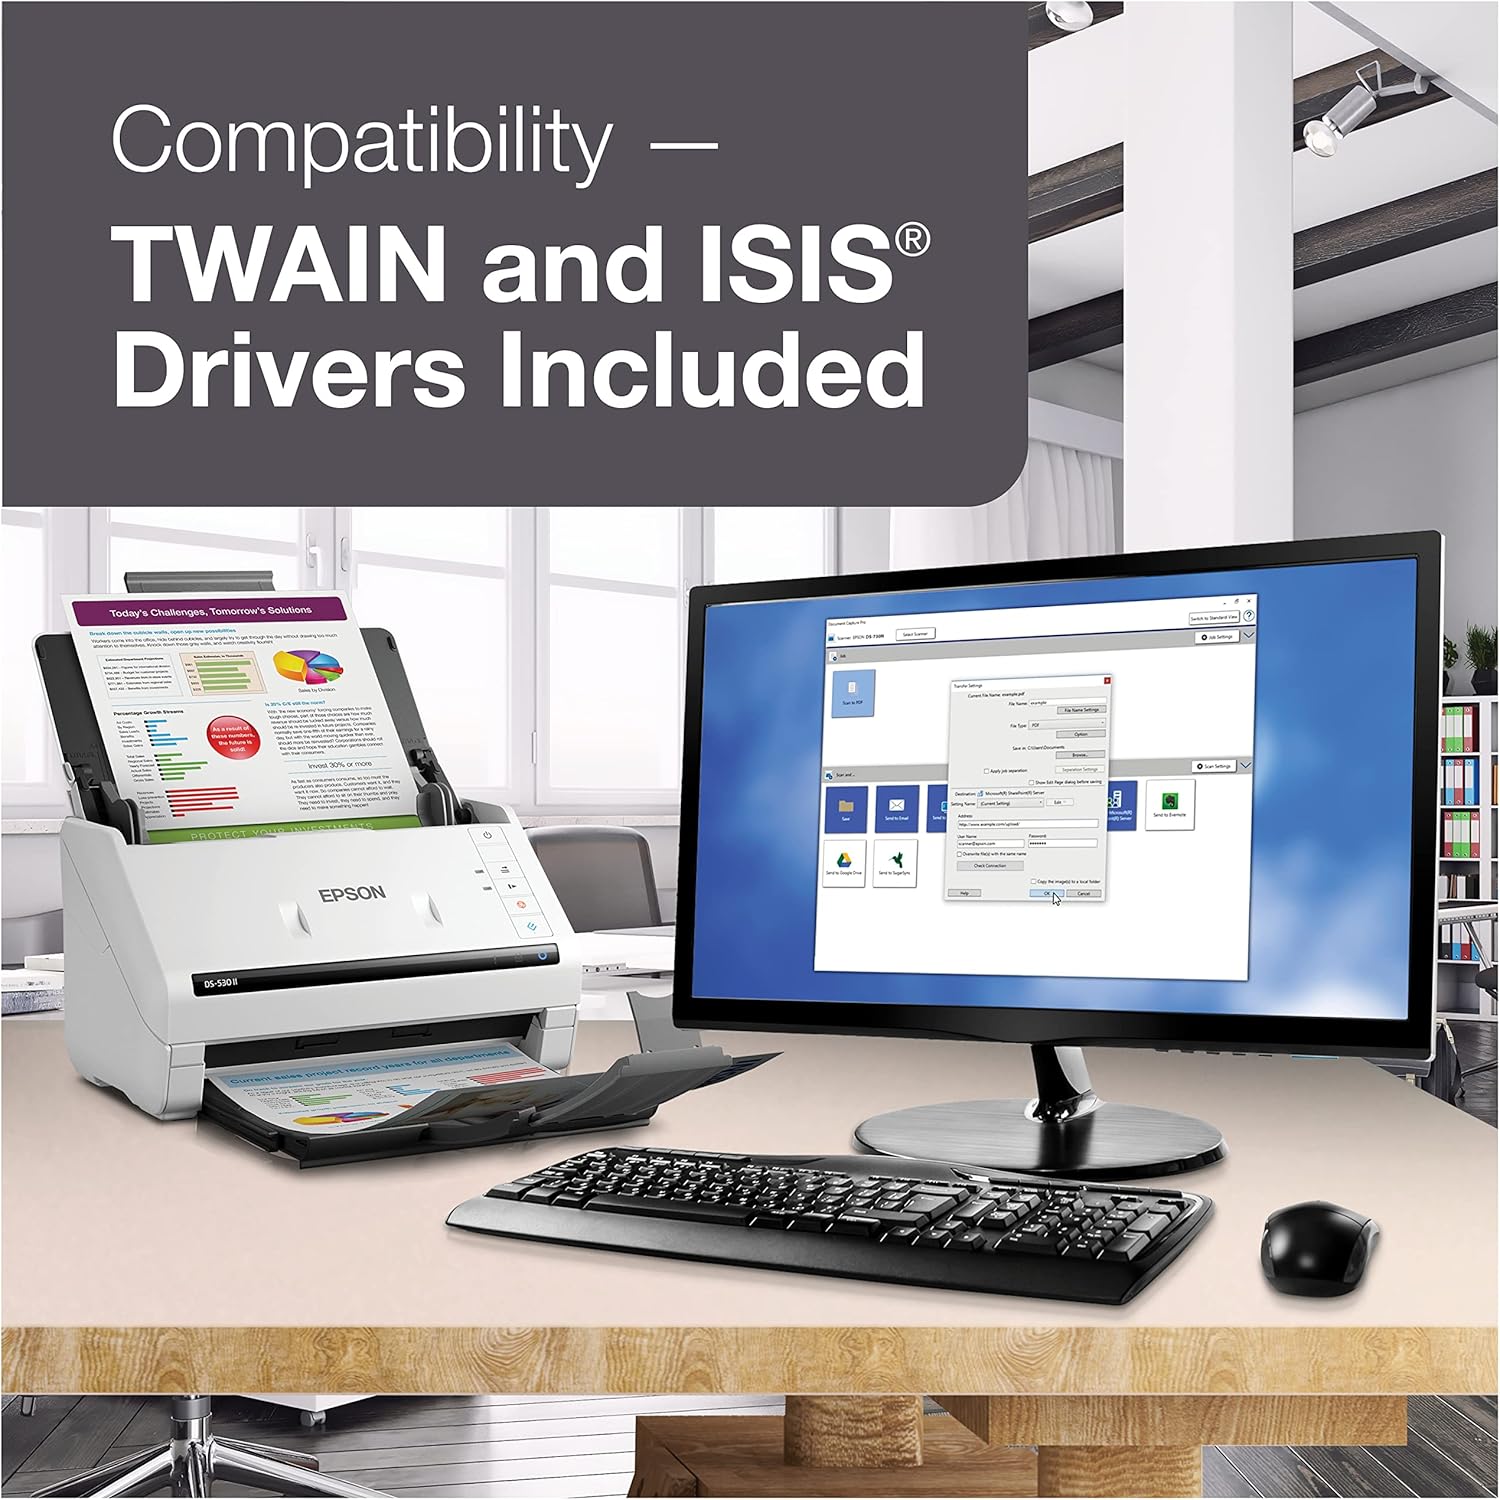
Figure 4: Scanner connected to a computer, demonstrating software compatibility.
4. Operating Instructions
4.1. Loading Documents
- Open the document cover and extend the output tray.
- Adjust the paper guides to match the width of your documents.
- Load documents face-down into the Automatic Document Feeder (ADF). Ensure the stack is neatly aligned to prevent misfeeds. The ADF can hold up to 50 sheets.
- For mixed batches of documents, the scanner's advanced paper-feed technologies will help ensure smooth scanning.

Figure 5: Loading documents into the 50-page ADF.
4.2. Initiating a Scan
- Press the power button to turn on the scanner. The blue indicator light will illuminate.
- On your computer, open the Epson Document Capture Pro software or your preferred document management application.
- Select your desired scan settings (e.g., color, grayscale, monochrome, single-sided or duplex). The DS-530 II supports one-pass duplex scanning.
- Click the "Scan" button in the software or press the dedicated scan button on the scanner to begin scanning.
- The scanner will automatically feed and process the documents.
4.3. Saving Scanned Documents
After scanning, the software will display the scanned images. You can then:
- Review and reorder pages.
- Perform OCR (Optical Character Recognition) to create searchable PDFs or editable Office documents.
- Save the documents to a local folder, network drive, or directly to cloud services like SharePoint, Evernote, or Google Drive.
5. Maintenance
5.1. Cleaning the Scanner
Regular cleaning ensures consistent scan quality and extends the life of your scanner.
- Turn off the scanner and unplug the power cord.
- Wipe the exterior of the scanner with a soft, damp cloth. Do not use abrasive cleaners or solvents.
- Open the scanner cover and gently wipe the glass scanning surface and rollers with a lint-free cloth dampened with a mild glass cleaner (non-ammonia based).
- Allow all surfaces to dry completely before closing the cover and reconnecting power.
5.2. Replacing Consumables
Over time, the rollers may wear out. Refer to the Epson support website for information on replacement kits and instructions.
6. Troubleshooting
This section addresses common issues you might encounter with your Epson DS-530 II scanner.
6.1. Paper Jams
- Cause: Misaligned documents, too many sheets loaded, or foreign objects (like staples).
- Solution:
- Turn off the scanner and open the document cover.
- Gently pull out any jammed paper in the direction of the paper path. Avoid tearing the paper.
- Remove any staples or paper clips from documents before loading.
- Ensure documents are neatly stacked and within the paper guides.
6.2. Poor Scan Quality
- Cause: Dirty scanning surfaces, incorrect scan settings, or original document quality.
- Solution:
- Clean the scanner's glass surface and rollers as described in the Maintenance section.
- Adjust scan settings (resolution, color mode) in the software to match your document type.
- Ensure the original document is clean and free from smudges or tears.
6.3. Scanner Not Detected by Computer
- Cause: Loose cable connection, incorrect driver installation, or power issue.
- Solution:
- Verify that the USB cable is securely connected to both the scanner and the computer.
- Ensure the scanner is powered on and the power indicator light is solid blue.
- Reinstall the scanner drivers and software from the Epson support website.
- Try connecting the scanner to a different USB port on your computer.
7. Specifications
| Feature | Detail |
|---|---|
| Brand | Epson |
| Model Name | DS-530 II |
| Scanner Type | Document |
| Connectivity Technology | USB |
| Optical Resolution | 600 dpi |
| Max Scan Speed (Mono/Color) | 35 ppm / 70 ipm |
| ADF Capacity | 50 Sheets |
| Duplex Scanning | Yes |
| Color Depth | 30-bit (input), 24-bit (output) |
| Grayscale Depth | 24-bit (input), 8-bit (output) |
| Media Type | Business Card, ID Card, Plain Paper |
| Max Document Size | 8.50" x 240" (extra-long pages) |
| Product Dimensions | 10.2 x 14.8 x 11.8 inches (approx.) |
| Item Weight | 1 pounds (approx.) |
| Supported OS | Windows 10, 8.1, 8, 7; macOS 10.10.x - 10.15.x |
8. Warranty and Support
The Epson DS-530 II scanner comes with a 3-year limited warranty. This includes world-class service and support, along with Advance Exchange with free Next-Business-Day Replacement to minimize downtime.
For technical support, driver downloads, and additional resources, please visit the official Epson support website or contact Epson customer service.
Manufacturer: Epson Corporation
Related documentsDS-530 II


Ask a question about this manual
Ask about setup, troubleshooting, compatibility, parts, safety, or missing instructions. Manuals+ will review the question and use this page’s manual context to help answer it.