
DANOPLUS KB0303
DANOPLUS 5-in-1 Digital pH Meter User Manual
Model: KB0303
1. Introduction
The DANOPLUS 5-in-1 Digital pH Meter is a versatile and highly accurate multi-parameter tester designed for measuring pH, Total Dissolved Solids (TDS), Electrical Conductivity (EC), Salinity, and Temperature in various liquid samples. Its waterproof IP67 rating ensures durability and reliability for a wide range of applications, from home use to laboratory testing.
This manual provides detailed instructions for the proper setup, operation, maintenance, and troubleshooting of your DANOPLUS meter to ensure optimal performance and longevity.
2. Product Components
Upon unboxing your DANOPLUS 5-in-1 Digital pH Meter, please verify that all components are present and in good condition:
- DANOPLUS 5-in-1 Digital pH Meter
- pH Buffer Powder (pH 4.00, pH 6.86, pH 9.18)
- User Manual (this document)

Image: The DANOPLUS 5-in-1 Digital pH Meter shown with the included pH buffer powders and a small measuring cup.
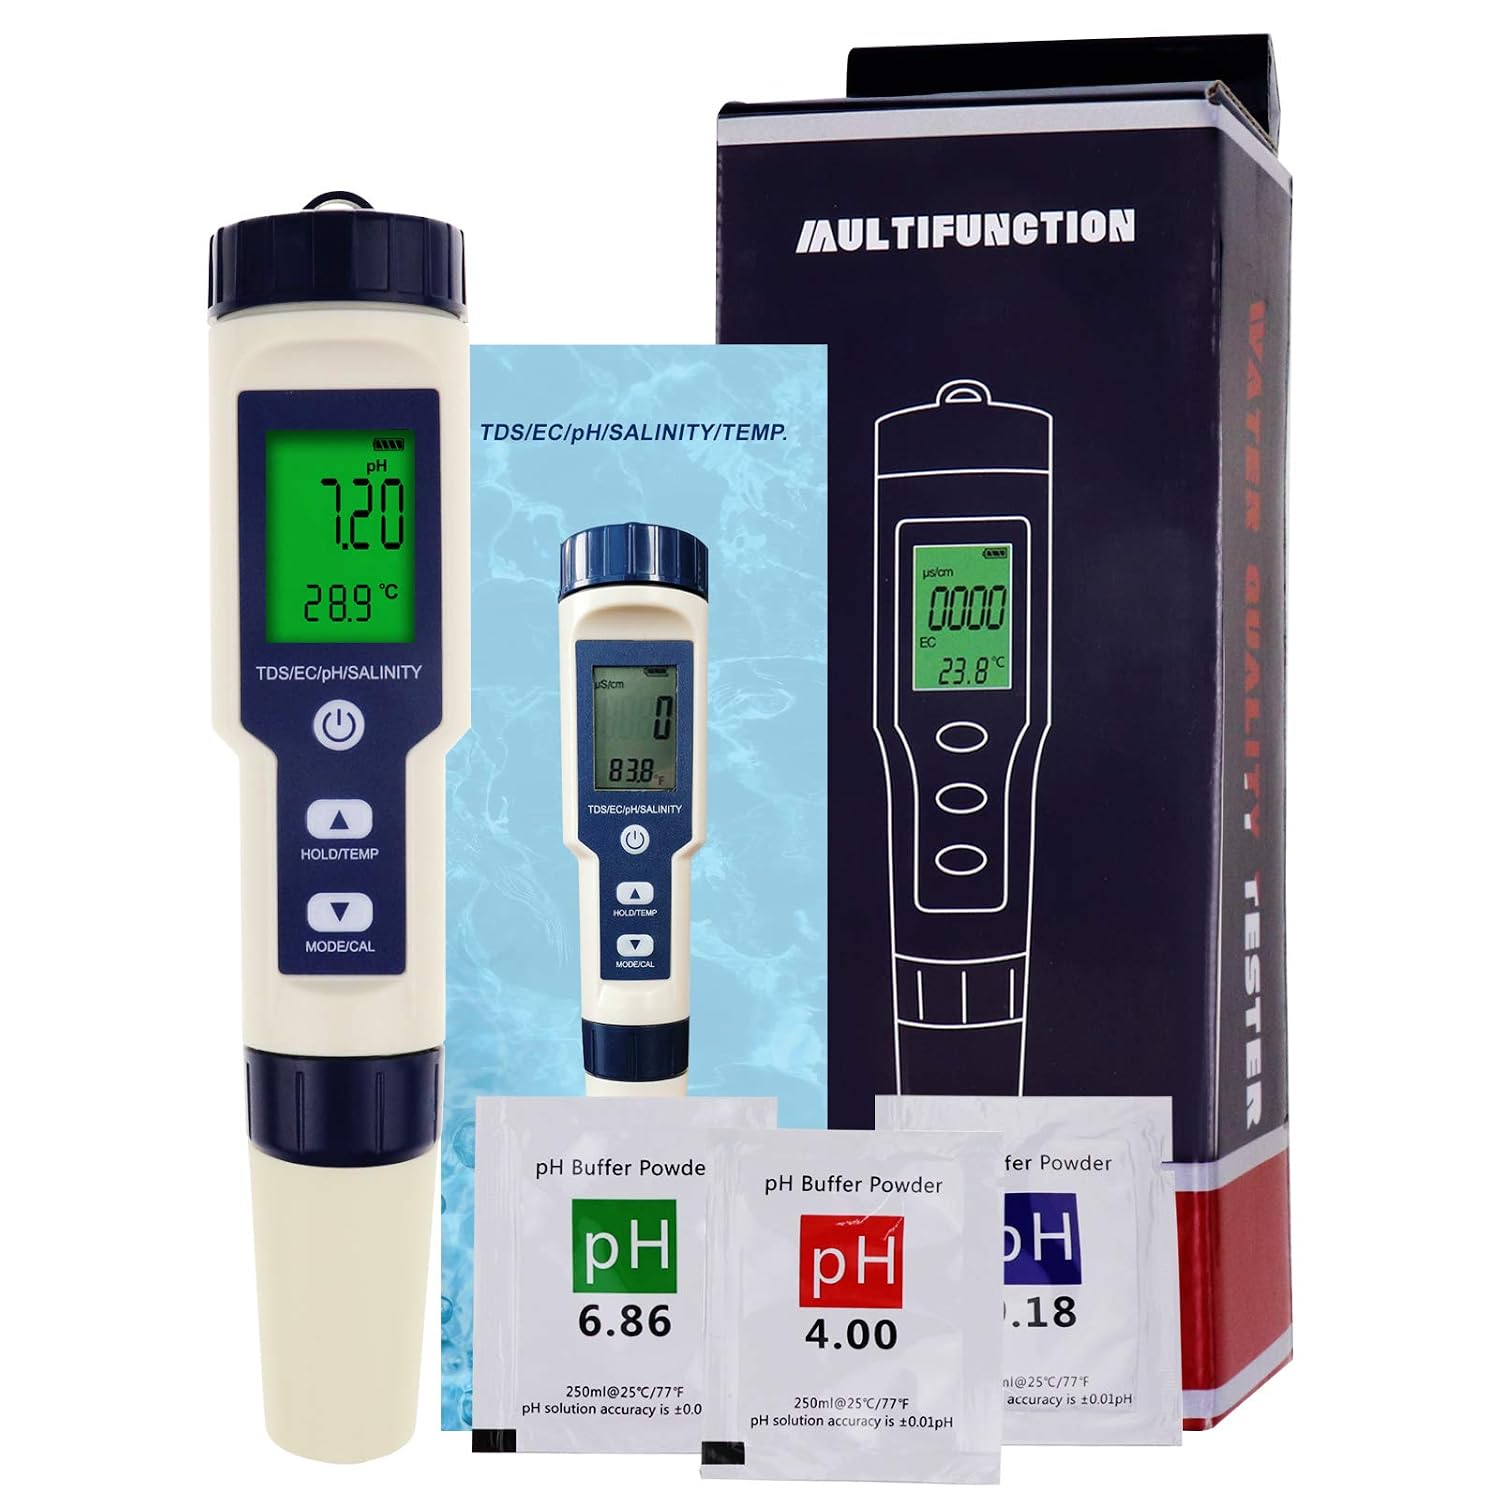
Image: The complete package contents, including the meter, its retail box, and the pH buffer powders.
3. Getting Started & Calibration
3.1 Initial Setup
Before first use, ensure the battery compartment is securely closed. The meter is ready for use after a quick rinse of the probe with distilled water.
3.2 Calibration Procedure
For accurate measurements, regular calibration is essential. The DANOPLUS meter supports 3-point automatic identification calibration for pH. It is recommended to calibrate the meter upon first use and periodically thereafter, especially if readings appear inconsistent or after prolonged storage.
- Prepare the pH buffer solutions: Dissolve each pH buffer powder (4.00, 6.86, 9.18) in 250ml of distilled water. Stir until fully dissolved.
- Rinse the electrode with distilled water and blot dry with a clean tissue.
- Press the POWER button to turn on the meter.
- Immerse the electrode into the 6.86 pH buffer solution.
- Press and hold the MODE/CAL button until the display shows "CAL". Release the button. The meter will automatically recognize the buffer solution and begin calibration.
- Once the 6.86 pH calibration is complete (the reading stabilizes and may flash), rinse the electrode again with distilled water.
- Immerse the electrode into the 4.00 pH buffer solution. Press MODE/CAL briefly to enter the next calibration point. The meter will automatically calibrate.
- After 4.00 pH calibration, rinse the electrode. Immerse it into the 9.18 pH buffer solution and press MODE/CAL briefly to complete the 3-point calibration.
- The meter will automatically save the calibration data and return to measurement mode.

Image: Visual representation of the 3-point automatic identification calibration process using pH 6.86, 4.00, and 9.18 buffer solutions.

Image: The individual pH buffer powder packets (6.86, 9.18, 4.00) used for preparing calibration solutions.
4. Operating Instructions
4.1 Power On/Off
Press the POWER button to turn the meter on or off.
4.2 Switching Measurement Modes
Press the MODE/CAL button briefly to cycle through the different measurement modes: pH, EC (µS/cm), TDS (ppm), Salinity (ppm), and Salinity (%). The display will update to show the current mode.

Image: The meter's display cycling through various measurement modes, including pH, EC, TDS, and Salinity (both ppm and percentage).
4.3 Hold/Temperature Function
Press the HOLD/TEMP button to freeze the current reading on the display. Press it again to release the hold. Holding this button may also switch between Celsius and Fahrenheit temperature units, depending on the model's specific firmware.
4.4 Backlight Function
The meter features an LCD backlight for easy reading in low-light conditions. This function is typically activated automatically when the meter is turned on, or by a brief press of a specific button (refer to the meter's display for backlight indicator).

Image: The meter displaying its LCD backlight feature, making readings visible in dim environments.
4.5 Measurement Guidelines
For accurate readings:
- Ensure the electrode is fully immersed in the sample solution.
- Stir the meter gently to remove air bubbles and allow the reading to stabilize.
- Rinse the electrode with distilled water before and after each measurement, especially when switching between different samples.
- Avoid touching the electrode with your fingers.
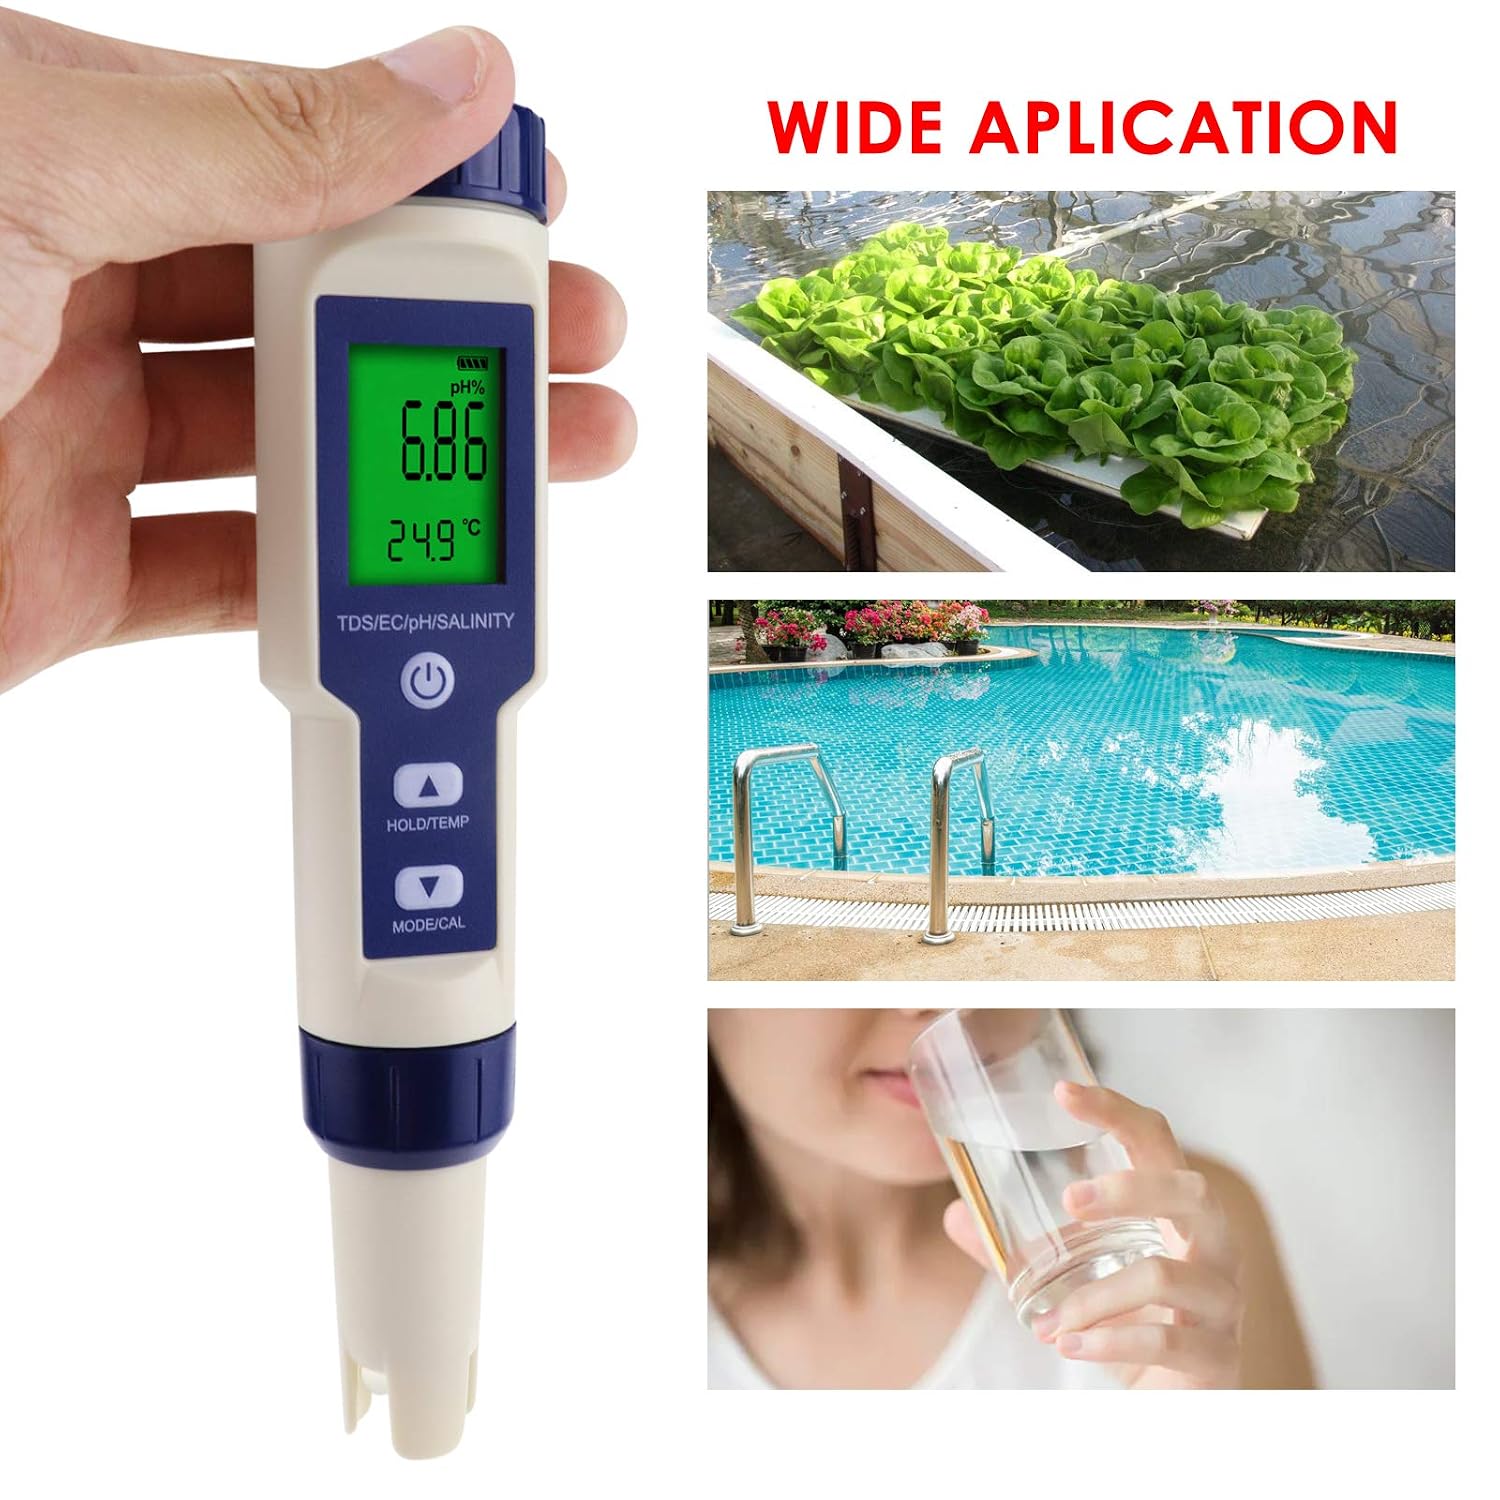
Image: Examples of wide applications for the DANOPLUS meter, including testing water in hydroponic systems, swimming pools, and for drinking water quality.
5. Maintenance and Storage
5.1 Cleaning the Electrode
After each use, rinse the electrode thoroughly with distilled water to prevent contamination and buildup. Do not use tap water or abrasive materials.
5.2 Replacing the Probe
The probe of the DANOPLUS meter is replaceable, extending the lifespan of your device. To replace the probe:
- Unscrew the protective cap and the probe housing from the main body of the meter.
- Carefully detach the old probe.
- Align and attach the new probe, then re-screw the housing and protective cap securely.

Image: Instructions demonstrating the process of replacing the meter's probe for continued functionality.

Image: A detailed view of the meter's probe tip, showing the sensor and the protective cap.
5.3 Storage
When not in use, store the meter with the protective cap securely in place. For long-term storage, ensure the electrode is kept moist with a few drops of KCL storage solution or pH 4.00 buffer solution in the cap to prevent the electrode from drying out, which can affect accuracy and lifespan.
6. Troubleshooting
| Problem | Possible Cause | Solution |
|---|---|---|
| Inaccurate or fluctuating readings | Uncalibrated meter, dirty electrode, air bubbles, dried-out electrode, low battery. | Calibrate the meter. Clean the electrode. Gently stir the solution. Re-moisten electrode with KCL solution. Replace batteries. |
| Display not turning on | Dead batteries, incorrect battery insertion. | Replace batteries. Check battery polarity. |
| Meter not recognizing buffer solutions during calibration | Incorrect buffer solution, electrode not fully immersed, damaged electrode. | Ensure correct buffer solutions are used. Fully immerse electrode. Consider replacing the probe. |
7. Technical Specifications
| Parameter | Range | Accuracy |
|---|---|---|
| pH | 0.01 - 14.0 pH | ±0.01 pH |
| EC | 0 - 10000 µS/cm, 10.01 - 19.99 mS/cm, 20.1 - 400 mS/cm | ±2% F.S. |
| TDS | 0 - 10000 ppm, 10.1 - 200.0 ppt | ±2% F.S. |
| Salinity | 0.01 - 25.0%, 0 - 10000 ppm, 10.1 - 200.0 ppt | ±2% F.S. |
| Temperature | 0.1 - 60.0°C (32.0 - 140.0°F) | ±0.5°C |
| Waterproof Rating | IP67 | |
| Meter Size | Approx. 183 x 37 x 37mm (7.2 x 1.5 x 1.5in) | |
| Weight | Approx. 90gms (3.2oz) | |
8. Warranty and Support
For any questions, technical assistance, or warranty inquiries regarding your DANOPLUS 5-in-1 Digital pH Meter, please contact DANOPLUS customer support through the retailer's platform or the official DANOPLUS website. Please have your model number (KB0303) and purchase information ready when contacting support.
Ask a question about this manual
Ask about setup, troubleshooting, compatibility, parts, safety, or missing instructions. Manuals+ will review the question and use this page’s manual context to help answer it.