
Introduction
Thank you for purchasing the Litex All Weather 5-Blade Ceiling Fan with Light Kit. This manual provides essential information for the safe installation, operation, and maintenance of your new ceiling fan. Please read all instructions carefully before beginning installation and retain this manual for future reference.
Important Safety Information
WARNING: To reduce the risk of fire, electric shock, or personal injury, always follow these basic precautions:
- Read all instructions before installing the fan.
- Ensure all electrical connections comply with local codes, ordinances, and the National Electrical Code (NEC).
- Disconnect power at the main circuit breaker or fuse box before beginning installation or performing any maintenance.
- The fan must be mounted to a structurally sound outlet box or support system capable of supporting a minimum of 35 lbs (15.9 kg).
- Do not operate the fan with damaged blades or housing.
- Avoid placing objects in the path of the fan blades.
- This fan is suitable for wet locations. Ensure all wiring connections are properly sealed to prevent water intrusion.
What's in the Box
Verify that all components are present before beginning installation. If any parts are missing or damaged, contact customer support.
- Motor Housing Assembly
- Fan Blades (5)
- Blade Brackets
- Downrod and Canopy
- Light Kit Assembly (LED, E26 Medium base)
- Glass Shade
- Remote Control and Receiver
- Hardware Pack (screws, washers, wire nuts)
- Instruction Manual (this document)
Setup and Installation
Installation requires basic electrical knowledge. If you are unsure, consult a qualified electrician.
Step 1: Mounting the Fan
Attach the mounting bracket to the ceiling outlet box. Ensure the outlet box is securely fastened to the building structure and can support the fan's weight (approximately 18.04 lbs).
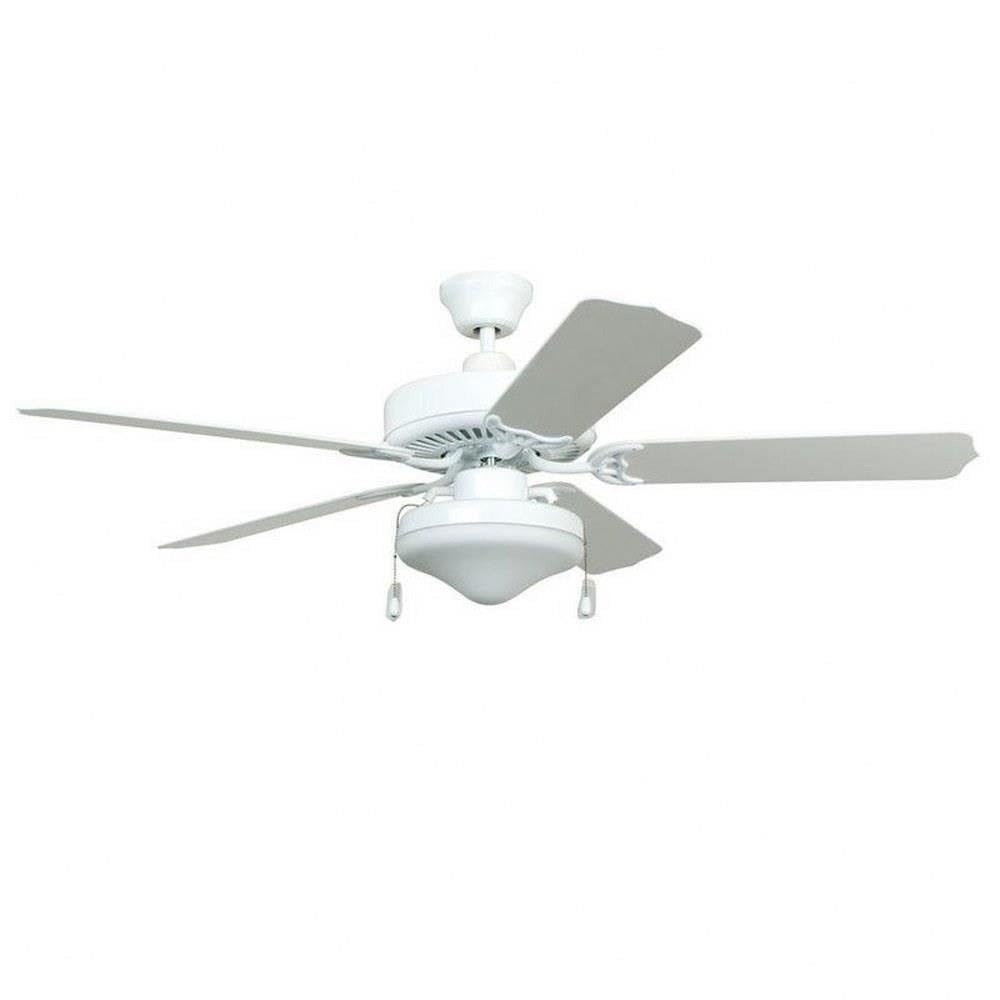
Image: Front view of the Litex All Weather 5-Blade Ceiling Fan with light kit, showcasing its white finish and five blades. This image illustrates the fan's overall appearance when fully assembled and mounted.
Step 2: Wiring Connections
Connect the fan's electrical wires to the household wiring according to the wiring diagram provided in the separate wiring guide (if applicable) or the instructions below. This fan operates on 120 Volts. Ensure all connections are secure and insulated with wire nuts.
- Connect the black wire from the fan to the black (hot) wire from the ceiling.
- Connect the white wire from the fan to the white (neutral) wire from the ceiling.
- Connect the green or bare copper wire from the fan to the green or bare copper (ground) wire from the ceiling.
Step 3: Attaching Blades
Secure each of the five fan blades to the blade brackets using the provided screws. Then, attach the blade assemblies to the motor housing. Ensure all screws are tightened securely.

Image: Angled view of the Litex All Weather 5-Blade Ceiling Fan, highlighting the white ABS resin blades and the integrated light kit. This perspective helps visualize the blade attachment points and the light fixture's design.
Step 4: Installing the Light Kit
Connect the light kit wires to the corresponding wires from the fan motor. Secure the light kit assembly to the bottom of the motor housing. Install the LED bulbs (E26 Medium base) and then attach the glass shade by twisting or securing it into place.

Image: Close-up view of the light kit and pull chains on the Litex All Weather 5-Blade Ceiling Fan. This image details the design of the glass shade and the functional pull chains for manual control, though the fan primarily uses a remote.
Step 5: Remote Control Pairing
Install batteries into the remote control. Restore power to the fan at the circuit breaker. Within 30 seconds of restoring power, press and hold the 'FAN' button on the remote control for 5 seconds until the fan light blinks, indicating successful pairing.
Operating Instructions
Your Litex ceiling fan is controlled by the included remote control.
Fan Operation
- Fan ON/OFF: Press the 'FAN' button to turn the fan on or off.
- Speed Control: Use the speed buttons (e.g., 1, 2, 3) to adjust the fan speed.
- Direction Control: A slide switch on the fan motor housing controls the blade rotation direction (summer/winter mode). For summer, blades should rotate counter-clockwise to create a downdraft. For winter, blades should rotate clockwise to create an updraft. Change direction only when the fan is off.
Light Operation
- Light ON/OFF: Press the 'LIGHT' button to turn the light on or off.
- Dimming: If your remote supports dimming, press and hold the 'LIGHT' button to cycle through brightness levels.
Maintenance
Regular maintenance ensures optimal performance and longevity of your fan.
Cleaning
- WARNING: Disconnect power before cleaning.
- Wipe the fan housing and blades with a soft, damp cloth. Do not use abrasive cleaners or solvents, as they may damage the finish.
- Clean the glass shade with a mild glass cleaner and a soft cloth.
- This fan is wet-rated, but avoid direct high-pressure water spray on electrical components.
Bulb Replacement
This fan uses LED bulbs with an E26 Medium base. While LEDs have a long lifespan, if replacement is needed:
- WARNING: Disconnect power before replacing bulbs.
- Allow bulbs to cool completely before touching.
- Carefully remove the glass shade.
- Unscrew the old bulb and screw in a new E26 Medium base LED bulb of appropriate wattage.
- Reattach the glass shade.
Troubleshooting
If you experience issues with your fan, refer to the following common problems and solutions:
| Problem | Possible Cause | Solution |
|---|---|---|
| Fan does not start | No power to the fan | Check circuit breaker/fuse. Ensure wall switch is ON. |
| Fan makes noise | Loose screws or mounting | Tighten all screws on blade brackets and mounting hardware. |
| Light does not work | Bulb loose or faulty | Check bulb connection. Replace bulb if necessary. |
| Remote control not working | Batteries dead or not paired | Replace remote batteries. Re-pair remote control (see Setup section). |
Specifications
| Feature | Detail |
|---|---|
| Brand | Litex |
| Model Number | WOD52WW5L |
| Blade Span | 52 inches |
| Number of Blades | 5 |
| Blade Material | ABS Resin |
| Finish Color | White |
| Light Source | LED |
| Bulb Base | E26 Medium |
| Voltage | 120 Volts |
| Wattage | 60 watts |
| Control Method | Remote Control |
| Indoor/Outdoor Usage | Outdoor (Wet Rated) |
| Mounting Type | Semi Flush Mount / Ceiling Mount |
| Item Dimensions (L x W x H) | 52" x 52" x 17.75" |
| Item Weight | 18.04 Pounds |
| Required Assembly | Yes |
| Certification | UL Listed |
Warranty Information
This Litex ceiling fan is covered by a 1-year manufacturer's warranty from the date of purchase. This warranty covers defects in materials and workmanship under normal use. Please retain your proof of purchase for warranty claims. For specific warranty terms and conditions, refer to the documentation included with your product or contact Litex customer support.
Customer Support
If you have any questions, require assistance with installation, or need to report a missing or damaged part, please contact Litex customer support. Refer to the contact information provided in your product packaging or visit the official Litex website for support details.