Introduction
The Lorex 4K (8MP) Smart IP Dome Security Camera (Model LNE9252B) is a professional-grade surveillance solution designed to provide high-quality security coverage day and night. This camera features real-time 30 frames-per-second 4K video recording, advanced night vision capabilities, smart motion detection, and listen-in audio. Its robust metal exterior is engineered to withstand extreme weather conditions, ensuring reliable performance for years. This manual provides essential information for the proper installation, operation, and maintenance of your security camera.

Image: Lorex 4K (8MP) Smart IP Dome Security Camera, showcasing its compact dome design and lens.
What's Included
Your Lorex 4K (8MP) Smart IP Dome Security Camera package includes the following components:
- One 4K IP dome camera
- Mounting kit (screws and wall anchors)
- Ethernet Cable
- Allen key
- User manual (this document)
Key Features
The Lorex LNE9252B camera is equipped with advanced features for superior surveillance:
- 4K (8MP) Ultra HD Resolution: Delivers clear and detailed footage with a wide 107° field of view. Records at a real-time 30 frames-per-second for smooth video.
- Listen-in Audio: Integrated microphone allows for audio recording alongside video footage.
- Color Night Vision™: Enhanced nighttime clarity with an impressive large format lens, providing color video in low light conditions.
- IR Night Vision: Up to 150ft (46m) infrared night vision in low light and 98ft (30m) in total darkness.
- Smart Motion Detection: Reduces false alarms by detecting only persons or vehicles, sending precise notifications to your Lorex App.
- Weatherproof Design (IP67): Built with an aluminum alloy housing to withstand harsh weather conditions, operating in temperatures from -40°F (-40°C) to 140°F (60°C).
- Flexible Installation: Can be installed indoors or outdoors, with options for ceiling or wall mounting.

Image: Comparison of standard night vision (left) and Lorex Color Night Vision (right), highlighting improved clarity and detail.
Specifications
| Specification | Detail |
|---|---|
| Model Number | LNE9252B |
| Resolution | 4K (8MP) Ultra HD |
| Frame Rate | 30 fps |
| Field of View | Up to 107° |
| Night Vision Range (IR) | 150 ft (46m) in low light, 98 ft (30m) in total darkness |
| Audio | Listen-in audio |
| Weatherproof Rating | IP67 |
| Operating Temperature | -40°F to 140°F (-40°C to 60°C) |
| Material | Aluminum Alloy housing |
| Connectivity Protocol | Ethernet (PoE) |
| Mounting Type | Ceiling Mount, Wall Mount |
| Color | White |
| Item Weight | 2.72 pounds |
| Dimensions | 11.61 x 6.26 x 5.24 inches (Package) |
| UPC | 695529027845 |
Setup and Installation
Proper installation is crucial for optimal performance of your Lorex camera. Follow these general guidelines:
- Planning: Choose a suitable location for your camera, considering the desired field of view, power source (PoE), and network connectivity. Ensure the location is within the camera's cable reach and offers clear line of sight.
- Mounting: Use the provided mounting kit to securely attach the camera to a wall or ceiling. Drill pilot holes as necessary and use the included screws and anchors. Ensure the camera is firmly fixed to prevent movement.
- Cabling: Connect the Ethernet cable from the camera to your Power over Ethernet (PoE) enabled NVR or PoE switch. Ensure all connections are secure and protected from environmental elements.
- Initial Power-Up: Once connected, the camera will power on. Allow a few moments for it to initialize.
- NVR/App Configuration: Refer to your NVR's user manual or the Lorex App instructions for adding and configuring the camera to your surveillance system. This typically involves scanning for new devices on the network.
- Adjusting View: Physically adjust the camera's angle and rotation to achieve the desired coverage area. Fine-tune the focus if applicable (this model has manual focus).
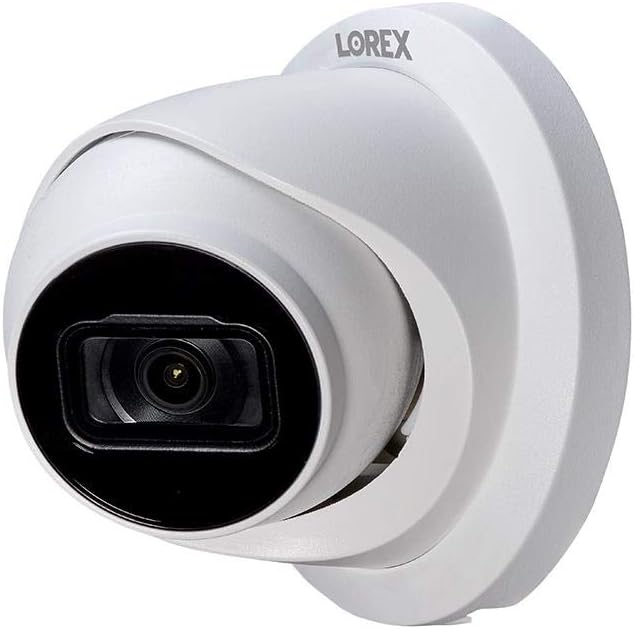
Image: Lorex Dome Camera, illustrating its design suitable for wall or ceiling mounting.
Operating Instructions
Once installed and configured, operate your Lorex camera through your connected NVR or the Lorex App:
- Live View: Access the live video feed from your camera via the NVR monitor or the Lorex App on your smartphone/tablet.
- Recording: The camera records continuously or based on motion detection, depending on your NVR settings. Review recorded footage through the NVR playback interface or the app.
- Smart Motion Detection: Enable and configure Smart Motion Detection settings in your NVR or Lorex App to receive alerts only when persons or vehicles are detected, minimizing false alarms.
- Audio Monitoring: Utilize the listen-in audio feature to hear sounds from the camera's vicinity through your NVR or app.
- Night Vision: The camera automatically switches to night vision mode in low light conditions. Color Night Vision™ provides enhanced detail in color when sufficient ambient light is available.
- Notifications: Configure push notifications in the Lorex App to receive instant alerts on your mobile device for detected events.
Maintenance
Regular maintenance helps ensure the longevity and optimal performance of your security camera:
- Lens Cleaning: Periodically clean the camera lens with a soft, lint-free cloth. For stubborn dirt, use a mild lens cleaning solution. Avoid abrasive materials that could scratch the lens.
- Housing Cleaning: Wipe down the camera housing with a damp cloth to remove dust and dirt. Do not use harsh chemicals.
- Cable Inspection: Regularly inspect the Ethernet cable and connections for any signs of wear, damage, or corrosion, especially in outdoor installations.
- Firmware Updates: Check the Lorex website or your Lorex App for available firmware updates. Keeping your camera's firmware up-to-date ensures the latest features and security enhancements.
- Environmental Checks: Ensure that no obstructions are blocking the camera's field of view and that the mounting remains secure.
Troubleshooting
If you encounter issues with your Lorex camera, consider the following common troubleshooting steps:
- No Video/Offline:
- Verify the Ethernet cable is securely connected at both the camera and NVR/PoE switch.
- Ensure the NVR or PoE switch is powered on and functioning correctly.
- Check network settings on your NVR to ensure the camera is properly added and configured.
- Try restarting the NVR and the camera (by unplugging and replugging the Ethernet cable).
- Poor Video Quality:
- Clean the camera lens.
- Ensure there are no obstructions in the camera's field of view.
- Check network bandwidth. Insufficient bandwidth can affect 4K streaming.
- Verify the camera's resolution settings on your NVR or app are set to 4K.
- False Motion Alerts:
- Adjust the Smart Motion Detection sensitivity settings in the Lorex App or NVR.
- Ensure "Person" or "Vehicle" detection is enabled and other types of motion are filtered out.
- Review the camera's placement to minimize detection of irrelevant movement (e.g., tree branches, shadows).
- No Audio:
- Ensure audio recording is enabled in your NVR or Lorex App settings for this camera.
- Check the volume settings on your playback device (monitor, phone).
For more detailed troubleshooting or specific technical support, please refer to the Lorex support website or contact Lorex customer service.
Compatibility
This Lorex 4K (8MP) Smart IP Dome Security Camera (LNE9252B) is compatible with the following Lorex NVR series:
- N881B Series 4K Ultra HD NVR
- N882B Series 4K Ultra HD NVR
Ensure your NVR is updated to the latest firmware for optimal compatibility and performance.
Warranty and Support
For information regarding the product warranty, please refer to the warranty card included with your purchase or visit the official Lorex website. Lorex provides customer support for technical assistance and inquiries.
You can find additional resources and contact information by visiting the Lorex Store on Amazon:


