1. Important Safety Information
Please read this manual carefully before operating the 4DRC V9 drone. Failure to follow instructions may result in damage to the drone, property, or personal injury. Keep this manual for future reference.
- Ensure the drone is fully charged before each flight.
- Operate the drone in open areas, away from people, animals, buildings, and obstacles.
- Do not fly in strong winds or adverse weather conditions.
- Keep fingers and hair away from rotating propellers.
- Adult supervision is recommended for children operating the drone.
- Do not attempt to modify or disassemble the drone.
2. Package Contents
Verify that all items are present in the package:

Image: The 4DRC V9 drone, remote controller, three batteries, and a storage case.
- 4DRC V9 Foldable Drone x 1
- Remote Controller x 1
- Modular Batteries x 3
- USB Charging Cable x 1
- Spare Propellers x 4
- Propeller Guards x 4
- Screwdriver x 1
- Storage Case x 1
- User Manual x 1
3. Product Overview
The 4DRC V9 is a compact and lightweight foldable drone designed for ease of use and portability. It features a 720P HD dual camera for capturing clear aerial photos and videos, and offers various intelligent flight modes.

Image: Comparison of 720P and 480P camera quality, highlighting the drone's 720P HD camera.
Drone Components:
- Foldable Arms: For compact storage and portability.
- Propellers: Four main propellers for lift and movement.
- Propeller Guards: Optional guards for added safety during flight.
- 720P HD Dual Camera: Front-facing camera for photo and video capture.
- Battery Compartment: Located at the rear for modular battery insertion.
- Power Button: To turn the drone on/off.
Remote Controller Components:
- Left Joystick: Controls altitude (up/down) and rotation (left/right).
- Right Joystick: Controls forward/backward and left/right movement.
- One-Key Take-off/Landing Button: Initiates automatic take-off or landing.
- Headless Mode Button: Activates headless flight mode.
- Speed Switch Button: Toggles between different speed modes.
- 360° Flip Button: Performs a 360-degree flip.
- Phone Holder: To mount your smartphone for FPV viewing.
4. Setup
4.1 Charging the Batteries
- Connect the modular battery to the USB charging cable.
- Plug the USB cable into a 5V/1A USB adapter (not included) or a computer USB port.
- The indicator light on the USB cable will show charging status (refer to cable instructions for specific light behavior).
- Charging time is approximately 60-90 minutes per battery.
4.2 Installing Batteries
Drone Battery Installation:
- Ensure the drone is powered off.
- Insert a fully charged modular battery into the battery compartment at the rear of the drone until it clicks into place.
Remote Controller Battery Installation:
- Open the battery cover on the back of the remote controller.
- Insert 3 AAA batteries (not included) according to the polarity markings.
- Close the battery cover securely.
4.3 Propeller Guard Installation
For beginner pilots or indoor flight, it is recommended to install the propeller guards. Align the guards with the drone's arms and snap them into place.
4.4 Unfolding the Drone
Gently unfold the four arms of the drone until they lock into position. Ensure all arms are fully extended before flight.
4.5 App Installation and Connection
Download the "4DRC PRO" app (or specified app in the manual) from your smartphone's app store (iOS/Android).
- Power on the drone. The drone's Wi-Fi signal will be broadcast.
- Go to your smartphone's Wi-Fi settings and connect to the Wi-Fi network named "4DRC-V9-XXXXXX" (or similar).
- Open the 4DRC PRO app. The live video feed from the drone's camera should appear, indicating a successful connection.
Note: Ensure mobile data is turned off on your smartphone to prevent interference with the Wi-Fi connection.
5. Operating Instructions
5.1 Pairing the Drone and Remote Controller
- Place the drone on a flat, level surface.
- Power on the drone. The drone's indicator lights will flash.
- Power on the remote controller.
- Push the left joystick (throttle) all the way up, then all the way down. The drone's indicator lights will stop flashing and remain solid, indicating successful pairing.
5.2 Gyro Calibration
After pairing, perform a gyro calibration for stable flight:
- With the drone on a flat surface, push both joysticks down and to the right simultaneously for 2-3 seconds.
- The drone's lights will flash rapidly and then become solid, indicating successful calibration.
5.3 Take-off and Landing

Image: Illustrations showing one-key take-off/landing, headless mode, and altitude hold features.
- One-Key Take-off: Press the One-Key Take-off/Landing button. The drone will automatically ascend and hover at a certain altitude.
- Manual Take-off: Push both joysticks down and to the left simultaneously to unlock the motors. Then, slowly push the left joystick (throttle) up to take off.
- One-Key Landing: Press the One-Key Take-off/Landing button again. The drone will automatically descend and land.
- Emergency Stop: In case of emergency, press and hold the One-Key Take-off/Landing button for 3 seconds to stop the motors.
5.4 Basic Flight Controls
| Control | Action | Drone Movement |
|---|---|---|
| Left Joystick Up/Down | Push up/down | Ascend/Descend |
| Left Joystick Left/Right | Push left/right | Rotate Left/Right |
| Right Joystick Up/Down | Push up/down | Fly Forward/Backward |
| Right Joystick Left/Right | Push left/right | Fly Left/Right (Sideways) |
5.5 Advanced Flight Features
- Headless Mode: Press the Headless Mode button. In this mode, the drone's orientation is relative to the pilot, regardless of the drone's actual front. Press again to exit.
- Altitude Hold: The drone automatically maintains its current altitude, allowing for stable hovering and easier control. This feature is active by default.
- 360° Tumbling (Flip):Fly the drone to a height of at least 2 meters. Press the 360° Flip button, then push the right joystick in the desired direction (forward, backward, left, or right) to perform a flip.

Image: Drone performing a 3D flip in the air.
- Track Flight (Trajectory Flight):In the app, select the Track Flight mode. Draw a flight path on your smartphone screen, and the drone will automatically follow the designated route.
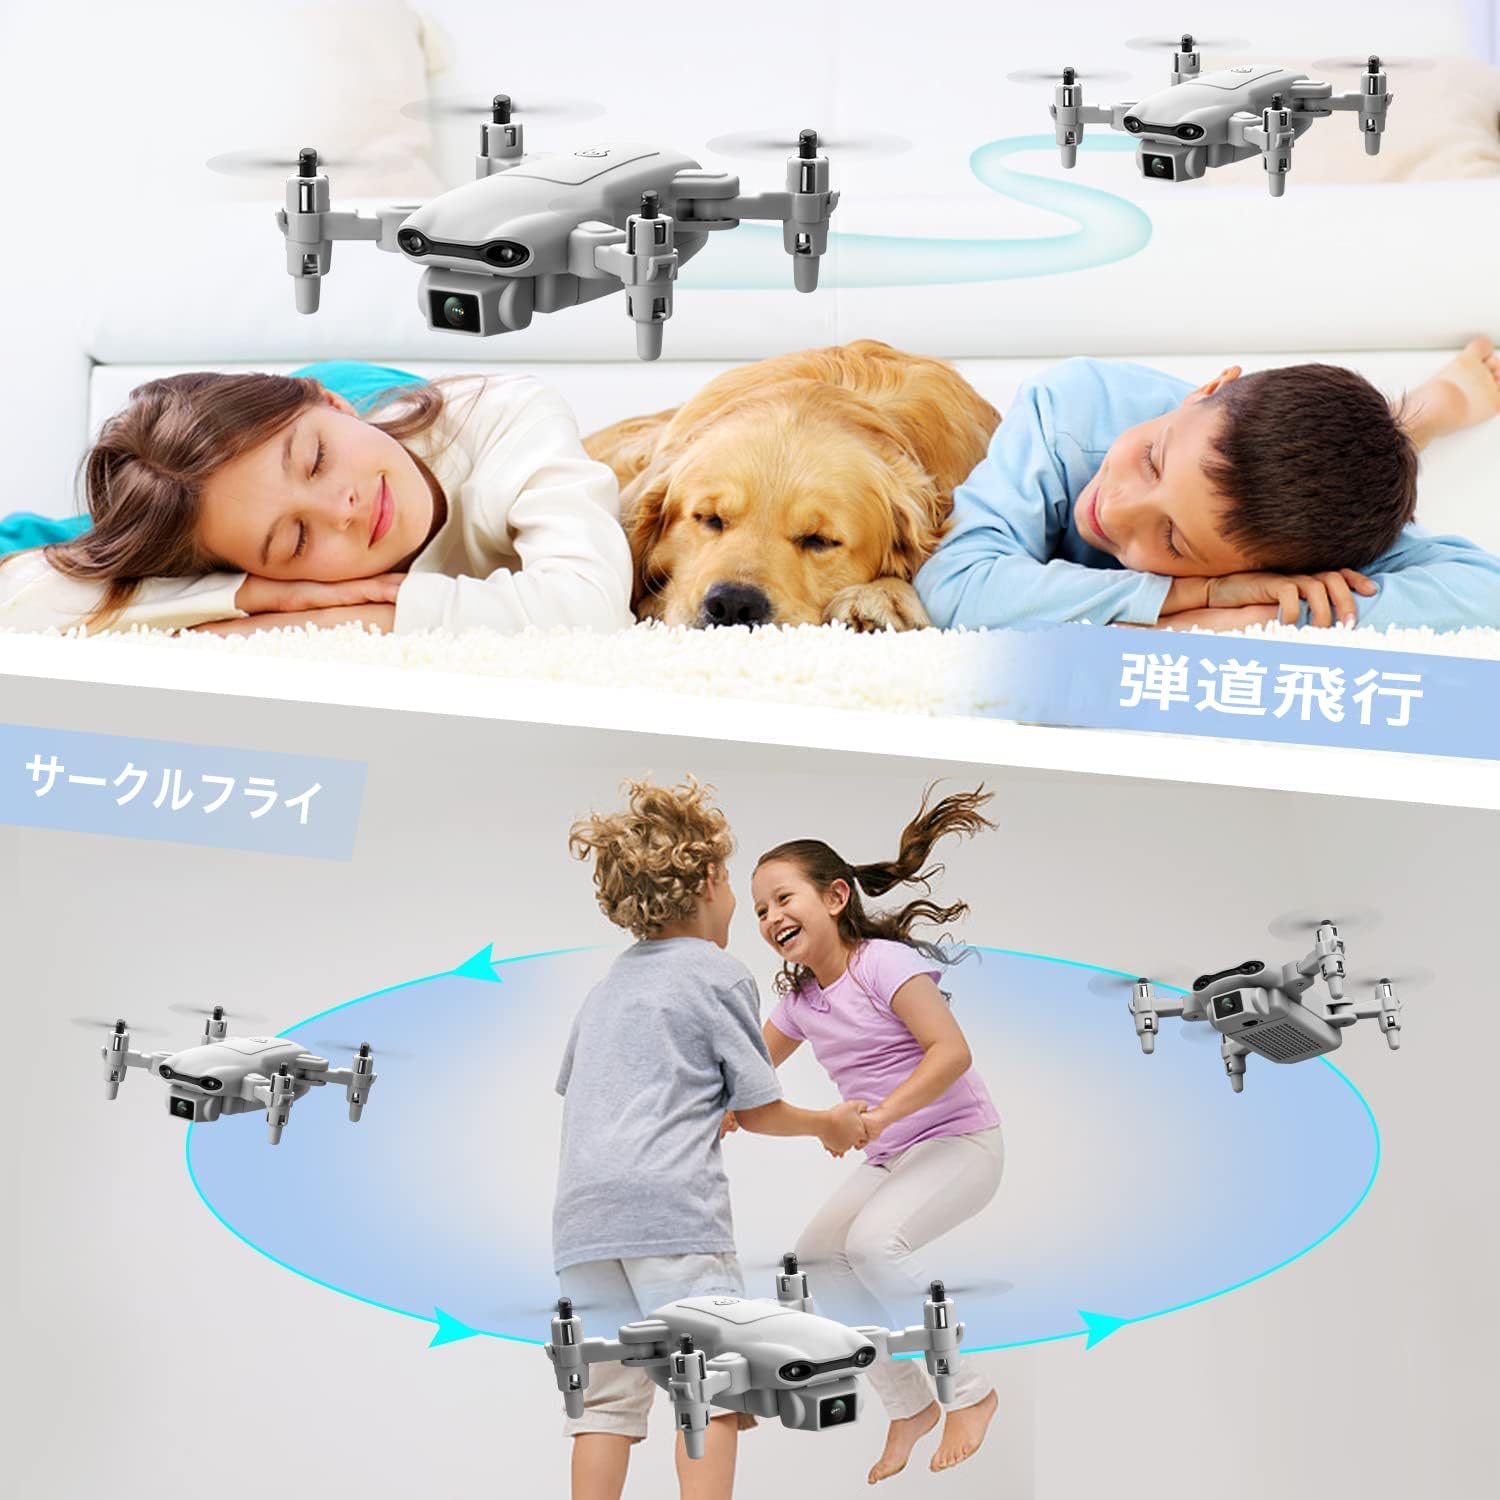
Image: Illustrations showing one-key take-off/landing, headless mode, and altitude hold features.
- Gravity Control:Activate Gravity Control in the app. Tilt your smartphone in the desired direction, and the drone will move accordingly.

Image: A person controlling the drone by tilting their smartphone, demonstrating gravity control.
- Voice Control:Enable Voice Control in the app. Use specific voice commands (e.g., "Take off", "Land", "Forward", "Backward", "Left", "Right") to control the drone.

Image: A person on a beach using voice commands like "Left", "Take off", and "Landing" to control the drone.
- Speed Adjustment:Press the Speed Switch button on the remote controller to cycle through 3 different speed modes (low, medium, high) suitable for various skill levels and environments.

Image: Three drones flying at different speeds, illustrating the three-speed adjustment feature.
5.6 Camera Operation (Photo/Video)
- Ensure the drone is connected to the app via Wi-Fi.
- In the app interface, locate the photo/video icons.
- Tap the photo icon to take a picture.
- Tap the video icon to start recording, and tap again to stop.
- Photos and videos will be saved directly to your smartphone's gallery.
6. Maintenance
- Cleaning: Use a soft, dry cloth to clean the drone and remote controller. Do not use liquid cleaners.
- Propeller Replacement: If propellers are damaged, use the provided screwdriver to remove the old propeller and install a new one. Ensure the correct propeller (A or B) is installed on the corresponding motor.
- Battery Care:
- Store batteries in a cool, dry place.
- Do not overcharge or over-discharge batteries.
- If not used for a long period, charge batteries to about 50% capacity every 3 months.
- Storage: Fold the drone arms and store all components in the provided storage case to prevent damage.
7. Troubleshooting
| Problem | Possible Cause | Solution |
|---|---|---|
| Drone does not respond to remote. | Not paired or low battery. | Ensure batteries are charged. Re-pair the drone and remote controller. |
| Drone flies erratically or drifts. | Gyro not calibrated or strong wind. | Perform gyro calibration on a flat surface. Avoid flying in windy conditions. Use trim adjustments on the remote if minor drifting occurs. |
| No FPV video feed in app. | Wi-Fi not connected or app issue. | Ensure smartphone is connected to the drone's Wi-Fi. Restart the app and drone. Turn off mobile data on your phone. |
| Drone motors do not spin. | Motors locked or low battery. | Ensure motors are unlocked (push both joysticks down and left). Check battery level. |
| Short flight time. | Battery not fully charged or old battery. | Ensure batteries are fully charged. Consider replacing old batteries if performance degrades significantly. |
8. Specifications
- Brand: 4DRC
- Model: V9
- Product Dimensions: 13 x 13 x 3 cm (unfolded)
- Product Weight: 420 g (including battery)
- Drone Battery: 3 x Lithium Ion (550 mAh each)
- Remote Control Battery: 3 x AAA (not included)
- Control Type: Remote Control
- Max Range: 80 meters
- Material: ABS
- Wireless Communication Technology: Wi-Fi
- Camera: 720P HD Dual Camera
- Recommended Age: Children (implied from "おもちゃ" - toy)

Image: A visual representation of the drone's 720P HD dual camera system.

Image: A detailed layout of all items included in the product package, including the drone, remote, batteries, and tools.
9. Warranty and Support
This product comes with a standard manufacturer's warranty. Please refer to the packaging or contact your retailer for specific warranty terms and conditions.
For technical support, troubleshooting assistance, or spare parts inquiries, please contact the 4DRC customer service team via the contact information provided on the product packaging or the official 4DRC website.
Please retain your proof of purchase for warranty claims.


