
Introduction
This manual provides detailed instructions for the setup, operation, and maintenance of your FANGOR 15.6" Portable Monitor, model DH112222. Please read this manual thoroughly before using the product to ensure proper functionality and to prevent damage.
The FANGOR DH112222 is a versatile 15.6-inch Full HD 1080P IPS display designed for various applications, including extending laptop screens, gaming, and multimedia consumption. It features USB Type-C and HDMI connectivity, built-in speakers, and a smart cover for portability and protection.
Package Contents
Please check the package contents upon unboxing. If any items are missing or damaged, contact customer support.
- FANGOR 15.6" Portable Monitor (DH112222)
- Smart Cover / Stand
- USB-C to USB-C Cable (for power and video/data)
- HDMI to Mini HDMI Cable (for video)
- USB-A to USB-C Cable (for power)
- Power Adapter (if included)
- User Manual (this document)
Product Overview
Familiarize yourself with the monitor's components and ports.
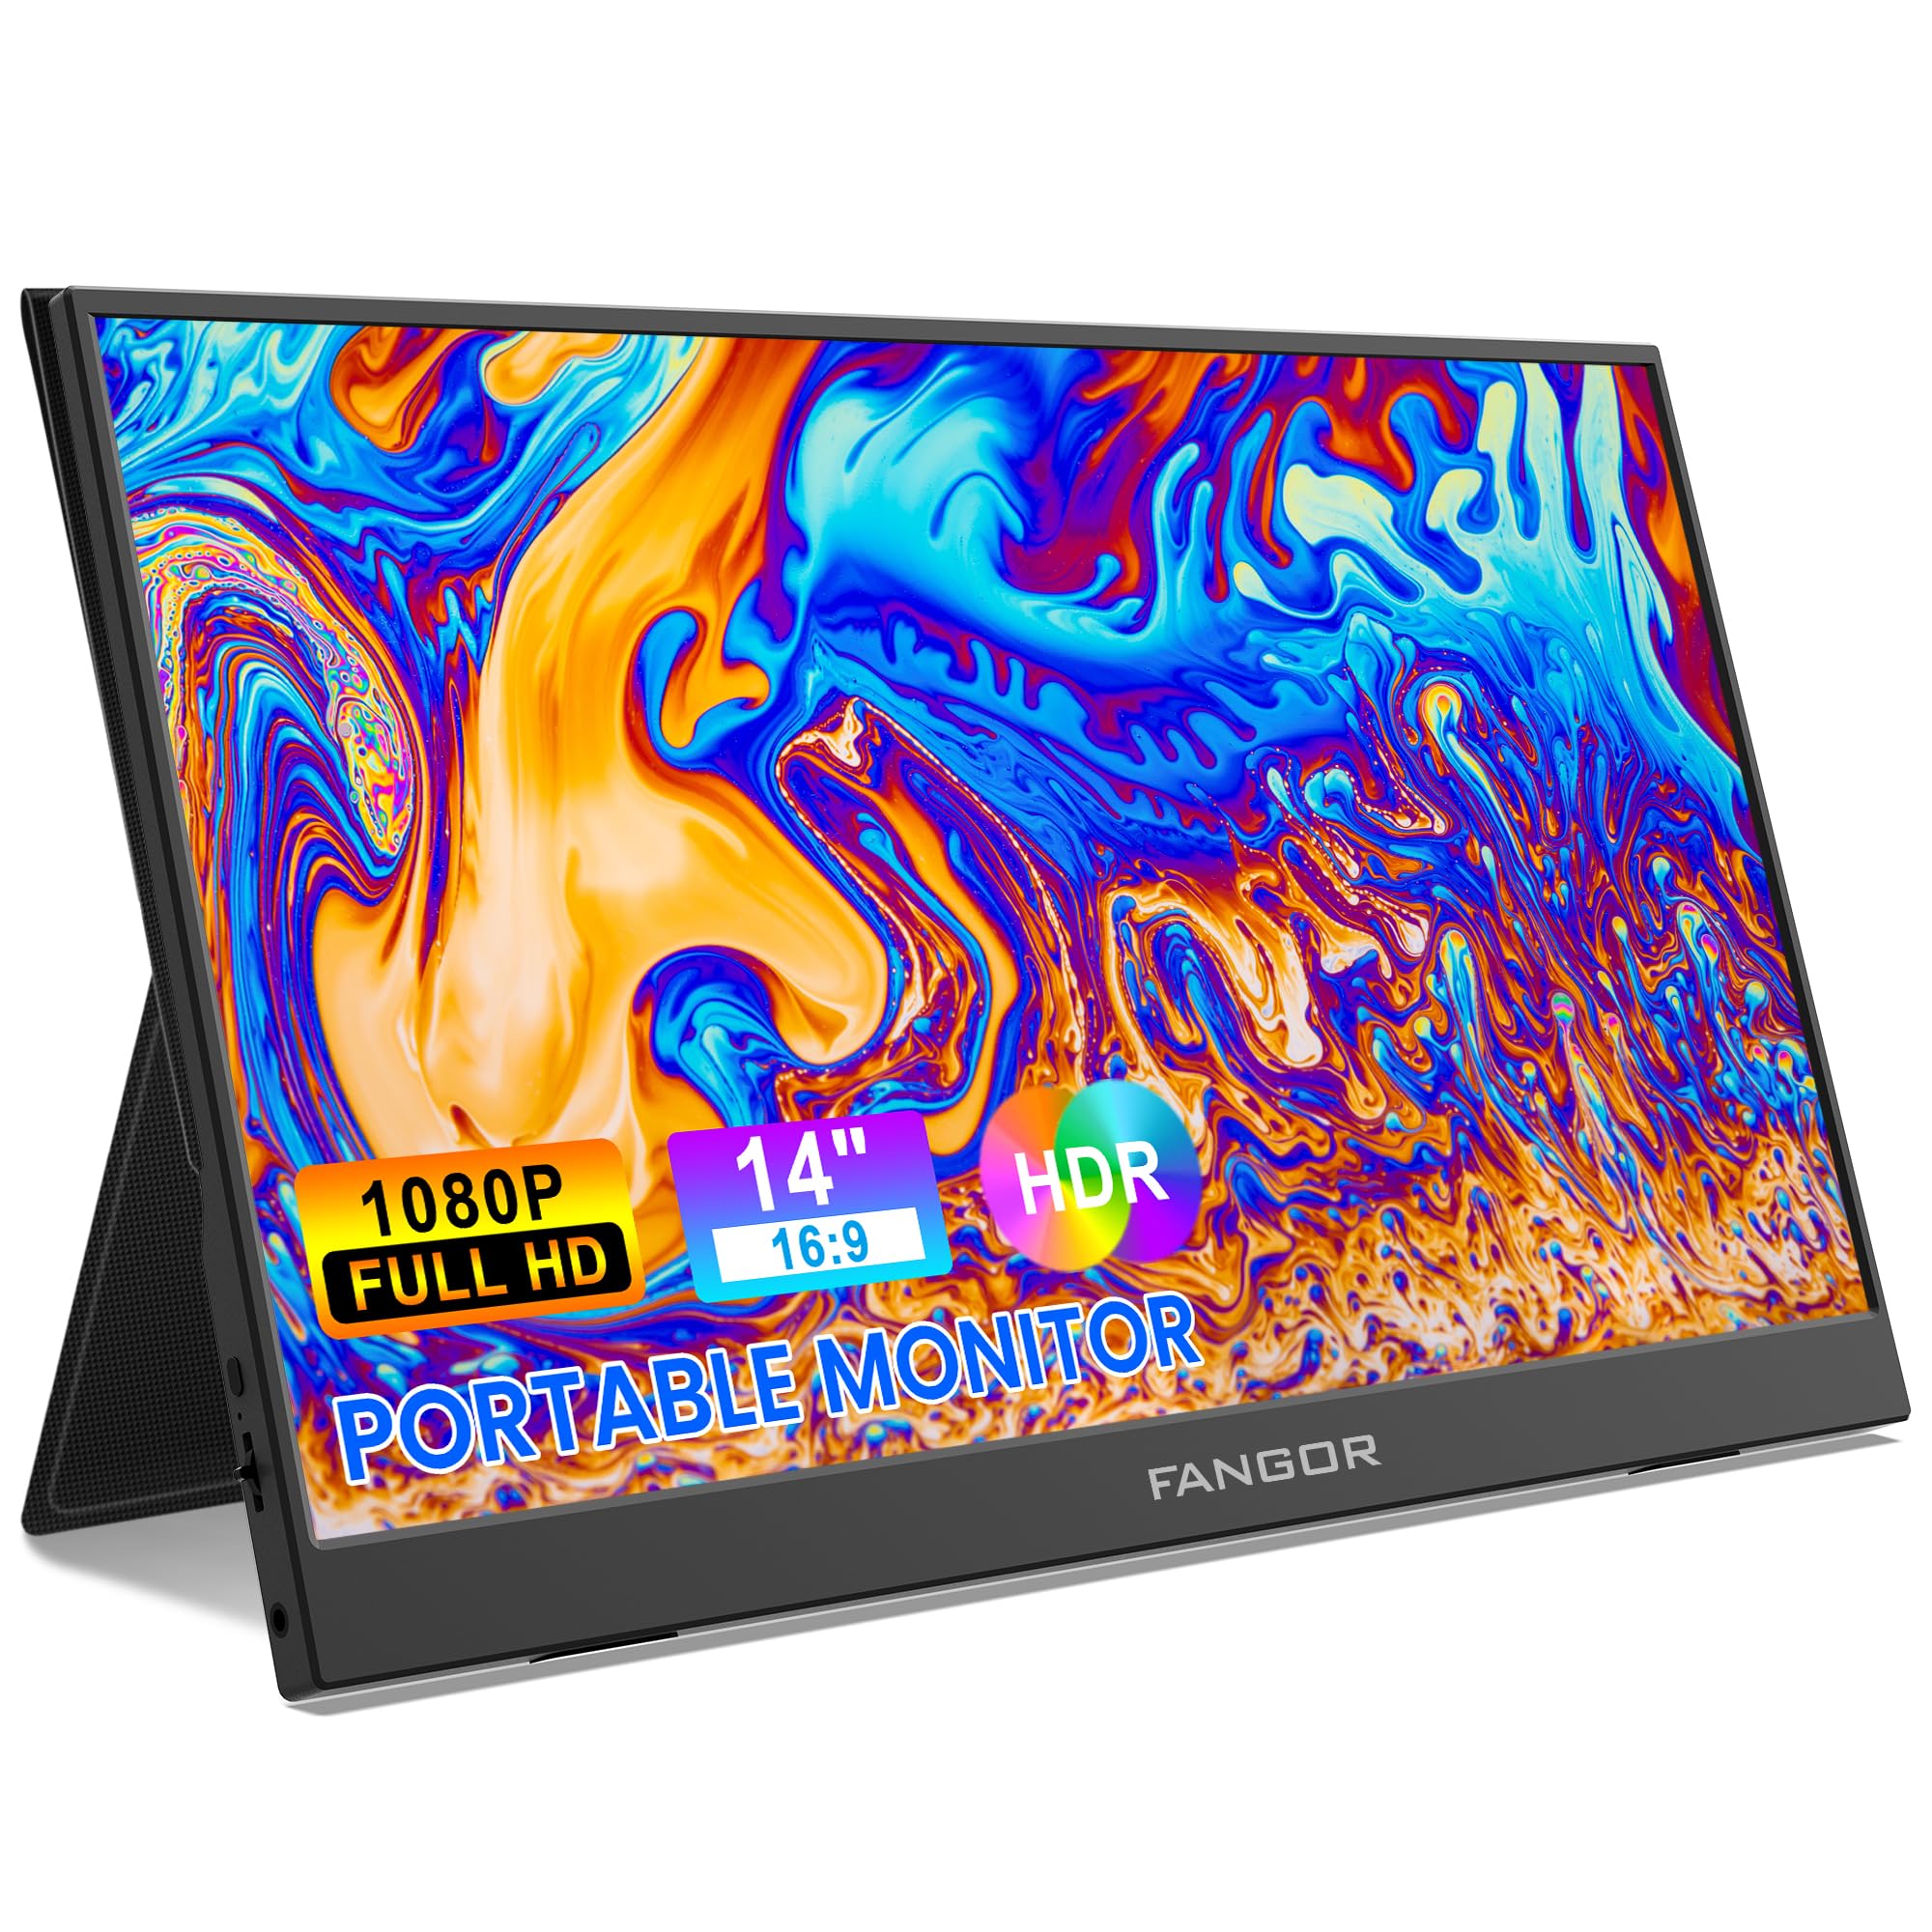
Image: FANGOR 15.6" Portable Monitor DH112222. This image displays the monitor with its smart cover, showcasing its slim profile and screen.
Ports and Buttons:
- USB-C Port (Full-featured): For power, video, and data transmission from compatible devices.
- Mini HDMI Port: For video input from devices using an HDMI cable.
- 3.5mm Audio Jack: For connecting external headphones or speakers.
- Power Button / OSD Menu Button: Press and hold to power on/off. Press to access the On-Screen Display (OSD) menu.
- Volume / Navigation Buttons: Used to adjust volume or navigate through the OSD menu.
- Built-in Speakers: Located on the sides or rear of the monitor.
Note: A visual diagram showing the exact location of each port and button would typically be included here.
Setup Instructions
1. Setting up the Smart Cover:
- Unfold the smart cover to form a triangular stand.
- Place the monitor into the grooves of the stand to achieve the desired viewing angle.
Note: An illustration demonstrating how to fold the smart cover into a stand would be beneficial here.
2. Connecting to a Power Source:
The monitor requires power to operate. It can be powered via USB-C.
- Connect one end of the USB-C to USB-C cable to the monitor's full-featured USB-C port.
- Connect the other end to a power adapter (5V/3A or higher recommended) or a compatible device's USB-C port that supports power delivery.
- Alternatively, use the USB-A to USB-C cable with a power adapter.
Note: A diagram showing power connection options would be helpful.
Operating Instructions
Connecting to Devices:
The FANGOR DH112222 supports various devices via USB-C and HDMI.
1. Connecting to a Laptop/PC (USB-C):
For laptops/PCs with a full-featured USB-C port (supporting DisplayPort Alternate Mode and Power Delivery):
- Connect one end of the USB-C to USB-C cable to the monitor's full-featured USB-C port.
- Connect the other end to the laptop's full-featured USB-C port.
- The monitor should automatically detect the signal and display the screen. If not, ensure the laptop's display settings are configured for an external monitor (e.g., Extend, Duplicate).
Note: Some laptops may require an external power source for the monitor if their USB-C port does not provide sufficient power.
2. Connecting to a Laptop/PC (HDMI):
For laptops/PCs with an HDMI port:
- Connect one end of the HDMI to Mini HDMI cable to the monitor's Mini HDMI port.
- Connect the other end (HDMI) to the laptop's HDMI port.
- Ensure the monitor is powered via its USB-C port (using a USB-A to USB-C cable connected to a power adapter or a USB-C to USB-C cable connected to a power source).
- The monitor should automatically detect the signal. Adjust display settings on your PC if necessary.
3. Connecting to Gaming Consoles (PS4, Xbox, Switch):
Use the HDMI to Mini HDMI cable for video and a USB-C cable for power.
- Connect the monitor to a power source via USB-C.
- Connect the HDMI to Mini HDMI cable from the console's HDMI output to the monitor's Mini HDMI input.
- Power on the console and the monitor.
4. Connecting to Smartphones (USB-C):
For smartphones with a full-featured USB-C port (supporting DisplayPort Alternate Mode and Power Delivery):
- Connect one end of the USB-C to USB-C cable to the monitor's full-featured USB-C port.
- Connect the other end to the smartphone's USB-C port.
- The monitor will display the phone's screen. Some phones may offer a desktop mode.
Note: Not all smartphones support video output via USB-C. Check your phone's specifications.
On-Screen Display (OSD) Menu:
The OSD menu allows you to adjust various display settings.
- Press the Power/OSD button to open the OSD menu.
- Use the Volume/Navigation buttons to move up/down or left/right through the menu options.
- Press the Power/OSD button again to select an option or confirm a setting.
- To exit the OSD menu, navigate to the 'Exit' option or wait for the menu to time out.
Common OSD Menu Options: Brightness, Contrast, Color Temperature, Aspect Ratio, Input Source, Volume.
Maintenance
- Cleaning the Screen: Use a soft, lint-free cloth slightly dampened with water or a non-abrasive screen cleaner. Do not spray liquid directly onto the screen.
- Cleaning the Casing: Use a soft, dry cloth. Avoid harsh chemicals or abrasive materials.
- Storage: When not in use, store the monitor in its smart cover to protect the screen from scratches and dust. Avoid extreme temperatures and humidity.
- Handling: Always handle the monitor by its edges. Avoid applying pressure to the screen.
Troubleshooting
| Problem | Possible Solution |
|---|---|
| No signal / Black screen |
|
| No sound from speakers |
|
| Screen flickering or unstable image |
|
| Monitor not powering on |
|
Specifications
| Feature | Detail |
|---|---|
| Model Number | DH112222 |
| Screen Size | 15.6 Inches |
| Resolution | FHD 1080p (1920 x 1080) |
| Display Type | LCD, IPS |
| Aspect Ratio | 16:9 |
| Refresh Rate | 60 Hz |
| Contrast Ratio | 1000:1 |
| Viewing Angle | 160 Degrees |
| Screen Finish | Glossy |
| Connectivity | HDMI, USB-C (full-featured), Mini HDMI |
| Audio | Built-In Speakers, 3.5mm Audio Jack |
| Product Dimensions | 38 x 28.5 x 45 cm |
| Item Weight | 612.35 g (1.35 Pounds) |
| Compatible Devices | Laptop, PC, Smartphone, XBOX, Switch, PS4 |
Safety Information
- Do not expose the monitor to rain or moisture to prevent fire or shock hazards.
- Do not open the monitor casing. Refer all servicing to qualified service personnel.
- Avoid placing the monitor near heat sources or in direct sunlight.
- Use only the power adapter and cables provided or recommended by the manufacturer.
- Keep the monitor away from strong magnetic fields.
Warranty and Support
For warranty information and technical support, please refer to the warranty card included with your product or visit the official FANGOR website. Keep your purchase receipt as proof of purchase for warranty claims.
For further assistance, contact FANGOR customer support through their official channels.