
1. Introduction
Thank you for choosing the Uten 10L Digital Air Fryer Oven. This versatile appliance is designed to provide a healthier and more efficient way to cook your favorite meals. Utilizing a 360-degree intelligent hot air circulation system, it ensures food is cooked evenly and thoroughly with significantly less oil, resulting in crispy exteriors and tender interiors.
This manual provides essential information for the safe and effective operation, maintenance, and troubleshooting of your new air fryer oven. Please read it thoroughly before first use and retain it for future reference.

Figure 1.1: Uten 10L Digital Air Fryer Oven in operation, showing fries cooking in the rotisserie basket.

Figure 1.2: The 360° Rapid Air Circulation system ensures efficient and healthy cooking.
2. Important Safety Instructions
When using electrical appliances, basic safety precautions should always be followed to reduce the risk of fire, electric shock, and injury to persons.
- Read all instructions before using the appliance.
- Do not touch hot surfaces. Use handles or knobs. Always use oven mitts or heat-resistant gloves when handling hot materials.
- To protect against electric shock, do not immerse cord, plugs, or the appliance body in water or other liquid.
- Close supervision is necessary when any appliance is used by or near children.
- Unplug from outlet when not in use and before cleaning. Allow to cool before putting on or taking off parts.
- Do not operate any appliance with a damaged cord or plug, or after the appliance malfunctions or has been damaged in any manner. Contact customer support for assistance.
- The use of accessory attachments not recommended by the appliance manufacturer may cause injuries.
- Do not use outdoors.
- Do not let cord hang over edge of table or counter, or touch hot surfaces.
- Do not place on or near a hot gas or electric burner, or in a heated oven.
- Extreme caution must be used when moving an appliance containing hot oil or other hot liquids.
- Always attach plug to appliance first, then plug cord into the wall outlet. To disconnect, turn any control to "off", then remove plug from wall outlet.
- Do not use appliance for other than intended use.
- The appliance has a circuit protection system: when the body temperature exceeds 240-250 degrees Celsius, it will automatically enter standby mode.
- Ensure adequate ventilation around the appliance during use. Maintain at least 10 cm of clear space on all sides.
3. Product Overview
3.1 Components and Accessories
The Uten 10L Digital Air Fryer Oven comes with several components and accessories designed to enhance your cooking experience.
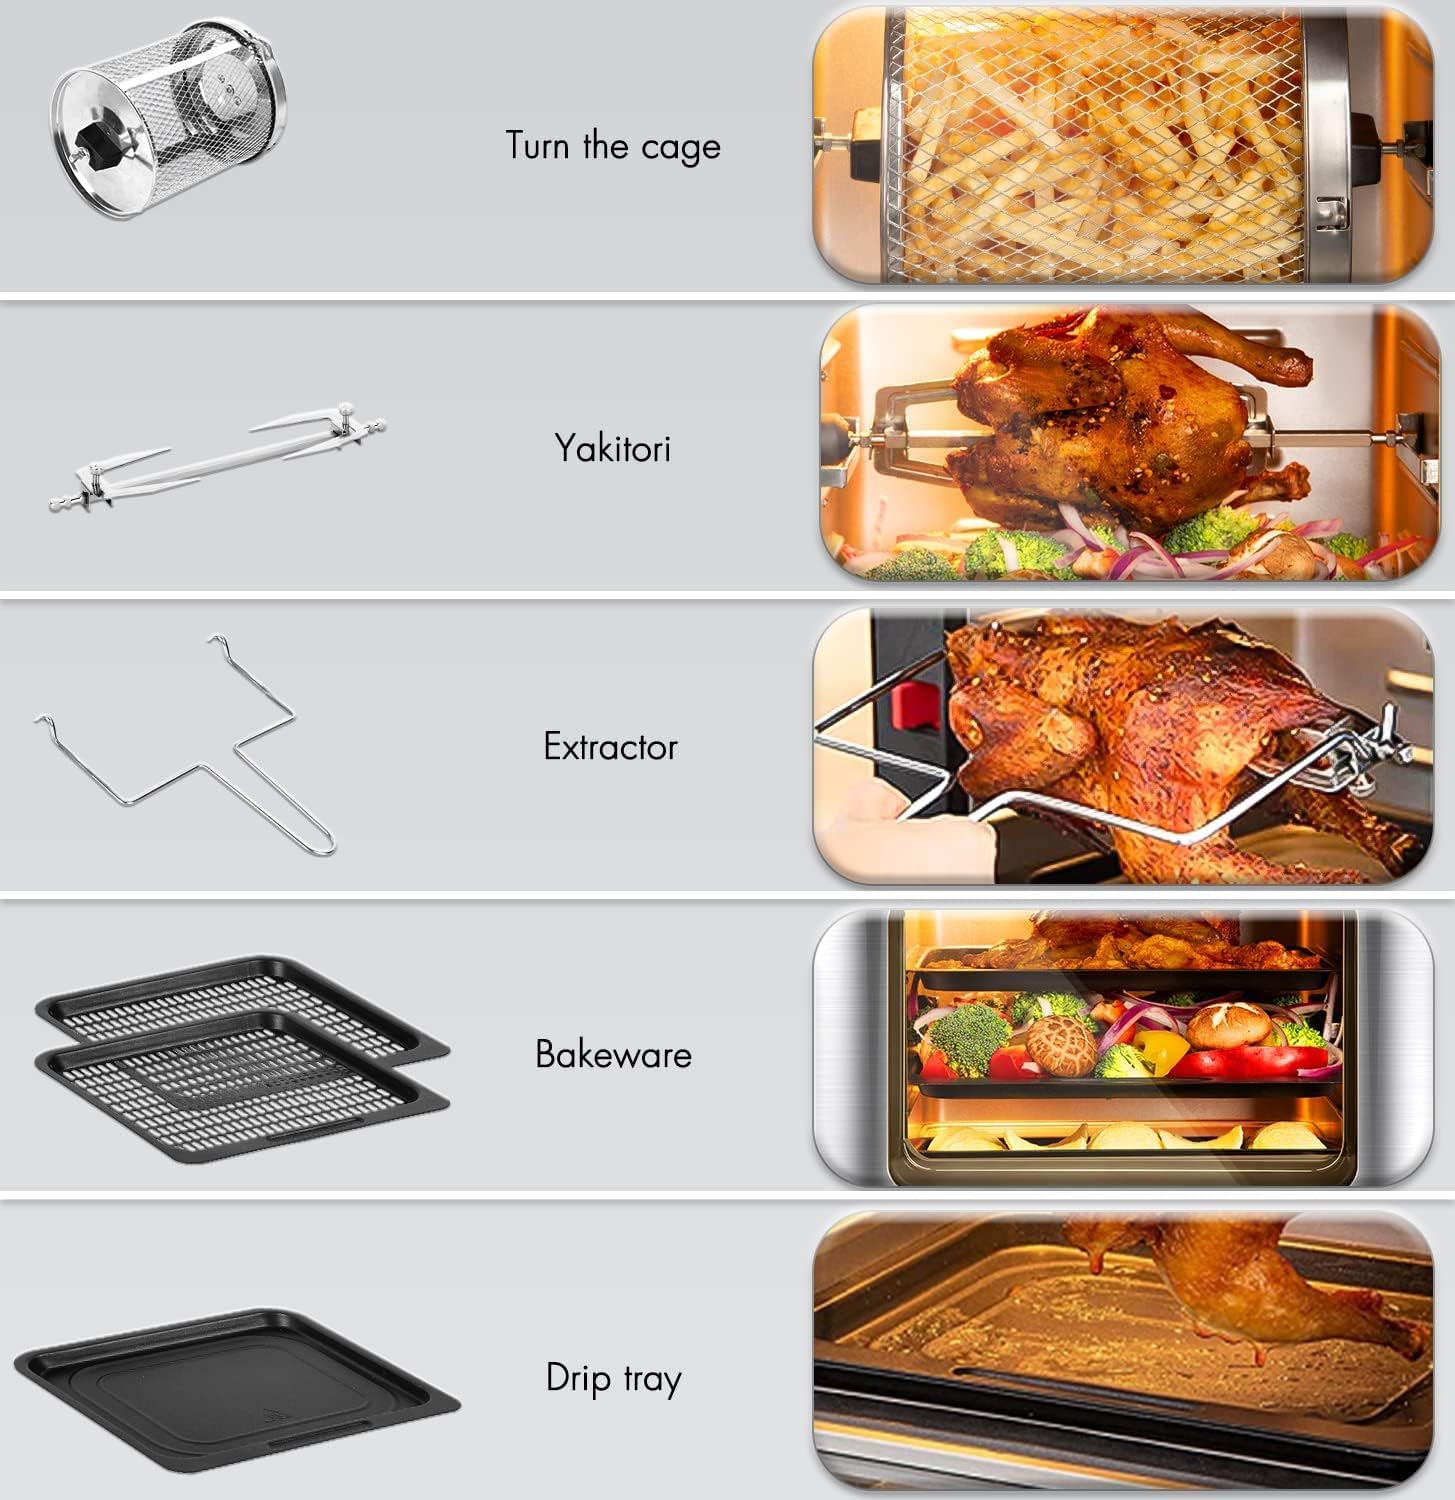
Figure 3.1: Included accessories for the Uten Air Fryer Oven.
- Rotating Mesh Basket: Ideal for fries, nuts, and other small items that benefit from tumbling.
- Rotisserie Fork (Yakitori): For roasting whole chickens or larger cuts of meat.
- Extractor Tool: Used to safely remove hot rotisserie items and the rotating basket.
- Bakeware Trays (2): For baking, roasting, or dehydrating on multiple levels.
- Drip Tray: Collects excess oil and food particles, making cleanup easier.
3.2 Control Panel
The intuitive LED touch screen and control knob allow for easy selection of cooking functions and precise adjustments.

Figure 3.2: Digital Control Panel with 12 automatic programs.

Figure 3.3: Key functions of the Digital Control Panel.
- 12 Preset Menus: Icons for various food types (e.g., fries, steak, fish, chicken wings, cake, pizza) for one-touch cooking.
- LED Display: Shows temperature, time, and selected program.
- SELECT Knob: Used to manually set temperature and time, and confirm selections.
- Power On/Off Button: To turn the appliance on or off.
- Light Button: Activates the interior light for monitoring cooking progress.
- Rotation Button: Controls the rotation of the rotisserie basket or spit.
- Reheat Button: For quickly reheating food.

Figure 3.4: Key features including the observation window and non-stick accessories.
4. Setup
4.1 Unpacking and Initial Cleaning
- Carefully remove all packaging materials from the air fryer oven and its accessories.
- Wipe the exterior of the appliance with a damp cloth.
- Wash all removable accessories (rotating basket, rotisserie fork, bakeware trays, drip tray) with warm, soapy water. Rinse thoroughly and dry completely. These accessories are dishwasher safe.
- Before first use, it is recommended to run the air fryer oven empty for about 10-15 minutes at 180°C (350°F) to burn off any manufacturing residues. A slight odor may be present, which is normal. Ensure good ventilation during this process.
4.2 Placement
- Place the air fryer oven on a stable, heat-resistant, and level surface.
- Ensure there is at least 10 cm (4 inches) of clear space on all sides of the appliance to allow for proper air circulation. Do not place it against a wall or under cabinets.
- Do not place the appliance on or near a hot gas or electric burner, or in a heated oven.
4.3 Power Connection
- Ensure the voltage of your power outlet matches the voltage specified on the appliance's rating label (230 Volts).
- Plug the power cord into a grounded wall outlet.
5. Operating Instructions
5.1 Basic Operation
- Power On: Plug in the appliance. The display will light up. Press the Power On/Off button to activate the control panel.
- Pre-heating: For best results, pre-heat the air fryer oven for 3-5 minutes before adding food. Set the desired temperature and time, then press the start button (often the SELECT knob).
- Loading Food: Place food into the appropriate accessory (basket, tray, or rotisserie spit). Do not overfill to ensure even cooking.
5.2 Using Preset Menus
The air fryer oven features 12 preset menus for common dishes, simplifying your cooking process.
- From the main display, touch the icon corresponding to your desired food type (e.g., fries, chicken wings, steak).
- The appliance will automatically set the optimal temperature and time for that preset.
- You can adjust the temperature and time manually using the SELECT knob if needed, after selecting a preset.
- Press the SELECT knob to start cooking.

Figure 5.1: The 12 One-Touch Cooking Functions simplify meal preparation.
5.3 Manual Temperature and Time Settings
For custom recipes or precise control, you can manually set the temperature and time.
- After powering on, use the SELECT knob to adjust the temperature (range: 80°C - 200°C for cooking, 25°C - 60°C for defrosting).
- Press the SELECT knob to switch to time adjustment. Use the knob to set the desired cooking time (range: 2-8 minutes for bread, 10-45 minutes for defrosting, general cooking times vary).
- Press the SELECT knob again to start cooking.
5.4 Special Functions
- Interior Light: Press the Light button to illuminate the interior, allowing you to monitor cooking progress without opening the door.
- Rotation Function: When using the rotating mesh basket or rotisserie spit, press the Rotation button to activate continuous rotation for even cooking.
- Multi-Level Cooking: The 10L capacity allows for cooking on multiple levels using the bakeware trays. Ensure adequate space for air circulation around food.
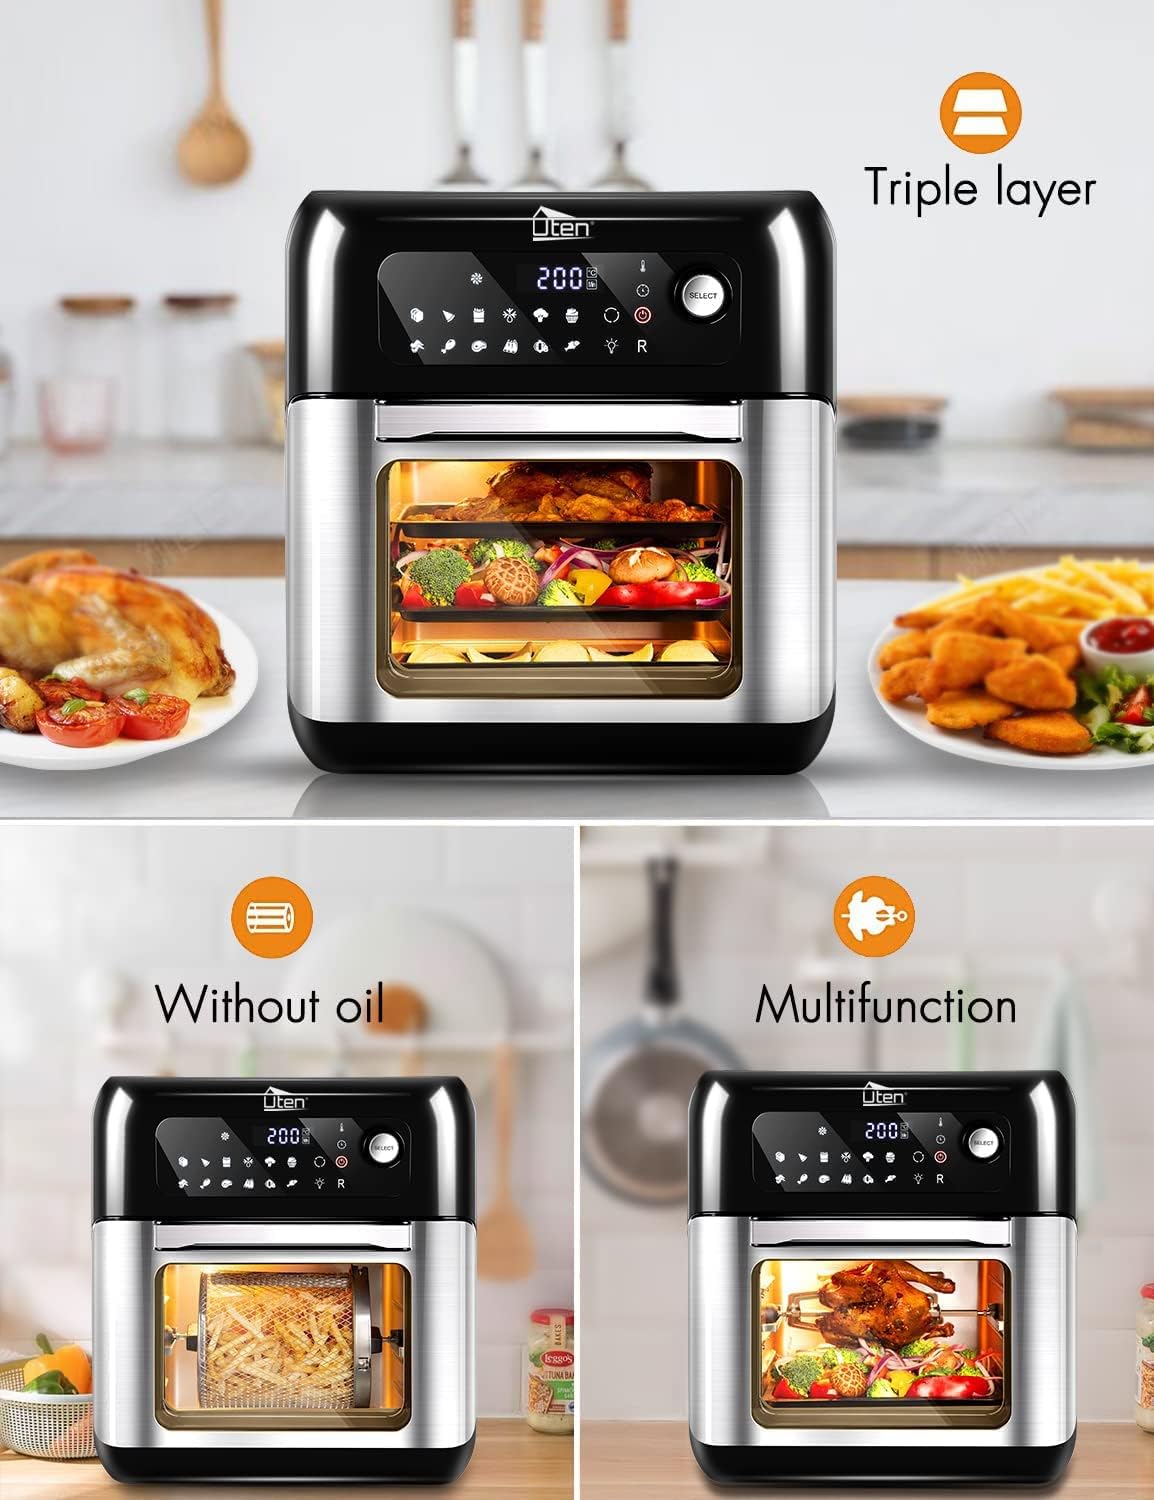
Figure 5.2: The triple-layer design allows for cooking multiple dishes simultaneously.

Figure 5.3: Simultaneous cooking on 2 or 3 levels.

Figure 5.4: Example of multi-rack cooking.
Important: The countdown timer will automatically close and provide a reminder when cooking is about to end.
6. Maintenance and Cleaning
Regular cleaning of your air fryer oven will ensure optimal performance and extend its lifespan.
- Always unplug the appliance from the power outlet and allow it to cool completely before cleaning.
- Exterior: Wipe the exterior with a soft, damp cloth. Do not use abrasive cleaners or scouring pads.
- Interior: Wipe the interior walls with a damp cloth and mild detergent. For stubborn food residue, a non-abrasive sponge can be used. Ensure the interior is completely dry before next use.
- Accessories: All removable accessories (rotating mesh basket, rotisserie fork, bakeware trays, drip tray) are dishwasher safe. For manual cleaning, wash with warm, soapy water, rinse, and dry thoroughly.
- Removable Tempered Glass Door: The double-layer heat-resistant tempered glass door can be removed for thorough cleaning. Refer to the product diagram for removal instructions (if applicable, otherwise general statement).
- Heating Element: Gently clean the heating element with a soft brush to remove any food particles. Do not use water or liquid cleaners directly on the heating element.
- Storage: Store the clean and dry air fryer oven in a cool, dry place.

Figure 6.1: Accessories are dishwasher safe for easy cleaning.
7. Troubleshooting
If you encounter any issues with your Uten Air Fryer Oven, please refer to the following common problems and solutions:
| Problem | Possible Cause | Solution |
|---|---|---|
| Appliance does not turn on. | Not plugged in; power outlet malfunction; appliance malfunction. | Ensure the power cord is securely plugged into a working outlet. Check the circuit breaker. If the issue persists, contact customer support. |
| Food is not cooked evenly. | Overcrowding the basket/trays; insufficient shaking/turning; incorrect temperature/time. | Do not overcrowd the cooking space. Cook in smaller batches if necessary. Shake the basket or turn food on trays halfway through cooking. Adjust temperature and time as needed. |
| Food is not crispy. | Too much moisture; not enough oil (for certain foods); low temperature. | Pat food dry before air frying. A light coating of oil can help achieve crispiness for some foods. Increase temperature slightly or extend cooking time. Ensure proper air circulation. |
| White smoke coming from the appliance. | Grease residue from previous use; high-fat food cooking. | Clean the drip tray and interior thoroughly after each use. For high-fat foods, place a small amount of water in the drip tray to prevent smoke. |
| Appliance automatically shuts off during operation. | Overheating protection activated. | This is a safety feature. Unplug the appliance and allow it to cool down for at least 30 minutes. Check for proper ventilation around the unit. Plug back in and resume operation. |
If the problem persists after trying these solutions, please contact Uten customer support for further assistance.
8. Specifications
Technical specifications for the Uten 10L Digital Air Fryer Oven (Model: TXG-TM10L):
| Feature | Detail |
|---|---|
| Brand | Uten |
| Model Number | TXG-TM10L |
| Colour | Black, Stainless Steel |
| Product Dimensions | 33 x 30 x 36 cm (D x W x H) |
| Capacity | 10 litres |
| Power / Wattage | 1500 watts |
| Voltage | 230 Volts |
| Material | Tempered Glass (door) |
| Special Features | Programmable, Temperature Control, LED Touch Screen, 12 Preset Menus, Interior Light, Rotation Function |
| Item Weight | 7.3 kg |
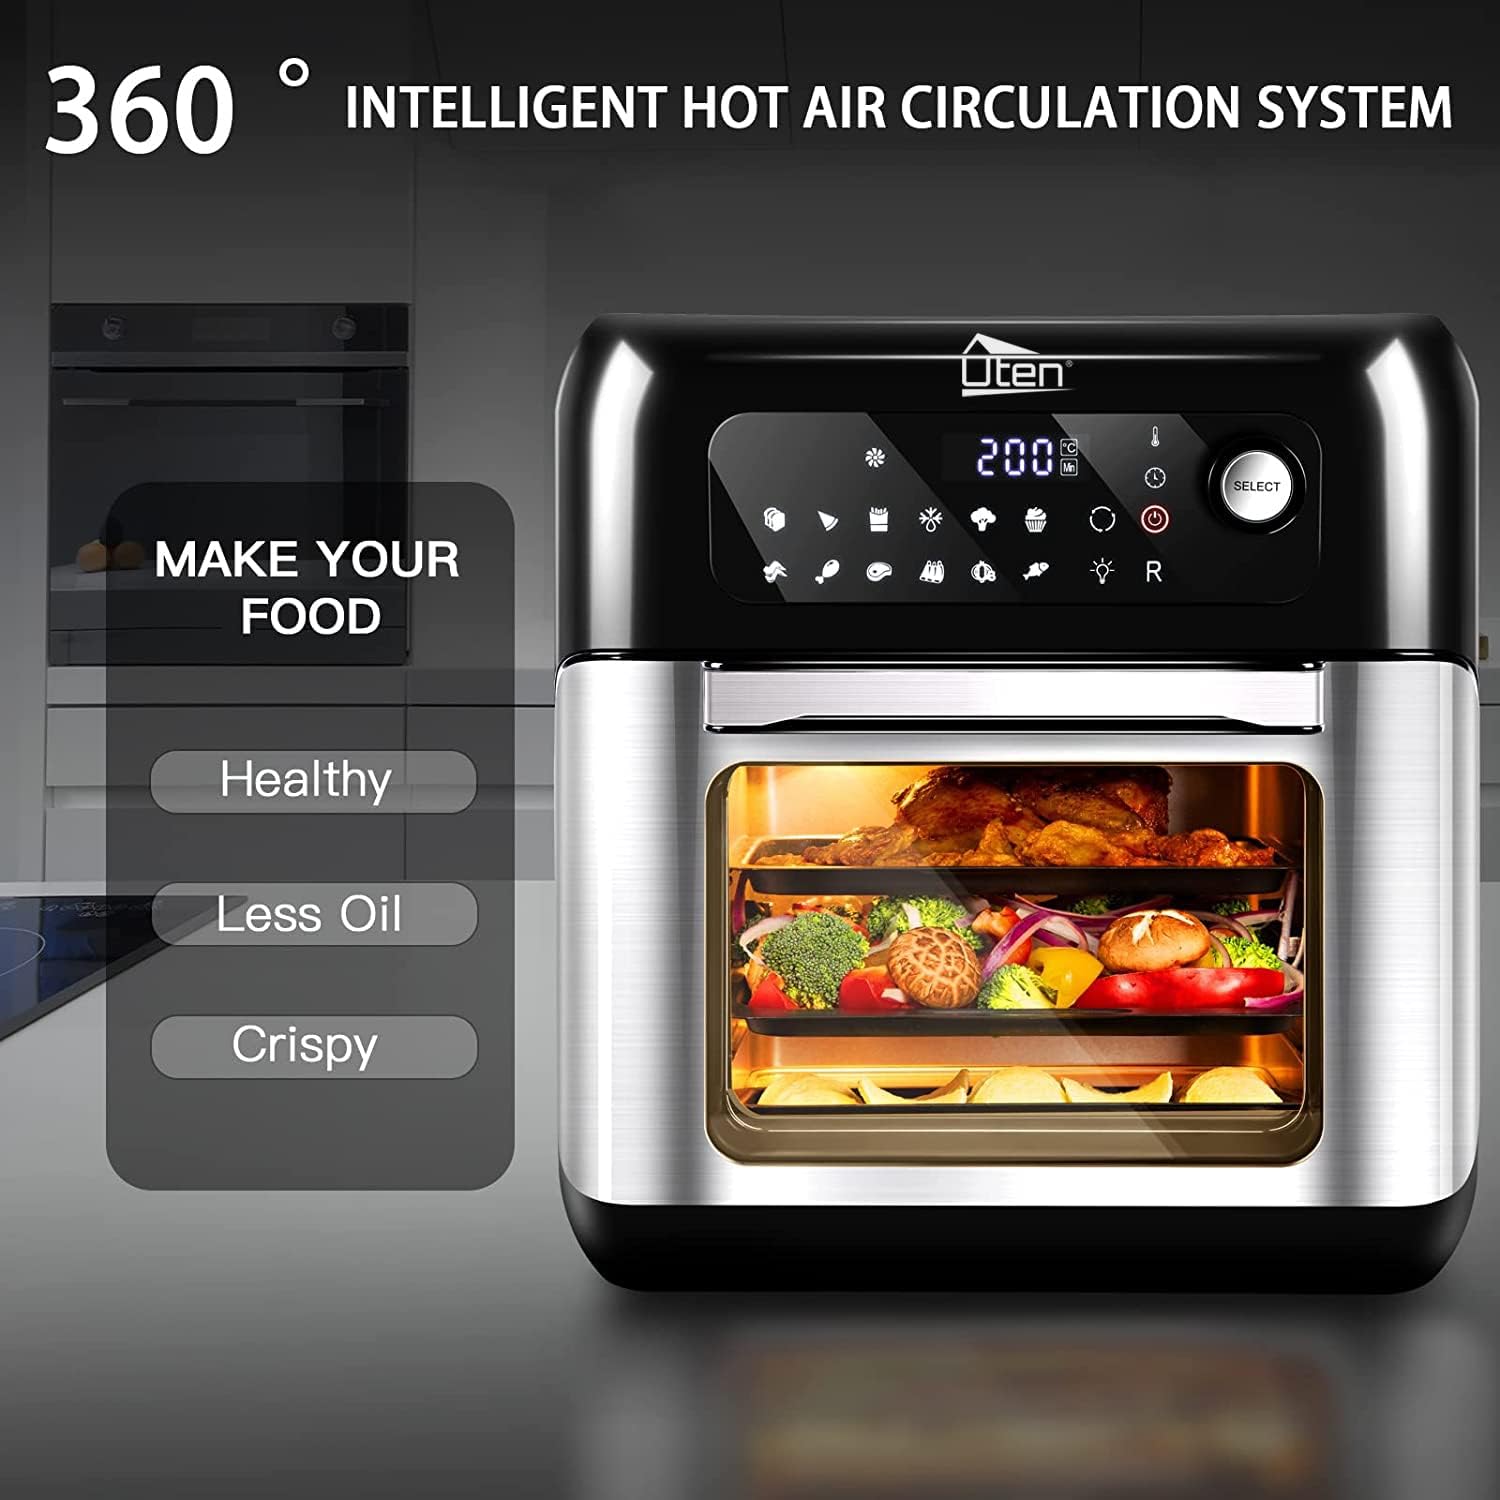
Figure 8.1: Product dimensions and 10-liter capacity.
9. Warranty and Support
Uten products are manufactured to high-quality standards. For information regarding warranty coverage, please refer to the warranty card included with your purchase or visit the official Uten website.
For technical support, troubleshooting assistance beyond what is provided in this manual, or to inquire about replacement parts, please contact Uten customer service. Contact details can typically be found on the Uten brand store page or on the product packaging.
Visit the official Uten Store for more information: Uten Store on Amazon.co.uk


