
Bolatus Vx923
Bolatus Bicycle Gear Shift Cable Set User Manual
Model: Vx923
Brand: Bolatus
1. Introduction
This manual provides essential information for the proper installation, operation, and maintenance of your Bolatus Bicycle Gear Shift Cable Set. This set is designed for use with various bicycle types, including mountain bikes and road bikes, to ensure smooth and precise gear shifting.
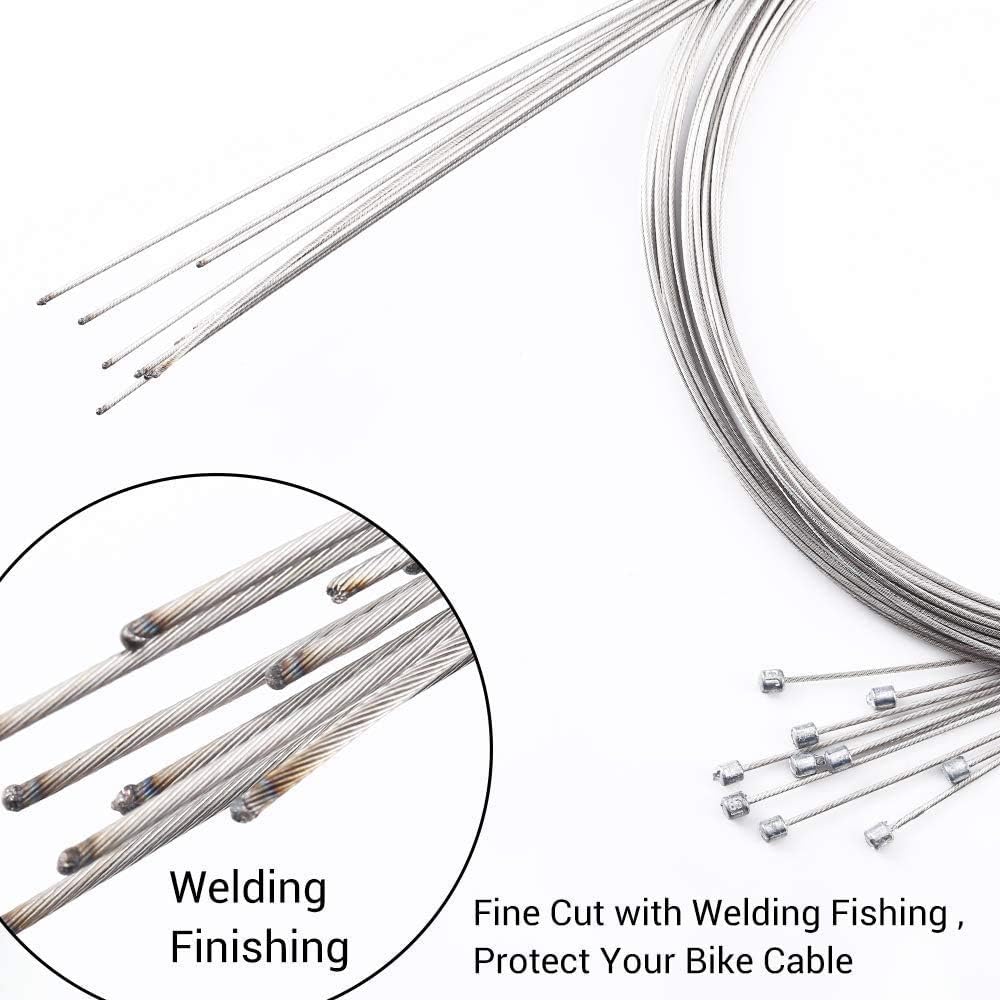
The cables are constructed from high-quality galvanised steel, offering durability and reliable performance for your bicycle's speed control system. Please read this manual thoroughly before installation to ensure correct usage and to prevent damage.
2. Package Contents
Verify that all components listed below are present in your package:
- 12 x Gear Shift Cables (2.1 meters in length each)
- 12 x Cable End Caps
- 36 x Cable End Ferrules (suitable for 1.2mm - 1.5mm diameter cables)


3. Setup and Installation
Proper installation of the gear shift cables is crucial for optimal performance. If you are unsure about any step, it is recommended to seek assistance from a qualified bicycle mechanic.
- Remove Old Cable: Carefully remove the existing gear shift cable from your bicycle's shifter and derailleur. Note the routing path of the old cable for reference.
- Prepare New Cable: Select a new Bolatus gear shift cable. Ensure the barrel end of the cable is suitable for your shifter type. The cables are 2.1 meters long and can be cut to the required length.
- Route Cable: Thread the new cable through the shifter mechanism and along the bicycle frame, following the original cable routing. Ensure the cable moves freely without kinks or excessive bends.
- Install Ferrules: Place the appropriate cable end ferrules onto the cable housing ends where they enter cable stops on the frame or components. These ferrules protect the cable and housing from wear.
- Secure to Derailleur: Pass the cable through the derailleur's cable anchor bolt. Pull the cable taut and secure it firmly with the anchor bolt, ensuring there is no slack.
- Adjust Length: Once the cable is secured and tensioned, cut any excess cable length using a sharp cable cutter. Leave sufficient length for future adjustments.
- Apply End Cap: Crimp a cable end cap onto the freshly cut end of the cable. This prevents fraying and provides a neat finish.

4. Operating Instructions
After installation, perform the following steps to ensure proper gear shifting:
- Initial Adjustment: With the cable installed, shift through all gears to check for proper indexing. Make small adjustments to the derailleur's barrel adjuster to fine-tune cable tension until shifts are crisp and accurate.
- Cable Stretch: New cables may experience some initial stretch. After a few rides, re-check the gear indexing and make any necessary adjustments to the barrel adjuster.
- Smooth Operation: The galvanised steel construction of these cables ensures smooth operation. If you experience stiff shifting, check for proper cable routing and ensure no debris is obstructing the cable path.

5. Maintenance
Regular maintenance will extend the lifespan and performance of your Bolatus gear shift cables:
- Cleaning: Periodically clean the exposed sections of the cables and cable housings to remove dirt and grime.
- Lubrication: Apply a small amount of bicycle-specific cable lubricant to the exposed cable sections and where the cable enters the housing. This reduces friction and improves shifting performance.
- Inspection: Regularly inspect the cables for any signs of fraying, corrosion, or damage. Replace cables immediately if any damage is observed to prevent shifting issues or potential safety hazards.
- End Caps and Ferrules: Ensure that all cable end caps and ferrules are securely in place. Replace any missing or damaged components.
6. Troubleshooting
Refer to the table below for common issues and their solutions:
| Problem | Possible Cause | Solution |
|---|---|---|
| Difficulty shifting gears | Incorrect cable tension, dirty/corroded cable, frayed cable, worn housing | Adjust barrel adjuster, clean and lubricate cable, replace cable/housing if damaged |
| Gears skip or jump | Cable stretch, incorrect derailleur limit screw settings | Re-adjust cable tension, check and adjust derailleur limit screws |
| Cable fraying at ends | Missing or loose end cap, improper cutting | Install or re-crimp end cap, ensure clean cut during installation |
7. Specifications
| Feature | Detail |
|---|---|
| Product Name | Bolatus Bicycle Gear Shift Cable Set |
| Model Number | Vx923 |
| Material | Galvanised Steel |
| Cable Length | 2.1 meters (2100mm) per cable |
| Cable Diameter (approx.) | 1.2mm (for ferrules) |
| Color | Silver |
| Package Weight | Approximately 170 g |
| Compatibility | Most common bikes, Mountain bikes, City bikes (barrel-ended shift cables) |
8. Safety Information
- Always wear appropriate safety gear, such as gloves and eye protection, when working with bicycle components.
- Use proper tools for cutting and crimping cables to ensure clean cuts and secure connections.
- Keep small parts, such as cable end caps and ferrules, away from young children to prevent choking hazards.
- Ensure all components are installed correctly and securely before riding your bicycle. Improper installation can lead to shifting malfunctions and potential accidents.
- If you are unsure about any installation or maintenance procedure, consult a professional bicycle mechanic.
9. Warranty and Support
Bolatus products are manufactured to high-quality standards. For any questions regarding installation, troubleshooting, or product information, please contact Bolatus customer support through your retailer or the official Bolatus website. Please retain your proof of purchase for any warranty claims.
Ask a question about this manual
Ask about setup, troubleshooting, compatibility, parts, safety, or missing instructions. Manuals+ will review the question and use this page’s manual context to help answer it.