1. Introduction
Thank you for choosing the ASIAHORSE WD-001 Series 120mm ARGB Case Fan. This manual provides detailed instructions for the proper installation, operation, and maintenance of your new computer cooling fans. Please read this manual thoroughly before installation and retain it for future reference.
2. Product Features
- Integrated ARGB Controller: Ideal for compact PC cases or motherboards lacking dedicated ARGB headers. Offers 100 preset color options (including red, green, blue, white, rainbow 1.0, rainbow 2.0), 8 selectable LED modes (wave, full light, RGB spectrum, off, flow, ripple, pulse, blink), and 4 adjustable LED speeds for customizable lighting.
- Motherboard ARGB Synchronization: Features 12 addressable LEDs with 16.8 million colors, providing balanced lighting coverage and brightness. Compatible with 5V addressable RGB motherboards and mainstream motherboard software for synchronized lighting control.
- Durable Gold Wire LED Beads: Utilizes gold wire material for LED beads to enhance durability, effectively reducing LED exhaustion and maintaining optimal brightness over extended periods.
- Optimized 9-Blade Fan Design: Engineered for balanced airflow and static pressure. The notched design of each 120mm fan blade edge reduces wind noise, providing up to 53.38 CFM of airflow, suitable for case or radiator applications.
- Low Noise Operation: Designed for quiet performance, with noise levels ranging from 16dB to 34.3dB.
- Anti-Vibration Foot Pads: Equipped with shock absorbers to minimize vibration and further reduce operational noise.
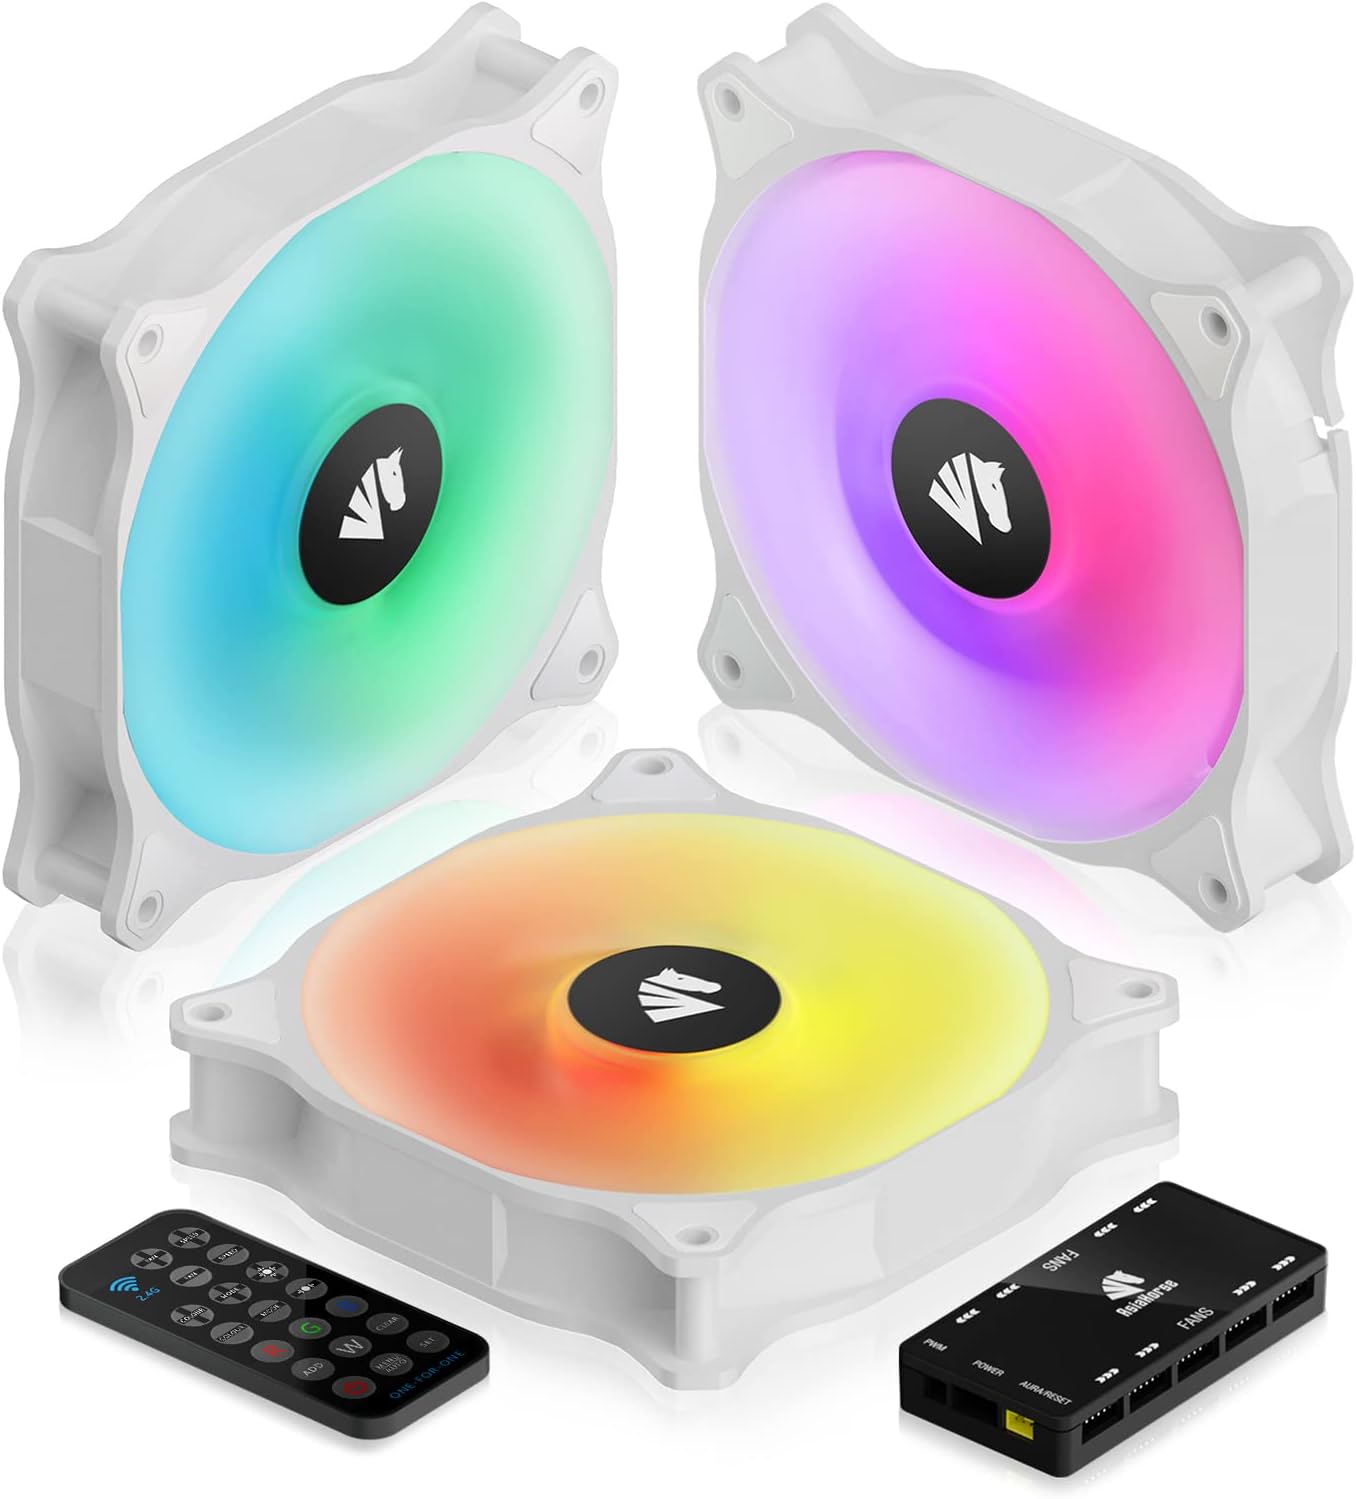
Figure 1: ASIAHORSE WD-001 Series 120mm ARGB Case Fans with Controller.

Figure 2: Detailed view of the 9-blade fan design.

Figure 3: Illustration of the fan's low noise operation.

Figure 4: Anti-vibration foot pads for reduced noise.
3. Package Contents
Verify that all components are present in your package:
- ASIAHORSE WD-001 120mm ARGB Case Fans (Quantity as per pack)
- ARGB Controller Hub
- Wireless Remote Control
- Mounting Screws
- SATA Power Cable
- Motherboard ARGB Sync Cable (3-pin, 5V)
- Quick Install Guide

Figure 5: Complete package contents of the WD-001 fan kit.
4. Setup and Installation
Follow these steps to install your ASIAHORSE WD-001 fans:
- Mount Fans: Securely mount the 120mm fans to your PC case or radiator using the provided mounting screws. Ensure correct airflow direction (typically, the side with the fan frame/support structure is the exhaust side).
- Connect Fans to Controller: Connect each fan's proprietary cable to the 'FANS' ports on the ARGB Controller Hub. Note that these are proprietary connections and cannot be used with other hubs.
- Connect Controller to Power: Connect the SATA power cable from your power supply unit (PSU) to the 'POWER' port on the ARGB Controller Hub. Ensure a secure connection.
- Motherboard ARGB Sync (Optional): If your motherboard supports 5V ARGB (3-pin header), connect the included motherboard ARGB sync cable from the 'AURA/RESET' port on the controller to your motherboard's 5V ARGB header. This allows software control of lighting.
- Motherboard PWM Sync (Optional): Connect the PWM cable from the controller to a PWM fan header on your motherboard. This allows the motherboard to control fan speed based on system temperature.
Important Installation Notes:
- The fan hub uses proprietary connections. Do not attempt to connect these fans directly to standard fan headers or other brand hubs.
- For motherboard detection and control, ensure fans are plugged into the hub starting from the right corner after the ARGB plug, with the hub logo facing up.
- If using multiple hubs, ensure all necessary SATA power connections are made as per the controller's design.
Video 1: ASIAHORSE WD-001 120mm ARGB Case Fans Installation Guide. This video demonstrates the physical installation and wiring of the fans and controller.

Figure 6: Overview of the fan hub and remote control connections.
5. Operating Instructions
Using the Wireless Remote Control:
The included wireless remote control allows for easy adjustment of fan speed and lighting effects.
- Power On/Off: Use the designated power button to turn the fan lighting on or off.
- Color Selection: Choose from 100 preset color options, including static colors and various rainbow effects.
- LED Modes: Select from 8 distinct LED modes (e.g., wave, full light, RGB spectrum, flow, ripple, pulse, blink).
- LED Speed Adjustment: Adjust the speed of dynamic lighting effects across 4 levels.
- Fan Speed Adjustment: Control the fan's rotational speed.
- Motherboard Sync Activation: To switch RGB control to your motherboard software, double-tap the power button on the remote. To set fans to PWM mode, press the 'W' button three times on the remote.
Motherboard Software Control:
If connected to a 5V ARGB header on your motherboard, you can control the fan lighting and speed through your motherboard's native RGB software (e.g., ASUS Aura Sync, MSI Mystic Light Sync, GIGABYTE RGB Fusion, ASRock Polychrome Sync).
- Ensure the motherboard sync cable is correctly connected.
- Activate motherboard control via the remote (double-tap power button).
- Open your motherboard's RGB software to customize lighting effects and fan speeds.
Video 2: Demonstration of AsiaHorse WD-001 ARGB Fans showcasing various lighting effects.
Video 3: A closer look at the AsiaHorse WD-001 case fan in white, highlighting its illumination.

Figure 7: Illustration of software control for ARGB lighting synchronization.
6. Maintenance
Regular maintenance ensures optimal performance and longevity of your fans:
- Dust Removal: Periodically clean the fan blades and grilles using compressed air or a soft brush to prevent dust buildup, which can impede airflow and increase noise.
- Cable Management: Ensure all cables are neatly routed and secured to prevent interference with fan blades or other components.
- Inspection: Occasionally inspect fan cables for any signs of wear or damage.
7. Troubleshooting
If you encounter issues with your ASIAHORSE WD-001 fans, refer to the following common solutions:
- Fans Not Spinning:
- Check if the SATA power cable is securely connected to both the fan hub and the PSU.
- Ensure all fan cables are properly connected to the fan hub.
- Verify that the fan hub is receiving power.
- RGB Lighting Not Working/Syncing:
- Ensure the motherboard ARGB sync cable (3-pin, 5V) is correctly connected to both the fan hub and the motherboard.
- If using the remote, ensure it's not in motherboard sync mode (double-tap power button to toggle).
- If using motherboard software, ensure the software is running and correctly configured for the ARGB header.
- Confirm that the fan hub is receiving power.
- Fans Not Detected by Motherboard (for speed control):
- Ensure the PWM cable from the controller is connected to a PWM fan header on your motherboard.
- In the remote control, press the 'W' button three times to enable PWM mode.
- Check your motherboard's BIOS/UEFI settings to ensure the fan header is configured for PWM control.
- Verify that the fans are plugged into the hub in the correct order, starting from the right corner after the ARGB plug, with the hub logo facing up, as this can affect motherboard detection.
- Excessive Noise/Rattling:
- Check for any cables or obstructions touching the fan blades.
- Ensure mounting screws are tightened securely.
- Clean any dust buildup on the fan blades.
- If rattling persists, it may indicate a mechanical issue with the fan bearing.
8. Specifications
| Feature | Specification |
|---|---|
| Product Dimensions | 4.7"L x 4.7"W x 4.7"H (120mm x 120mm x 120mm) |
| Brand | AsiaHorse |
| Model Number | WD-001 |
| Power Connector Type | 3-Pin (Proprietary to Hub) |
| Voltage | 5 Volts (DC) |
| Wattage | 1.8 watts |
| Cooling Method | Air |
| Compatible Devices | Desktop Computers |
| Noise Level | 24.2 Decibels (typical, range 16-34.3dB) |
| Material | Plastic |
| Maximum Rotational Speed | 1800 RPM |
| Air Flow Capacity | 57.8 Cubic Feet Per Minute (CFM) |

Figure 8: Fan dimensions (120mm x 120mm).
9. Safety Information
Please observe the following safety precautions:
- Always disconnect power from your computer before installing or performing maintenance on any internal components.
- Handle components with care to avoid damage.
- Ensure proper grounding to prevent electrostatic discharge (ESD) damage.
- Keep small parts and packaging materials away from children.
10. Warranty and Support
For warranty information and technical support, please refer to the official AsiaHorse website or contact their customer service. Keep your purchase receipt as proof of purchase.


