
1. Introduction
This manual provides essential information for the safe and effective operation of your BAYBEE 6-in-1 Baby Bottle Warmer & Sterilizer. Please read these instructions thoroughly before first use and retain them for future reference.
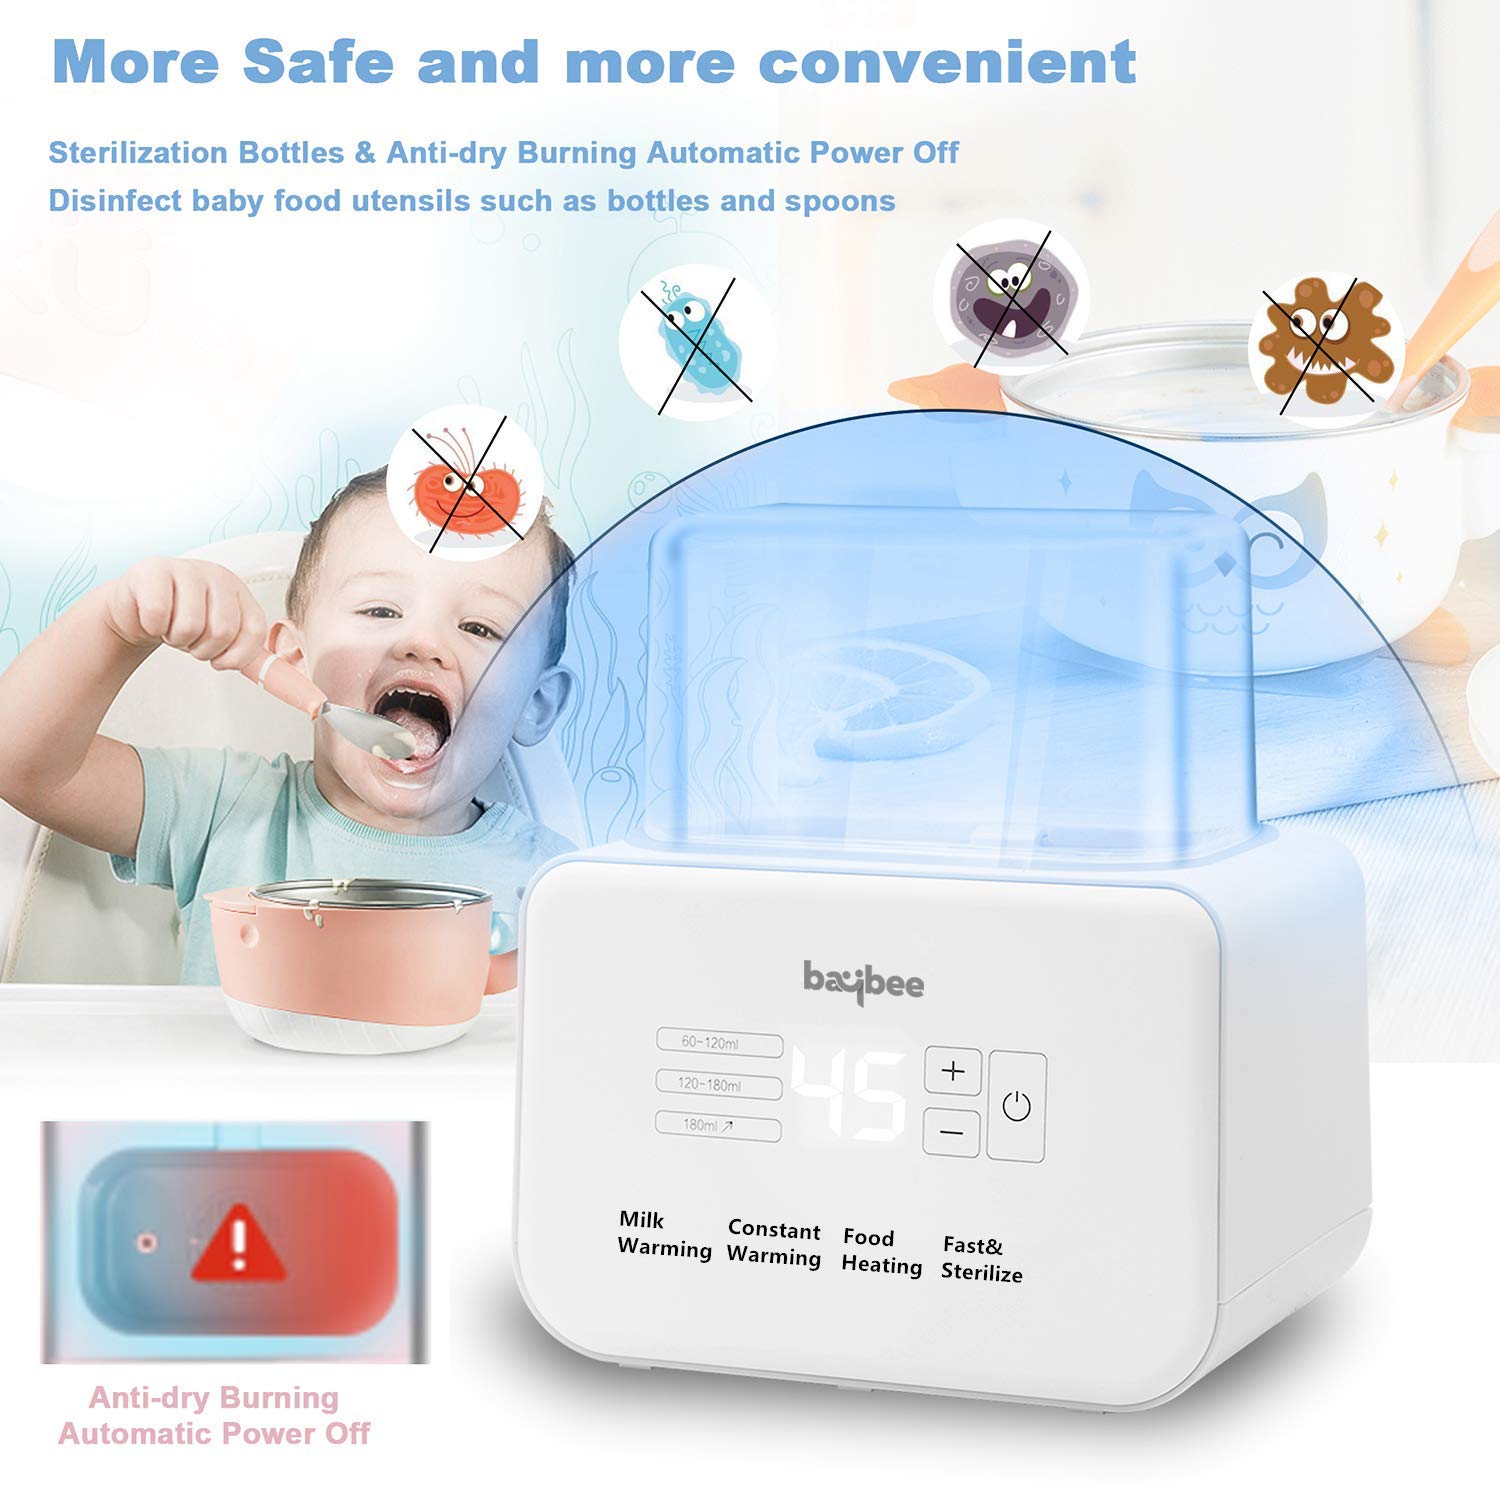
The BAYBEE 6-in-1 device is designed to simplify baby feeding routines by offering multiple functions: instant defrosting, food heating, baby bottle sterilization, constant warming, and fast warming for milk and water.
2. Safety Information
- Always keep the appliance out of reach of children.
- Do not immerse the main unit in water or other liquids.
- Ensure the power cord is not damaged and is kept away from hot surfaces.
- Use only distilled water for sterilization to prevent mineral buildup.
- Exercise caution when handling hot bottles, baskets, or steam. Always use the anti-scalding basket provided.
- Unplug the appliance when not in use and before cleaning.
- Do not operate the appliance if it is damaged or malfunctioning. Contact customer support for assistance.
- This appliance is for household use only.
3. Package Contents
Verify that all items are present in the package:
- BAYBEE 6-in-1 Baby Bottle Warmer & Sterilizer Main Unit
- Lid
- Anti-Scald Basket
- Measuring Cup
- Instruction Manual
4. Setup
- Unpack all components and remove any packaging materials.
- Wipe the main unit with a damp cloth. Wash the lid, anti-scald basket, and measuring cup with warm soapy water, then rinse thoroughly.
- Place the warmer on a stable, flat, heat-resistant surface, away from children.
- Ensure the power cord is securely plugged into a grounded electrical outlet.

5. Operating Instructions
The device features an LCD display and touch controls for various functions.
5.1 Fast Warming
This function quickly heats milk or water to the desired temperature.
- Place the bottle with milk or water into the anti-scald basket, then place the basket into the warmer.
- Add 30ml of water to the heating plate using the measuring cup.
- Select the 'Fast Warming' mode. The device will heat the liquid to 40°C (104°F) in approximately 3-7 minutes, depending on the initial temperature and volume.
- Always check the temperature of the milk before feeding your baby.


5.2 Constant Warming
This mode maintains a set temperature for up to 24 hours.
- Place the bottle with milk or baby food into the anti-scald basket, then place the basket into the warmer.
- Add sufficient water to the heating plate to cover the bottom of the bottle.
- Select the 'Constant Warming' mode and set your desired temperature (e.g., 37°C for milk). The device will maintain this temperature for 24 hours.

5.3 Food Heating
Warm baby food to a suitable temperature.
- Place the container with baby food into the anti-scald basket, then place the basket into the warmer.
- Add sufficient water to the heating plate.
- Select the 'Food Heating' mode. The device will heat the food to approximately 60-90°C.

5.4 Defrosting
Safely defrost frozen breast milk or baby food.
- Place the frozen milk bag or food container into the anti-scald basket, then place the basket into the warmer.
- Add sufficient water to the heating plate.
- Select the 'Defrost' mode. The device will gradually defrost the contents.
5.5 Sterilization
Sterilize baby bottles, pacifiers, and small utensils using steam.
- Place clean bottles, pacifiers, or small utensils upside down in the anti-scald basket.
- Add 50-70ml of distilled water to the heating plate.
- Cover the warmer with the lid.
- Select the 'Sterilize' mode. The sterilization cycle can be set for up to 30 minutes.
- Allow items to cool before handling.
Video: This video demonstrates the functions of the Baybee Bottle Sterilizer and Warmer, including its warming and sterilizing capabilities.
6. Maintenance and Cleaning
6.1 Cleaning
- Always unplug the appliance and allow it to cool completely before cleaning.
- Wipe the exterior of the main unit with a damp cloth. Do not use abrasive cleaners.
- Wash the lid, anti-scald basket, and measuring cup with warm soapy water and rinse thoroughly. These parts are generally dishwasher-safe on the top rack, but hand washing is recommended for longevity.
6.2 Descaling
Mineral deposits (limescale) may build up on the heating plate over time, especially with hard water. Descale regularly to ensure optimal performance.
- Mix 50ml of white vinegar with 100ml of cold water.
- Pour the mixture onto the heating plate.
- Allow it to soak for 30 minutes to 1 hour, or until the limescale dissolves. For stubborn deposits, you may need to heat the solution for a few minutes (without bottles).
- Pour out the solution and rinse the heating plate thoroughly with clean water.
7. Troubleshooting
| Problem | Possible Cause | Solution |
|---|---|---|
| Appliance does not turn on. | Not plugged in; power outage; faulty outlet. | Check power connection; try a different outlet. |
| Milk/food not heating. | Insufficient water; incorrect mode selected; limescale buildup. | Ensure adequate water level; select correct mode; descale the heating plate. |
| Sterilization cycle is too short. | Insufficient water added for sterilization. | Ensure 50-70ml of distilled water is added for sterilization. |
| Unpleasant odor during use. | Limescale buildup; residue from previous use. | Clean and descale the appliance thoroughly. |
8. Specifications
- Material: Polypropylene, Plastic
- Number of Items: 1
- Style: Double Bottle
- Batteries Required: No
- Package Dimensions: 23.8 x 20.6 x 17 cm
- Item Weight: 1.06 kg
- Manufacturer Recommended Age: 0 - 3 years
9. Warranty and Support
For warranty information or customer support, please contact BAYBEE directly using the details below. Keep your purchase receipt as proof of purchase.
- Manufacturer: Baybee, Galaxy Incorporation
- Email: care@baybee.co.in
- Phone: 7520444000 / 8939028239