
Introduction
This manual provides essential instructions for the safe and efficient use of your Kastar 3-Pack Battery and Smart USB Charger. This product is designed to provide reliable power for compatible JVC GR-AX series camcorders. Please read this manual thoroughly before use and retain it for future reference.
Safety Information
- Do not disassemble, crush, or puncture the batteries or charger.
- Avoid exposing batteries or charger to water, fire, or high temperatures.
- Use only the provided charger or a compatible Kastar charger for these batteries.
- Keep batteries and charger away from children.
- Dispose of batteries according to local regulations. Do not dispose of in household waste.
- If a battery shows signs of damage, swelling, or leakage, discontinue use immediately.
Package Contents
- 3 x Kastar Rechargeable Batteries (6.0V, 4200mAh)
- 1 x Kastar Smart USB Charger
- 1 x Micro USB Cable
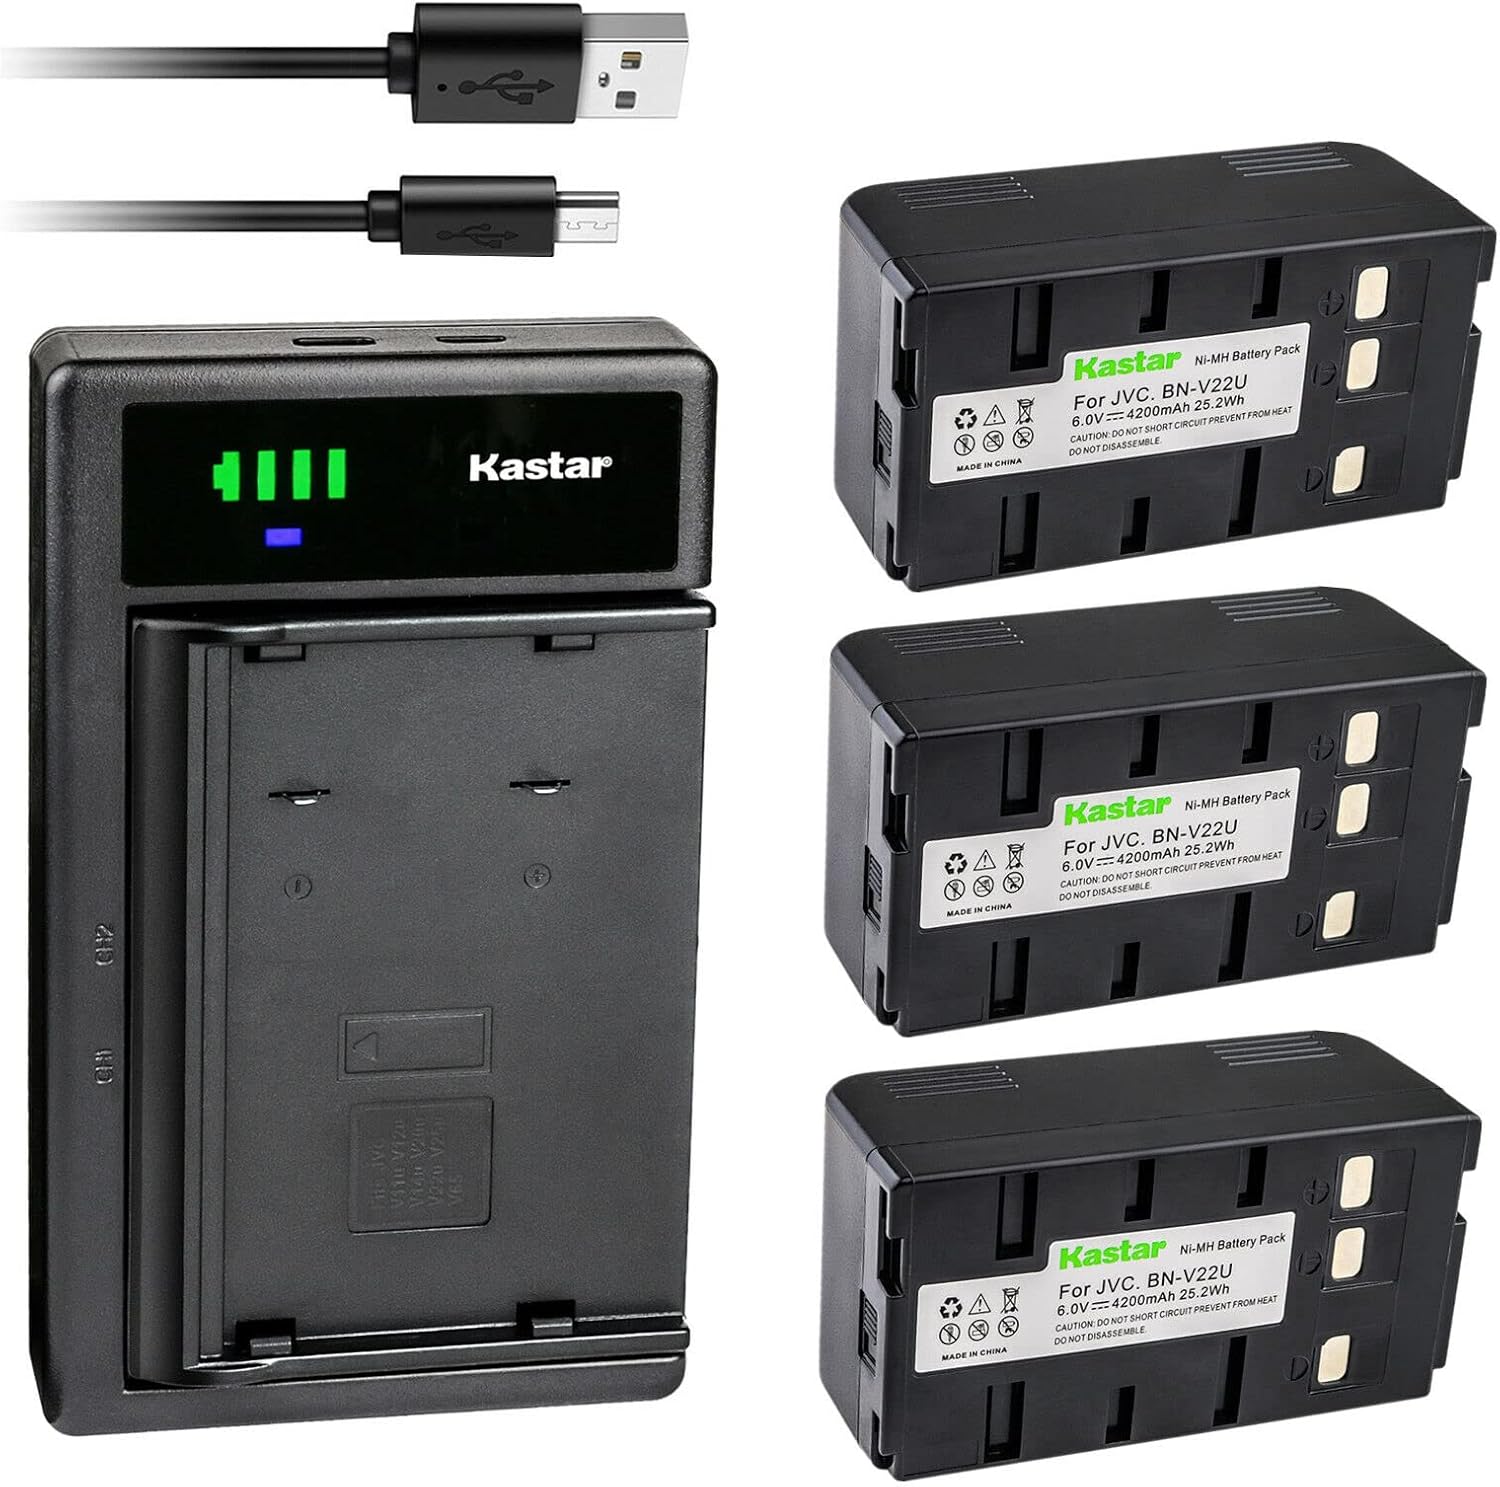
Image: The complete package contents, including the smart USB charger, three batteries, and a USB charging cable.
Product Overview
Kastar Smart USB Charger
The Kastar Smart USB Charger features dual charging slots, allowing two batteries to be charged simultaneously. It includes an LED indicator to display charging status and battery capacity. The charger supports multiple input options for convenience.

Image: Top view of the Kastar Smart USB Charger, highlighting its Micro-USB and Type-C input ports, along with approximate dimensions.
Kastar Rechargeable Battery
These Lithium-Ion batteries are designed as replacements for specific JVC camcorder models, offering a capacity of 4200mAh at 6.0V for extended use.

Image: A single Kastar Ni-MH battery pack, showing its label with model compatibility and specifications.
Setup and Charging
- Connect the Charger: Use the provided Micro USB cable to connect the charger to a power source. The charger supports 5V 2-3A 15W input. Compatible power sources include:
- Laptop USB port
- AC Adapter (USB wall charger)
- Car Charger (USB car adapter)
- Power Bank
- Insert Batteries: Carefully insert one or two Kastar batteries into the charging slots of the charger. Ensure the battery is correctly oriented.
- Monitor Charging Status: The intelligent LED display on the charger will indicate the charging status and battery capacity.
Operating the Charger
LED Indicator Status
The charger's LED display provides visual feedback on the battery's charge level:

Image: A table illustrating the LED indicator status on the Kastar charger, showing power ratio percentages and corresponding LED patterns.
| Indicator Status | Power Ratio | Statements |
|---|---|---|
| Empty battery icon | No power | No power |
| Battery icon with one bar | 6% - 25% | One LED on |
| Battery icon with two bars | 26% - 50% | Two LEDs on |
| Battery icon with three bars | 51% - 75% | Three LEDs on |
| Full battery icon | 76% - 100% | Four LEDs on |
Once the batteries are fully charged, the LED indicator will show a full battery icon. Remove the batteries from the charger and disconnect the charger from the power source.
Maintenance
- Cleaning: Use a soft, dry cloth to clean the charger and batteries. Do not use liquid cleaners or solvents.
- Storage: Store batteries and charger in a cool, dry place away from direct sunlight and extreme temperatures. For long-term storage, charge batteries to approximately 50% capacity.
- Battery Care: Avoid completely discharging batteries frequently, as this can reduce their lifespan. Recharge batteries before they are fully depleted.
Troubleshooting
- Charger not powering on:
- Ensure the USB cable is securely connected to both the charger and the power source.
- Verify the power source is active and providing sufficient power (5V 2-3A).
- Try a different USB cable or power source.
- Batteries not charging:
- Ensure batteries are correctly inserted into the charger slots.
- Check if the battery contacts are clean and free of debris.
- If a battery is severely depleted, it may take a few minutes for the charger to recognize it.
- If the battery is old or damaged, it may no longer hold a charge.
- Short battery life:
- Ensure batteries are fully charged before use.
- Battery capacity naturally degrades over time and with usage cycles.
- Operating in extremely cold environments can temporarily reduce battery performance.
Specifications
- Battery Type: Lithium-Ion
- Battery Voltage: 6.0V
- Battery Capacity: 4200mAh
- Charger Input: 5V 2-3A 15W (Micro-USB, Type-C)
- Charger Output: 6.0V 800mA
- Product Dimensions: Approximately 3 x 3 x 4 inches (package dimensions, actual charger/battery dimensions may vary slightly)
- Item Weight: Approximately 2.81 pounds (total package)
- Model Number: CH-LTD2-3B-V22U-6
Compatibility
Compatible Battery Models:
BN-V11U, BN-V12U, BN-V14U, BN-V15U, BN-V18U, BN-V20U, BN-V22U, BN-V24U, BN-V25U, BN-V400U, BN-V60U, BN-V65
Compatible JVC Camcorder Models (GR-AX Series):
GR-1U, GR-323U, GR-AS-X760U, GR-AW1, GR-AW1U, GR-AX1010, GR-AX1010U, GR-AX10, GR-AX10U, GR-AX17, GR-AX17U, GR-AX100, GR-AX110, GR-AX150, GR-AX2, GR-AX2U, GR-AX200, GR-AX200U, GR-AX201U, GR-AX202U, GR-AX210, GR-AX210U, GR-AX220U, GR-AX230U, GR-AX25, GR-AX250, GR-AX255, GR-AX25U, GR-AX26U, GR-AX270, GR-AX30, GR-AX30U, GR-AX300U, GR-AX310, GR-AX310U, GR-AX33, GR-AX33U, GR-AX34U, GR-AX35, GR-AX35U, GR-AX350U, GR-AX37, GR-AX37U, GR-AX400, GR-AX400U, GR-AX401U, GR-AX404U, GR-AX410, GR-AX410U, GR-AX420U, GR-AX424U, GR-AX430U, GR-AX46U, GR-AX47U, GR-AX5, GR-AX5EG, GR-AX5U, GR-AX50U, GR-AX500, GR-AX500U, GR-AX510U, GR-AX55, GR-AX55U, GR-AX570, GR-AX60, GR-AX606U, GR-AX610U, GR-AX640U, GR-AX650U, GR-AX655, GR-AX655U, GR-AX7U, GR-AX70, GR-AX70U, GR-AX700U, GR-AX710U, GR-AX720, GR-AX720U, GR-AX730U, GR-AX74U, GR-AX75U, GR-AX750U, GR-AX76U, GR-AX760U, GR-AX761U, GR-AX77U, GR-AX7EG, GR-AX80, GR-AX800, GR-AX800U, GR-AX808U, GR-AX810U, GR-AX820U, GR-AX820US, GR-AX830U, GR-AX84U, GR-AX840U, GR-AX841U, GR-AX880, GR-AX880US, GR-AX890, GR-AX890U, GR-AX890US, GR-AX9U, GR-AX90, GR-AX900U, GR-AX910, GR-AX910U, GR-AX911U, GR-AX920, GR-AX920U, GR-AX930U, GR-AX94, GR-AX94U, GR-AX940U, GR-AX95, GR-AX96U, GR-AX97U, GR-AX970U, GR-AXM1U, GR-AXM10U, GR-AXM100U, GR-AXM1010U, GR-AXM151US, GR-AXM17US, GR-AXM18US, GR-AXM2U, GR-AXM20U, GR-AXM210U, GR-AXM220U, GR-AXM225U, GR-AXM230U, GR-AXM231U, GR-AXM241U, GR-AXM250U, GR-AXM25U, GR-AXM270U, GR-AXM30U, GR-AXM300U, GR-AXM310U, GR-AXM341U, GR-AXM4U, GR-AXM40U, GR-AXM50U, GR-AXM51U, GR-AXM500, GR-AXM510U, GR-AXM511U, GR-AXM600U, GR-AXM650U, GR-AXM670U, GR-AXM70U, GR-AXM700U, GR-AXM710U, GR-AXM740U, GR-AXM745U, GR-AXM750U, GR-AXM750US, GR-AXM755US, GR-AXM80U, GR-AXM88UM, GR-AXM800U, GR-AXM900U, GR-AXM910U
Warranty and Support
For warranty information or technical support, please contact Kastar customer service. Refer to the product packaging or the official Kastar website for contact details.
Manufacturer: Kastar