
kicteck 244KM
kicteck 4K Ultra HD Digital WiFi Camcorder User Manual
Model: 244KM
Introduction
Thank you for purchasing the kicteck 4K Ultra HD Digital WiFi Camcorder. This manual provides detailed instructions on how to set up, operate, and maintain your camcorder. Please read this manual thoroughly before using the product to ensure proper operation and to maximize its performance and lifespan. Keep this manual for future reference.
Safety Information
- Do not expose the camcorder to extreme temperatures, humidity, or dust.
- Avoid dropping or subjecting the camcorder to strong impacts.
- Keep the camcorder away from strong magnetic fields.
- Use only original or certified accessories and power adapters.
- Do not attempt to disassemble or repair the camcorder yourself. Contact customer support for assistance.
- Ensure proper ventilation when charging the battery.
- Dispose of batteries according to local regulations.
Package Contents
Please check the package contents upon opening to ensure all items are present:
- kicteck 4K Camcorder
- External Stereo Microphone
- Remote Control
- Lens Hood
- Handheld Stabilizer/Holder
- Rechargeable Lithium-Ion Batteries (2 included, Model: NP-FV5 Plus)
- USB Cable
- HDMI Cable
- Microphone Cable
- Charger (Power Adapter)
- DV Bag
- User Manuals (for Camcorder and Microphone)

Image: Overview of all accessories included with the kicteck 4K Camcorder, including the camera, external microphone, remote control, batteries, cables, lens hood, handheld holder, charger, and carrying bag.
Product Overview
Familiarize yourself with the main components of your camcorder.

Image: The kicteck 4K Camcorder shown with its external microphone, lens hood, and handheld holder attached. Two batteries and the remote control are also displayed.
Key Components:
- Lens: High-quality optical lens for capturing images.
- 3.0-inch Capacitive Touch Screen: Rotates 270 degrees for flexible viewing and control.
- External Microphone Port: For connecting the included stereo microphone.
- USB Port 2.0: For data transfer and webcam functionality.
- HDMI Output: For connecting to a TV or monitor.
- Battery Compartment: For inserting the rechargeable battery.
- SD/TF Card Slot: Supports up to 128GB (card not included).
- LED Light: Provides additional illumination.
- Speaker: For audio playback.
- Tripod Mount: Standard thread for attaching to a tripod (tripod not included).
Setup
1. Charging the Battery
The camcorder uses NP-FV5 Plus rechargeable batteries. For the first use, charge the battery for up to 8 hours. A full charge provides approximately 2.5-3.0 hours of continuous use.
- Insert the battery into the camcorder's battery compartment.
- Connect the USB cable to the camcorder and the charger.
- Plug the charger into a power outlet. The charging indicator will illuminate.
2. Inserting an SD/TF Card
A Class 10 or higher SD/TF card (up to 128GB) is required for recording. The SD card is not included.
- Ensure the camcorder is powered off.
- Open the SD card slot cover.
- Insert the SD card with the metal contacts facing the correct direction until it clicks into place.
- Close the cover.
- It is recommended to format the SD card via the camcorder's menu before first use.
3. Attaching the External Microphone
The external stereo microphone enhances audio quality, especially in interviews or speeches.
- Slide the external microphone onto the hot shoe mount on top of the camcorder.
- Secure it in place.
- Connect the microphone cable from the microphone to the camcorder's microphone input port.
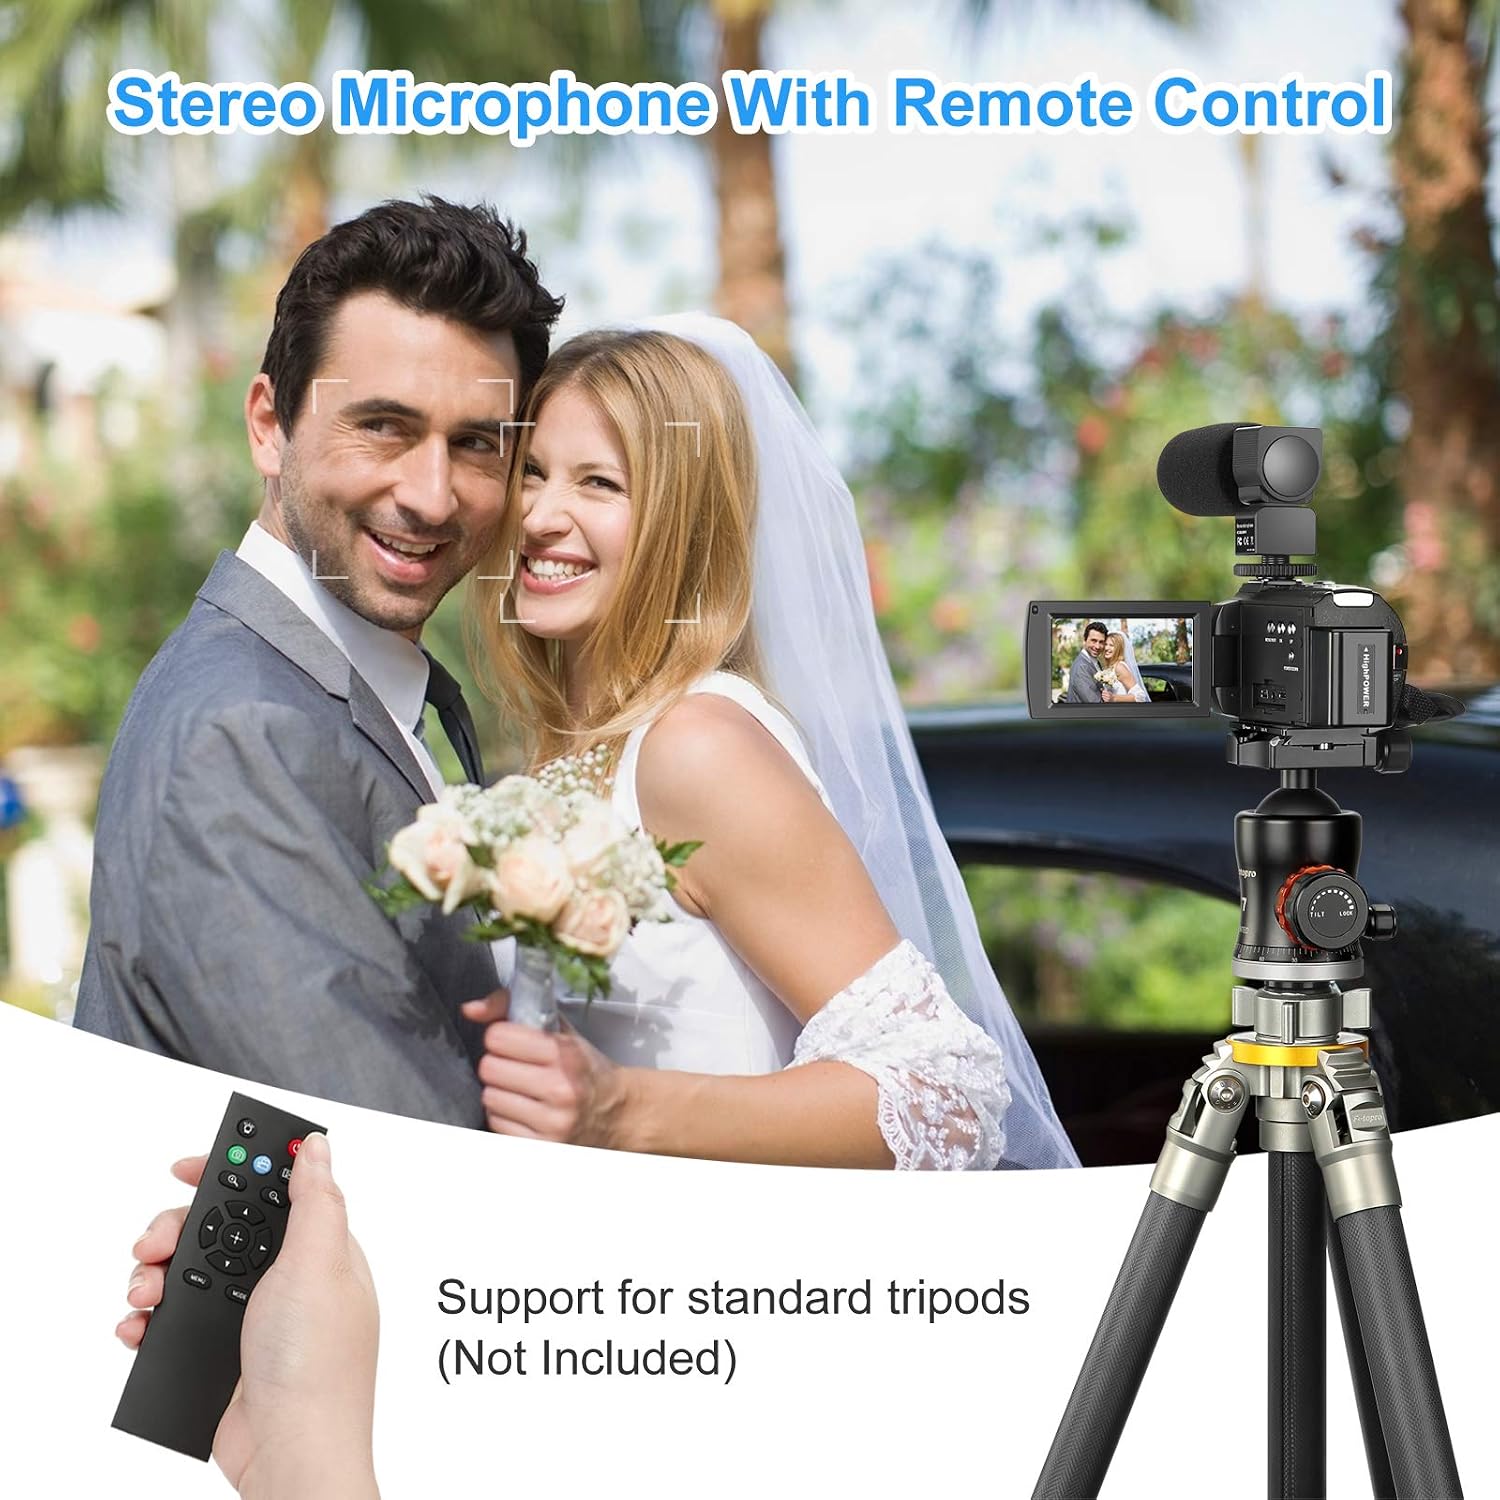
Image: The camcorder is shown with the external stereo microphone attached and is mounted on a tripod. A hand holds the remote control, demonstrating its use for remote operation.
4. Attaching the Lens Hood
The lens hood helps to reduce glare and protect the lens.
- Align the lens hood with the front of the camcorder lens.
- Twist gently to secure it in place.
5. Attaching the Handheld Holder/Stabilizer
The foldable handheld holder provides stability and comfortable grip for shooting.
- Attach the base of the handheld holder to the tripod mount on the bottom of the camcorder.
- Tighten the screw to secure it.
- Adjust the foldable handle to your desired angle for comfortable shooting.

Image: A visual guide demonstrating the attachment and multi-angle adjustment of the foldable handheld holder, highlighting its 90-degree rotation and 360-degree base.
Operating Instructions
1. Powering On/Off
Press and hold the Power button located on the camcorder to turn it on or off.
2. Basic Recording (Video/Photo)
- Video Recording: Press the Record button to start recording. Press it again to stop.
- Photo Capture: Switch to photo mode (if available) and press the Shutter button to take a picture.
3. Using the 3.0-inch Touch Screen
The touch screen allows for intuitive navigation and setting adjustments. It can be rotated 270 degrees for various shooting angles.
- Tap icons to select functions or adjust settings.
- Swipe to navigate through menus or review footage.
4. Zoom Function (16X Digital Zoom)
Use the zoom rocker on the camcorder to zoom in or out. Note that this is a 16X digital zoom.
5. IR Night Vision
The camcorder features IR-CUT light filter and IR night vision for recording in low-light conditions.

Image: A visual comparison demonstrating the enhanced clarity and detail provided by the camcorder's IR Night Vision feature compared to ordinary low-light recording.
6. WiFi Connection (RoadCam App)
Connect your camcorder to a smartphone or tablet via Wi-Fi using the "RoadCam" application (available for Android and iOS). This allows for remote viewing, image capture, video shooting, and file download.
- Download and install the "RoadCam" app from your device's app store.
- Turn on Wi-Fi on the camcorder via the settings menu.
- On your smartphone/tablet, connect to the camcorder's Wi-Fi network (SSID and password will be displayed on the camcorder screen).
- Open the "RoadCam" app to control the camcorder remotely.

Image: An illustration depicting the wireless Wi-Fi connection between the kicteck camcorder and a smartphone, allowing for remote viewing and control.
7. Webcam Function
The camcorder can be used as a webcam for live streaming or video calls.
- Connect the camcorder to your computer using the USB cable.
- Select "PC Camera" or "Webcam" mode on the camcorder's screen (if prompted).
- Your computer should recognize the camcorder as a webcam.
8. HDMI Output
Connect the camcorder to a TV or monitor using the HDMI cable to view your recordings on a larger screen.

Image: This image illustrates the camcorder's versatility, showing its use as a USB webcam for live streaming and its HDMI output for displaying content on a television.
9. Using the Remote Control
The included remote control allows you to operate the camcorder from a distance of up to 5 meters, enabling self-recording.
- Point the remote control directly at the camcorder's IR receiver.
- Use buttons for recording, photo capture, zoom, and menu navigation.
10. Advanced Recording Features
Explore the camcorder's menu for various recording modes and settings:
- Ultra HD Mode: For highest quality video.
- Slowly Record: Slow-motion video.
- Loop Record: Continuous recording, overwriting oldest files.
- Time Record: Scheduled recording.
- Auto Picture / Continue Picture / Time Picture / Photo Interval: Various photo capture modes.
- White Balance: Adjust color temperature for accurate colors.
- Exposure Setting: Control brightness.
- Metering Mode: Determine how exposure is calculated.
- Sharpness: Adjust image clarity.
- Sensitivity: ISO settings for low light.
- Time Watermark: Add date/time stamp to recordings.
- Beep Sound: Enable/disable button sounds.

Image: Highlights the camcorder's Ultra 4K 60FPS capability and lists key features such as Slowly Record, Loop Record, Slow Motion, 270° Rotation Screen, IR Night-Shot, and Time-Lapse Recording.
Maintenance
- Cleaning: Use a soft, dry cloth to clean the camcorder body. For the lens, use a specialized lens cleaning cloth and solution. Do not use abrasive cleaners.
- Storage: When not in use for extended periods, remove the battery and store the camcorder in a cool, dry place, preferably in its DV bag.
- Battery Care: Fully charge and discharge batteries periodically if not used regularly to maintain their lifespan.
Troubleshooting
| Problem | Possible Cause | Solution |
|---|---|---|
| Camcorder does not power on. | Battery is dead or not inserted correctly. | Charge the battery. Ensure battery is inserted with correct polarity. |
| Cannot record video/take photos. | SD card is full, not inserted, or not formatted. | Insert/replace SD card. Format SD card in camera settings. Check available space. |
| Poor video/image quality. | Lens is dirty. Insufficient lighting. Incorrect settings. | Clean the lens. Use LED light or IR Night Vision in low light. Adjust exposure, white balance, or sharpness settings. |
| Wi-Fi connection issues. | Incorrect Wi-Fi password. App not installed. | Ensure correct password. Reinstall "RoadCam" app. Restart camcorder and device. |
| No audio recorded. | External microphone not connected properly or internal microphone muted. | Check microphone cable connection. Ensure microphone is enabled in settings. Check "beep sound" setting. |
Specifications
| Feature | Detail |
|---|---|
| Model | 244KM |
| Image Sensor | 13 Megapixels CMOS |
| Image Resolution | 48.0 MP (interpolated) |
| Video Resolution | 4K (30FPS), 2.7K, 1080P, etc. |
| Screen | 3.0-inch Capacitive Touch Screen, 270° Rotation |
| Digital Zoom | 16X |
| Storage | SD/TF Card, up to 128GB (Class 10 or higher recommended) |
| Connectivity | WiFi, USB 2.0, HDMI, Microphone Port |
| Battery | NP-FV5 Plus Lithium-Ion (3.7V) |
| Special Features | IR Night Vision, Webcam Function, Remote Control, External Microphone Support, Lens Hood, Stabilizer |
| Operating System Requirements | Windows XP, Vista, 7, 8, Mac 10.2 and above |
| Dimensions | 7.2 x 6 x 4.3 inches |
| Weight | 2.53 pounds |
Warranty and Support
For warranty information and technical support, please refer to the warranty card included in your package or visit the official kicteck website. You can also contact customer service through the platform where you purchased the product.
kicteck Store: https://www.amazon.com/stores/kicteck/page/867B2FFA-89F9-4B52-AAB1-EC4BA4857714
Ask a question about this manual
Ask about setup, troubleshooting, compatibility, parts, safety, or missing instructions. Manuals+ will review the question and use this page’s manual context to help answer it.