1. Introduction
The NZXT Internal USB Hub 3 is designed to expand your system's internal USB 2.0 connectivity. This hub allows for the connection of additional USB 2.0 devices, such as all-in-one liquid coolers, fan controllers, and lighting accessories, within your computer case. Its compact design, magnetic body, and included 3M dual lock tapes facilitate quick and discreet installation.
2. Product Features
- Expanded Compatibility: Provides 4 internal USB 2.0 ports and 1 port for connection to the motherboard.
- Compact Design: Optimized for placement within any PC case, designed to be easily concealed.
- Stable Power: Utilizes a SATA power connection to ensure a consistent and reliable power source for connected devices.
- Simple Installation: Features a magnetic body and includes 3M dual lock tapes for user-friendly mounting.
3. Package Contents
Verify that all items are present in your package:
- NZXT Internal USB Hub 3 (1 unit)
- Internal USB 2.0 Motherboard Cable (1 unit)
- SATA Power Cable (1 unit)
- 3M Dual Lock Tapes (for mounting)

Figure 3.1: NZXT Internal USB Hub 3, showing the five internal USB 2.0 headers.
4. Setup and Installation
Follow these steps to install your NZXT Internal USB Hub 3:
- Prepare your PC: Power off your computer and disconnect it from the power source. Open your computer case to access the motherboard and internal components.
- Locate a USB 2.0 Header: Identify an available 9-pin USB 2.0 header on your motherboard.
- Connect the Motherboard Cable: Connect one end of the included internal USB 2.0 motherboard cable to the designated motherboard port on the NZXT Internal USB Hub 3 (often marked 'MB' or similar). Connect the other end to the available USB 2.0 header on your motherboard.
- Connect SATA Power: Connect the included SATA power cable to the SATA power input on the hub. Connect the other end of the SATA power cable to an available SATA power connector from your power supply unit (PSU). This provides stable power to the hub and connected devices.
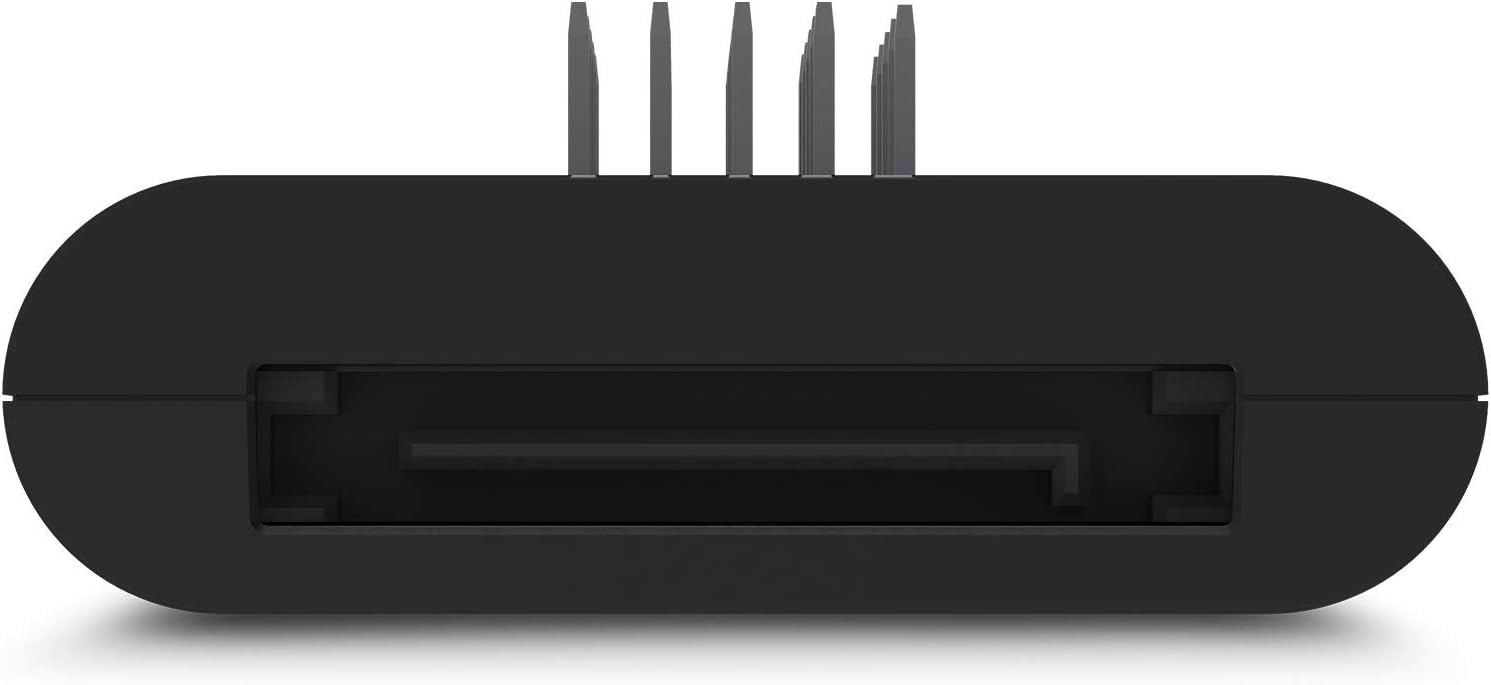
Figure 4.1: Side view of the hub, highlighting the SATA power connection port.
- Mount the Hub: The hub features a magnetic body for easy attachment to any steel surface within your PC case. Alternatively, use the provided 3M dual lock tapes for secure mounting on non-magnetic surfaces. Choose a location that allows for tidy cable management and does not obstruct airflow.

Figure 4.2: The hub mounted inside a PC case, demonstrating its compact and discreet placement.
- Connect USB 2.0 Devices: Plug your internal USB 2.0 devices (e.g., AIO coolers, RGB controllers, fan controllers) into the available USB 2.0 ports on the hub.
- Close Case and Power On: Once all connections are secure and cables are managed, close your PC case, reconnect the power, and power on your computer. The hub is plug-and-play and should be recognized automatically by your system.
Installation Video Guide
Video 4.1: Product Overview and Installation Guide for the NZXT Internal USB Hub 3. This video demonstrates the unboxing, key features, and basic installation steps of the hub, including connecting the SATA power and motherboard USB cable.
Product Demonstration Video
Video 4.2: A demonstration of the NZXT Internal USB Hub 3 in use. This video showcases the hub's functionality and how it integrates into a PC build to expand USB 2.0 connectivity.
5. Operating Instructions
The NZXT Internal USB Hub 3 operates as a plug-and-play device. Once correctly installed and powered, it automatically provides additional USB 2.0 ports for your internal components. No additional drivers or software are typically required for basic functionality.
- Ensure all devices connected to the hub are properly seated in their respective ports.
- The SATA power connection ensures sufficient power delivery to all connected devices, preventing power-related issues.
6. Maintenance
To ensure optimal performance and longevity of your NZXT Internal USB Hub 3:
- Keep the hub and its connections free from dust and debris. Use compressed air to gently clean the ports periodically.
- Ensure cables are not excessively bent or strained, which could lead to damage.
- Avoid exposing the hub to extreme temperatures or humidity.
7. Troubleshooting
If you encounter issues with your NZXT Internal USB Hub 3, consider the following:
- Device Not Recognized:
- Verify that the hub's motherboard cable is securely connected to both the hub and an active USB 2.0 header on your motherboard.
- Ensure the SATA power cable is firmly connected to both the hub and your PSU. Lack of sufficient power is a common cause for devices not being recognized.
- Try connecting the problematic device directly to a motherboard USB 2.0 header to rule out the device itself as the source of the issue.
- Restart your computer.
- Intermittent Connectivity:
- Check all cable connections for looseness.
- Ensure the SATA power connection is stable. The hub relies on this for consistent performance.
- Avoid overloading the hub with too many high-power draw devices, although the SATA power connection is designed to mitigate this.
- Physical Damage:
- Inspect the hub and cables for any visible signs of damage.
8. Specifications
| Brand | NZXT |
| Model Number | AC-IUSBH-M3 |
| Item Weight | 3.84 ounces |
| Product Dimensions | 5.04 x 4.37 x 1.02 inches |
| Material | Plastic |
| Color | Black |
| Hardware Interface | USB, USB 2.0 |
| Special Feature | Built-in magnet |
| Compatible Devices | Desktops |
9. Warranty and Support
For warranty information and technical support, please refer to the official NZXT website or contact NZXT customer service directly. Keep your proof of purchase for warranty claims.
NZXT is committed to providing quality products and support. If you experience any issues not covered in this manual, please reach out to their support team for assistance.


