Introduction
The JoyGeek 3-in-1 Wireless Charging Station is designed to simplify your charging experience by allowing you to charge your iPhone, Apple Watch, and AirPods simultaneously. This sleek and convenient device helps organize your space by eliminating multiple cables and chargers, providing a tidy and efficient charging solution for your Apple devices.

Image: The JoyGeek 3-in-1 Wireless Charging Station in white, showcasing an iPhone, Apple Watch, and AirPods case charging simultaneously. A power adapter and cable are also visible.
Safety Information
Please read all safety instructions before using this product to ensure proper operation and to prevent damage. Keep this manual for future reference.
- Do not disassemble or modify the charging station.
- Avoid exposure to water, moisture, or extreme temperatures.
- Use only the original 18W power adapter and 3.3ft USB-C cable provided with the charger for stable and efficient charging.
- Ensure proper ventilation around the charging station during use.
- Do not place metallic objects, credit cards, or cases thicker than 0.2 inches (5mm) on the charging pads, as this may interfere with charging or cause overheating.
- Keep out of reach of children.

Image: A diagram illustrating the multiple protection features of the JoyGeek charging station, including overcharge protection, short-circuit protection, over-current protection, and temperature control.
Package Contents
Verify that all items are present in the package:
- 1 x JoyGeek 3-in-1 Wireless Charging Station
- 1 x 18W Power Adapter
- 1 x 3.3ft USB-C Cable
- 1 x User Manual (this document)
Product Overview
The JoyGeek 3-in-1 Wireless Charging Station features dedicated charging areas for your iPhone, Apple Watch, and AirPods, designed for optimal convenience and organization.
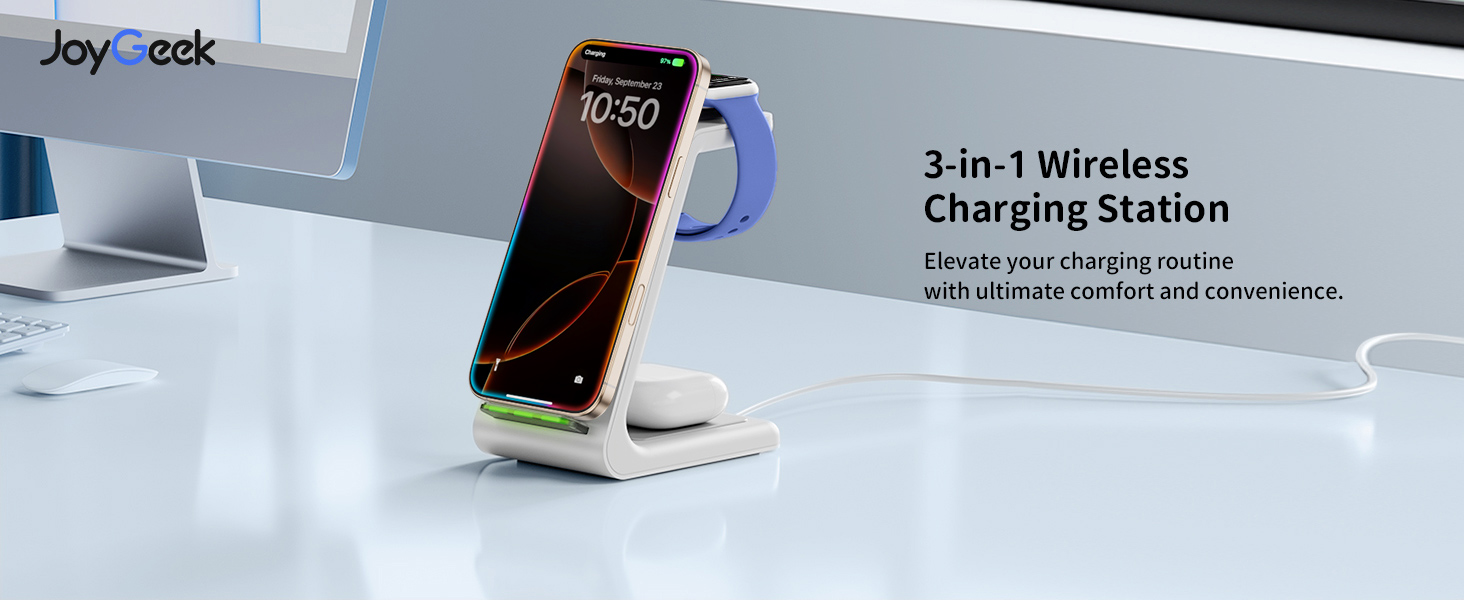
Image: A banner displaying the JoyGeek 3-in-1 Wireless Charging Station with the text "Elevate your charging routine with ultimate comfort and convenience."
Key Features:
- Integrated Design: Charges iPhone, Apple Watch, and AirPods simultaneously.
- Dual-Coil Design: Supports both horizontal and vertical charging for iPhones, ideal for watching videos or video calls.
- Case-Friendly: Charges through phone cases up to 0.2 inches (5mm) thick.
- Smart Indicator Light: Features small, individual green lights that illuminate upon connection and turn off automatically after approximately 10 seconds to avoid disturbing sleep.
- Multiple Protections: Built-in safeguards against overcharge, short-circuit, over-current, and temperature fluctuations.
- Anti-skid Design: Ensures stability on surfaces.
Setup
- Unpack: Carefully remove all components from the packaging.
- Connect Power: Insert the USB-C end of the provided cable into the charging port on the back of the JoyGeek 3-in-1 Wireless Charging Station.
- Plug In: Connect the USB-A end of the cable to the provided 18W power adapter, then plug the adapter into a wall outlet.
- Placement: Place the charging station on a flat, stable surface, such as a desk or nightstand.
Operating Instructions
Charging Your iPhone:
Place your iPhone vertically or horizontally on the phone charging stand. The charging indicator light at the base will illuminate green briefly to confirm charging has started, then turn off. For large-sized phones like iPhone Pro Max series, place horizontally at the back center for optimal charging.

Image: An iPhone charging on the station, demonstrating both portrait mode for video calls and facial recognition, and landscape mode for watching videos and movies.
iPhone Compatibility:
Compatible with iPhone 16/16 Pro/16 Plus/16 Pro Max, 15/15 Pro/15 Plus/15 Pro Max, 14/14 Plus/14 Pro/14 Pro Max, 13/13 Pro/13 Pro Max, 12/12 Pro/12 Pro Max, 11/11 Pro/11 Pro Max, SE 2/SE 3, X/XR/XS/XS Max, 8/8 Plus. Note: Not compatible with iPhone 13 mini/12 mini.
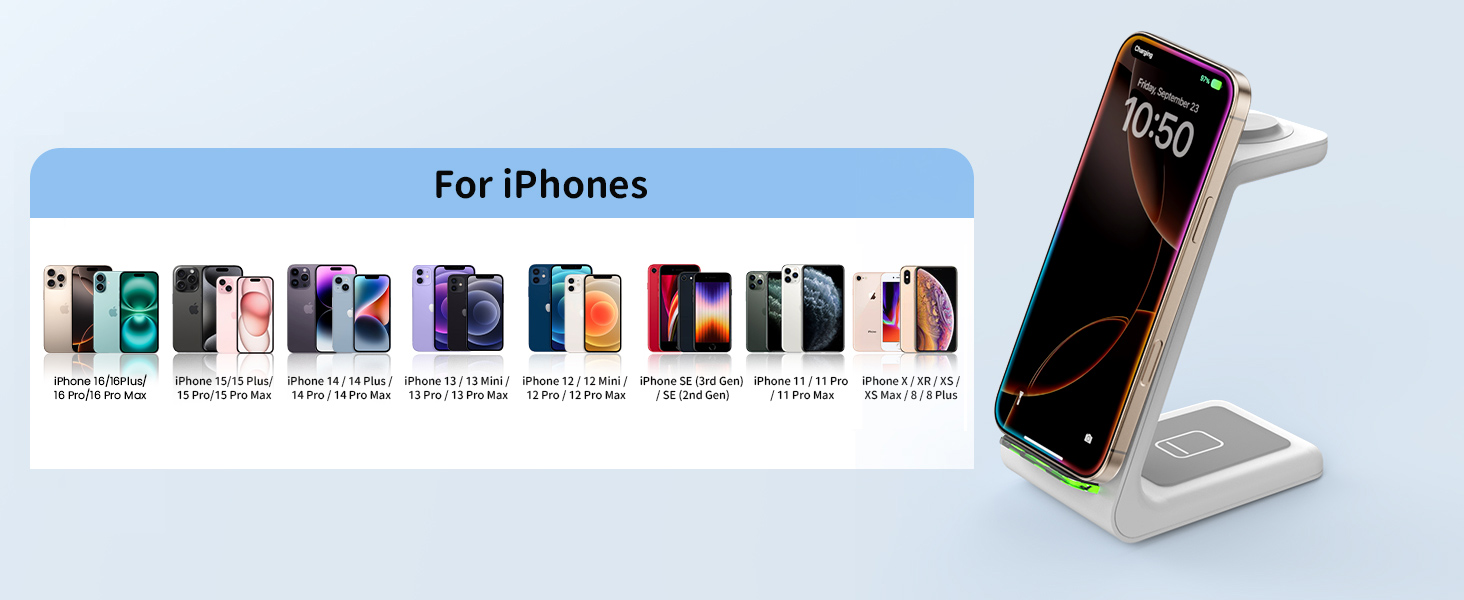
Image: A visual chart detailing the extensive compatibility of the charging station with various iPhone models.
Charging Your Apple Watch:
Place your Apple Watch on the dedicated watch charging pad. Ensure the watch is properly aligned for charging to begin. The watch screen will indicate charging status.
Apple Watch Compatibility:
Compatible with Apple Watch 10/9/Ultra 2/8/7/6/5/4/3/2/SE 1/SE. Note: Not compatible with Samsung Watch.
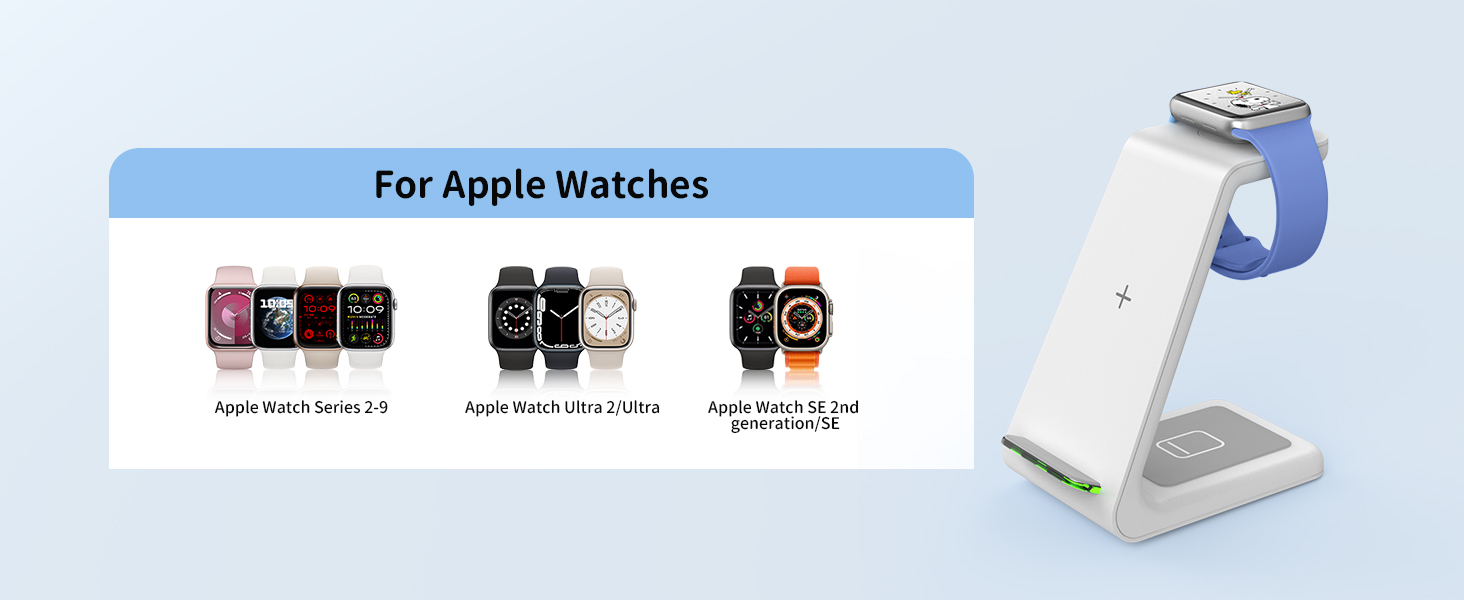
Image: A visual chart detailing the extensive compatibility of the charging station with various Apple Watch models.
Charging Your AirPods:
Place your AirPods (with wireless charging case) on the designated AirPods charging pad at the base of the station. The indicator light on your AirPods case will show charging status.
AirPods Compatibility:
Compatible with AirPods 4/Pro 2/3 (MagSafe Version)/2 (Wireless Version).

Image: A visual chart detailing the extensive compatibility of the charging station with various AirPods models that support wireless charging.
Important Notes for Charging:
- Ensure your device is centered on the charging area for optimal performance.
- Remove any metal attachments, magnetic pads, credit cards, or pop-sockets from your phone case before charging, as these can interfere with wireless charging.
- The charging station is designed to work with phone cases up to 0.2 inches (5mm) thick. Thicker cases may need to be removed.

Image: A diagram illustrating the maximum case thickness for charging and examples of items like metal pads, metal cases, pop-sockets, and credit cards that should be removed before charging.
Maintenance
To ensure the longevity and optimal performance of your JoyGeek 3-in-1 Wireless Charging Station, follow these maintenance guidelines:
- Cleaning: Disconnect the power adapter before cleaning. Use a soft, dry cloth to wipe the surface of the charging station. Do not use abrasive cleaners, solvents, or harsh chemicals.
- Storage: When not in use for extended periods, store the charging station in a cool, dry place away from direct sunlight and extreme temperatures.
- Handling: Handle the device with care. Avoid dropping it or subjecting it to strong impacts.
Troubleshooting
| Problem | Possible Cause | Solution |
|---|---|---|
| Device not charging. |
|
|
| Slow charging. |
|
|
| Device or charger getting hot. |
|
|
| Indicator light not working. |
|
|
Specifications
| Feature | Detail |
|---|---|
| Model Number | T3 |
| Brand | JoyGeek |
| Connectivity Technology | Wireless |
| Connector Type | USB Type C |
| Input Voltage | 9 Volts |
| Item Weight | 0.64 ounces |
| Package Dimensions | 5.51 x 4.84 x 3.07 inches |
| Country of Origin | China |
| Special Features | Wireless charging station for Apple, clutter-free charging, charges cellphone, earbuds, and smartwatches all at once, allows for horizontal and vertical charging. |
Warranty and Support
JoyGeek stands behind the quality of its products. Your JoyGeek 3-in-1 Wireless Charging Station comes with:
- 24-Month Replacement/Refund Service: For any manufacturing defects or performance issues within 24 months of purchase.
- Lifetime Support: Dedicated customer service and technical support for the lifespan of the product.
For customer service inquiries, technical support, or warranty claims, please contact JoyGeek directly through the retailer's platform or visit the official JoyGeek website for contact information.
We are committed to ensuring your satisfaction and providing a reliable charging experience.


