1. Introduction
Thank you for choosing the DS18 S-3500.1D/SL Class D Monoblock Car Audio Amplifier. This manual provides detailed instructions for the proper installation, operation, and maintenance of your amplifier. Please read this manual thoroughly before attempting installation or operation to ensure optimal performance and safety.
The DS18 S-3500.1D/SL is a high-performance, single-channel amplifier designed to deliver powerful and clear audio to your car's subwoofer system. It features Class D efficiency, robust protection circuitry, and adjustable controls for precise sound tuning.

Image 1.1: Top view of the DS18 S-3500.1D/SL Car Audio Amplifier.
2. Safety Information
Always observe the following safety precautions during installation and operation:
- Disconnect the vehicle's negative battery terminal before starting any electrical work to prevent short circuits.
- Ensure all wiring is properly routed and secured to prevent damage from sharp edges or moving parts.
- Use appropriate wire gauges for power, ground, and speaker connections as specified in this manual.
- Install the amplifier in a location that allows for adequate ventilation to prevent overheating.
- Avoid mounting the amplifier in areas exposed to moisture or excessive vibration.
- If you are unsure about any aspect of the installation, consult a professional car audio installer.
3. Package Contents
Verify that all items are present in the package:
- DS18 S-3500.1D/SL Car Audio Amplifier
- Remote Bass Knob Controller
- Mounting Hardware (screws)
- User Manual (this document)
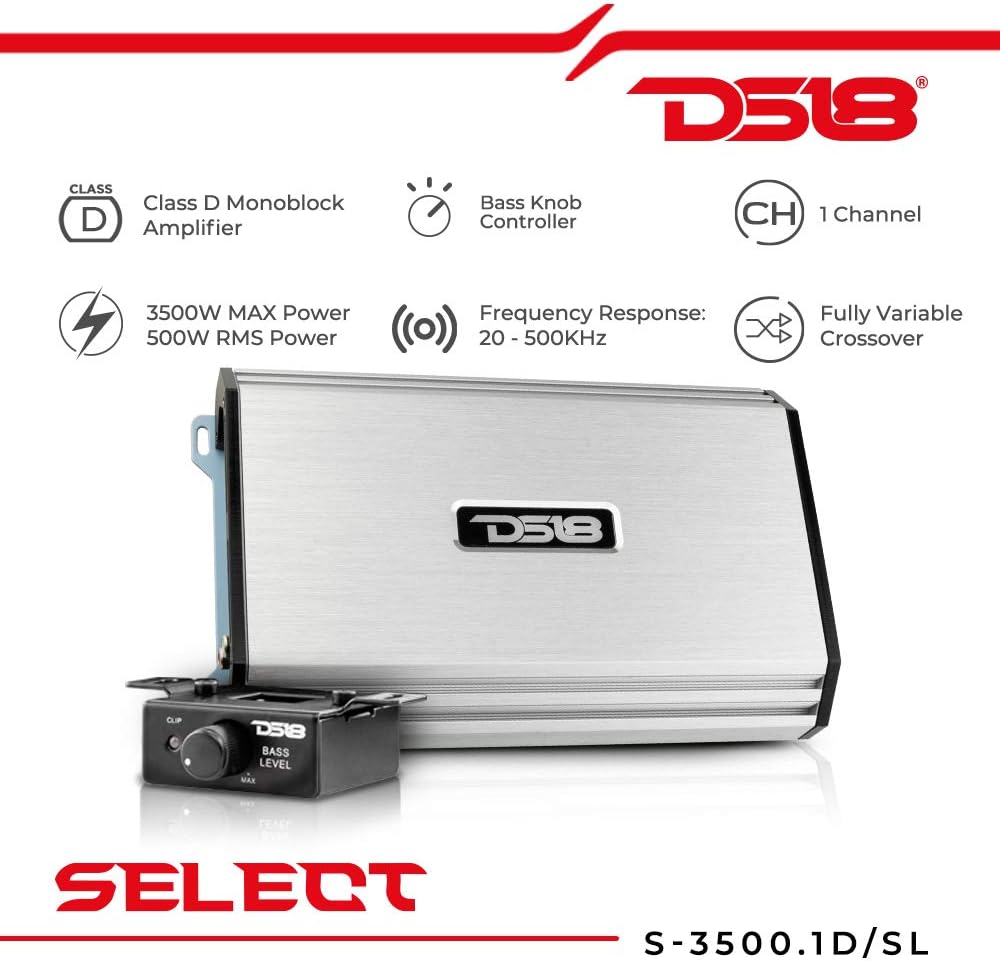
Image 3.1: DS18 S-3500.1D/SL Amplifier and Remote Bass Knob.
4. Features and Controls Overview
The DS18 S-3500.1D/SL amplifier features a range of controls for fine-tuning your audio system.
4.1. Control Panel (Rear View)

Image 4.1: Rear panel with input and control settings.
- REMOTE: RJ45 port for connecting the wired remote bass knob.
- CLIP: Indicator light for signal clipping. Adjust gain to prevent this light from illuminating consistently.
- BOOST: Bass boost control (0dB to 18dB at 45Hz).
- SUBSONIC: Adjustable high-pass filter for subwoofers (10Hz to 80Hz). Filters out ultra-low frequencies that can damage subwoofers.
- LPF (Low Pass Filter): Adjustable low-pass filter (55Hz to 250Hz). Allows only frequencies below the set point to pass to the subwoofer.
- PHASE: Phase switch (0° or 180°). Adjust to match the phase of other speakers in the system.
- GAIN: Input sensitivity control (MIN to MAX). Matches the amplifier's input to the output of your head unit.
- INPUT: RCA audio input jacks (Left and Right).
4.2. Power and Speaker Terminals (Front View)

Image 4.2: Front panel with power and speaker connections.
- +12V: Positive power input terminal. Connects to the vehicle's positive battery terminal via an inline fuse.
- REM (Remote): Remote turn-on input terminal. Connects to the head unit's remote output.
- GND (Ground): Ground input terminal. Connects to a clean, bare metal chassis point on the vehicle.
- PWR/PRT: Power (green) and Protection (red) indicator lights. Green indicates normal operation, red indicates a fault.
- FUSE: Fuse holders for amplifier protection.
- SPEAKER OUTPUT: Speaker output terminals. Connects to your subwoofer(s).
5. Installation
Proper installation is crucial for the performance and longevity of your amplifier. If you are not confident in your ability to perform the installation, seek professional assistance.
5.1. Mounting Location
Choose a mounting location that:
- Provides adequate airflow around the amplifier to prevent overheating.
- Is secure and protected from moisture, dust, and direct sunlight.
- Allows for short cable runs to the battery and speakers.
- Does not interfere with vehicle operation or safety features.
Common mounting locations include under a seat, in the trunk, or on a custom amplifier rack.
5.2. Wiring Connections
Ensure all connections are tight and secure to prevent power loss or intermittent operation.
5.2.1. Power Wiring
- Ground (GND): Connect a heavy-gauge wire (e.g., 4 AWG or larger) from the amplifier's GND terminal to a clean, bare metal point on the vehicle's chassis. Ensure the connection point is free of paint, rust, or dirt. The ground wire should be as short as possible, ideally less than 3 feet (1 meter).
- +12V Power: Connect a heavy-gauge wire (e.g., 4 AWG or larger) from the amplifier's +12V terminal directly to the vehicle's positive battery terminal. Install an inline fuse holder within 18 inches (45 cm) of the battery, using a fuse rated appropriately for the amplifier (refer to specifications).
- Remote Turn-On (REM): Connect a smaller gauge wire (e.g., 18 AWG) from the amplifier's REM terminal to the remote turn-on output of your head unit. This wire signals the amplifier to turn on and off with your head unit.
5.2.2. Audio Input (RCA)
Connect RCA cables from the pre-out jacks of your head unit to the INPUT RCA jacks on the amplifier. Use high-quality shielded RCA cables to minimize noise.
5.2.3. Speaker Output
Connect your subwoofer(s) to the SPEAKER OUTPUT terminals. Ensure correct polarity (+ to + and - to -). The S-3500.1D/SL is a monoblock amplifier, designed for a single subwoofer or multiple subwoofers wired to a compatible impedance (typically 1 Ohm stable).
5.2.4. Remote Bass Knob
Connect the remote bass knob to the REMOTE port on the amplifier using the provided cable. This allows for convenient adjustment of bass level from the driver's seat.
6. Operating Instructions
After completing the installation, follow these steps for initial setup and operation:
- Initial Gain Setting: Turn the GAIN control on the amplifier to its minimum (MIN) position.
- Head Unit Volume: Turn your head unit volume up to about 75% of its maximum level.
- Adjust Gain: Slowly increase the GAIN control on the amplifier until you hear slight distortion or the CLIP indicator light flickers. Then, back off the gain slightly until the sound is clear and the CLIP light remains off during normal listening.
- Crossover Settings (LPF & SUBSONIC):
- Set the LPF (Low Pass Filter) to a frequency appropriate for your subwoofer and main speakers, typically between 80Hz and 120Hz. This ensures the subwoofer only plays low frequencies.
- Set the SUBSONIC filter to protect your subwoofer from playing frequencies below its resonant frequency, usually around 20Hz to 30Hz.
- Bass Boost: Use the BOOST control sparingly. Excessive bass boost can lead to distortion and potential damage to your subwoofer. Adjust to taste, ensuring sound remains clear.
- Phase: Experiment with the PHASE switch (0° or 180°) to find the setting that provides the most impactful and coherent bass response with your other speakers.
7. Maintenance
The DS18 S-3500.1D/SL amplifier requires minimal maintenance. Follow these guidelines to ensure its longevity:
- Keep the amplifier clean and free of dust and debris. Use a soft, dry cloth for cleaning.
- Ensure that the cooling fins are not obstructed to allow for proper heat dissipation.
- Periodically check all wiring connections for tightness and corrosion.
- Do not use harsh chemicals or solvents for cleaning.
8. Troubleshooting
If you experience problems with your amplifier, refer to the following troubleshooting guide:
| Problem | Possible Cause | Solution |
|---|---|---|
| No Power (PWR light off) | Blown fuse, poor power/ground connection, no remote signal. | Check amplifier fuses and inline battery fuse. Verify +12V, GND, and REM connections. Ensure head unit is on and sending remote signal. |
| Protection Mode (PRT light on) | Overheating, speaker short circuit, low impedance load, DC offset. | Check for proper ventilation. Verify speaker wiring for shorts. Ensure speaker impedance is within amplifier's rated range (1 Ohm minimum). Disconnect speakers and test. |
| No Sound | No audio input, incorrect gain setting, speaker wiring issue. | Check RCA cable connections from head unit. Adjust gain. Verify speaker connections and ensure they are not shorted or open. |
| Distorted Sound | Gain set too high, improper crossover settings, damaged speaker. | Reduce gain. Adjust LPF and SUBSONIC settings. Check speaker for damage. |
| Amplifier Overheats | Insufficient ventilation, low impedance load, gain too high. | Ensure amplifier has clear airflow. Verify speaker impedance. Reduce gain. |
9. Specifications
The following table details the technical specifications of the DS18 S-3500.1D/SL amplifier:
| Feature | Specification |
|---|---|
| Model | S-3500.1D/SL |
| Number of Channels | 1 (Monoblock) |
| RMS Power @ 1 Ohm (14.4V) | 1200W |
| RMS Power @ 2 Ohm (14.4V) | 800W |
| RMS Power @ 4 Ohm (14.4V) | 500W |
| Frequency Response | 20Hz - 500KHz |
| Input Sensitivity | 0.2V - 6V |
| Signal-to-Noise Ratio | >90dB |
| Low Pass Filter (LPF) | 55Hz - 250Hz |
| Subsonic Filter | 10Hz - 80Hz |
| Bass Boost | 0dB - 18dB @ 45Hz |
| Phase Shift | 0° / 180° |
| Voltage | 12 Volts (DC) |
| Dimensions (L x W x H) | 12 x 10 x 4 inches |
| Item Weight | 4.75 pounds |
| Material | Metal |
| UPC | 810005183260 |
10. Warranty and Support
DS18 products are designed for durability and performance. For specific warranty terms and conditions, please refer to the warranty card included with your product or visit the official DS18 website. Keep your purchase receipt as proof of purchase for any warranty claims.
For technical support, troubleshooting assistance beyond this manual, or warranty inquiries, please contact DS18 customer service through their official website or authorized dealers.
11. Official Product Videos
No official product videos from the seller were provided in the product data for this model. Please refer to the DS18 official website or authorized channels for any available video resources.


