
Sauder 426125
Sauder Select Storage Cabinet Instruction Manual
Model: 426125
Introduction
This manual provides comprehensive instructions for the assembly, operation, and maintenance of your Sauder Select Storage Cabinet. Designed for versatile storage in various rooms, this cabinet features adjustable shelves and a durable construction. Please read all instructions carefully before beginning assembly to ensure proper setup and safe use.
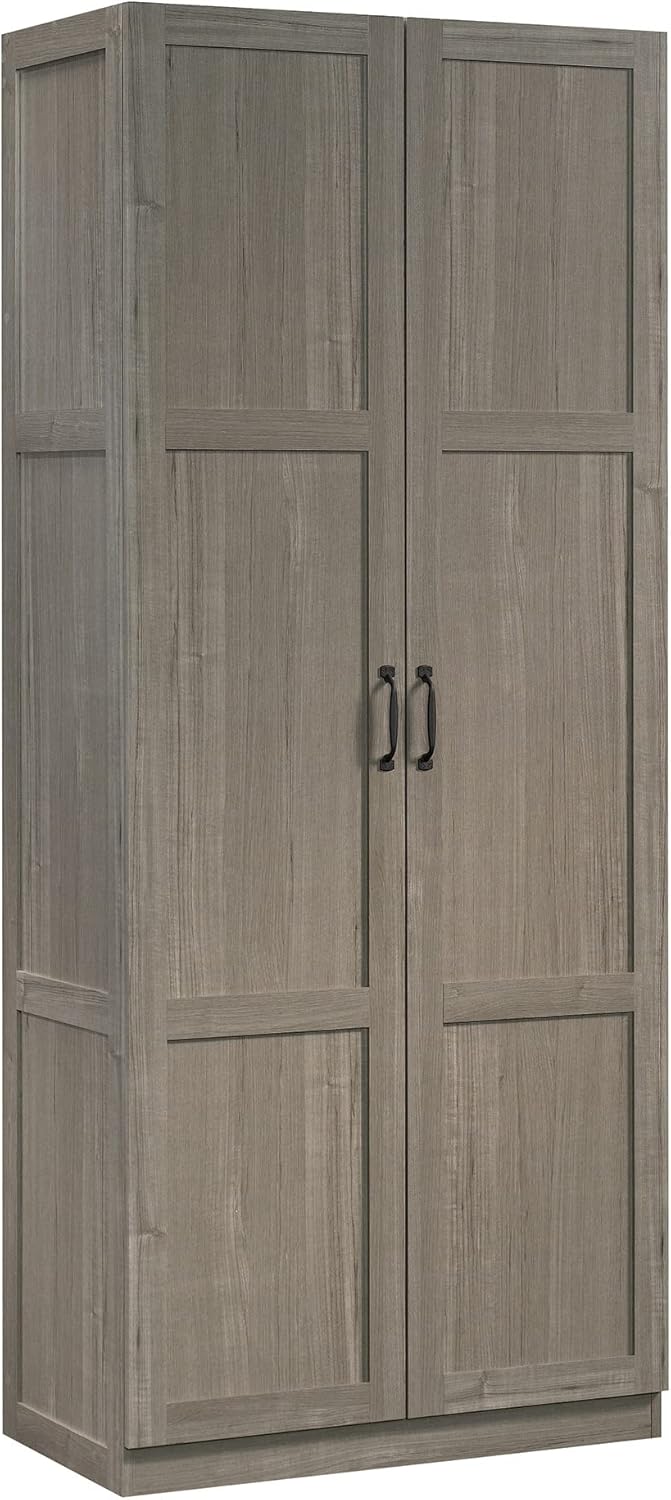
Image: The Sauder Select Storage Cabinet, showcasing its two-door design and Silver Sycamore finish.
Safety Information
- Always use caution when adjusting shelves to avoid injury.
- Follow assembly and mounting instructions carefully to prevent tipping.
- Keep heavy items away from the edges of shelves to maintain stability.
- Ensure the cabinet is placed on a level surface to prevent instability.
- Do not allow children to climb on or play with the cabinet.
Parts List
Before assembly, verify that all components are present and undamaged. Refer to the included hardware pack for specific quantities.
| Component | Description |
|---|---|
| Side Panels | Main vertical supports of the cabinet. |
| Top & Bottom Panels | Horizontal panels forming the top and base. |
| Adjustable Shelves | Four movable shelves for customizable storage. |
| Fixed Shelf | One full-width upper shelf for structural integrity. |
| Back Panel | Rear panel for stability and enclosure. |
| Doors | Two front doors with frame and panel detailing. |
| Hardware Pack | Includes cam locks, cam dowels, screws, hinges, handles, and shelf pins. |
Assembly Instructions (Setup)
Assembly typically requires two adults. Lay out all parts on a soft, clean surface to prevent scratching. Follow the numbered steps in your detailed assembly guide provided with the product. Below are general steps and key considerations:
Step 1: Attach Cam Dowels and Cam Screws
Insert cam dowels into pre-drilled holes on the edges of panels. Ensure they are fully seated. Screw cam screws into the corresponding panels. Do not overtighten.
Step 2: Connect Panels
Align panels with cam dowels and cam screws. Insert the cam dowels into the cam lock holes. Ensure the arrow on the cam lock points towards the edge of the board where the cam dowel is inserted.

Image: Interior view of the cabinet, demonstrating the adjustable shelves and ample storage space for various items like books, baskets, and blankets.
Step 3: Secure Cam Locks
Using a Phillips head screwdriver, turn the cam locks approximately 210 degrees clockwise to secure the panels together. The cam lock should firmly grip the cam dowel, creating a strong joint.
Step 4: Install Back Panel
Carefully attach the back panel using the provided small nails or screws. Ensure the cabinet frame is square before securing the back panel, as this adds significant stability.
Step 5: Attach Doors and Hardware
Mount the door hinges to the cabinet frame and then attach the doors. Adjust hinges as needed to ensure doors are level and close properly. Install the door handles.
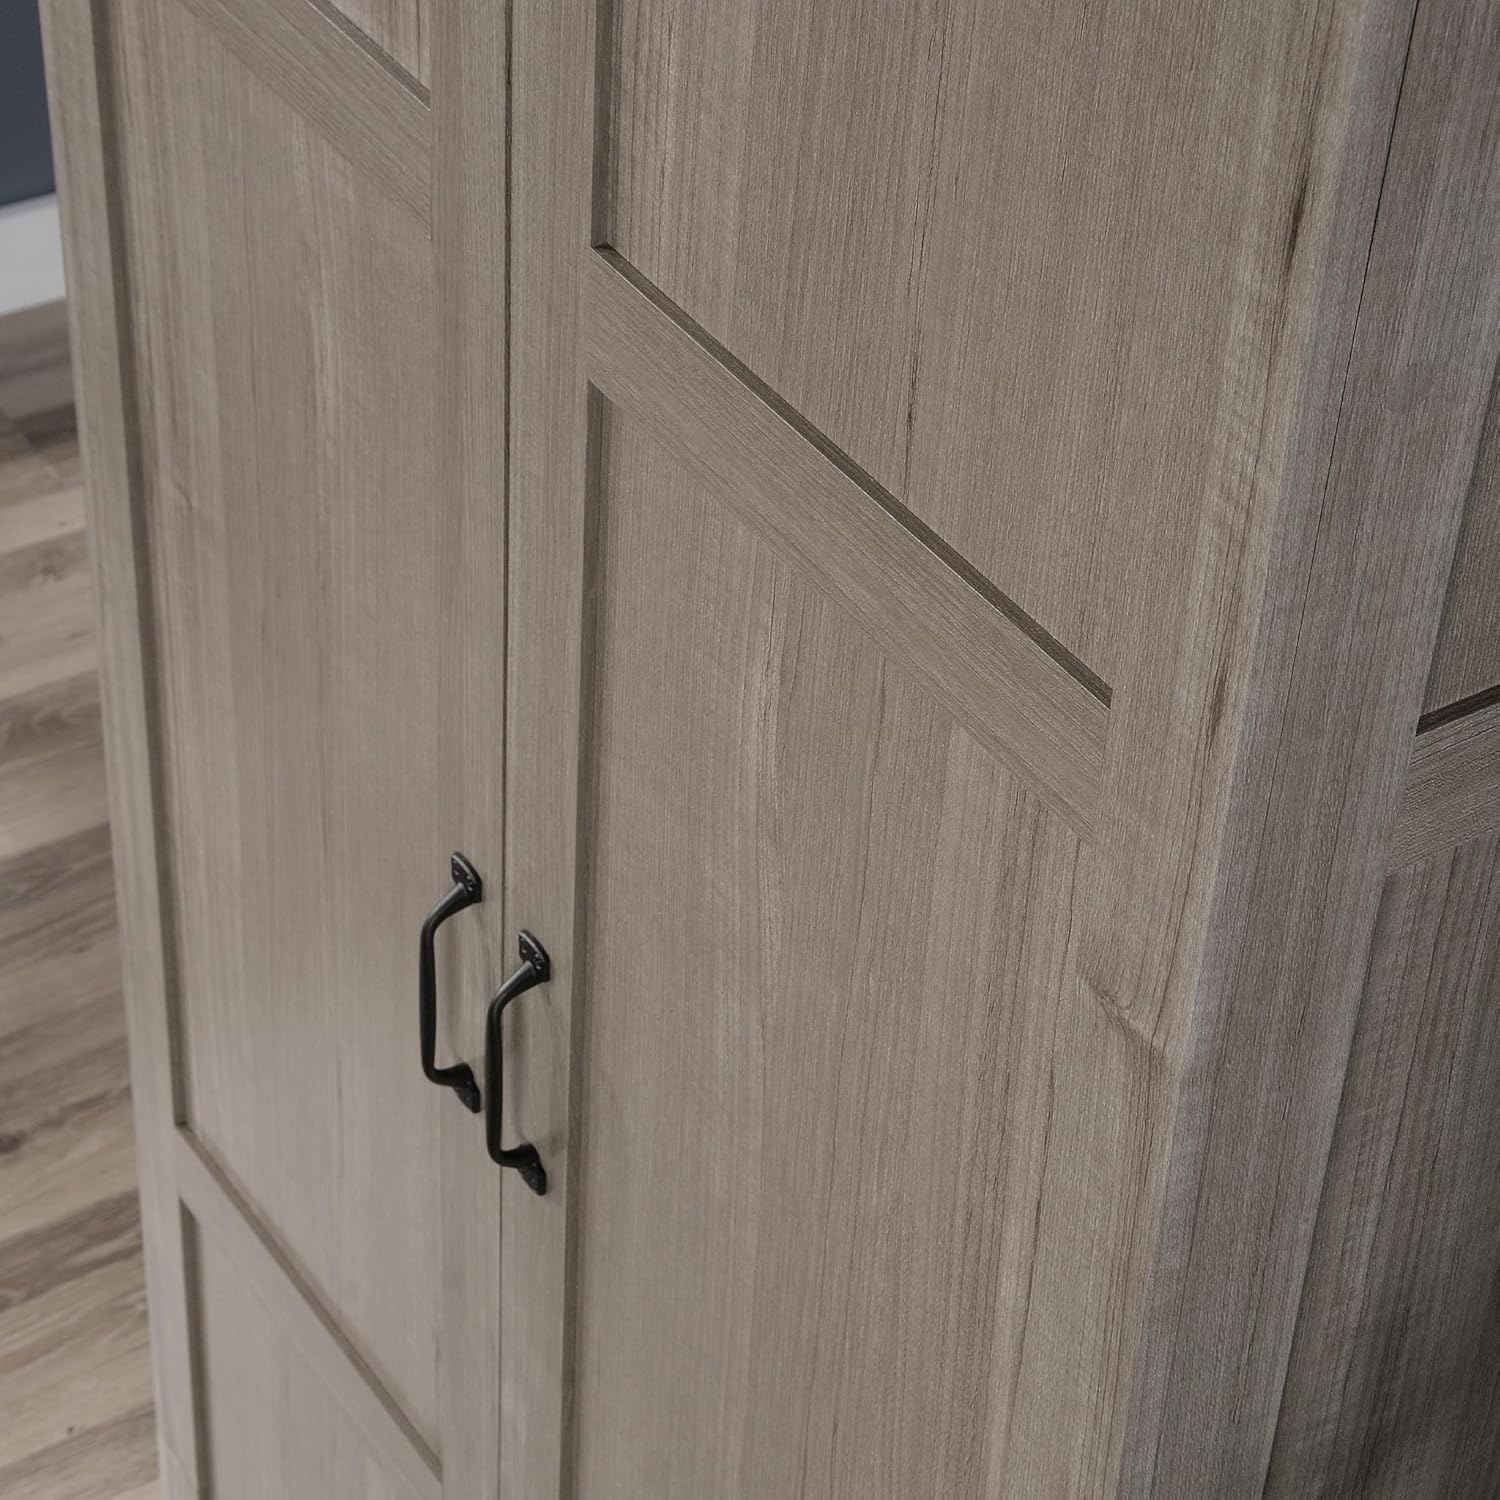
Image: A detailed view of the cabinet doors, highlighting the frame and panel design and the black metal handles.
Step 6: Install Adjustable Shelves
Insert shelf pins into the desired holes on the side panels. Place the adjustable shelves onto the pins. The cabinet features four adjustable shelves and one full-width upper shelf.
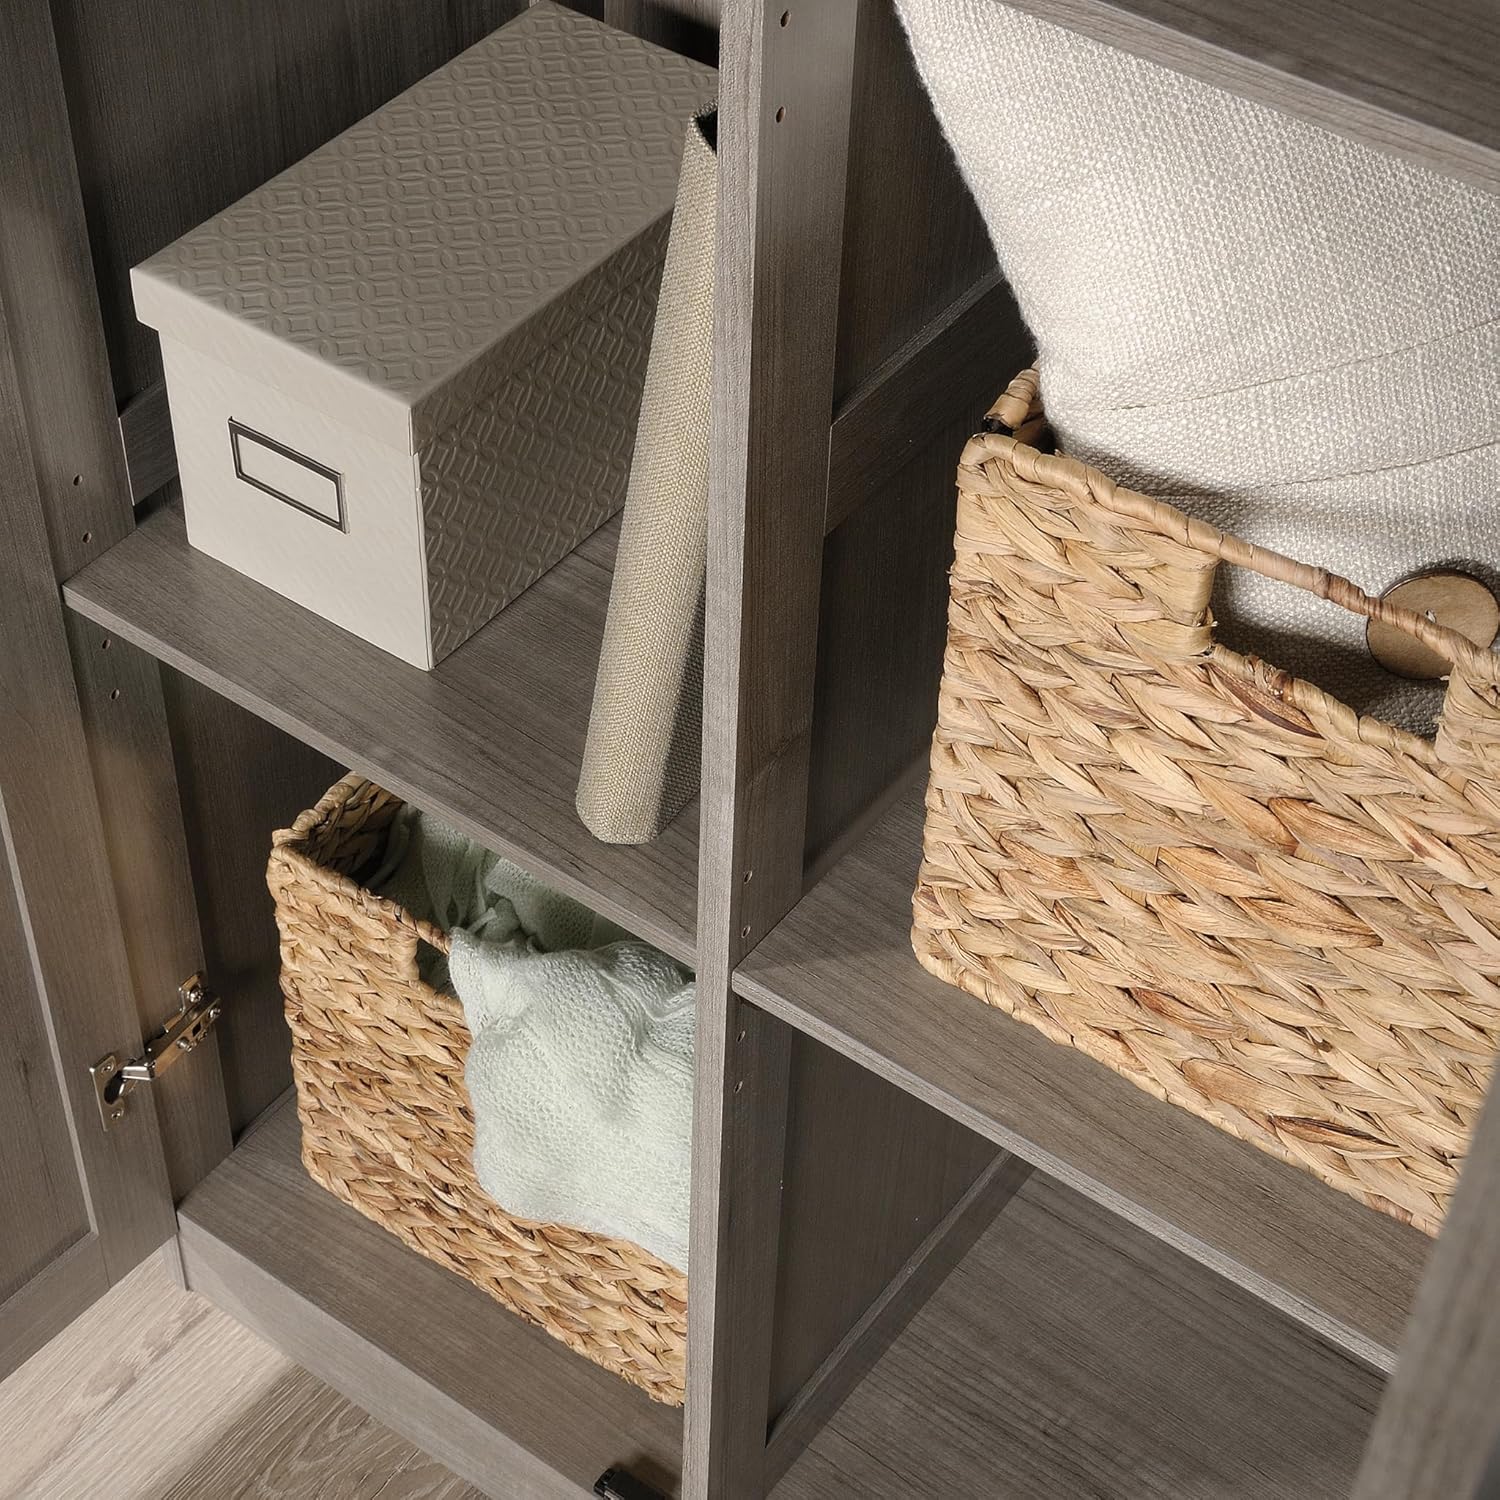
Image: A close-up of the cabinet's interior, displaying various items neatly organized on the adjustable shelves, including decorative boxes and woven baskets.

Image: A technical diagram illustrating the overall dimensions of the cabinet, including height, width, and depth, along with internal compartment measurements.
Operating Instructions
Your Sauder Select Storage Cabinet is designed for straightforward use.
- Opening/Closing Doors: Gently pull the handles to open the doors. Push the doors firmly until the magnetic closures engage to ensure they remain shut.
- Adjusting Shelves: To adjust the height of the adjustable shelves, remove all items from the shelf. Lift the shelf off its pins. Remove the shelf pins and reinsert them into the desired set of holes. Carefully place the shelf back onto the pins, ensuring it is level and secure.
- Weight Capacity: Adhere to the recommended weight limits for each shelf to prevent damage or instability. The upper shelves have a limit of 25 lbs, and the bottom shelf has a limit of 50 lbs.
Maintenance
Proper care will extend the life of your cabinet.
- Cleaning: Wipe surfaces with a soft, damp cloth. Avoid harsh chemicals or abrasive cleaners, as these can damage the finish.
- Spills: Clean up spills immediately to prevent moisture damage to the engineered wood.
- Hardware Check: Periodically check all screws and cam locks to ensure they remain tight. Retighten if necessary to maintain stability.
- Sunlight Exposure: Avoid prolonged exposure to direct sunlight, which can cause fading or discoloration of the finish.
Troubleshooting
If you encounter issues with your cabinet, try the following solutions:
| Problem | Possible Cause / Solution |
|---|---|
| Cabinet is wobbly or unstable. |
|
| Doors do not align or close properly. |
|
| Shelves sag or are not level. |
|
Specifications
- Brand: Sauder
- Model Number: 426125
- Color: Silver Sycamore
- Product Dimensions: 16.34"D x 29.61"W x 71.1"H
- Material: Engineered Wood
- Number of Shelves: 4 adjustable, 1 fixed
- Item Weight: 79.2 Pounds
- Assembly Required: Yes
Warranty Information
Your Sauder Select Storage Cabinet is backed by a 5-year limited warranty. This warranty protects your investment and ensures lasting peace of mind. For detailed terms and conditions, please refer to the warranty documentation included with your product or contact Sauder customer support.
Customer Support
For any questions, assistance with assembly, or to order replacement parts, please contact Sauder customer support:
- Website: sauder.com/service
- Phone: 800-523-3987
- A domestic call center is ready to assist you.

Image: A Sauder customer service representative wearing a headset, ready to provide assistance.
Related documents426125


Ask a question about this manual
Ask about setup, troubleshooting, compatibility, parts, safety, or missing instructions. Manuals+ will review the question and use this page’s manual context to help answer it.