
1. Introduction
The Robin Digital Day Clock is designed to clearly display the time, day, date, and period of the day (e.g., 'Morning', 'Afternoon'). This device is particularly useful for individuals who benefit from a clear, unambiguous display of time information. This manual provides instructions for setting up and operating your Robin Digital Day Clock.

Figure 1: Front view of the Robin Digital Day Clock displaying current time and date.
2. Package Contents
Please verify that all items are present in the package:
- Robin 8-Inch Digital Day Clock
- Power Adapter (Corded Electric)
- Tabletop Stand
- Instruction Manual
- 1 CR2032 battery (pre-installed for backup)
3. Setup
3.1 Power Connection
- Connect the power adapter to the DC input port on the back of the clock.
- Plug the power adapter into a standard electrical outlet. The clock will power on automatically.
3.2 Initial Settings
Upon first power-on, the clock may prompt you to set basic information. Use the navigation buttons on the side of the clock to adjust settings.
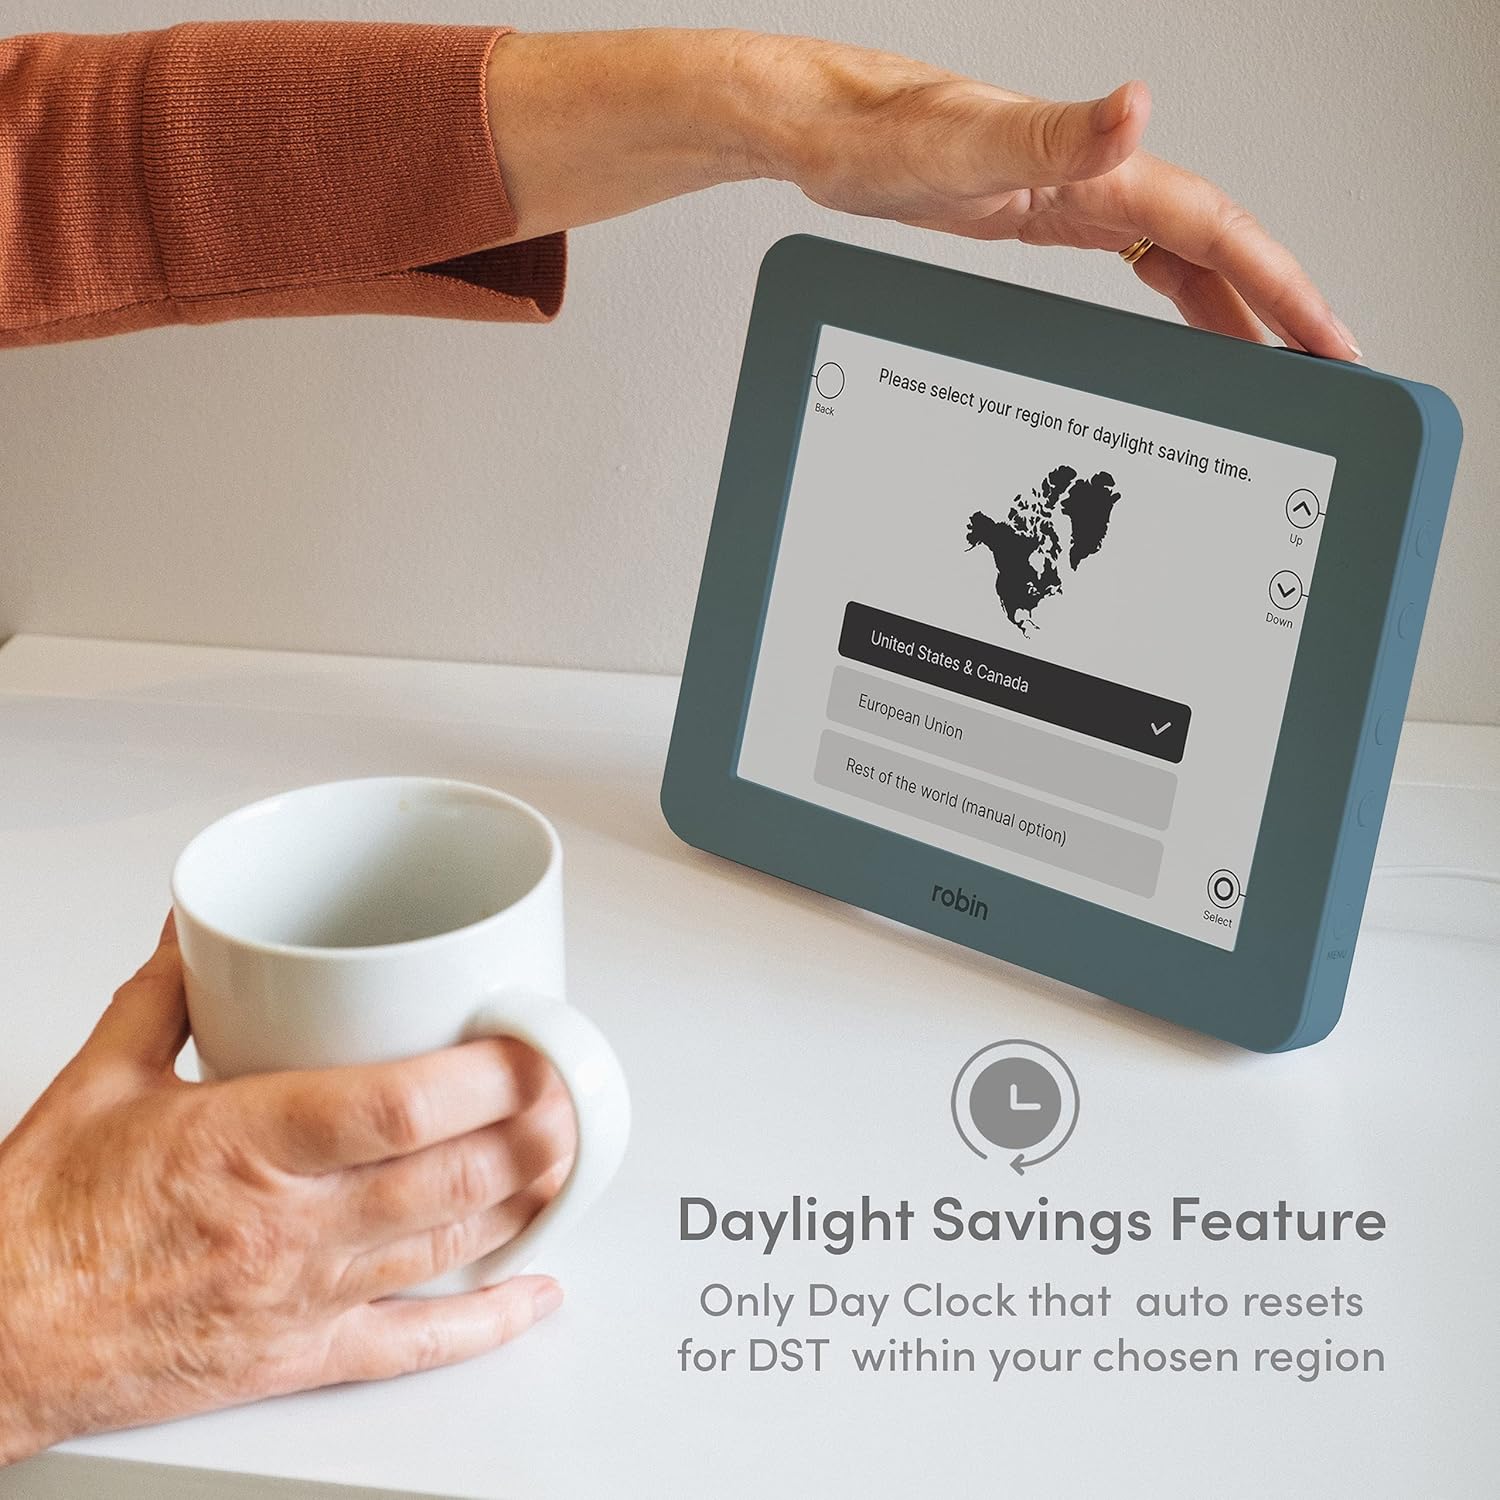
Figure 2: Screen for selecting Daylight Savings Time region.
- Time Zone: Select your local time zone.
- Date Format: Choose your preferred date display (e.g., MM/DD/YYYY or DD/MM/YYYY).
- Time Format: Select 12-hour or 24-hour format.
- Daylight Saving Time (DST): The clock features automatic DST adjustment. Select your region (e.g., United States & Canada, European Union) for correct automatic adjustments.
- Language: Select your preferred display language.
3.3 Mounting Options
The Robin Digital Day Clock can be placed on a tabletop or mounted on a wall.
- Tabletop: Attach the included tabletop stand to the back of the clock. Ensure it is securely fastened for stability.
- Wall Mount: Use the integrated wall mount holes on the back of the clock. Securely fasten the clock to a wall using appropriate hardware (not included).

Figure 3: Rear view showing tabletop stand and power connection.
4. Operating Instructions
4.1 Navigation Buttons
The clock features side buttons for menu navigation and setting adjustments. Typically, these include 'Menu', 'Up', 'Down', 'Enter', and 'Back' buttons.
4.2 Setting Time and Date Manually
While the clock automatically adjusts for DST, you can manually set the time and date if needed:
- Press the Menu button to access the main settings.
- Navigate to 'Time & Date Settings' using the Up/Down buttons and press Enter.
- Adjust the hour, minute, year, month, and day using the Up/Down buttons. Press Enter to confirm each selection.
- Exit the menu by selecting 'Save & Exit' or pressing the Back button repeatedly.
4.3 Alarms and Reminders
The clock supports setting multiple customizable alarms and reminders.
- Press the Menu button.
- Navigate to 'Alarm Settings' or 'Reminder Settings' and press Enter.
- Select 'Add New Alarm/Reminder'.
- Set the time, frequency (daily, weekly, specific date), and customize the message to be displayed. You can also choose an audible alert.
- Save the alarm/reminder.

Figure 4: Customization options for alarms and reminders.
4.4 Display Themes and Colors
The clock offers various display themes and color options to suit personal preference.
- Press the Menu button.
- Navigate to 'Display Settings' or 'Themes' and press Enter.
- Browse through the available themes and color options using the Up/Down buttons.
- Press Enter to select a theme.
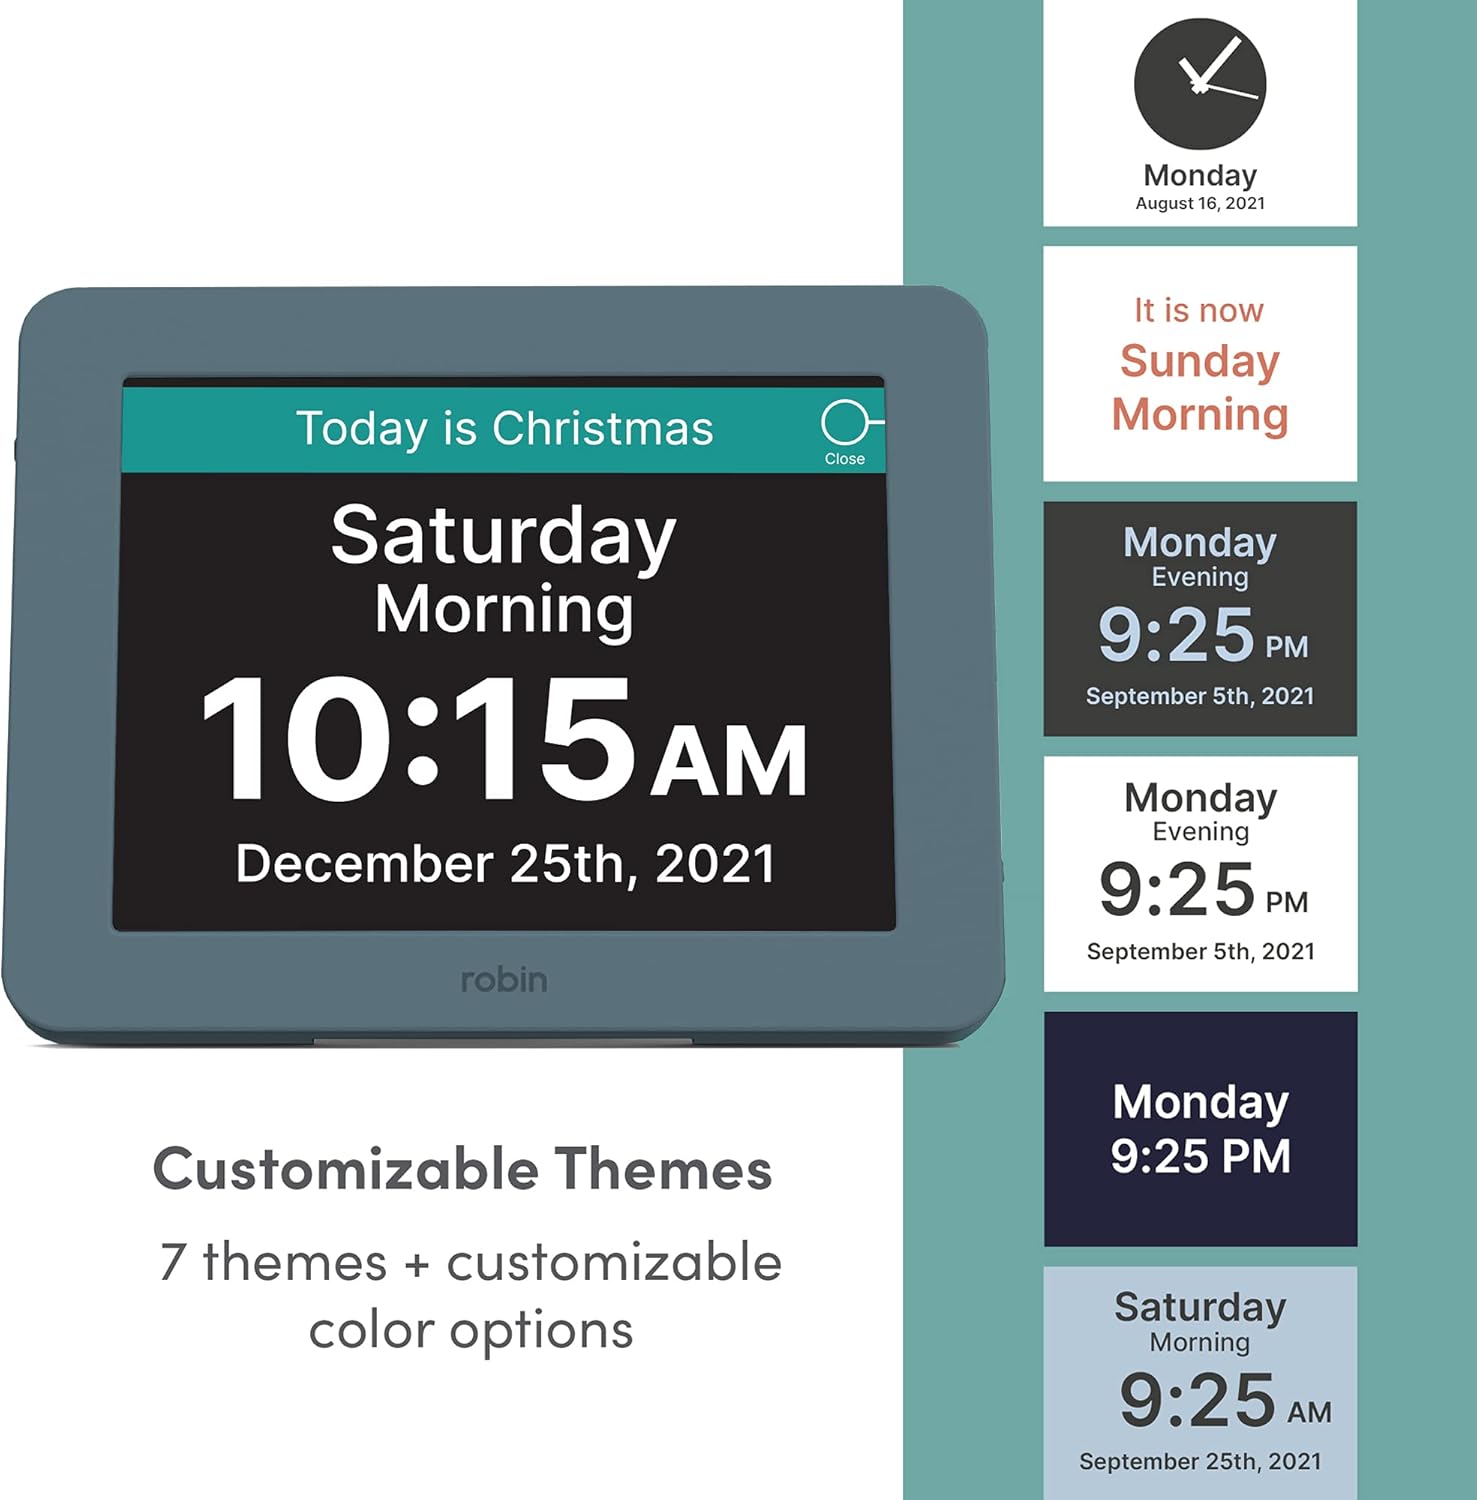
Figure 5: Examples of customizable display themes.
4.5 Talking Clock Function
The clock can audibly announce the time and date.
- Locate the dedicated 'Talking Clock' button on the side of the device.
- Press this button to hear the current day, time, and year announced in a clear voice.
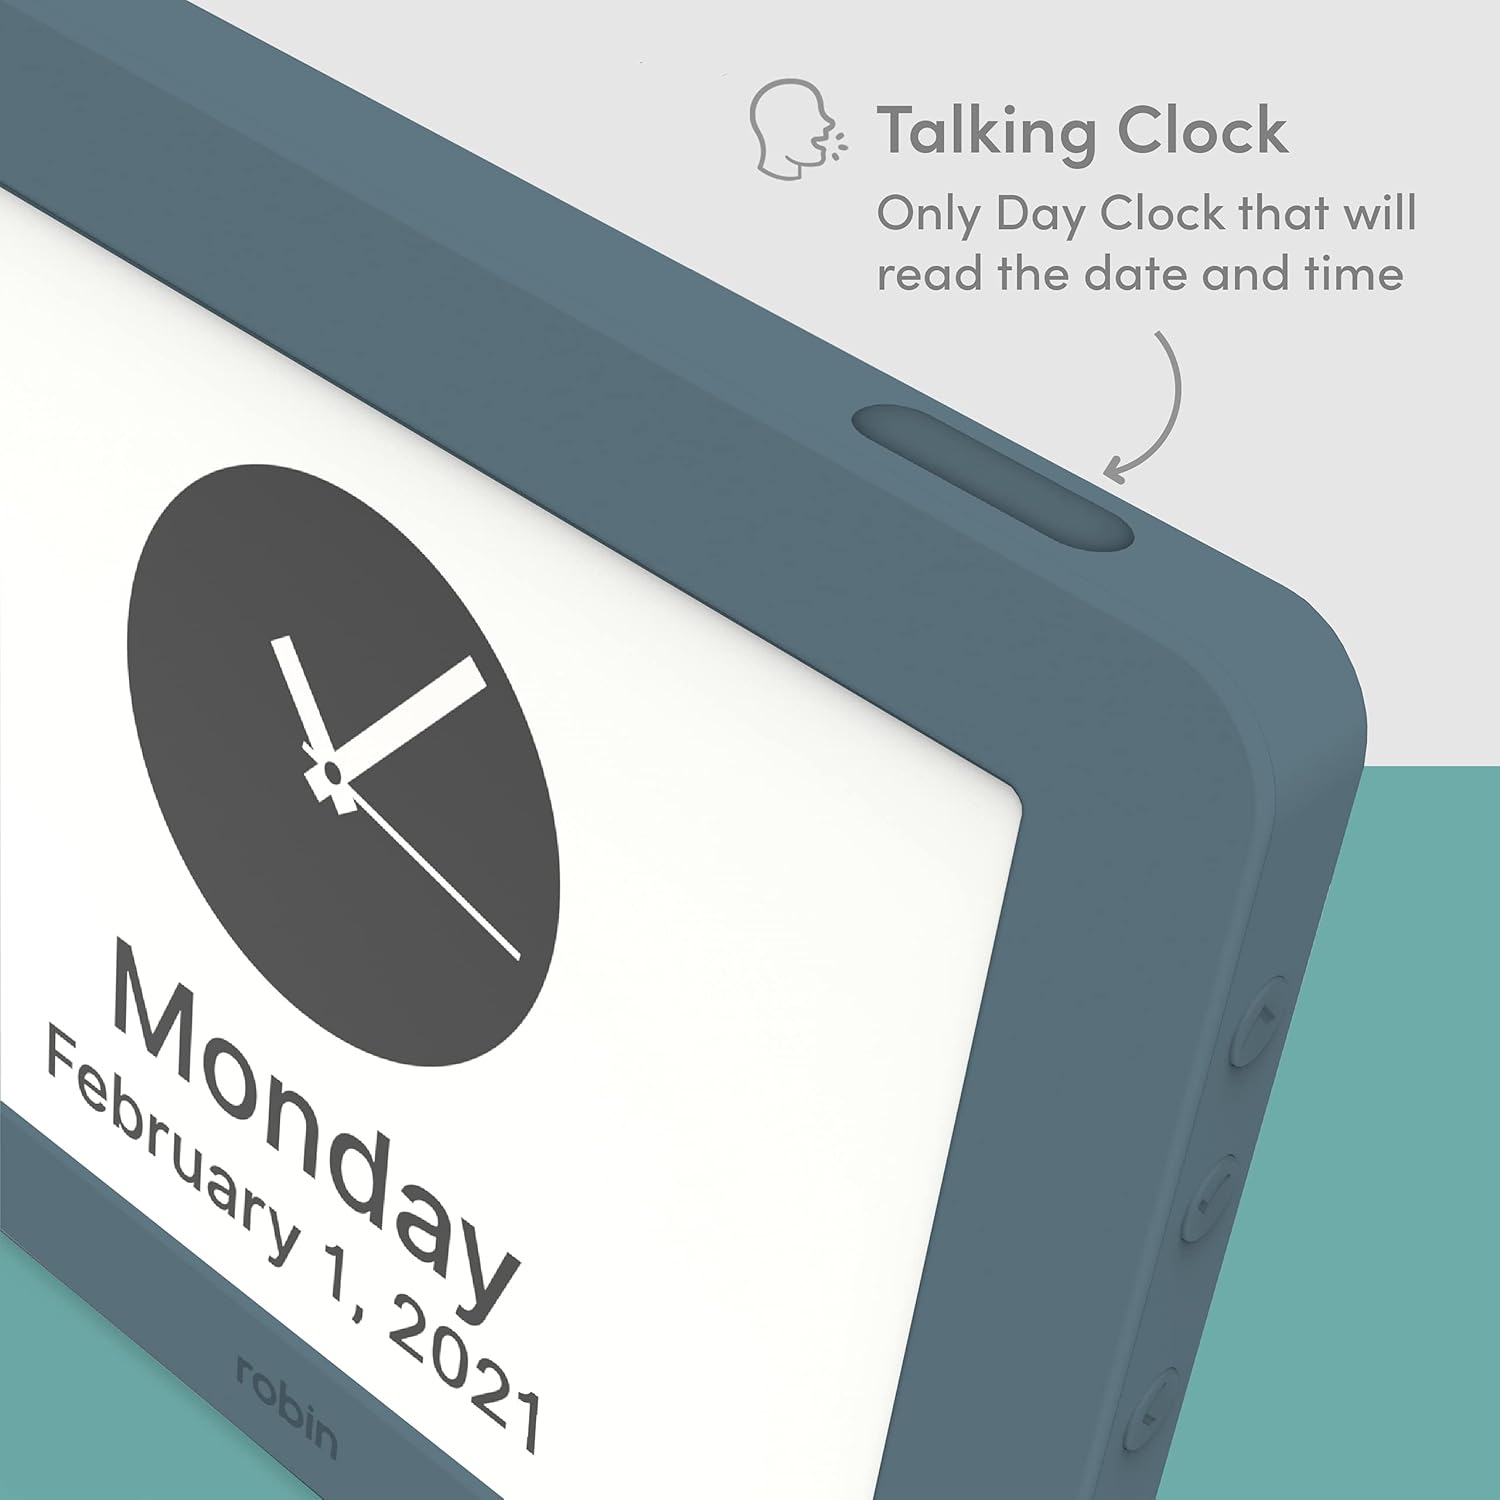
Figure 6: Location of the Talking Clock button.
4.6 Nap Button
The Nap Button allows for quick dimming of the display for undisturbed rest.
- Locate the 'Nap' button on the side of the device.
- Press this button to instantly dim the screen.
- Press it again to restore the previous brightness setting.
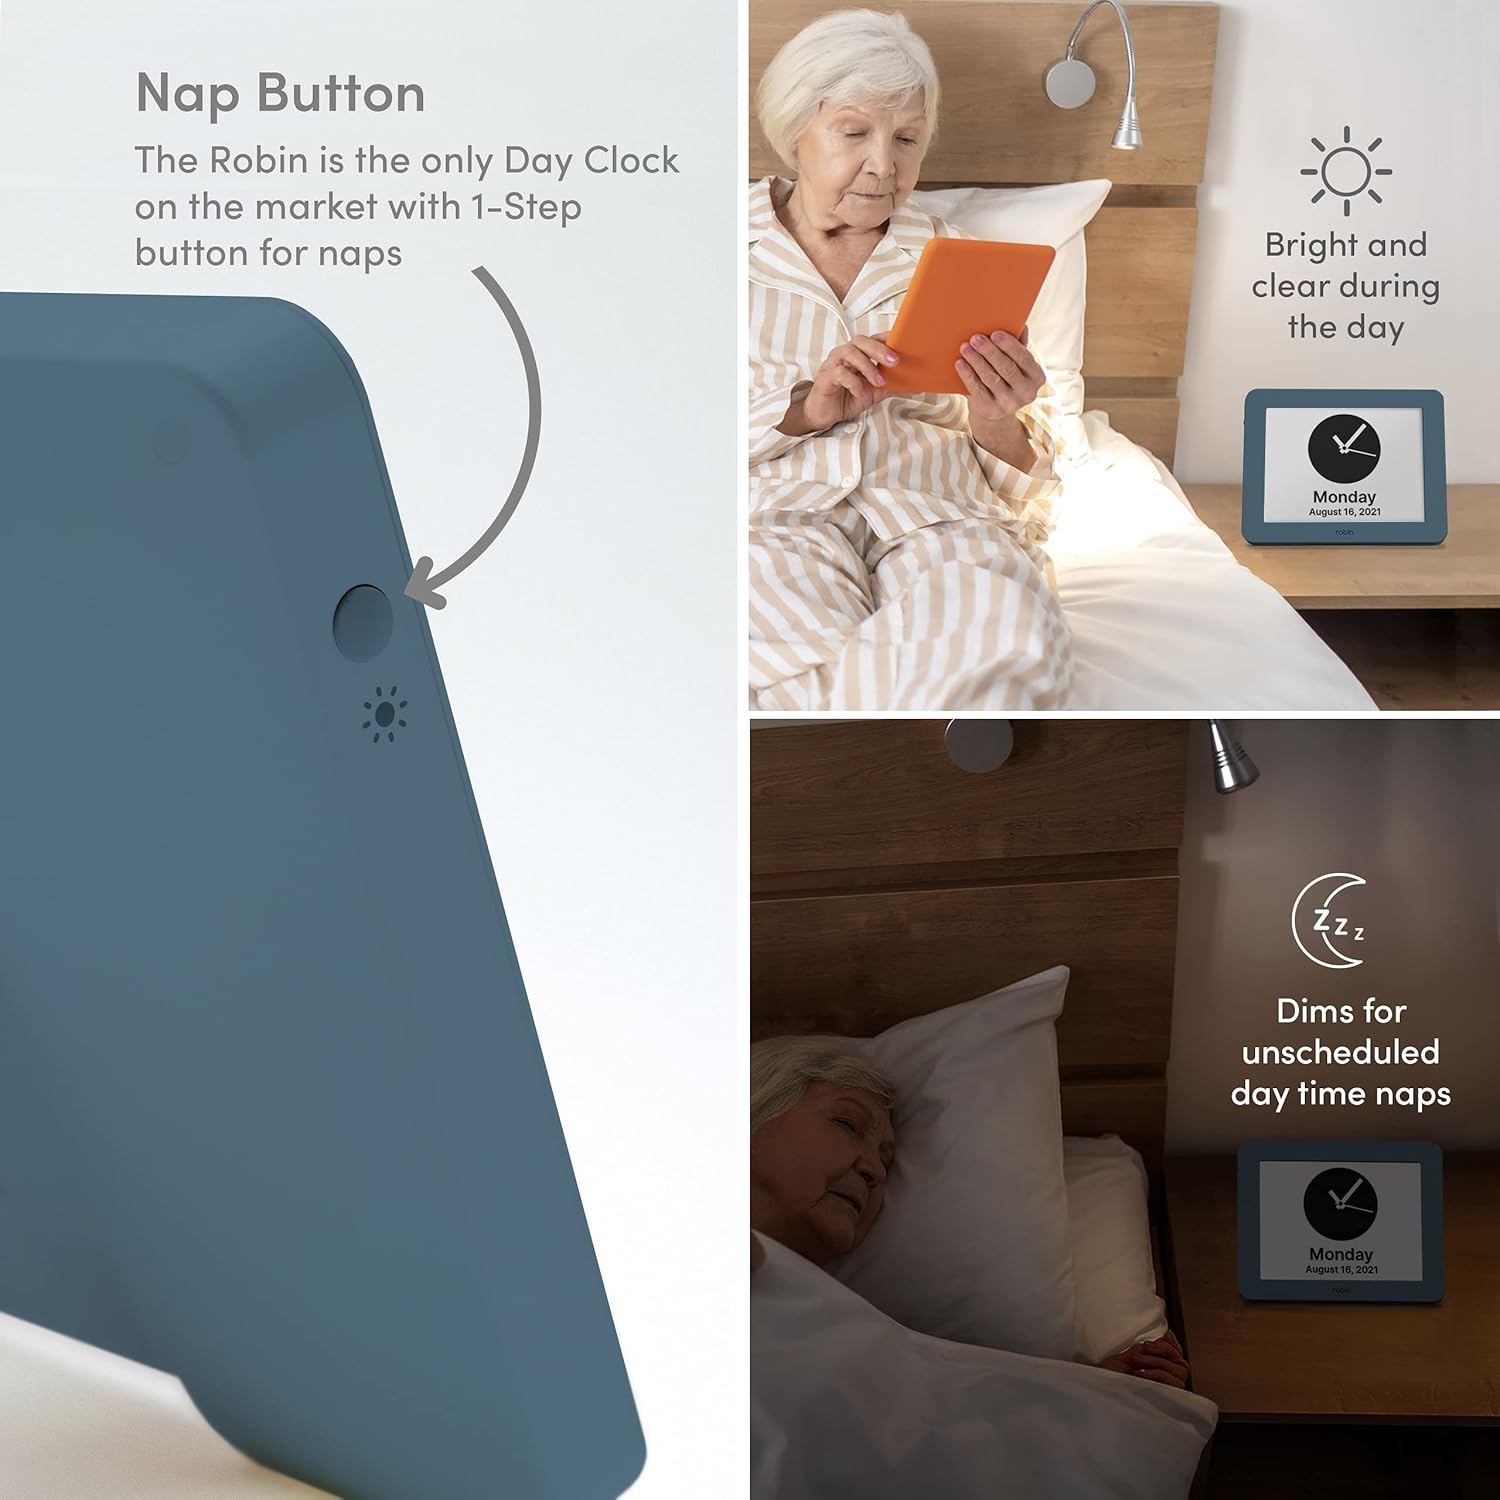
Figure 7: The Nap Button for quick screen dimming.
5. Features Overview
The Robin Digital Day Clock incorporates several features designed for user convenience:
- High Definition Display: An 8-inch crystal clear screen prominently displays time, day, and date.
- Customizable Alarms & Reminders: Set an unlimited number of personalized alarms and messages for various events, including medication reminders or appointments.
- Multiple Display Themes: Choose from over 20 themes and color options to personalize the clock's appearance.
- Talking Clock: A dedicated button allows the clock to audibly announce the current day, time, and year.
- Automatic Daylight Saving Time (DST) Adjustment: The clock automatically adjusts for DST based on your selected region.
- Battery Backup: An internal CR2032 battery ensures that time, date, and settings are retained during a power outage.
- Flexible Placement: Can be used as a tabletop clock with the included stand or mounted on a wall.

Figure 8: Battery backup feature for power outages.
6. Maintenance
To ensure the longevity and optimal performance of your Robin Digital Day Clock, follow these maintenance guidelines:
- Cleaning: Use a soft, dry, lint-free cloth to clean the screen and exterior. Avoid abrasive cleaners, solvents, or aerosol sprays, as these can damage the finish or screen.
- Placement: Place the clock on a stable surface or mount it securely on a wall. Avoid placing it in direct sunlight or near heat sources, which can affect display performance and internal components.
- Power: Always use the provided power adapter. If the adapter is damaged, contact customer support for a replacement.
- Battery: The internal CR2032 battery is for backup purposes only. It is not user-replaceable. If the clock consistently loses settings after power outages, contact customer support.
7. Troubleshooting
If you encounter issues with your Robin Digital Day Clock, refer to the following troubleshooting steps:
| Problem | Possible Cause | Solution |
|---|---|---|
| Clock does not power on. | Power adapter not connected or faulty. | Ensure the power adapter is securely plugged into the clock and a working electrical outlet. Try a different outlet. |
| Incorrect time or date displayed. | Incorrect time zone setting or manual adjustment needed. | Check the time zone setting in the menu. Manually adjust the time and date if necessary (refer to Section 4.2). |
| Alarms are not sounding. | Alarm volume is too low or alarm is disabled. | Check alarm settings to ensure it is enabled and the volume is set appropriately. |
| Screen is too bright or too dim. | Brightness settings need adjustment. | Access 'Display Settings' in the menu to adjust brightness. The Nap Button (Section 4.6) can also quickly dim the screen. |
| Settings are lost after a power outage. | Backup battery issue. | The internal CR2032 battery should retain settings. If this issue persists, contact customer support. |
8. Specifications
| Specification | Detail |
|---|---|
| Brand | Robin |
| Model Number | RDC0804-11 |
| Display Type | Digital |
| Screen Size | 8 Inches |
| Product Dimensions | 8"W x 6.5"H |
| Power Source | Corded Electric |
| Material | Plastic |
| Mounting Type | Tabletop, Wall Mount |
| Backup Battery | 1 CR2032 (included) |
| Special Features | Alarm Clock, Talking Clock, Automatic DST, Customizable Reminders |
| Item Weight | 1.39 pounds |
| UPC | 850004350874 |
Figure 9: Product dimensions.
9. Warranty and Support
Robin provides exceptional customer service. If you have any concerns or require assistance with your Digital Day Clock, please contact our US-based customer support team. Refer to the product packaging or the official Robin website for contact information.
