Important Safety Instructions
WARNING: Use caution when handling pressurized containers. Avoid exposure to chemical contents. Ensure proper use of pressure relief valve to prevent overpressurization.
- Always read and follow the instructions on the chemical product label before filling the sprayer.
- Wear appropriate personal protective equipment (PPE) such as gloves, eye protection, and respiratory masks as recommended by the chemical manufacturer.
- Do not use the sprayer with flammable liquids, strong acids, or highly corrosive substances.
- Never leave a pressurized sprayer unattended.
- Release pressure from the sprayer after each use and before disassembling or refilling.
- Keep out of reach of children and pets.
Product Overview
The SOLO 212 is a lightweight and easy-to-use 2-gallon sprayer, designed for various home and garden applications including pest control and watering. Its robust construction ensures durability and reliable performance.
Key Features
- Durable 24-inch poly wand and shut-off valve assembly for extended reach and precise application.
- 45-inch PVC hose provides ample length for maneuverability.
- Easy-to-fill funnel top minimizes spills and simplifies the filling process.
- Plastic adjustable spray nozzle included, compatible with TeeJet nozzles for versatile spray patterns.
- Large pump handle with a built-in wand retainer for comfortable pumping and convenient storage.
Components and Visual Guide
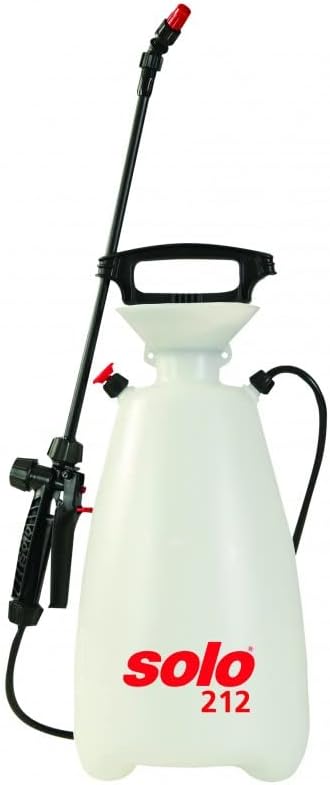
Figure 1: The SOLO 212 2-Gallon Home & Garden Sprayer, showing the main tank, pump handle, wand, hose, and nozzle.
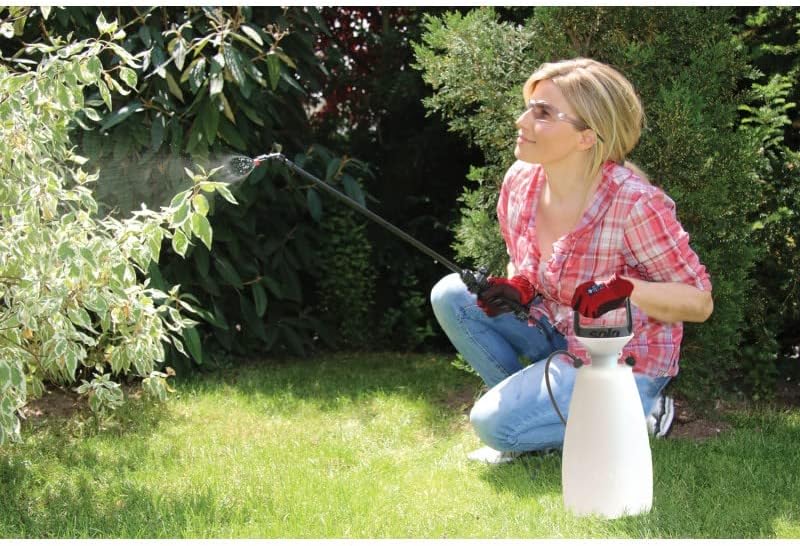
Figure 2: A user demonstrating the application of the SOLO 212 sprayer for garden tasks, highlighting its ease of use.

Figure 3: Detailed view of the wide funnel top, designed for easy and spill-free filling of liquids into the tank.

Figure 4: Close-up of the ergonomic shut-off valve assembly and the integrated wand retainer for secure storage.
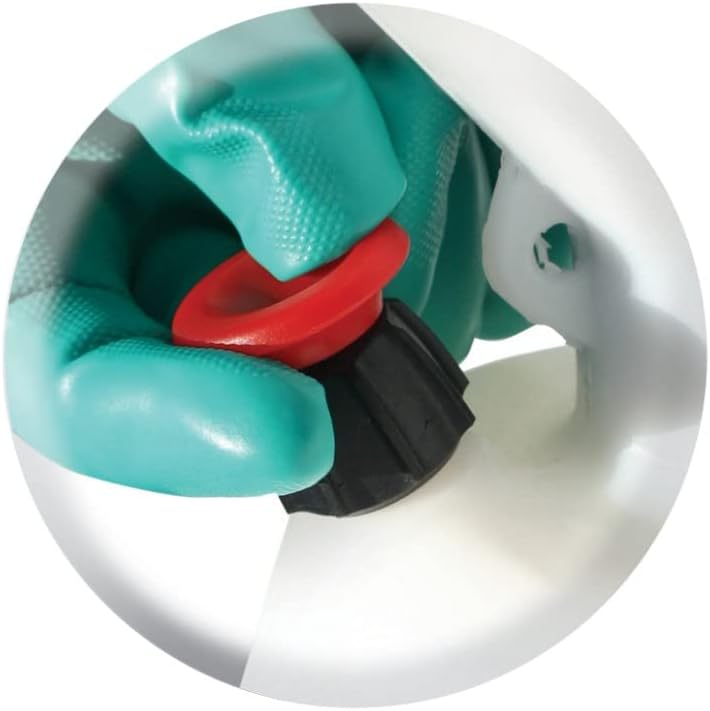
Figure 5: Detailed view of the pressure relief valve, essential for safely releasing internal tank pressure.
Setup and Assembly
Before first use, ensure all components are securely attached.
- Attach the Hose: Connect the 45-inch PVC hose to the tank outlet and the shut-off valve assembly. Ensure connections are tight to prevent leaks.
- Connect the Wand: Securely attach the 24-inch poly wand to the shut-off valve assembly.
- Install the Nozzle: Thread the adjustable spray nozzle onto the end of the wand. Tighten by hand until snug.
- Check all Connections: Double-check all connections for tightness before filling the sprayer.
Operating Instructions
- Prepare the Solution: Mix your desired liquid (water, pesticide, herbicide, etc.) according to the manufacturer's instructions in a separate container.
- Fill the Tank: Unscrew the pump assembly from the tank. Using the easy-to-fill funnel top, carefully pour the prepared solution into the tank. Do not overfill beyond the 2-gallon capacity.
- Secure the Pump: Reinsert the pump assembly into the tank and screw it down tightly to create an airtight seal.
- Pressurize the Sprayer: Pump the large handle up and down repeatedly until resistance is felt and the tank is pressurized. Approximately 10-20 strokes are usually sufficient.
- Begin Spraying: Aim the wand at the target area. Squeeze the trigger on the shut-off valve to begin spraying. For continuous spraying, push the trigger forward to lock it in place.
- Adjust Spray Pattern: Rotate the adjustable nozzle to change the spray pattern from a fine mist to a solid stream.
- Release Pressure: After use, or before opening the tank, always release the internal pressure by pulling the red pressure relief valve located on the top of the tank until all air escapes.
Maintenance
- Cleaning After Use: After each use, thoroughly rinse the tank, hose, wand, and nozzle with clean water. Pump clean water through the sprayer to flush out any chemical residue.
- Nozzle Cleaning: If the nozzle becomes clogged, remove it and clean it with water and a soft brush. Do not use metal objects that could damage the nozzle orifice.
- Lubrication: Periodically apply a silicone-based lubricant to the pump plunger O-ring to maintain a good seal and smooth operation.
- Storage: Store the sprayer in a cool, dry place, away from direct sunlight and freezing temperatures. Ensure all pressure is released before storage.
- Winterization: If storing in freezing conditions, ensure all water is drained from the sprayer to prevent damage from ice expansion.
Troubleshooting
| Problem | Possible Cause | Solution |
|---|---|---|
| Sprayer does not build pressure or leaks air. | Loose pump assembly, worn O-ring on pump plunger, clogged pressure relief valve, loose hose/wand connections. | Tighten pump assembly. Inspect and lubricate/replace pump O-ring. Clean pressure relief valve. Check and tighten all hose and wand connections. |
| No spray or weak spray. | Insufficient pressure, clogged nozzle, clogged filter in wand/hose. | Pump more to build pressure. Clean the nozzle. Check and clean any filters in the hose or wand. |
| Liquid leaks from nozzle when not spraying. | Nozzle not tightened, worn nozzle seal, debris in nozzle. | Tighten the nozzle. Inspect and replace nozzle seal if worn. Clean any debris from the nozzle. |
Technical Specifications
| Brand | SOLO |
| Model Name | Solo, 212, 2-gallon Home & Garden Sprayer |
| Item Model Number | 212 |
| Tank Volume | 2 Gallons |
| Material | Plastic, Polypropylene (PP) |
| Item Weight | 4 Pounds |
| Product Dimensions | 15.25"W x 23.75"H |
| Hose Length | 45 Inches |
| Maximum Pressure | 150 Pound per Square Inch |
| Power Source | Hand Powered |
| Included Components | Nozzle |
| Recommended Uses | Pest Control, Weed Control |
| UPC | 720343212006 |
| Manufacturer | Solo |
Warranty and Customer Support
SOLO products are manufactured to high-quality standards. For specific warranty information, please refer to the documentation included with your purchase or visit the official SOLO website.
For further assistance, technical support, or to inquire about replacement parts, please contact SOLO customer service. You can also visit the official SOLO store on Amazon for more product information and support resources:


