
iSpring CRO1000
iSpring CRO1000 4-Stage Tankless Commercial Reverse Osmosis Water Filtration System User Manual
Model: CRO1000 | Brand: iSpring
1. Product Overview
The iSpring CRO1000 is a 4-stage tankless commercial reverse osmosis water filtration system designed for high-flow water purification. It is suitable for various applications including residential, offices, restaurants, small businesses, and light industrial use. This system provides on-demand clean, filtered water with a high output of 1,000 GPD (Gallons Per Day).
Key Features:
- High Output: Delivers up to 1,000 GPD with a flow rate of 0.7 GPM.
- Tankless Design: Provides on-demand purified water without the need for a storage tank.
- Advanced 4-Stage Filtration: Effectively removes up to 99% of over 1,000 contaminants, including lead, chlorine, fluoride, arsenic, asbestos, calcium, and sodium.
- Integrated Gauges: Built-in inlet and outlet gauges allow for easy pressure monitoring.
- Durable Construction: Features a freestanding metal frame on wheels with locking brakes for stability and mobility, and a stainless steel RO membrane housing.
- Versatile Application: Connects to various water-using appliances such as ice makers, coffee machines, and drinking faucets.

Figure 1: iSpring CRO1000 Commercial Reverse Osmosis Water Filtration System.
Product Overview Video
Video 1: Short overview of the iSpring CRO1000 Reverse Osmosis Water Filter System.
2. Safety Precautions
- The system operating temperature range is 40° to 100° Fahrenheit (4° to 38° Celsius).
- Ensure there is sufficient space at the desired installation location to safely replace filters.
- Unauthorized modification or disassembly is strictly prohibited and will void the product warranty.
- The system produces wastewater and requires a drain hole or a sewage pipe nearby for proper wastewater disposal.
- This system is designed for municipal water in residential and light commercial use. For other water sources or environments, please contact iSpring customer support.
- Maintain water pressure between 80-130 psi for optimal use. If water pressure is below 80 psi, an optional booster pump (Model: PMP1000) is recommended. If water pressure is above 130 psi, a pressure regulator may be needed.
3. Setup and Installation
This section provides step-by-step instructions for assembling and installing your iSpring CRO1000 system. Refer to the installation video for visual guidance.
3.1 System Body Assembly
- Install Wheels: Attach the omni wheels to the frame base. Press down the brakes to lock the wheels for stability during assembly.
- Insert Frame Pillars: Insert the frame pillars into the square slots of the frame base and secure them with M8 screw sets.
- Attach Machine Head: Place the machine head on top of the frame pillars. Secure the machine head and the frame pillars with M6 screw sets.
3.2 Pre-filter Installation
- Unwrap Filters: Take out and unwrap the pre-filters (PP Sediment Filter and two Carbon Block Filters).
- Install Sediment Filter: Insert the sediment filter into the first stage clear housing.
- Install Carbon Block Filters: Insert the carbon block filters into the second and third stage housings.
- Tighten Housings: Install the housings into the system. Tighten the housings with a housing wrench, turning an additional quarter to half turn. Do not overtighten, as this can cause leaks and make future filter replacement difficult.

Figure 2: Filter types and their recommended service life.
3.3 RO Membrane Installation
- Remove Metal Clamps: Remove the metal clamps on both ends of the stainless steel membrane housing.
- Remove Caps: Remove the caps on both ends of the membrane housing using a slotted head screwdriver. Verify that the O-rings on both caps are in place and lubricated.
- Install RO Membrane: Take out and unwrap the RO membrane. Ensure the direction of the arrow on the membrane matches the one on the membrane housing. Insert the membrane into the membrane housing.
- Replace Caps and Clamps: Place the caps back onto the membrane housing and install the metal clamps back in place.
3.4 Cold Water Line Connection
- Connect 3/4" Connector: Apply plumber's tape evenly on the 3/4" connector. Install the connector to the system's water inlet port. Do not overtighten.
- Connect Purified Water Line: Connect the blue tubing (purified water line) to a drinking faucet or desired application.
- Connect Wastewater Line: Connect the white tubing (wastewater line) to a sewage pipe or drain hole.
- Connect Pre-filter Outlet to Membrane Cap: Ensure the tubing is connected from the pre-filter outlet to the membrane cap.

Figure 3: Pressure gauges for monitoring system performance.
3.5 Pre-filter Wash & System Startup
Performing a pre-filter wash is recommended every time you install or replace pre-filters to prolong the membrane service life and maximize system performance.
- Connect Pre-filter Outlet to Drain: Disconnect the 3/8" tubing from the pre-filter outlet that leads to the membrane cap. Place this tubing into a bucket or drain hole to collect wastewater.
- Slowly Turn on Feed Water Valve: Let the water fill and flush the pre-filters for 5 minutes. Check for any leaks.
- Shut off Feed Water Valve: Once flushing is complete, shut off the feed water valve. The pre-filter wash is now complete.
- Reconnect Tubing: Remove the 3/8" tubing from the bucket/drain and re-insert it into the water inlet port on the membrane cap.
- Turn on Automatic Shutoff Valve: Turn on the valve switch located in the automatic shutoff components kit.
- Turn on Feed Water Valve for RO: Turn on the feed water valve. Let the purified water run for 30 minutes to rinse off protective solutions on the membrane's surface.
- Complete Flush: Turn off the valve switch in the automatic shutoff components kit when rinsing is complete.
Your iSpring CRO1000 system is now installed and ready for use.
Installation Video
Video 2: Detailed installation guide for the iSpring CRO1000 Commercial Grade RO Water Filtration System.
4. Operation
The iSpring CRO1000 is a tankless system designed for continuous, on-demand water purification. Once installed and flushed, the system operates automatically when water is drawn from connected appliances.
- On-Demand Water: Water is purified as it passes through the system, providing fresh RO water directly to your connected devices.
- Pressure Monitoring: Regularly check the built-in inlet and outlet gauges to monitor water pressure. A significant drop in the reading of the right pressure gauge may indicate that pre-filters need replacement.
- Flow Rate: The system delivers purified water at a maximum flow rate of 0.7 Gallons Per Minute (GPM).
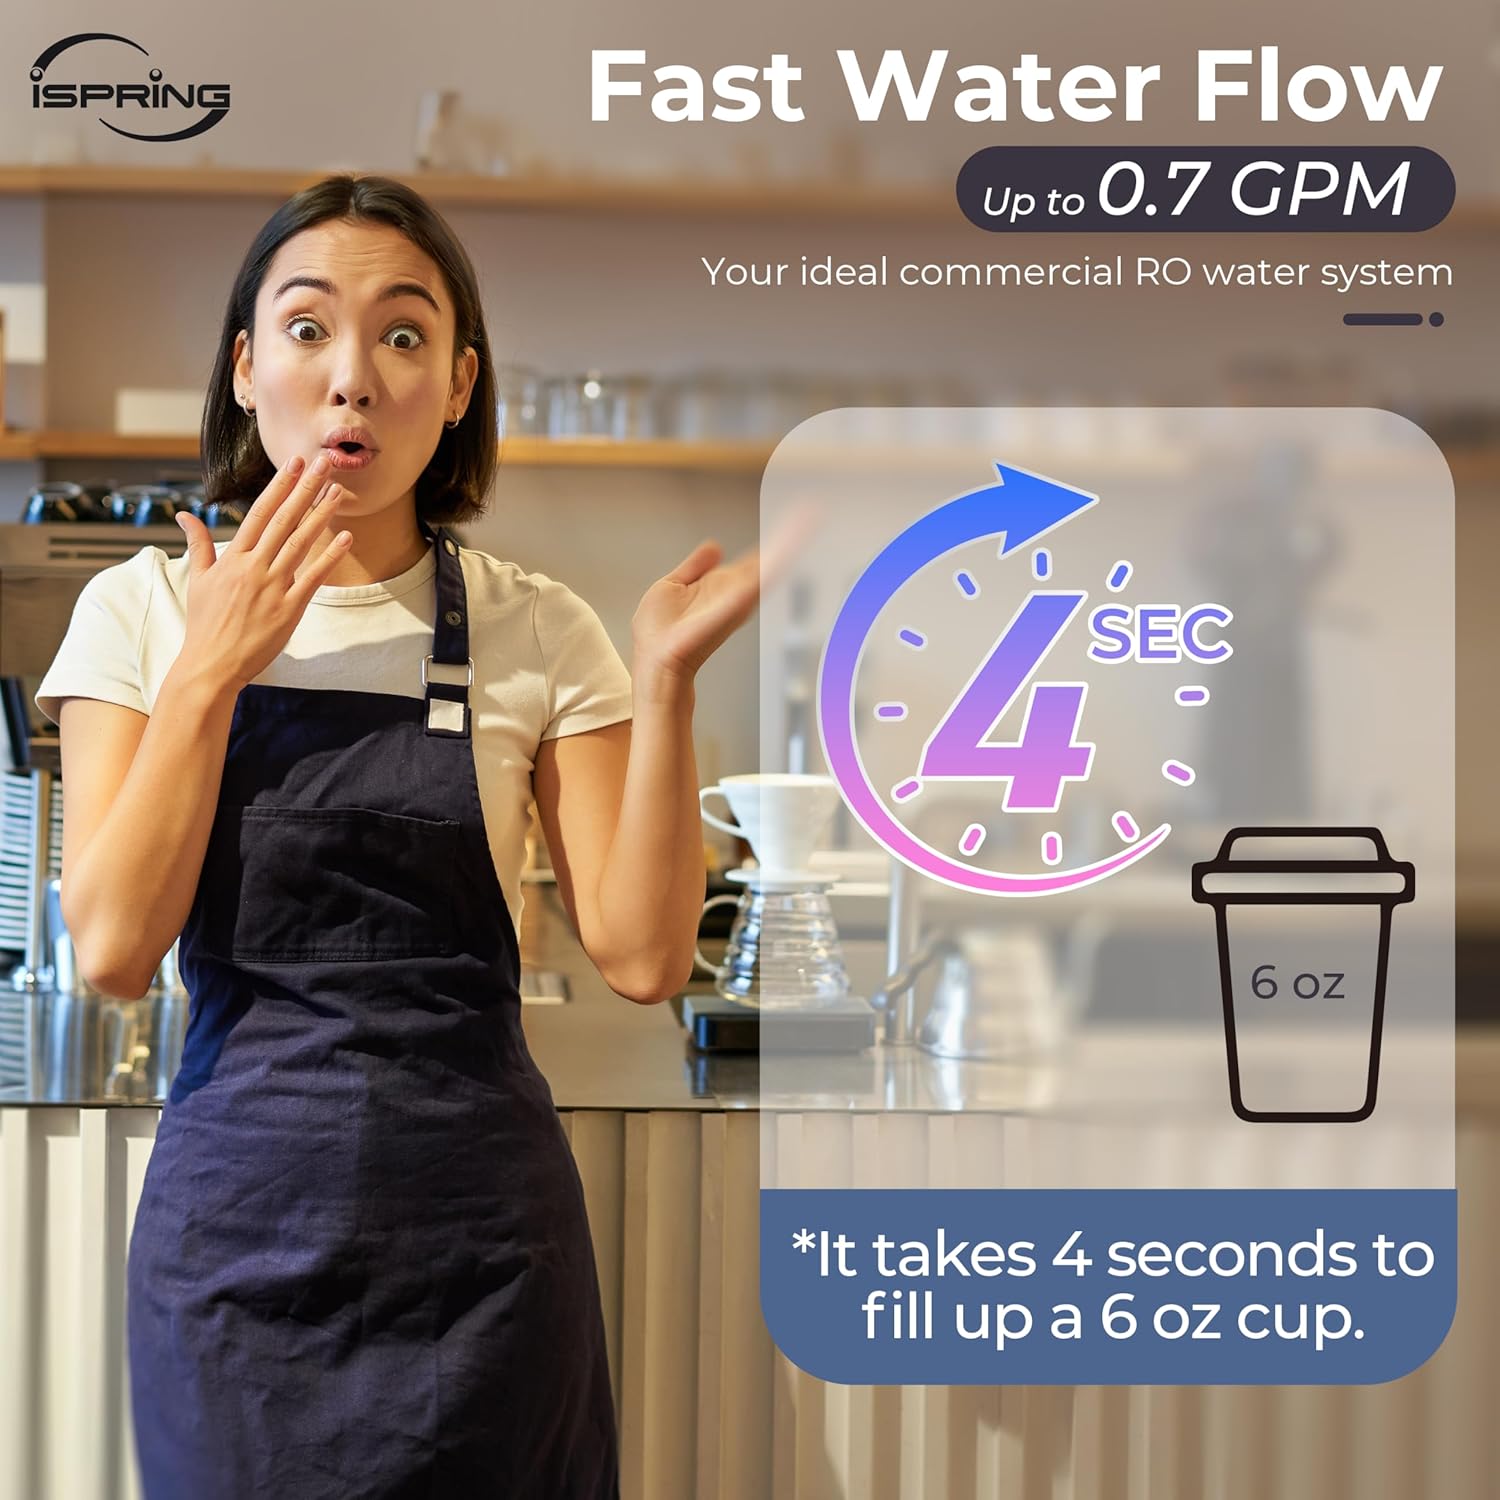
Figure 4: The system provides fast water flow for commercial applications.
5. Maintenance and Filter Replacement
Regular maintenance, particularly timely filter replacement, is crucial for ensuring the longevity and optimal performance of your iSpring CRO1000 system and the quality of your purified water. The filter service life depends on your source water quality and usage.
5.1 Filter Lifespan and Replacement Schedule
- Stage 1 PP Sediment Filter (Model: FP25B): Replace every 3-6 months.
- Stage 2 & 3 Carbon Block Filters (Model: FC25B): Replace every 6-12 months.
- Stage 4 RO Membrane (Model: MCRO1000): Replace every 2-3 years.
Note: These are general guidelines. Actual replacement frequency may vary based on water quality and usage.
5.2 Pre-filter Replacement Procedure
Refer to the filter replacement video for visual instructions.
- Shut off Water Inlet: Close the water inlet from the feed water valve. If applicable, unplug the external pressure booster pump.
- Release Pressure: Turn on the drinking faucet to release pressure from inside the system.
- Remove Housings: Use the pre-filter housing wrench to remove all three pre-filter housings by turning them clockwise. Be prepared to catch any residual water with a towel or bucket. Remove and dispose of all expired filters.
- Install New Filters: Unwrap the new filters. Insert the new filters back into their respective housings in the correct order (Sediment in 1st stage, Carbon Blocks in 2nd & 3rd). Ensure the housing O-rings are properly seated to prevent leaks.
- Tighten Housings: Twist the housings counter-clockwise onto the housing caps. Use the housing wrench to tighten each housing with another quarter to half turn. Do not overtighten.
- Perform Pre-filter Wash: Follow the "Pre-filter Wash & System Startup" steps in Section 3.5 to flush the new pre-filters.
- Restore Operation: After the pre-filter wash, turn on the feed water valve. Your system should now be operating normally. Let the water run until all air is purged from the system, then turn off the faucet.
5.3 RO Membrane Replacement Procedure
If you are replacing the RO membrane, keep the faucet open and the feed water valve off before starting this procedure.
- Remove Metal Clamps: Ensure the pressure inside the system is released. Remove the metal clamps from the stainless steel membrane housing.
- Remove Membrane Cap: Remove the membrane housing cap with a slotted head screwdriver. Be prepared to catch water.
- Remove Old Membrane: Take out and dispose of the expired membrane, using pliers if necessary.
- Install New Membrane: Unwrap the new RO membrane. Ensure the direction of the arrow on the membrane matches the one on the membrane housing. Insert the membrane into the membrane housing.
- Lubricate O-ring & Replace Cap: Apply silicone lubricant grease to the cap O-ring if needed, and install the cap back onto the housing. Install the metal clamps back in place.
- Perform RO Membrane Flush: Turn on the valve switch located in the automatic shutoff components kit. Turn on the feed water valve. Let the purified water run for 30 minutes to rinse off protective solutions on the membrane's surface.
- Complete Flush: Turn off the valve switch in the automatic shutoff components kit when rinsing is complete.
Filter Replacement Video
Video 3: Guide for replacing filters in the iSpring CRO1000 Commercial RO Water Filtration System.
6. Troubleshooting
This section provides general troubleshooting tips for common issues. For more complex problems, please contact iSpring customer support.
- Low Water Flow:
- Check the feed water pressure. If below 80 psi, consider installing a booster pump.
- Inspect pre-filters for clogging. Replace if necessary.
- Check the RO membrane. A clogged membrane can significantly reduce flow.
- Leaks:
- Ensure all fittings and connections are securely tightened. Do not overtighten.
- Verify that O-rings in filter housings and membrane caps are properly seated and lubricated.
- Poor Water Quality (High TDS):
- The RO membrane may be exhausted. Replace the RO membrane if it's past its recommended lifespan or if TDS levels remain high after pre-filter replacement.
- Ensure the system has been properly flushed after filter changes.
- No Water Production:
- Check if the feed water valve is open.
- Ensure the automatic shutoff valve is in the ON position.
- Verify that the booster pump (if installed) is powered on and functioning.
7. Product Specifications
| Feature | Detail |
|---|---|
| Brand | iSpring |
| Model Name/Number | CRO1000 |
| Special Feature | Tankless |
| Product Dimensions (L x W x H) | 23.5" x 10.5" x 38.25" |
| Material | Stainless Steel |
| Capacity | 1000 Gallons Per Day (GPD) |
| Maximum Flow Rate | 0.7 Gallons Per Minute (GPM) |
| Purification Method | Reverse Osmosis |
| Installation Type | Freestanding |
| Supported Water TDS Level Maximum | 500 PPM |
| Item Weight | 20.5 Pounds |
| Included Components | System, 3 filters, membrane, housing wrench, 3/4" connector, Manual, tubing |
8. Warranty and Support
The iSpring CRO1000 system comes with a 1-year manufacturer warranty.
For technical assistance, troubleshooting, or any questions regarding your iSpring product, please contact iSpring Water Systems customer support.
- Website: www.123filter.com/support
- Phone: +1 (678) 261-7611 (M-F 9:00 AM - 5:00 PM EST)
iSpring is dedicated to providing high-quality drinking water solutions and expert customer support.
Related documentsCRO1000


Ask a question about this manual
Ask about setup, troubleshooting, compatibility, parts, safety, or missing instructions. Manuals+ will review the question and use this page’s manual context to help answer it.