
1. Introduction and Overview
Thank you for choosing the gridinlux Ozone Generator Action 1300. This device is designed to purify both air and water, utilizing ozone (O3) and natural anions to eliminate odors, bacteria, viruses, and other contaminants. It is suitable for use in homes, offices, and small commercial spaces, offering a versatile solution for maintaining a clean and fresh environment.
The Action 1300 generates 400 mg/h of ozone and emits 6 x 100,0000 pcs/cm3 of anions, providing effective purification for areas up to 75 m² (with maximum efficiency up to 1300 m² for specific applications). Its user-friendly interface and remote control allow for customizable power and duration settings.
2. Important Safety Information
WARNING: Ozone (O3) is a powerful oxidant. Do not operate this device in occupied spaces. Ensure no humans, pets, or plants are present in the room during ozone generation. After operation, ventilate the area thoroughly before re-entry.
- Read all instructions carefully before use.
- Keep the device away from water and moisture. Do not immerse the unit in water.
- Ensure the power cord is not damaged and is properly connected to a suitable power outlet.
- Do not block the air inlets or outlets during operation.
- Keep out of reach of children and individuals with reduced physical, sensory, or mental capabilities.
- Do not attempt to open or repair the device yourself. Contact qualified service personnel for assistance.
- Use only the accessories provided by the manufacturer.
3. Package Contents
Please check the box for the following items:
- 1 x gridinlux Ozone Generator Action 1300 Unit
- 1 x Remote Control
- 2 x Silicone Tubes (for water ozonation)
- 2 x Volcanic Stones (for water ozonation)
- 1 x User Manual
4. Product Components and Diagram
Familiarize yourself with the main parts of your gridinlux Ozone Generator.

Figure 4.1: Front view of the gridinlux Ozone Generator Action 1300 with its remote control. The unit is white with a black top panel featuring a digital display and control buttons. It is placed on a wooden table next to a green plant.

Figure 4.2: Close-up view of the top control panel of the ozone generator, showing the digital display for time and intensity settings, along with 'Ozone' and 'Anion' indicators and control buttons.
Main Unit:
- Digital Display: Shows current time and intensity settings.
- Control Buttons: For power, time adjustment, and mode selection.
- Ozone Outlet: Where ozone is released into the air or directed for water treatment.
- Air Inlet: Where ambient air is drawn into the unit.
Accessories:
- Remote Control: Allows convenient operation from a distance.
- Silicone Tubes: Connect to the ozone outlet for directing ozone into water.
- Volcanic Stones: Attached to the end of the silicone tubes to diffuse ozone efficiently into liquids.
5. Setup
5.1 Initial Placement
- Place the ozone generator on a stable, flat surface or mount it on a wall in the desired room.
- Ensure there is adequate space around the unit for proper air circulation.
- Keep the device away from direct sunlight, heat sources, and flammable materials.

Figure 5.1: The ozone generator is shown mounted on a wall in an office, demonstrating a typical placement for air purification.
5.2 Power Connection
- Connect the power cable to the back of the unit.
- Plug the other end of the power cable into a standard electrical outlet (AC 220-240V, 50/60Hz).
- The digital display will light up, indicating the unit is in standby mode.
6. Operating Instructions
6.1 Control Panel and Remote Control
The device can be operated using the buttons on the unit or the provided remote control. The digital display shows the set operating time and ozone/anion emission status.
- Power Button: Turns the unit ON/OFF.
- Time Setting Buttons (+/-): Adjusts the operating duration.
- Mode Button: Cycles through different operating modes (e.g., Ozone, Anion, combined).
6.2 Air Purification
REMINDER: Ensure the area is unoccupied during air purification with ozone.
- Place the unit in the center of the room or an elevated position for optimal air circulation.
- Press the Power button to turn on the device.
- Use the Time Setting buttons to select the desired operating duration. Recommended times vary based on room size and desired purification level. For typical rooms (50-75 m²), 30 minutes is often sufficient.
- Select the Ozone mode if not already active.
- Leave the room immediately.
- After the set time, the unit will automatically turn off. Wait at least 30 minutes after the cycle completes, then ventilate the room thoroughly by opening windows and doors before re-entry.
Figure 6.1: An illustrative floor plan showing the effective purification area of 50-75 m² within 30 minutes, highlighting the device's coverage for typical living spaces.
6.3 Water Purification / Ozonation of Liquids
This function is ideal for purifying drinking water, washing fruits and vegetables, or ozonating creams and oils.
- Connect one end of a silicone tube to the ozone outlet on the device.
- Attach a volcanic stone to the other end of the silicone tube.
- Place the volcanic stone into the water or liquid you wish to ozonate. Ensure the stone is fully submerged.
- Turn on the device and select the desired operating time.
- Recommended times:
- Drinking Water (1-2 liters): 5-10 minutes
- Fruits & Vegetables: 10-15 minutes
- Creams & Oils: 15-30 minutes (depending on volume)
- After the cycle, remove the stone and tube. The treated liquid is ready for use.
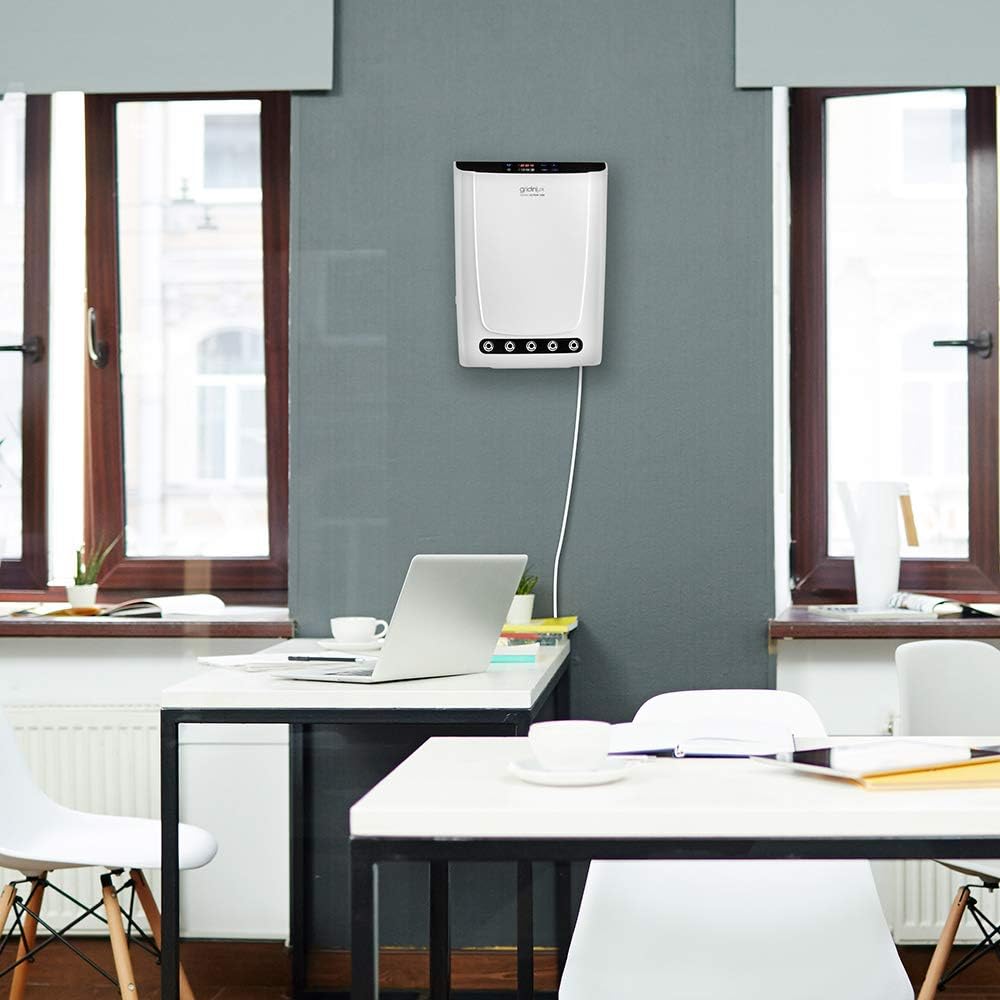
Figure 6.2: A hand holds a glass of water with the volcanic stone and silicone tube submerged, demonstrating the water ozonation process.
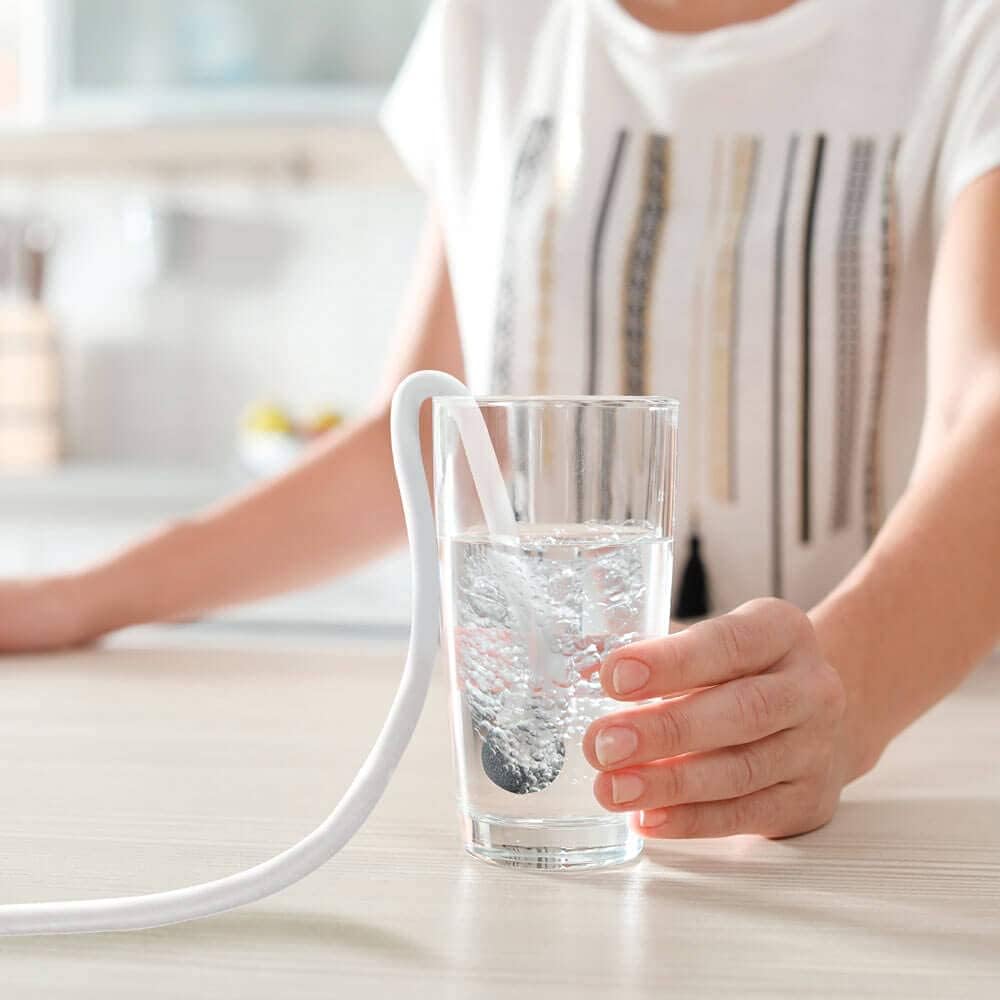
Figure 6.3: An adult and child are shown washing bell peppers and other produce in a bowl, with the ozone generator's tube directing ozone into the water for purification.
7. Maintenance
Regular maintenance ensures optimal performance and longevity of your device.
- Cleaning the Exterior: Wipe the exterior of the unit with a soft, damp cloth. Do not use abrasive cleaners or solvents. Ensure the unit is unplugged before cleaning.
- Cleaning Air Inlets/Outlets: Periodically check and clean any dust accumulation around the air inlets and ozone outlet using a soft brush or vacuum cleaner.
- Accessory Care: After using the silicone tubes and volcanic stones for water ozonation, rinse them with clean water and allow them to air dry completely before storage.
- Storage: When not in use for extended periods, store the device in a cool, dry place, away from direct sunlight and extreme temperatures.
8. Troubleshooting
If you encounter any issues with your gridinlux Ozone Generator, please refer to the following common problems and solutions:
| Problem | Possible Cause | Solution |
|---|---|---|
| Device does not turn on. | No power supply. | Check if the power cord is securely plugged into the unit and the electrical outlet. Test the outlet with another device. |
| No ozone smell/output. | Incorrect mode selected or unit malfunction. | Ensure Ozone mode is selected. Check if air inlets/outlets are blocked. If the problem persists, contact customer support. |
| Remote control not working. | Dead batteries or obstruction. | Replace the batteries in the remote control. Ensure there is no obstruction between the remote and the unit's sensor. |
| Unusual noise during operation. | Internal component issue or obstruction. | Turn off the unit and unplug it. Check for any visible obstructions. If the noise continues, discontinue use and contact customer support. |
If you experience any issues not listed above or if the suggested solutions do not resolve the problem, please contact gridinlux customer support for further assistance.
9. Specifications
| Feature | Specification |
|---|---|
| Model Number | 0030 |
| Brand | gridinlux |
| Dimensions (L x W x H) | 26 x 9.3 x 36 cm |
| Weight | 1.74 Kilograms |
| Power Source | Electric Cable |
| Power | 14 Watts |
| Ozone Emission | 400 mg/h |
| Anion Emission | 6 x 100,0000 pcs/cm3 |
| Control Method | Remote Control |
| Filter Type | Ionic Air |
| Effective Floor Area | Up to 75 m² (Maximum efficiency up to 1300 m² for specific applications) |
| Country of Origin | Spain |
10. Warranty and Support
The gridinlux Ozone Generator Action 1300 has been notified to the Ministry of Health (registration number: 200112180924) in accordance with Royal Decree 1054/2002. gridinlux is a member of the European Ozone Trade Association (EUOTA).
For any questions, concerns, or technical support regarding your product, please contact gridinlux customer service. Our team is dedicated to providing prompt assistance and resolving any issues you may encounter.
Please retain your proof of purchase for warranty claims.
