
1. Introduction
1.1 Product Overview
The BLACK+DECKER BXRV500E robot vacuum cleaner is designed to provide comprehensive floor cleaning. This 4-in-1 device performs vacuuming, sweeping, mopping, and scrubbing functions. It is suitable for various floor types including parquet, tiles, carpets, marble, and stone floors. The intelligent navigation system helps the robot detect obstacles, prevent falls, and navigate around furniture.
This manual provides detailed instructions for the safe and efficient operation, maintenance, and troubleshooting of your BXRV500E robot vacuum cleaner. Please read it thoroughly before first use and retain it for future reference.
1.2 Key Features
- 4-in-1 Cleaning: Vacuums, sweeps, mops, and scrubs.
- Intelligent Navigation: Detects obstacles, prevents falls, and adjusts speed near walls and furniture.
- Multiple Cleaning Modes: Auto, Corner, Single Room, and Manual.
- Programmable Cleaning: Schedule daily cleaning cycles.
- Long Battery Life: Up to 150 minutes of uninterrupted cleaning.
- Dual Filtration System: Sponge pre-filter and HEPA filter for fine dust capture.
- Compact Design: 7.9 cm height allows cleaning under furniture.
- Remote Control: For convenient operation.
- Automatic Recharging: Returns to charging base when cleaning is complete or battery is low.
2. Safety Information
Please read and understand all safety instructions before using the appliance. Failure to follow these instructions may result in electric shock, fire, or serious injury.
- This appliance can be used by children aged 8 years and above and persons with reduced physical, sensory or mental capabilities or lack of experience and knowledge if they have been given supervision or instruction concerning use of the appliance in a safe way and understand the hazards involved.
- Children shall not play with the appliance. Cleaning and user maintenance shall not be made by children without supervision.
- Only use the charging base and power adapter supplied by the manufacturer.
- Do not use the appliance in wet environments or near water.
- Ensure the charging base is placed against a wall on a level surface.
- Remove any loose cables, small objects, or fragile items from the cleaning area before operation.
- Do not operate the robot vacuum if it is damaged. Contact customer support for repairs.
- Do not use the appliance to pick up large debris, sharp objects, liquids, or burning/smoking materials.
- Keep hair, loose clothing, fingers, and all parts of the body away from openings and moving parts.
- Unplug the appliance from the power outlet before cleaning or performing maintenance.
3. Package Contents
Verify that all components are present and in good condition:
- BLACK+DECKER BXRV500E Robot Vacuum Cleaner
- Charging Base
- Power Adapter
- Remote Control (batteries not included)
- Side Brushes (2 pairs)
- Mop Cloth (1)
- Water Tank
- Dustbin with Sponge Pre-filter and HEPA Filter
- Cleaning Tool
- Instruction Manual
4. Setup
4.1 Unpacking and Initial Placement
Carefully remove all packaging materials. Place the charging base against a wall in an open area, ensuring there are no obstacles within 1 meter (3 feet) to the front and 0.5 meters (1.5 feet) to the sides. Connect the power adapter to the charging base and plug it into a wall outlet.

Image: The robot vacuum automatically returns to its charging base when the battery is low or cleaning is complete.
4.2 Installing Side Brushes
Attach the two side brushes to the corresponding posts on the bottom of the robot until they click into place. Ensure they are securely fastened.
4.3 Initial Charging
Place the robot vacuum onto the charging base. Ensure the charging contacts on the robot align with those on the base. The indicator light on the robot will illuminate to show it is charging. For first use, charge the robot for at least 5-6 hours to ensure the battery is fully conditioned.
5. Operating Instructions
5.1 Powering On/Off
Press and hold the power button on the robot for a few seconds to turn it on or off. The indicator light will illuminate when powered on.
5.2 Cleaning Modes
The BXRV500E offers four cleaning modes, selectable via the remote control or the mobile application (if connected):
- Auto Mode: The robot automatically cleans the entire area, combining different cleaning patterns for optimal coverage.
- Corner Mode: The robot focuses on cleaning along walls and corners, utilizing its side brushes.
- Single Room Mode: Designed for cleaning a specific room. The robot will clean for a set period and then stop.
- Manual Mode: Use the directional buttons on the remote control to guide the robot manually.

Image: The robot vacuum utilizes intelligent navigation to cover cleaning areas efficiently.
5.3 Using the Remote Control
The remote control allows you to start/stop cleaning, select cleaning modes, schedule cleaning times, and manually control the robot's movement. Insert two AAA batteries (not included) into the remote control before use.

Image: The remote control provides convenient access to all robot vacuum functions.
5.4 Scheduling Cleaning
You can program the robot to clean at a specific time each day of the week. Refer to the remote control section for detailed instructions on setting the schedule. Once programmed, the robot will automatically start cleaning at the designated time and return to its charging base upon completion.
5.5 Mopping Function
To activate the mopping function, fill the water tank with clean water and attach the mop cloth. Insert the water tank into the designated slot on the robot. The robot will then vacuum and mop simultaneously.

Image: The robot vacuum can simultaneously vacuum and mop hard floors.
6. Maintenance
Regular maintenance ensures optimal performance and extends the lifespan of your robot vacuum cleaner. Always turn off the robot and disconnect it from the charging base before performing any maintenance.
6.1 Cleaning the Dustbin and Filters
Press the release button to remove the dustbin. Empty the dustbin after each use. Separate the sponge pre-filter and HEPA filter. Tap the filters to remove dust. The sponge filter can be rinsed with water, but ensure it is completely dry before reinserting. The HEPA filter should not be washed with water; brush it clean. Replace filters every 3-6 months, depending on usage.

Image: The dustbin and filtration system, including the sponge pre-filter and HEPA filter.
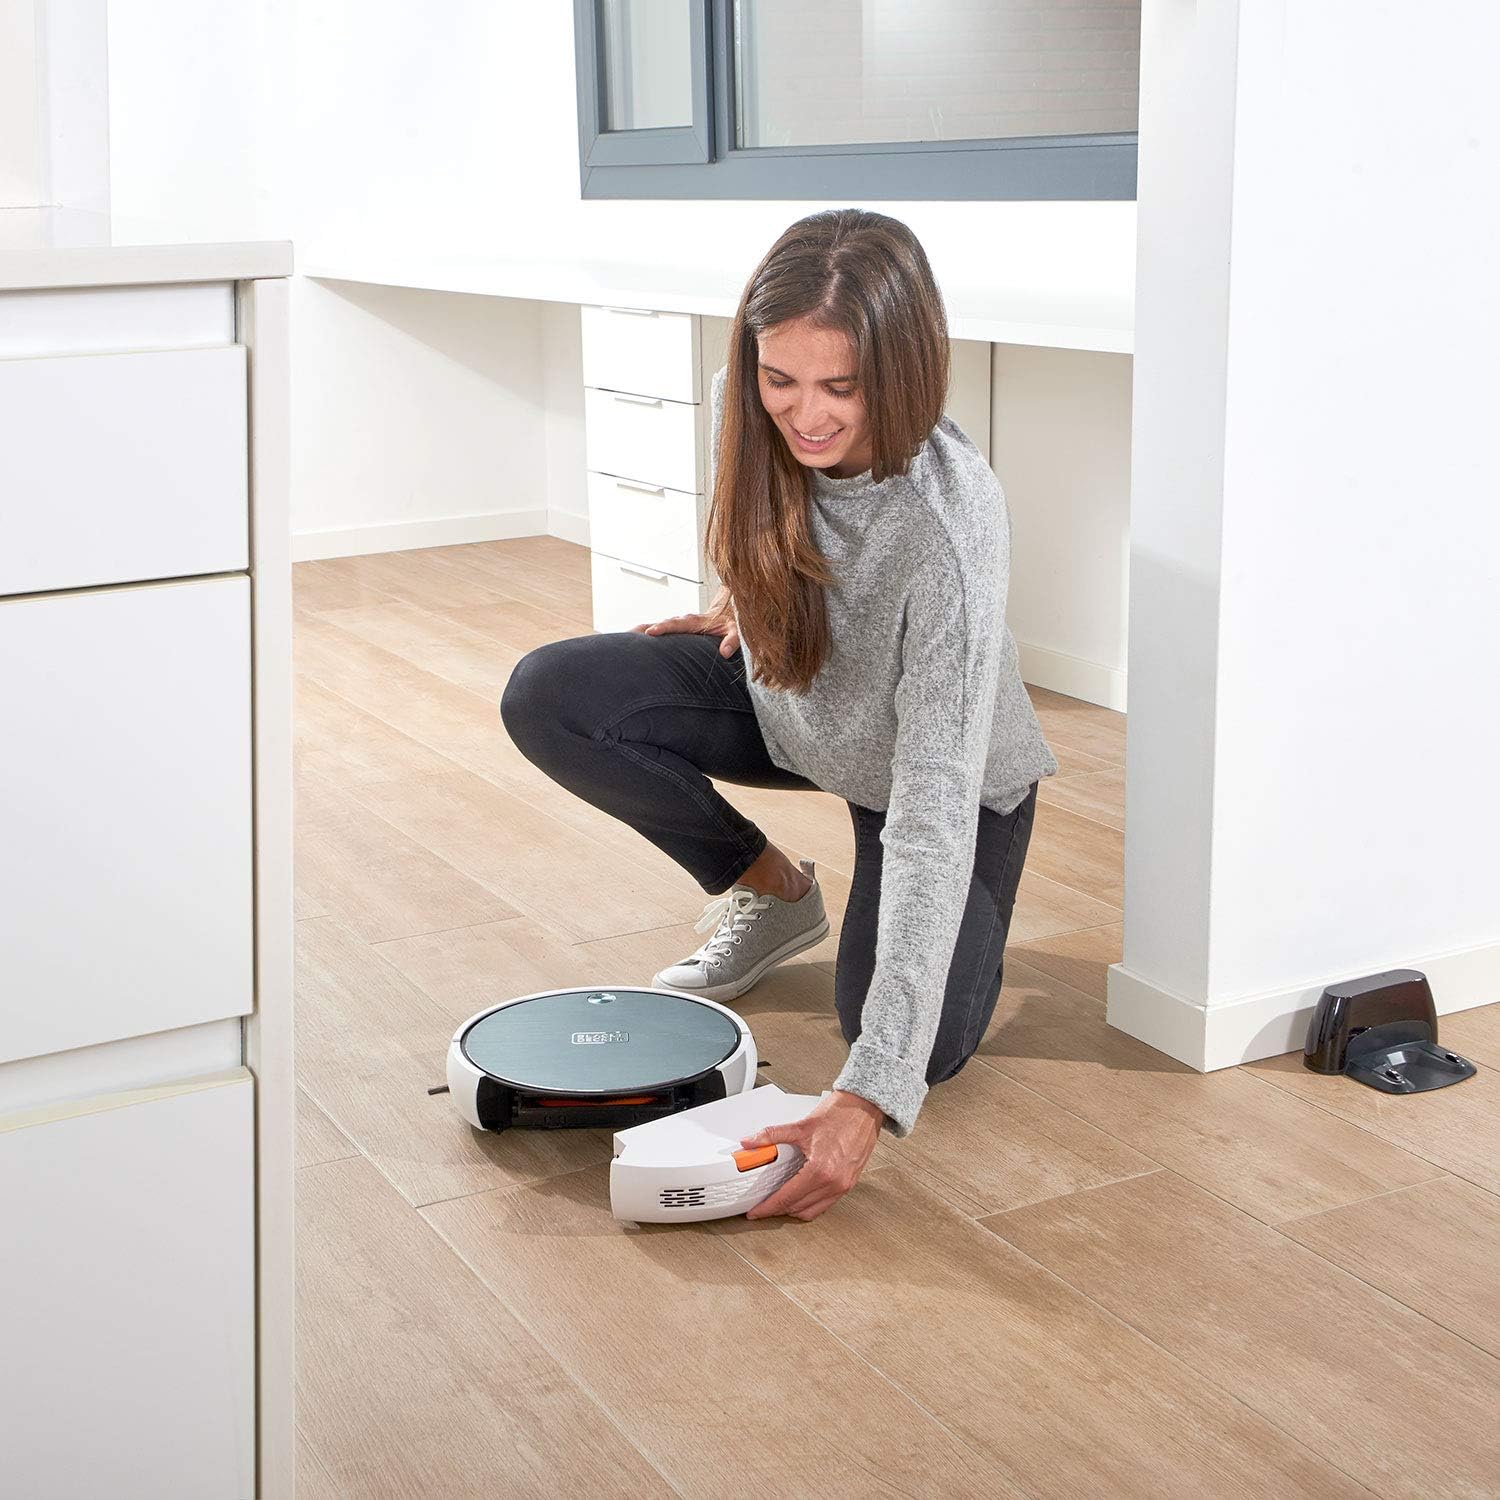
Image: A user demonstrating the removal of the dustbin for emptying and cleaning.
6.2 Cleaning the Main Brush
Remove the main brush cover and lift out the main brush. Use the provided cleaning tool or scissors to remove any hair or debris tangled around the brush. Reinstall the main brush and cover securely.

Image: The motorized central brush, designed to pick up embedded dirt.
6.3 Cleaning Side Brushes
Periodically check the side brushes for wear or entanglement. Remove any hair or debris. If brushes are worn, replace them with new ones (an extra pair is included in the package).
6.4 Cleaning the Water Tank and Mop Cloth
After each mopping session, empty any remaining water from the tank. Rinse the water tank thoroughly. Remove the mop cloth and wash it by hand or machine. Allow both to air dry completely before reattaching.

Image: The reusable mop cloth for the mopping function.
6.5 Cleaning Sensors and Charging Contacts
Wipe the anti-drop sensors, obstacle sensors, and charging contacts on both the robot and the charging base with a clean, dry cloth. This ensures proper navigation and charging.
7. Troubleshooting
If you encounter issues with your robot vacuum, refer to the following common problems and solutions:
| Problem | Possible Cause | Solution |
|---|---|---|
| Robot does not turn on. | Low battery; Power button not pressed correctly. | Place robot on charging base; Press and hold power button until indicator light illuminates. |
| Robot does not charge. | Charging contacts are dirty; Charging base not powered. | Clean charging contacts on robot and base; Ensure power adapter is plugged in and connected to base. |
| Robot gets stuck or navigates erratically. | Obstacles in path; Sensors are dirty. | Clear the cleaning area of loose cables and small objects; Clean all sensors with a dry cloth. |
| Poor cleaning performance. | Dustbin full; Filters clogged; Brushes tangled. | Empty dustbin; Clean or replace filters; Clean main and side brushes. |
| Robot does not return to charging base. | Charging base is blocked or out of range; Charging contacts are dirty. | Ensure charging base is in an open area; Clean charging contacts. |
If the problem persists after trying these solutions, please contact BLACK+DECKER customer support.
8. Specifications
| Feature | Detail |
|---|---|
| Brand | BLACK+DECKER |
| Model Name | BXRV500E |
| Model Number | ES9480020B (also ES9160080B) |
| Dimensions (L x W x H) | 33L x 33W x 7H cm |
| Weight | 2.21 Kilograms |
| Color | White |
| Voltage | 240 Volts (AC) |
| Battery Type | Lithium-ion (1 included) |
| Battery Life | Up to 150 minutes |
| Filter Type | Cartridge (Sponge Pre-filter + HEPA) |
| Controller Type | Remote Control |
| Surface Recommendation | Parquet, Tiles, Carpet, Marble, Stone floors |
9. Warranty and Support
For warranty information and customer support, please refer to the warranty card included with your product or visit the official BLACK+DECKER website. Keep your purchase receipt as proof of purchase for warranty claims.
Spare Parts: Information regarding the availability of spare parts is currently unavailable. Please contact customer support for assistance with replacement parts.


