
1. Introduction
Thank you for choosing the Bear Electric Food Steamer. This versatile appliance is designed to simplify your cooking, offering steaming, boiling, and stewing functions. With its 3-tier, 8L large capacity and digital controls, you can prepare a variety of healthy and delicious meals for your family. This manual provides essential information for safe and efficient operation, maintenance, and troubleshooting.

Image: The Bear Electric Food Steamer showcasing its versatility with a variety of steamed dishes.
Video: An overview of the Bear Electric Food Steamer, highlighting its features and ease of use for various cooking needs.
2. Important Safety Instructions
Please read all instructions carefully before using the appliance. Failure to follow these instructions may result in electric shock, fire, or serious injury.
- Always ensure the appliance is placed on a stable, flat, heat-resistant surface.
- Do not immerse the main unit (base with control panel) in water or any other liquid. Clean only with a damp cloth.
- Keep out of reach of children. Close supervision is necessary when the appliance is used near children.
- Do not operate the appliance if the power cord or plug is damaged, or if the appliance malfunctions or has been damaged in any manner.
- Always unplug the steamer from the outlet when not in use and before cleaning. Allow it to cool completely before handling.
- Exercise extreme caution when opening the lid during or after cooking, as hot steam will escape. Use oven mitts or a cloth.
- Ensure the water level in the base is always above the minimum mark and below the maximum mark to prevent dry burning. The steamer features dry burn protection with an alert sound and automatic standby mode if water is low.
- Do not block steam vents during operation.
- Use only accessories recommended by the manufacturer.
3. Product Overview and Components
The Bear Electric Food Steamer is designed for convenience and efficiency. Familiarize yourself with its components:
- Main Unit (PP Mainframe with Control Panel): The base of the steamer containing the heating element and digital controls. It is plastic on the outside for insulation and stainless steel on the inside.
- 304 Stainless Steel Inner Liner: The primary cooking pot within the main unit.
- 304 Stainless Steel Steam Cover: A small cover that sits over the heating element to efficiently gather heat.
- 304 Stainless Steel Steamers (2 tiers): Stackable steaming baskets for cooking multiple items simultaneously.
- Tempered Glass Lid: Transparent lid for monitoring cooking progress, with a heat-resistant handle.
- Carrying Handles: Anti-scald, non-slip handles on the main unit and steamer tiers.
- Power Cord: Detachable power cord for easy storage.

Image: Detailed view of all components included with the steamer.
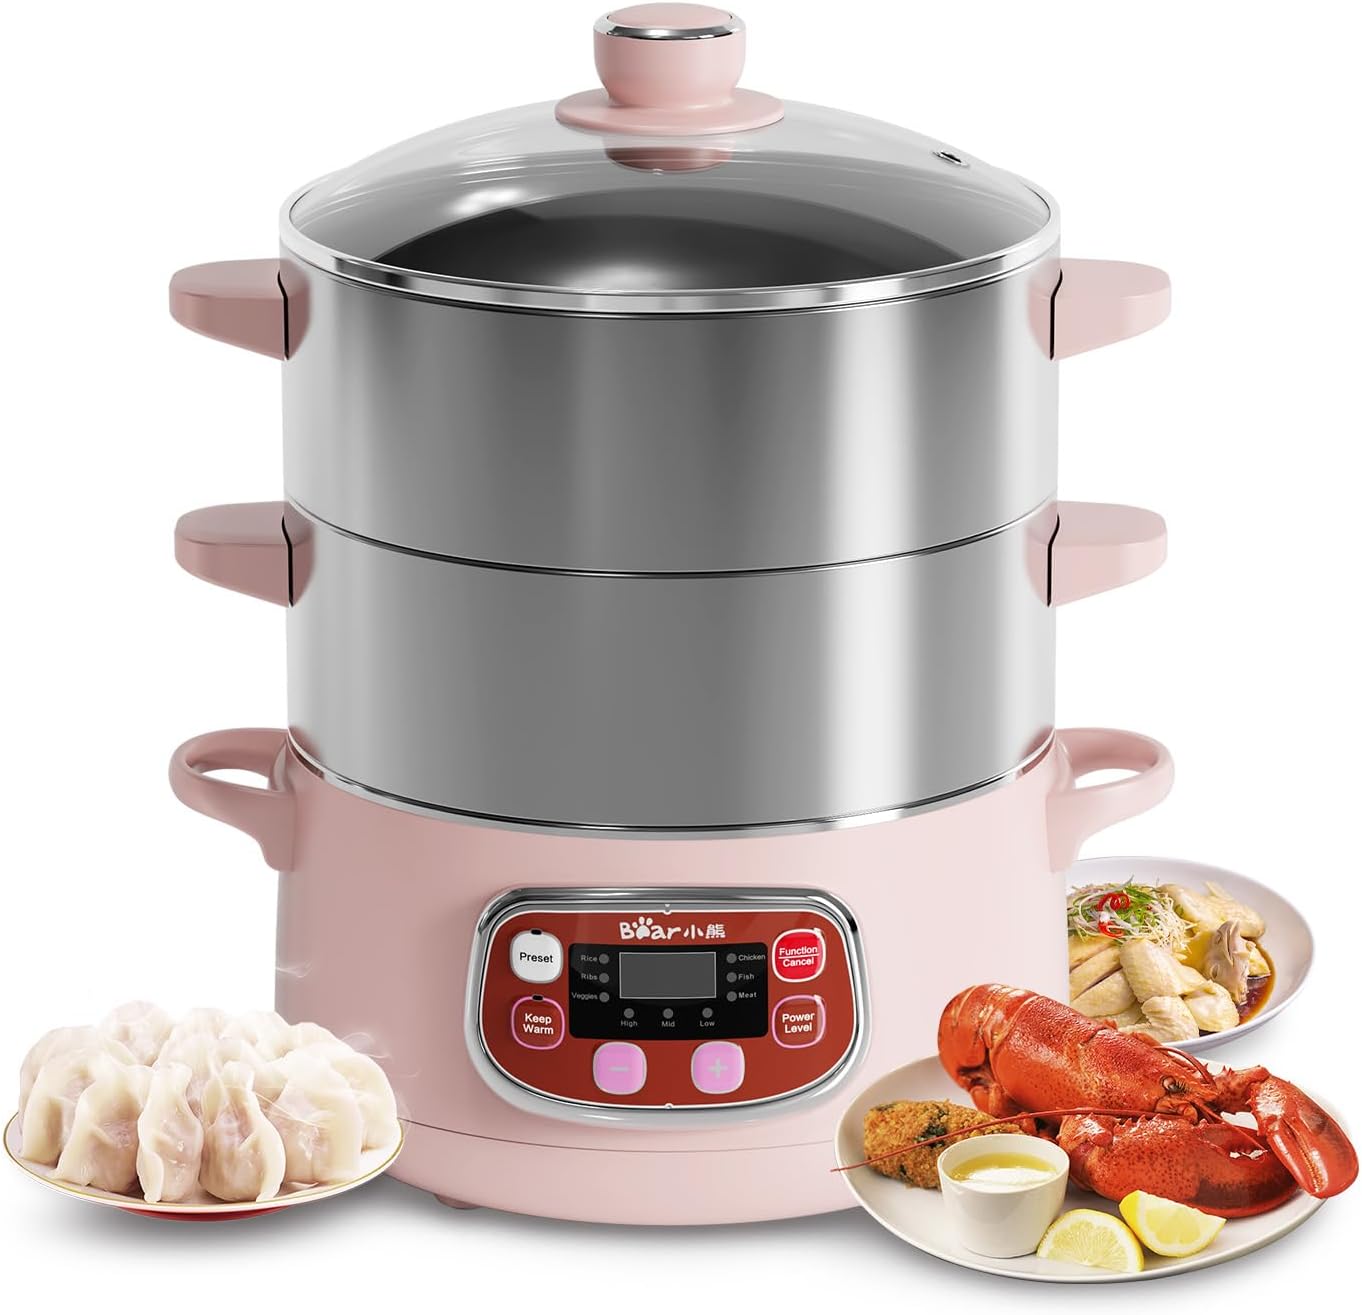
Image: The complete Bear Electric Food Steamer assembly.
4. Setup Before First Use
Before using your steamer for the first time, please follow these steps:
- Unpack: Carefully remove all packaging materials and inspect the steamer for any damage.
- Clean: Wash all removable parts (steaming baskets, inner liner, lid) with warm, soapy water. Rinse thoroughly and dry completely. Wipe the main unit with a damp cloth.
- Assemble: Place the main unit on a stable, flat surface. Insert the 304 stainless steel inner liner into the main unit. Place the steam cover over the heating element inside the inner liner.
- Add Water: Pour clean water into the inner liner, ensuring it is between the MIN and MAX fill lines.
- Place Food: Arrange your food in the steaming baskets. You can use one or two tiers depending on your needs.
- Cover: Place the tempered glass lid securely on top of the uppermost steaming basket.
- Connect Power: Plug the power cord into the steamer's base and then into a standard electrical outlet.

Image: Visual guide for the basic cooking steps.
5. Operating Instructions
5.1 Control Panel Functions
The digital control panel allows for precise cooking. The display shows the selected function and remaining time.

Image: Digital control panel with preset, timer, and power level settings.
- Preset Button: Allows you to set a delayed start time for cooking, up to 10 hours.
- Function/Cancel Button: Cycles through different cooking functions (Rice, Ribs, Veggies, Chicken, Fish, Meat) or cancels the current operation.
- Keep Warm Button: Activates the keep warm function after cooking is complete.
- Power Level Button: Adjusts the heating power (Low, Mid, High).
- +/- Buttons: Used to adjust time settings for timer and preset functions.
5.2 Power Levels
The steamer offers three adjustable power levels:
- Low (400W): Ideal for gentle steaming or keeping food warm (104-138°F).
- Mid (800W): Suitable for general steaming and maintaining warmth (140-174°F).
- High (1200W): For rapid heating and intense steaming (176°F).
5.3 Preset and Timer Functions
To use the preset function, press the 'Preset' button, use the +/- buttons to set the desired delay time (up to 10 hours), then select your cooking function. The steamer will start automatically after the delay. For the timer, select your cooking function, then use the +/- buttons to set the cooking duration (up to 1 hour). The machine will automatically switch to keep warm mode or standby after the timer expires.
6. Cooking Guide
The Bear Electric Food Steamer is designed to cook a wide array of ingredients, preserving nutrients and flavor.
6.1 Steaming Modes
Select the appropriate function for your food type:

Image: Available steaming modes for various food types.
- Rice: For perfectly steamed rice.
- Ribs/Bone: Ideal for tenderizing ribs or other bone-in meats.
- Veggies: Steams vegetables to retain their crispness and nutrients.
- Chicken: Ensures chicken is cooked thoroughly and remains juicy.
- Fish: Gently steams fish for delicate textures.
- Meat: For various cuts of meat, ensuring even cooking.
6.2 Hot Pot and Stewing
Beyond steaming, the base pot can be used for hot pot or stewing. Simply remove the steaming grids and use the inner liner directly for boiling broths, cooking noodles, or preparing stews.

Image: The steamer can be configured for hot pot, single-tier, or two-tier steaming.
Video: Demonstration of preparing Fish Head with Minced Pepper using the steamer, showcasing its cooking capabilities.
7. Maintenance and Cleaning
Regular cleaning ensures the longevity and optimal performance of your steamer. The stainless steel components are designed for easy cleaning.
- Before Cleaning: Always unplug the appliance and allow it to cool completely.
- Removable Parts: The steaming baskets, inner liner, and glass lid are dishwasher safe or can be washed by hand with warm, soapy water. Rinse thoroughly and dry.
- Main Unit: Wipe the exterior of the main unit with a damp cloth. Do NOT immerse the main unit in water.
- Descaling: Over time, mineral deposits may accumulate in the inner liner. To descale, fill the inner liner with a mixture of water and white vinegar (1:1 ratio). Heat the mixture for 15-20 minutes, then let it cool. Scrub gently with a non-abrasive sponge and rinse thoroughly.
- Storage: Ensure all parts are completely dry before storing. Store in a cool, dry place.
8. Troubleshooting
If you encounter any issues with your steamer, please refer to the following common problems and solutions:
| Problem | Possible Cause | Solution |
|---|---|---|
| Steamer does not turn on. | Not plugged in; power outlet issue; damaged cord. | Check power connection; try a different outlet; inspect cord for damage (do not use if damaged). |
| No steam produced. | Insufficient water; steam vents blocked; lid not properly sealed. | Add water to the inner liner; ensure vents are clear; secure the lid properly. |
| Food not cooking evenly. | Overcrowding; uneven food distribution. | Do not overcrowd baskets; arrange food in a single layer for best results. |
| Dry burn alert sounds. | Water level is too low. | Add water immediately. The unit will enter standby mode to prevent damage. |
If the problem persists after trying these solutions, please contact customer support.
9. Specifications
| Feature | Detail |
|---|---|
| Brand | Bar |
| Model Number | DZG-A80A2 |
| Power | 1200W (High), 800W (Mid), 400W (Low) |
| Capacity | 8 Liters |
| Material | Stainless Steel (Food Grade 304) |
| Color | Pink |
| Product Dimensions | 12"L x 10"W x 15"H |
| Item Weight | 7.9 Pounds |
| UPC | 709161166463 |
| Date First Available | September 16, 2020 |
10. Warranty and Customer Support
For warranty information, please refer to the warranty card included with your product packaging. Keep your purchase receipt as proof of purchase.
If you have any questions, require technical assistance, or need to report an issue, please contact Bar customer support through the retailer where you purchased the product or visit the official Bar website for contact details.