
1. Introduction
This manual provides essential information for the safe and efficient operation, maintenance, and troubleshooting of your SEVERIN HV7166 Cordless 2-in-1 Stick and Handheld Vacuum Cleaner. Please read these instructions carefully before first use and keep them for future reference.
2. Safety Instructions
Observe the following safety precautions to prevent injury or damage:
- Ensure the appliance is fully assembled before use.
- Do not use the vacuum cleaner to pick up water, flammable liquids, or hot ashes.
- Keep hair, loose clothing, fingers, and all parts of the body away from openings and moving parts.
- Only use the original charger and battery provided with the appliance.
- Do not operate the vacuum cleaner if it is damaged or malfunctioning.
- This appliance is for household use only.
3. Product Overview
The SEVERIN HV7166 is a versatile 2-in-1 cordless vacuum cleaner designed for various cleaning tasks. It can be used as a stick vacuum for floors or easily converted into a handheld vacuum for elevated surfaces and tight spaces.
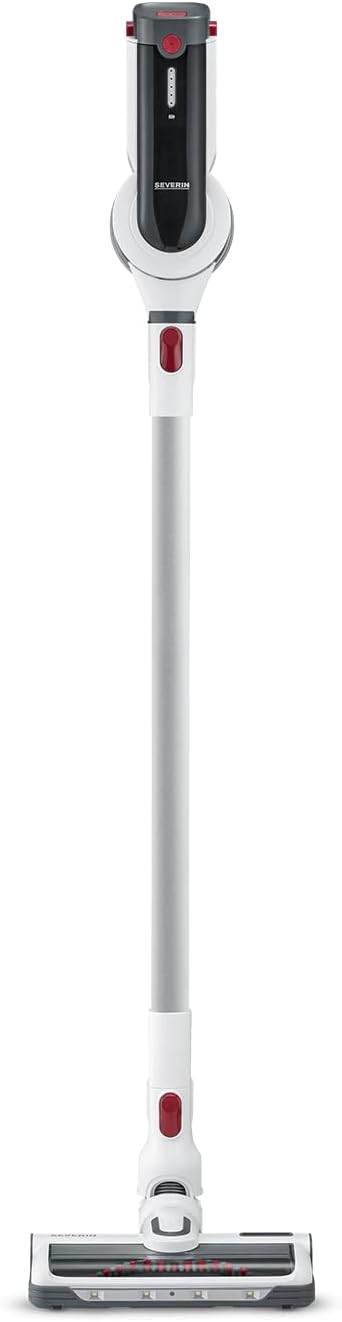
Figure 3.1: The SEVERIN HV7166 in stick vacuum configuration.
Components:
- Main Unit (with motor and dust bin)
- Telescopic Suction Tube
- High-Speed Electric Floor Nozzle with LED lighting
- Lithium-ion Battery (25.2V)
- Charging Station with Wall Mount
- 3-in-1 Accessory Tool (Upholstery brush, Crevice tool)

Figure 3.2: Included accessories: crevice tool and upholstery brush.
4. Setup and Assembly
4.1 Assembling the Stick Vacuum
- Insert the telescopic suction tube into the main unit until it clicks into place.
- Attach the high-speed electric floor nozzle to the other end of the telescopic suction tube until it clicks.
- Ensure the battery is fully charged before first use.
4.2 Converting to Handheld Vacuum
- Press the release button on the telescopic suction tube to detach it from the main unit.
- Attach the desired accessory (crevice tool or upholstery brush) directly to the main unit's suction opening until it clicks.

Figure 4.1: The vacuum cleaner in handheld mode, suitable for high or tight areas.
4.3 Charging the Battery
The appliance is powered by a 25.2V Lithium-ion battery. The battery is removable for convenient charging.
- Remove the battery from the main unit by pressing the release button.
- Connect the charger to the battery and plug it into a power outlet.
- The charging indicator lights on the battery will show the charging status. A full charge takes approximately 3 hours.
- Alternatively, the charging station can be mounted on a wall to store and charge the vacuum.
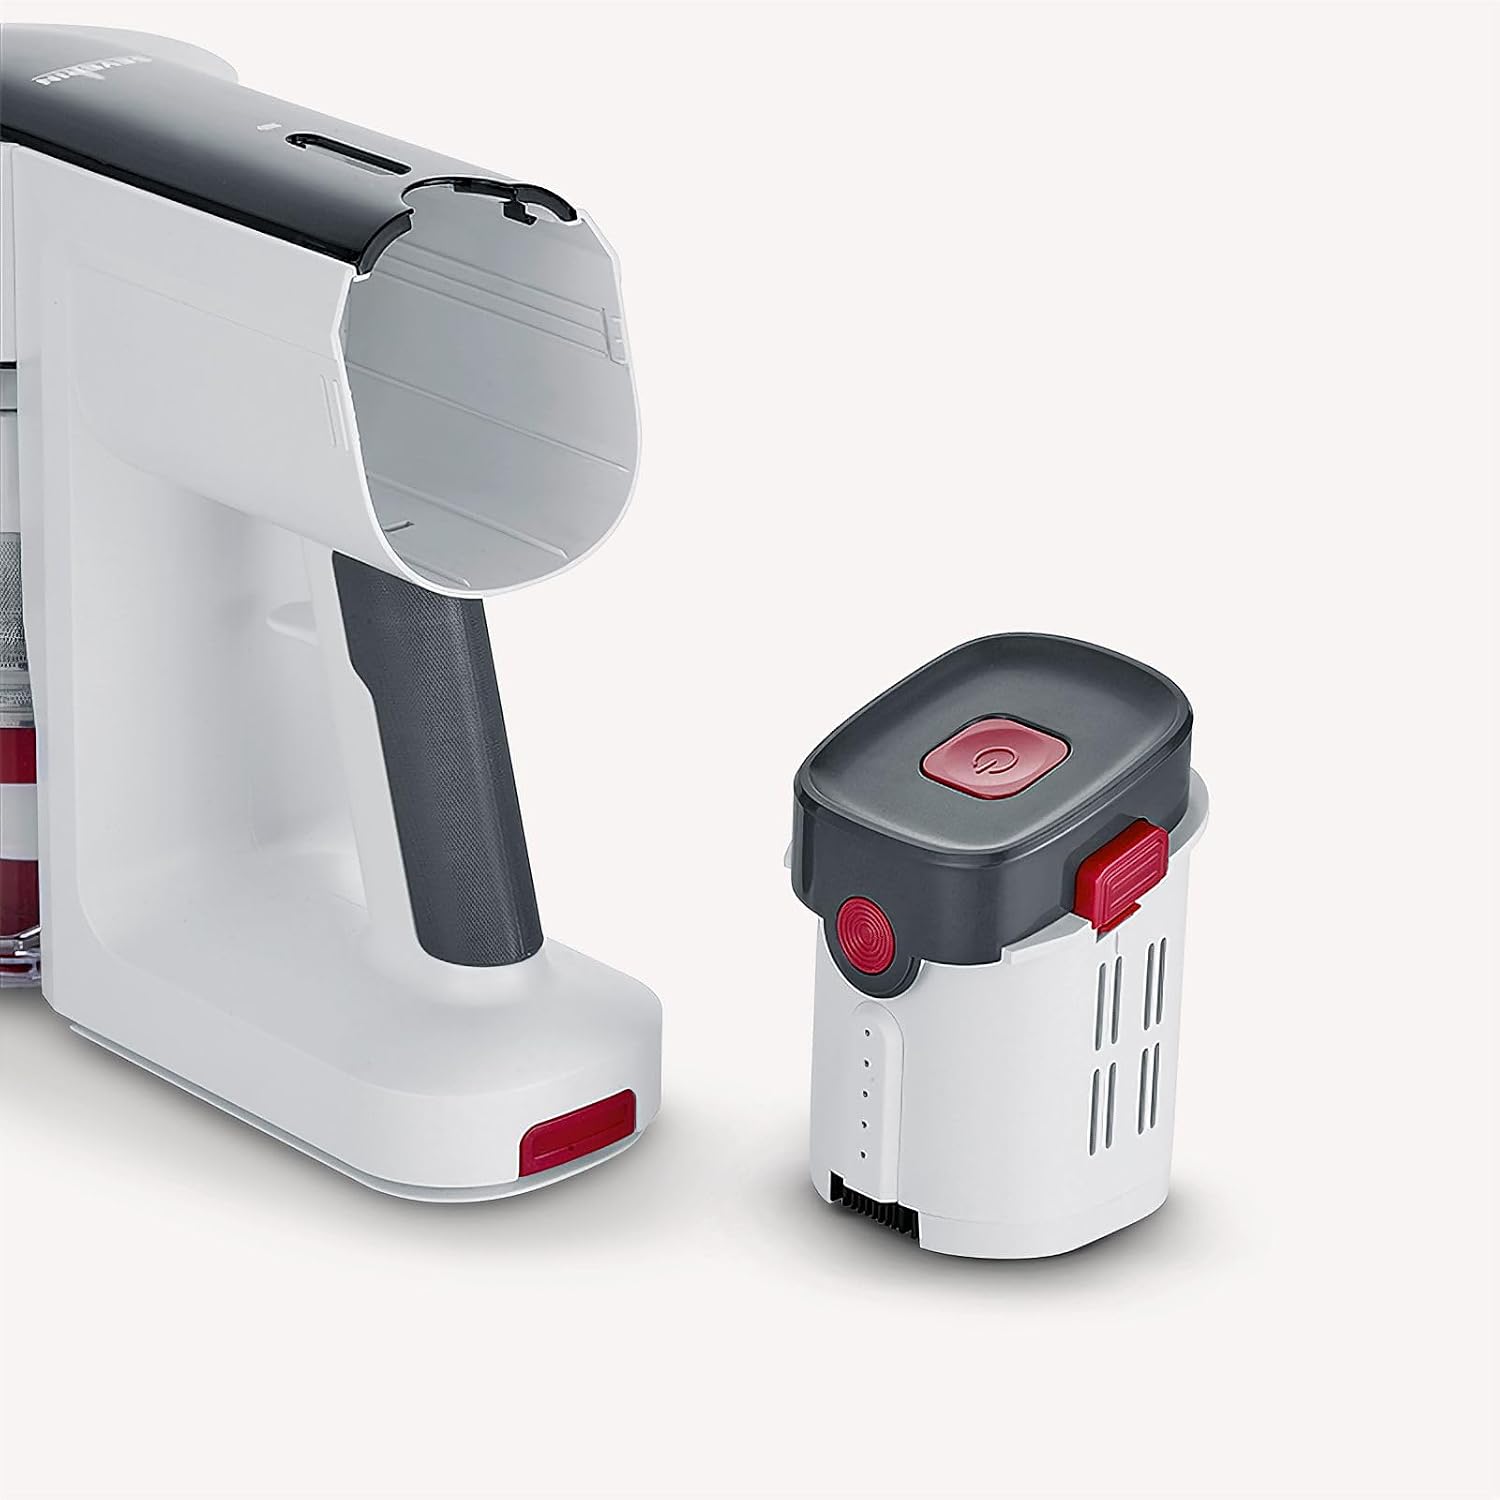
Figure 4.2: The removable battery pack, shown detached from the main unit.
5. Operating Instructions
5.1 Powering On/Off
Press the power button located on the main unit to turn the vacuum cleaner on or off.

Figure 5.1: The control panel showing the power button and battery level indicators.
5.2 Adjusting Power Levels
The vacuum cleaner offers three power levels: Eco, Middle, and Power. Press the mode selection button to cycle through these settings, adjusting suction power for different cleaning needs. The current power level is indicated on the display.
5.3 Using the Floor Nozzle
The high-speed electric floor nozzle is equipped with LED lighting to illuminate dark areas and ensure thorough cleaning on all floor types, including hard floors, parquet, and carpets. The rotating brush effectively removes pet hair, embedded dirt, and allergens.

Figure 5.2: The floor nozzle featuring integrated LED lights for improved visibility.
5.4 Using Accessories
The 3-in-1 accessory tool, consisting of an upholstery brush and a crevice tool, is suitable for cleaning various surfaces:
- Upholstery Brush: Ideal for cleaning fabric surfaces, furniture, and car interiors.
- Crevice Tool: Designed for reaching narrow gaps, corners, and edges.
6. Maintenance
Regular maintenance ensures optimal performance and extends the lifespan of your vacuum cleaner.
6.1 Emptying the Dust Bin
The dust bin has a capacity of 0.4 liters. It should be emptied regularly, especially when the fill level indicator suggests it is full, to maintain suction power.
- Ensure the vacuum cleaner is turned off.
- Press the dust bin release button to detach the dust bin from the main unit.
- Hold the dust bin over a waste receptacle and press the bottom release button to open the flap and empty the contents.
- Close the flap and reattach the dust bin to the main unit until it clicks.
6.2 Cleaning the HEPA Filter
The E12 exhaust filter provides high filtration, making the appliance suitable for allergy sufferers. The filter should be cleaned periodically.
- Remove the dust bin as described above.
- Carefully remove the HEPA filter from the dust bin assembly.
- Tap the filter gently to dislodge dust. For a more thorough cleaning, rinse the filter under cold running water.
- Allow the filter to air dry completely for at least 24 hours before reinserting it. Do not use heat to dry.
6.3 Cleaning the Brush Roll
Periodically check the brush roll in the floor nozzle for tangled hair or debris. Use scissors to cut away any tangled material and remove it by hand.
7. Troubleshooting
If you encounter issues with your vacuum cleaner, refer to the following common problems and solutions:
| Problem | Possible Cause | Solution |
|---|---|---|
| Vacuum does not turn on | Battery is not charged or not properly inserted. | Charge the battery fully. Ensure the battery is securely clicked into place. |
| Reduced suction power | Dust bin is full, filter is clogged, or an attachment is blocked. | Empty the dust bin. Clean the HEPA filter. Check the suction tube and attachments for blockages. |
| Brush roll not rotating | Debris tangled in the brush roll or an obstruction. | Turn off the vacuum and remove any tangled hair or debris from the brush roll. |
| Battery not charging | Charger not properly connected or faulty. | Ensure the charger is securely plugged into both the battery and the power outlet. Check the power outlet. |
8. Specifications
| Feature | Specification |
|---|---|
| Brand | Severin |
| Model Number | HV7166 |
| Power | 400 Watts |
| Voltage | 25.2 Volts |
| Number of Speeds | 3 |
| Noise Level | 75 dB |
| Runtime | Up to 60 minutes |
| Dust Bin Capacity | 0.4 Liters |
| Filter Type | HEPA E12 |
| Charging Time | Approximately 3 hours |
| Weight | 1.6 Kilograms |
| Dimensions (L x W x H) | 3.5 x 3 x 1.2 cm |
| Power Source | Battery Powered |
| Special Features | Dry cleaning, HEPA air filtration, Cyclonic technology |
9. Warranty and Support
9.1 Warranty Information
Your SEVERIN HV7166 vacuum cleaner comes with a 2-year manufacturer's warranty. Additionally, the digital motor is covered by a 10-year warranty. Please retain your proof of purchase for warranty claims. For specific warranty terms and conditions, refer to the documentation included with your product or visit the official Severin website.
9.2 Customer Support
For technical assistance, spare parts, or further inquiries, please contact Severin customer support. Contact details can typically be found on the official Severin website or in the product packaging.


