
1. Introduction
This manual provides instructions for the safe and efficient operation of your Rayovac USB Battery Charger. This device is designed to charge NiMH AA and AAA rechargeable batteries. Please read this manual thoroughly before use and retain it for future reference.
2. Important Safety Instructions
- Use this charger only with NiMH (Nickel-Metal Hydride) AA and AAA rechargeable batteries. Do not attempt to charge alkaline, carbon-zinc, or any other battery types, as this may lead to leakage, rupture, or explosion.
- Do not expose the charger to rain or moisture.
- Do not operate the charger if it has been subjected to shock or damage.
- Do not disassemble the charger. Refer servicing to qualified personnel.
- Ensure proper battery polarity (+/-) when inserting batteries into the charger.
- Keep out of reach of children.
- Unplug the charger from the power source when not in use or before cleaning.
3. Package Contents
- 1 x Rayovac USB Battery Charger
- 1 x USB Charging Cable
4. Product Features
The Rayovac USB Battery Charger offers convenient and efficient charging for your rechargeable batteries.
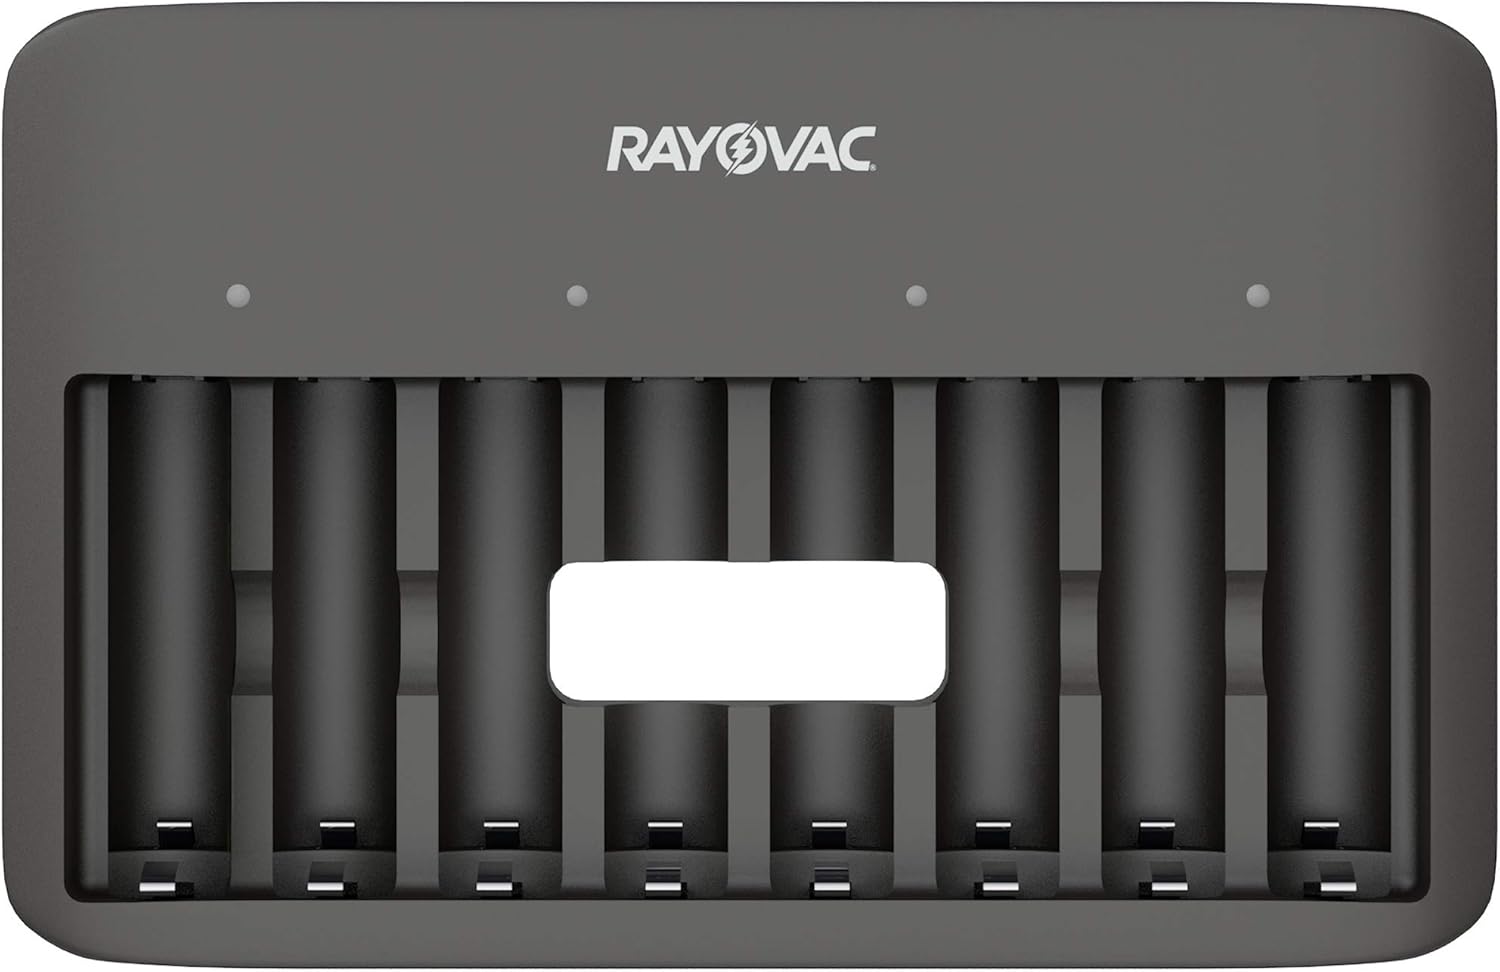
- 8 independent charging bays for AA or AAA NiMH batteries.
- USB powered for versatile charging options.
- Automatic shut-off feature to prevent overcharging.
- Green LED indicators for charging status.

5. Setup
5.1 Connecting the Charger
- Connect the included USB charging cable to the charger's USB input port.
- Plug the other end of the USB cable into a compatible USB power source (e.g., computer USB port, USB wall adapter, power bank).
- The charger is now ready for use.

6. Operating Instructions
6.1 Inserting Batteries
The charger can accommodate up to eight AA or AAA NiMH rechargeable batteries simultaneously. Ensure batteries are inserted correctly according to their size and polarity.
- Identify the correct battery size (AA or AAA) for each charging bay.
- Align the positive (+) and negative (-) terminals of the battery with the corresponding markings in the charging bay.
- Gently push the battery into the bay until it is securely seated.
- Repeat for all batteries you wish to charge.

6.2 Charging Process and Indicators
Once batteries are correctly inserted and the charger is connected to a power source, the charging process begins automatically.
- Green LED On: Indicates that the battery in the corresponding bay is currently charging.
- Green LED Off: Indicates that charging is complete for the battery in that bay, or no battery is inserted.
- The charger features an automatic shut-off mechanism to prevent overcharging once batteries reach full capacity, helping to maximize battery lifespan.

6.3 Estimated Charging Times
Charging times may vary based on battery capacity (mAh), brand, and environmental conditions. The table below provides estimated charging durations for common NiMH battery capacities.

| Battery (NiMH) | Capacity (mAh) | Approximate Charge Time* (hrs) |
|---|---|---|
| AA | 1350 | 7-8 hrs |
| AAA | 600 | 3-4 hrs |
*Charge times are a guide only. Timing may differ according to battery brands, mAh capacity, and environmental conditions at the time of charge.
7. Maintenance
7.1 Cleaning
- Ensure the charger is unplugged before cleaning.
- Wipe the exterior of the charger with a soft, dry cloth.
- Do not use abrasive cleaners or solvents.
7.2 Storage
- Store the charger in a cool, dry place away from direct sunlight and extreme temperatures.
- Remove batteries from the charger when storing for extended periods.
8. Troubleshooting
If you encounter issues with your charger, refer to the following table for common problems and solutions.
| Problem | Possible Cause | Solution |
|---|---|---|
| LED indicator does not light up when battery is inserted. |
|
|
| Batteries do not charge fully or take too long. |
|
|
| Charger feels warm during operation. | Normal during charging. | This is normal. If it becomes excessively hot, disconnect immediately and contact support. |
9. Specifications
| Feature | Detail |
|---|---|
| Product Dimensions | 2 x 5.44 x 3.44 inches (5.08 x 13.82 x 8.74 cm) |
| Item Weight | 5.1 ounces (0.14 kg) |
| Model Number | 00012800531905 |
| Output Voltage | 1.5 Volts |
| Compatible Battery Types | NiMH AA, NiMH AAA |
| Charging Bays | 8 (independent) |
10. Warranty and Support
Rayovac products are manufactured to high-quality standards. For warranty information or technical support, please refer to the documentation included with your purchase or visit the official Rayovac website. Keep your purchase receipt as proof of purchase.
For further assistance, you may contact Rayovac customer service through their official channels.