
1. Important Safety Information
Please read all instructions carefully before assembly and use. Keep this manual for future reference.
- Always assemble and place the sideboard on a stable, level surface.
- Keep fingers away from joints and hinges during assembly to prevent pinching.
- Lift with care, as the item is heavy and can cause injury if mishandled.
- Always follow the included assembly instructions for a safe setup.
- An anti-tip kit is included to help secure the unit to the wall for added stability. It is crucial to install this kit to prevent accidental tipping, especially in households with children or pets.

Figure 1.1: Anti-Tip Kit Installation. This image illustrates the importance of securing the sideboard to the wall using the provided anti-tip kit to prevent tipping hazards.
2. Product Overview
The Vida Designs Arlington Sideboard is a modern and elegant storage solution designed for dining rooms or living areas. It features a chic grey finish with an oak effect top, offering both style and functionality.
- Design: Modern and elegant with a grey and oak effect combination.
- Storage: Two smooth-gliding drawers with brushed silver handles and a spacious three-door cupboard below for ample storage.
- Material: Constructed from durable engineered wood with a melamine finish.
- Assembly: Delivered flat-packed for easy home assembly.
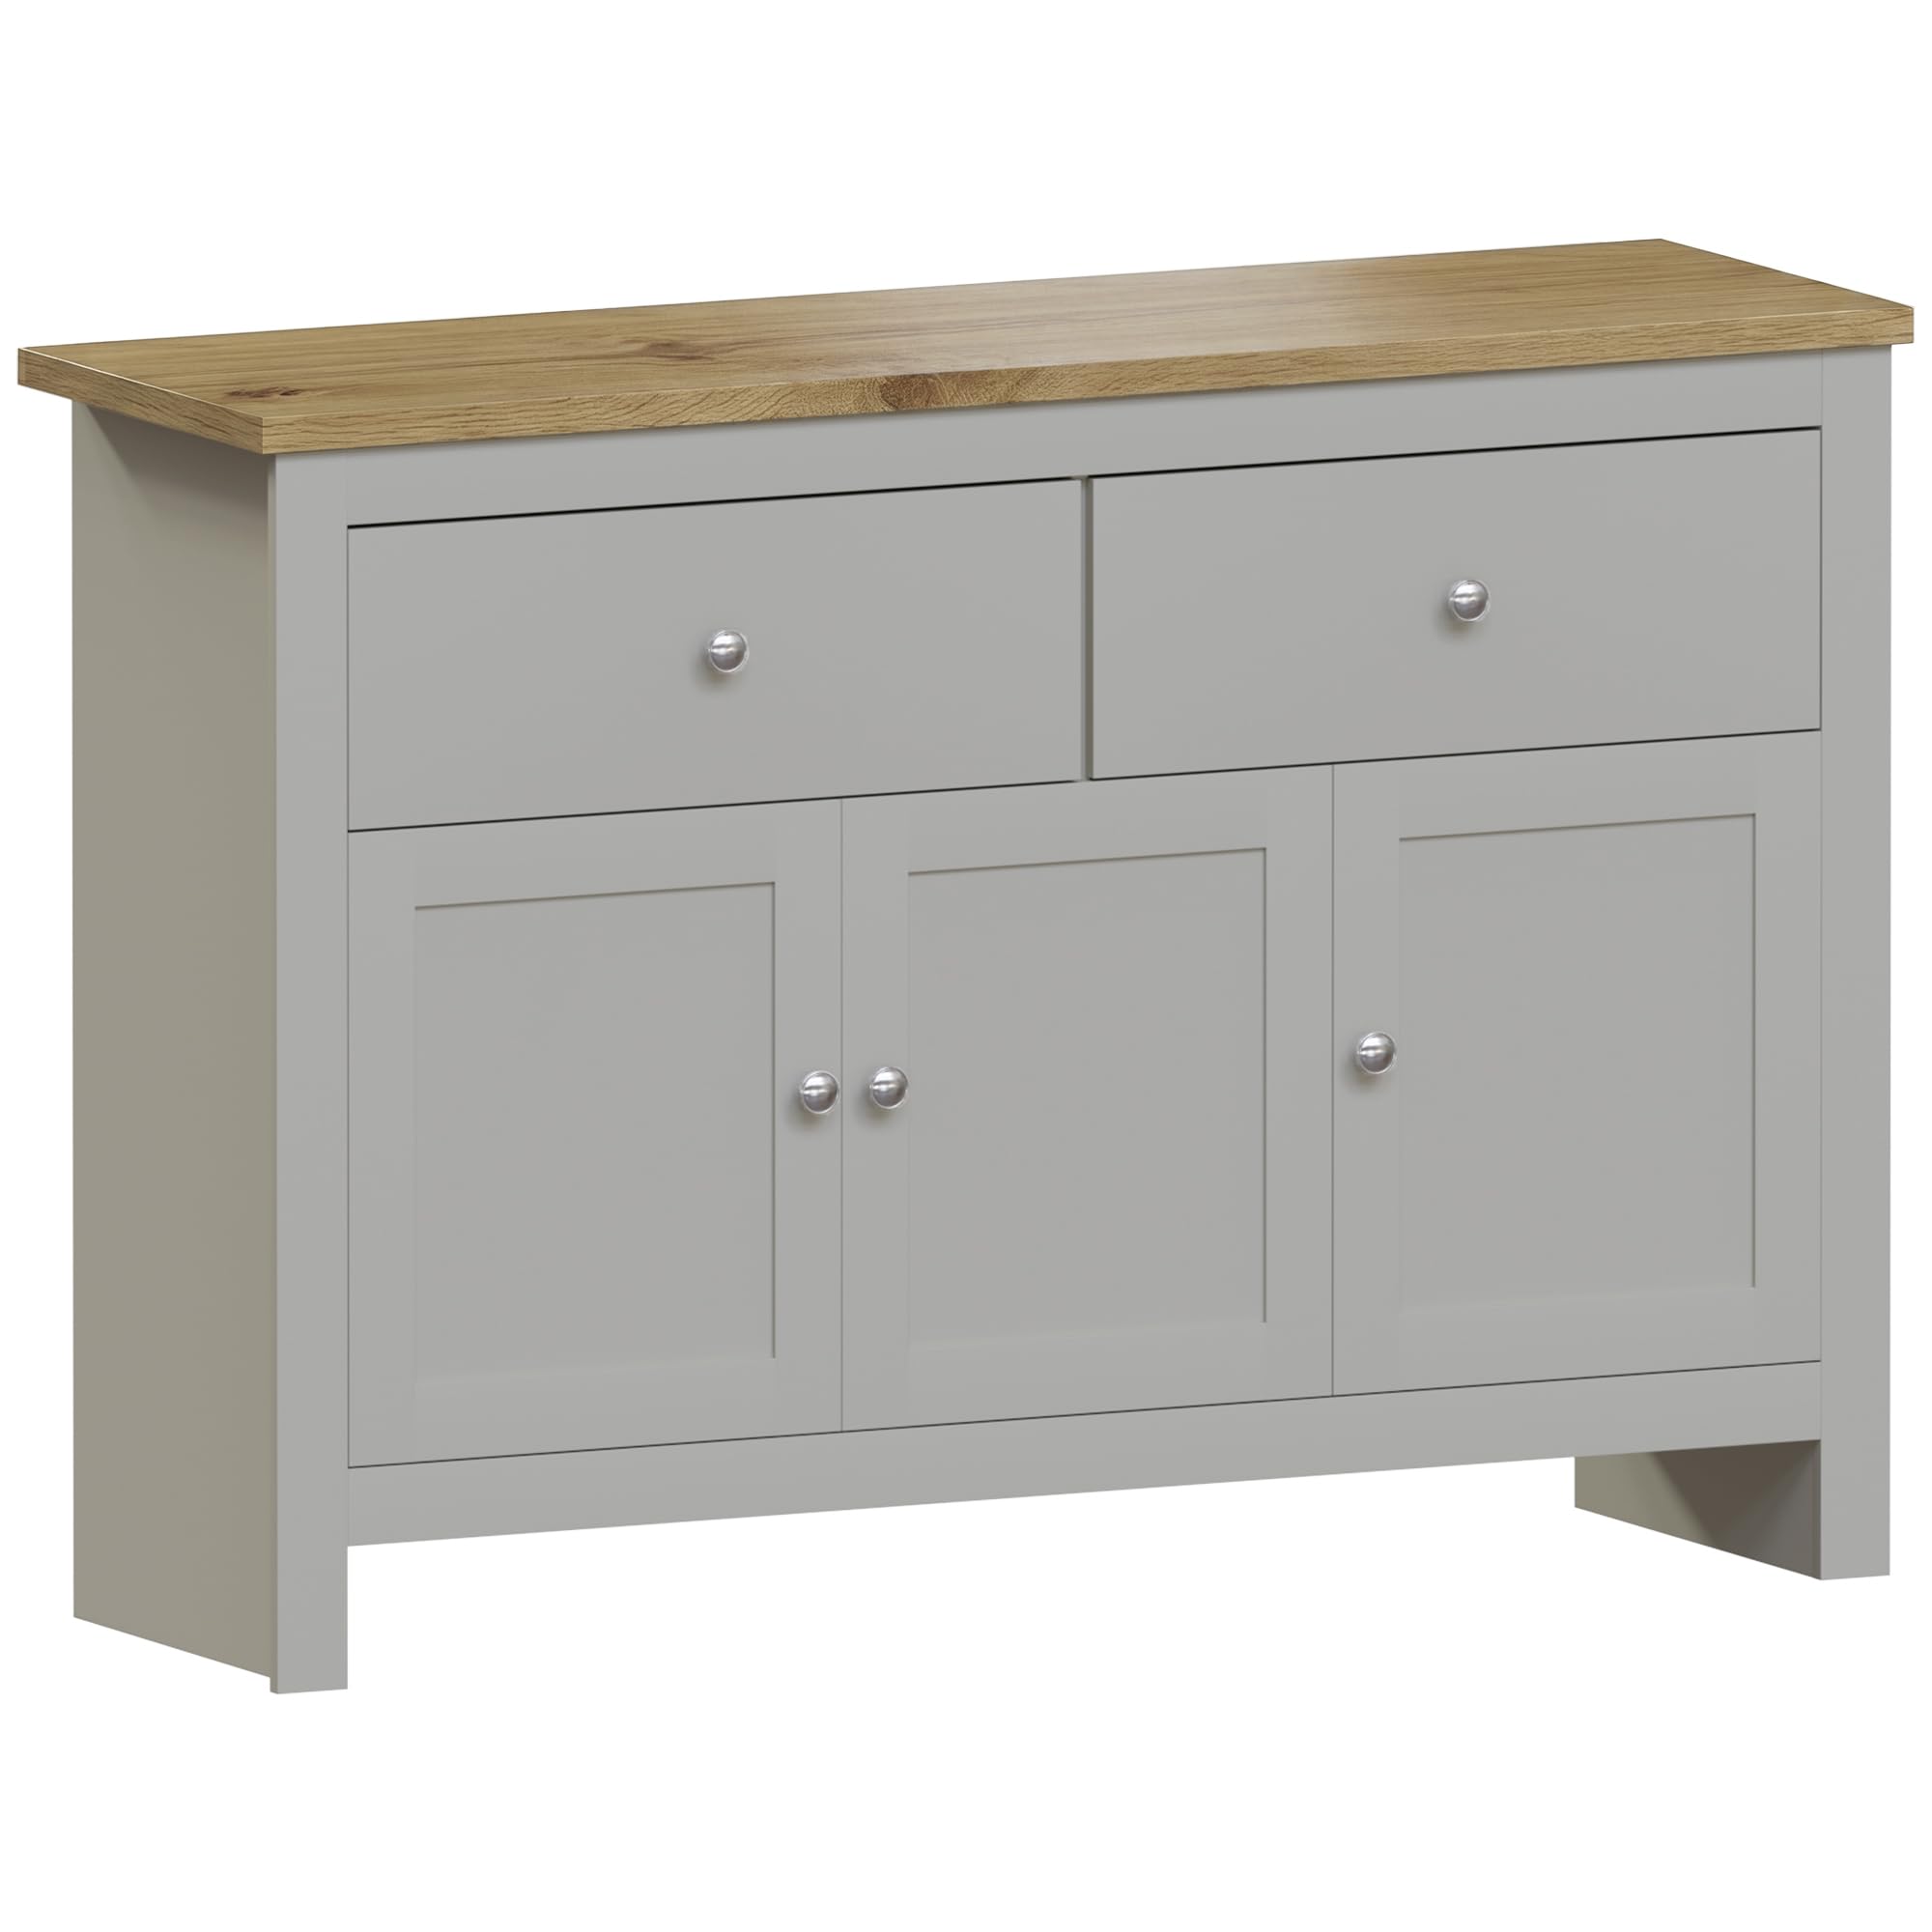
Figure 2.1: Product Overview. The Vida Designs Arlington Sideboard, showcasing its two drawers and three doors in a modern living space.
3. Setup and Assembly Instructions
Your Vida Designs Arlington Sideboard is delivered flat-packed and requires self-assembly. Follow these general steps and refer to the detailed instructions included in your package for specific component identification and assembly sequence.
- Unpack and Verify: Carefully unpack all components and hardware. Compare them against the parts list in your assembly guide to ensure everything is present and undamaged.
- Prepare Workspace: Choose a clean, flat, and spacious area for assembly. Lay down a blanket or cardboard to protect the furniture pieces and your floor.
- Assemble Frame: Begin by assembling the main frame of the sideboard according to the step-by-step instructions. Ensure all connections are secure but do not overtighten screws until the unit is fully assembled.
- Install Shelves and Back Panel: Insert the internal shelves and attach the back panel as directed.
- Assemble Drawers: Construct the two drawers, ensuring the smooth-gliding mechanisms are correctly installed.
- Attach Doors: Mount the three doors to the cupboard sections. Adjust hinges as necessary to ensure proper alignment and smooth operation.
- Install Anti-Tip Kit: For safety, securely attach the anti-tip kit to the back of the sideboard and to a wall stud, following the specific instructions provided with the kit. This step is critical to prevent tipping.

Figure 3.1: Internal Cupboard Structure. This image shows the internal shelving, which should be assembled according to the provided instructions.

Figure 3.2: Drawer Mechanism. Proper assembly of the drawer runners ensures smooth operation.
4. Operating Instructions
The Arlington Sideboard is designed for convenient storage in your home.
- Drawers: Gently pull the brushed silver handles to open the drawers. Push them back in until they are fully closed. Avoid forcing the drawers.
- Cupboard Doors: Use the handles to open and close the three cupboard doors. Ensure they close completely to keep contents secure.
- Weight Capacity: Distribute weight evenly. Each drawer has a maximum weight capacity of 10 kg. The top panel can support up to 40 kg. The overall weight capacity of the unit is 27 kg. Do not exceed these limits to ensure stability and longevity of the product.

Figure 4.1: Drawer Operation. A person demonstrating the smooth operation of a drawer.

Figure 4.2: Weight Capacity and Dimensions. This diagram illustrates the maximum weight limits for drawers and the top panel, along with overall product dimensions.
5. Maintenance and Care
To maintain the appearance and longevity of your sideboard, follow these care guidelines:
- Cleaning: Wipe clean with a soft, damp cloth. Avoid using harsh chemicals, abrasive cleaners, or polishes that may damage the finish.
- Spills: Immediately wipe up any spills to prevent staining or damage to the engineered wood and melamine surfaces.
- Heat and Moisture: Avoid placing hot items directly on the surface. Use coasters or protective mats. Keep the sideboard away from excessive moisture or direct sunlight to prevent warping or fading.
- Regular Checks: Periodically check all screws and fittings to ensure they remain tight. Retighten if necessary.

Figure 5.1: Easy-to-Clean Surface. The durable oak effect top is designed for easy cleaning with a damp cloth.
6. Troubleshooting
If you encounter issues with your sideboard, consider the following common solutions:
- Difficulty with Assembly: Ensure all components are correctly oriented as per the assembly instructions. Sometimes, a piece may appear similar but has a specific orientation. Do not force parts together. If a piece does not fit, re-examine the instructions for that step.
- Doors or Drawers Not Aligning: Minor adjustments to hinges can often correct misaligned doors. For drawers, ensure the runners are installed correctly and that no obstructions are present. Refer to the assembly manual for hinge adjustment details.
- Wobbly Unit: Ensure all screws are tightened. If the unit still wobbles, check that it is placed on a completely level surface. Re-installing the anti-tip kit securely to the wall can also significantly improve stability.
7. Specifications
Detailed specifications for the Vida Designs Arlington Sideboard:
| Feature | Detail |
|---|---|
| Brand | Vida Designs |
| Model Number | 3331273 |
| ASIN | B08HQTPHV3 |
| Color | Grey and Oak |
| Material | Engineered Wood, Melamine |
| Product Dimensions (D x W x H) | 35 cm x 117 cm x 82 cm |
| Product Weight | 27 kg |
| Drawer Weight Capacity (each) | 10 kg |
| Top Panel Weight Capacity | 40 kg |
| Mounting Type | Floor Mount |
| Special Feature | Storage, Anti-Tip Kit Included |
Figure 7.1: Detailed Dimensions and Capacities. A visual representation of the sideboard's measurements and weight limits.
8. Warranty and Support
For any questions regarding assembly, missing parts, or product defects, please contact Vida Designs customer support. While specific warranty details are not provided in this manual, your purchase may be covered by standard consumer rights and retailer return policies.
Please retain your proof of purchase for any warranty claims or support inquiries.
