1. Introduction
The GTMEDIA V7S2X is a high-definition digital satellite TV receiver designed for Free-to-Air (FTA) satellite broadcasts. It supports DVB-S/S2/S2X standards, H.264 video decoding, and delivers full HD 1080p resolution. This receiver offers features such as USB Wi-Fi antenna support for network sharing, PVR readiness, and compatibility with various satellite systems. This manual provides detailed instructions for setting up, operating, and maintaining your device.
2. Package Contents
Please verify that all items listed below are included in your package. If any items are missing or damaged, contact your retailer.
- 1x GTMEDIA V7S2X Satellite Receiver
- 1x USB WiFi Antenna
- 1x IR Remote Control
- 1x HDMI Cable
- 1x Power Adapter
- 1x User Manual
- 1x Product Warranty Card

Image: Contents of the GTMEDIA V7S2X package, showing the receiver, remote control, USB WiFi antenna, HDMI cable, power adapter, user manual, and warranty card.
3. Product Overview
3.1 Front Panel
The front panel features the GTMEDIA logo, the model number V7S2X, a digital display, and a USB port for connecting the USB WiFi antenna or other USB devices.

Image: Front view of the GTMEDIA V7S2X receiver, highlighting the digital display and the front USB port.
3.2 Rear Panel Connections
The rear panel provides all necessary ports for connecting the receiver to your satellite dish and television.
- LNB IN: Connects to your satellite dish LNB.
- HD OUT: HDMI output for connecting to an HD television.
- CVBS (Yellow): Composite video output.
- L (White): Left audio output.
- R (Red): Right audio output.
- USB: Additional USB port for external storage or USB WiFi antenna.
- DC 12V: Power input for the included adapter.
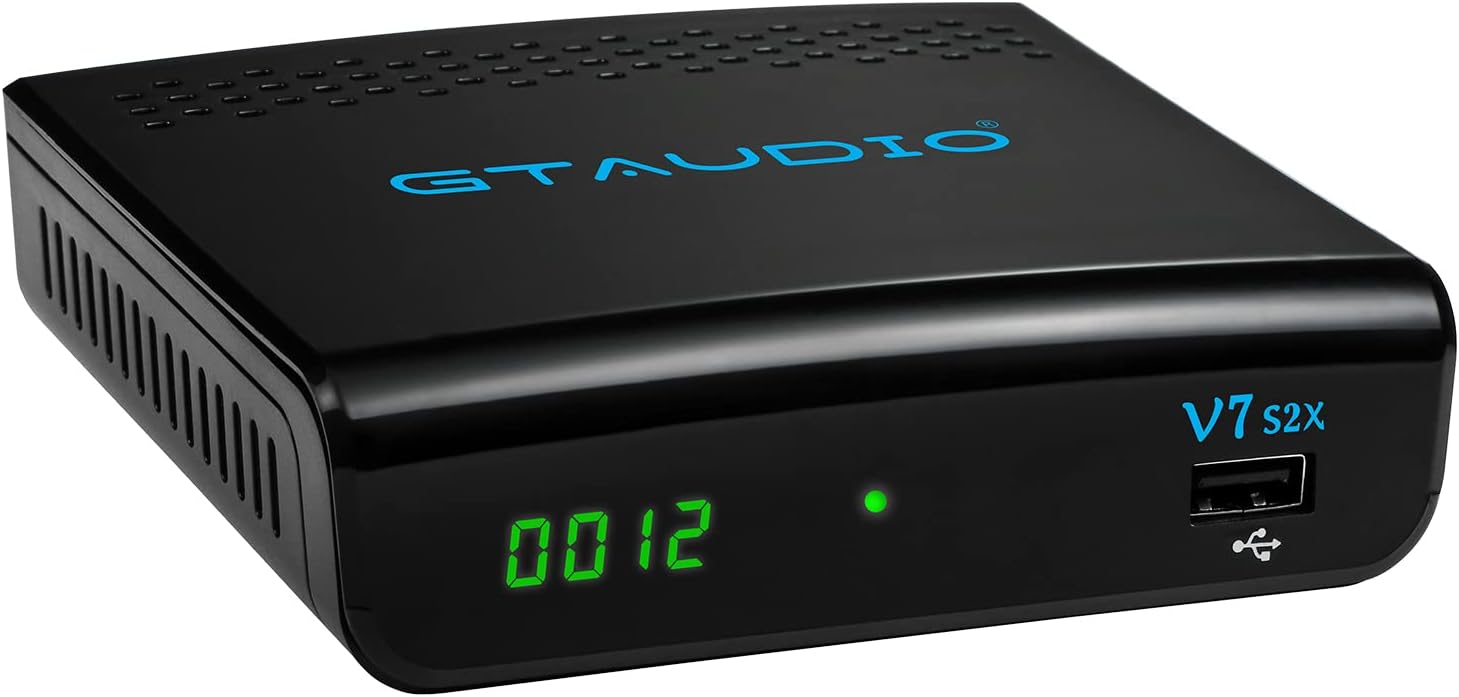
Image: Rear panel of the GTMEDIA V7S2X receiver, detailing all input and output ports for satellite, video, audio, USB, and power connections.
3.3 Remote Control
The remote control allows full navigation and control of the receiver's functions. Familiarize yourself with the button layout for optimal use.

Image: The remote control for the GTMEDIA V7S2X, showing power, number, navigation, volume, channel, and media control buttons.
4. Setup Guide
Follow these steps for initial setup of your GTMEDIA V7S2X receiver.
- Connect Satellite Cable: Connect the LNB cable from your satellite dish to the 'LNB IN' port on the receiver.
- Connect to TV: Use the provided HDMI cable to connect the 'HD OUT' port on the receiver to an HDMI input on your television. Alternatively, use AV cables (CVBS, L, R) for older TVs.
- Connect Power: Plug the power adapter into the 'DC 12V' port on the receiver, then plug the adapter into a power outlet. The receiver will power on and display 'boot'.
- Initial Configuration:
- Turn on your TV and select the correct HDMI/AV input.
- The receiver will boot up. Use the remote control to navigate the on-screen menu.
- Go to INSTALL > Satellite List. Select your satellite (e.g., Galaxy 19, Astra 19.2E).
- Configure LNB Frequency, DiSEqC settings, and LNB Power as required for your satellite setup.
- Perform a Scan (Blind Scan or Auto Scan) to find available channels.
- Network Setup (Optional): If using the USB WiFi antenna, insert it into a USB port. Go to NETWORK > Network Config > WiFi to connect to your wireless network.
Video: A visual guide demonstrating the initial connection of the GTMEDIA V7S2X receiver, including power-on sequence, and basic menu navigation for channel installation and network configuration.
5. Operating Instructions
5.1 Channel Management
- TV Channel List: Press the CHANNEL button on the remote to view the list of TV channels.
- Favorite Groups: Organize channels into up to 16 different favorite groups for quick access.
- Channel Editing: Access the channel editing function to move, lock, skip, delete, or rename channels. Parental control is also available.
5.2 Program Recording (PVR)
The GTMEDIA V7S2X supports PVR (Personal Video Recorder) functionality when an external USB storage device (FAT/FAT32/NTFS format) is connected.
- Instant Recording: Press the Record button on the remote to start recording the current program.
- Scheduled Recording: Use the Timer Setting feature to schedule recordings for future programs.
- Playback: Access recorded content via the MEDIA menu.
5.3 Multimedia Playback
Connect a USB storage device to play various media files.
- Navigate to the MEDIA menu.
- Select Music, Picture, or Movie to browse and play your files.
5.4 Online Features
With a connected USB WiFi antenna and internet access, you can use online applications.
- Access Online Movie App (e.g., YouTube) through the NETWORK menu.
6. Maintenance
- Cleaning: Use a soft, dry cloth to clean the receiver. Do not use liquid or aerosol cleaners.
- Ventilation: Ensure the receiver has adequate ventilation. Do not block ventilation openings.
- Power Off: Disconnect the power adapter from the wall outlet if the device will not be used for an extended period.
7. Troubleshooting
- No Power:
- Check if the power adapter is securely connected to the receiver and the power outlet.
- Ensure the power outlet is functional.
- No Signal:
- Verify the LNB cable is properly connected to the 'LNB IN' port.
- Check your satellite dish alignment.
- Confirm LNB settings (frequency, DiSEqC) in the INSTALL menu are correct for your satellite.
- No Picture/Sound on TV:
- Ensure the HDMI or AV cables are securely connected to both the receiver and the TV.
- Select the correct input source on your TV (e.g., HDMI 1, AV).
- Check the TV's volume and mute settings.
- Remote Control Not Working:
- Replace the batteries in the remote control.
- Ensure there are no obstructions between the remote and the receiver's IR sensor.
8. Specifications
| Feature | Specification |
|---|---|
| Model | V7S2X |
| CPU | 770MHz Dual Core |
| Flash Memory | 64MB SPI Flash |
| DDR2 Memory | 512M RAM |
| DVB Standard | DVB-S/S2/S2X, AVS+, VCM/ACM/Multi-stream/T2MI |
| Video Decode | 1080P main profile@level 4.1 and main10 profile@L4.1, High tier |
| Audio Decode | MPEG-1/2 Layer 1/2/3, MPEG-2/4 LC-AAC, MPEG-4 HE-AAC, Dolby AC3/AC3+, DRA CH/5.1CH |
| Aspect Ratio | Auto, 16:9 Pillar box, 4:3 Pan & Scan, 4:3 Letter Box |
| Channels | 5000+ TV and Radio programmable |
| OSD Language | Multi-language support (English, Spanish, French, Russian, Portuguese, Polish, Indonesian, Arabic, Turkish, German, Italian, Persian, Thai) |
| Connectivity | HDMI, USB, LNB IN, CVBS, L/R Audio, DC 12V |
| Dimensions | 12 x 10.5 x 3.3 cm |
| Weight | 491 g |
| Power Input | 120 Volts (AC) |
9. Warranty and Support
The GTMEDIA V7S2X comes with a 1-year warranty. Please refer to the included Product Warranty Card for detailed terms and conditions.
For technical support or further inquiries, please visit the official GTMEDIA website or contact customer service through the channels provided on your warranty card or the product packaging.


