
1. Introduction
Thank you for choosing the VONLUCE 52-Inch Modern Ceiling Fan with Light and Remote Control. This manual provides essential information for the safe installation, operation, and maintenance of your new ceiling fan. Please read it thoroughly before beginning installation or use, and retain it for future reference.
This ceiling fan features a 52-inch span with three blades, a noiseless DC motor, and an integrated LED light. It includes a remote control for convenient adjustment of fan speeds, light settings, and direction, ensuring year-round comfort in your home.

Figure 1: The VONLUCE 52-inch modern ceiling fan with light, showcasing its sleek design in a contemporary living space.
2. Safety Information
To reduce the risk of electric shock, fire, or personal injury, always follow these basic safety precautions:
- Read all instructions carefully before installing and operating the fan.
- Disconnect power at the main circuit breaker or fuse box before beginning installation or performing any maintenance.
- Consult a qualified electrician if you are unfamiliar with electrical wiring. All wiring must be in accordance with national and local electrical codes.
- Ensure the installation site allows the fan blades to rotate without obstruction and provides a minimum clearance of 7 feet (2.1 meters) from the floor to the blade trailing edge.
- The mounting structure must be capable of supporting the weight of the fan (at least 35 lbs / 15.9 kg).
- Do not bend the blade holders during installation, balancing, or cleaning.
- Avoid placing objects in the path of the fan blades.
- Do not operate the fan if there is any visible damage to the housing or blades.
3. Package Contents
Verify that all components listed below are included in your package. If any parts are missing or damaged, please contact VONLUCE customer service.
- Fan Motor Assembly
- Fan Blades (3)
- LED Light Kit
- Remote Control with Wall Mount
- Downrods (5-inch and 10-inch options)
- Mounting Bracket
- Hardware Pack (screws, washers, wire nuts, etc.)
- Instruction Manual
4. Specifications
| Feature | Detail |
|---|---|
| Brand | VONLUCE |
| Model Number | 4395946 |
| Color | Walnut |
| Electric Fan Design | Ceiling Fan |
| Power Source | Corded Electric |
| Style | Modern |
| Product Dimensions (D x W x H) | 28.7"D x 16.1"W x 9.8"H |
| Room Type | Bedroom, Dining Room, Kitchen, Living Room, Nursery |
| Special Feature | Ceiling fan with light |
| Recommended Uses | Air Circulation, Cooling |
| Mounting Type | Ceiling Mount |
| Controller Type | Remote Control |
| Number of Speeds | 6 |
| Noise Level | 35 Decibels |
| Wattage | 35 watts |
| Number of Blades | 3 |
| Indoor/Outdoor Usage | Indoor |
| Motor Type | DC |
| Installation Type | Semi Flush Mount |
| Light Type | LED |
| Blade Material | Engineered Wood |
| Included Components | Remote |
5. Setup & Installation
VONLUCE provides detailed instructions and installation videos to assist you. Ensure power is disconnected at the circuit breaker before starting.
5.1 Mounting Options
The fan can be installed on flat ceilings or vaulted ceilings up to a 10-degree slope. It includes both 5-inch and 10-inch downrods to accommodate various ceiling heights.
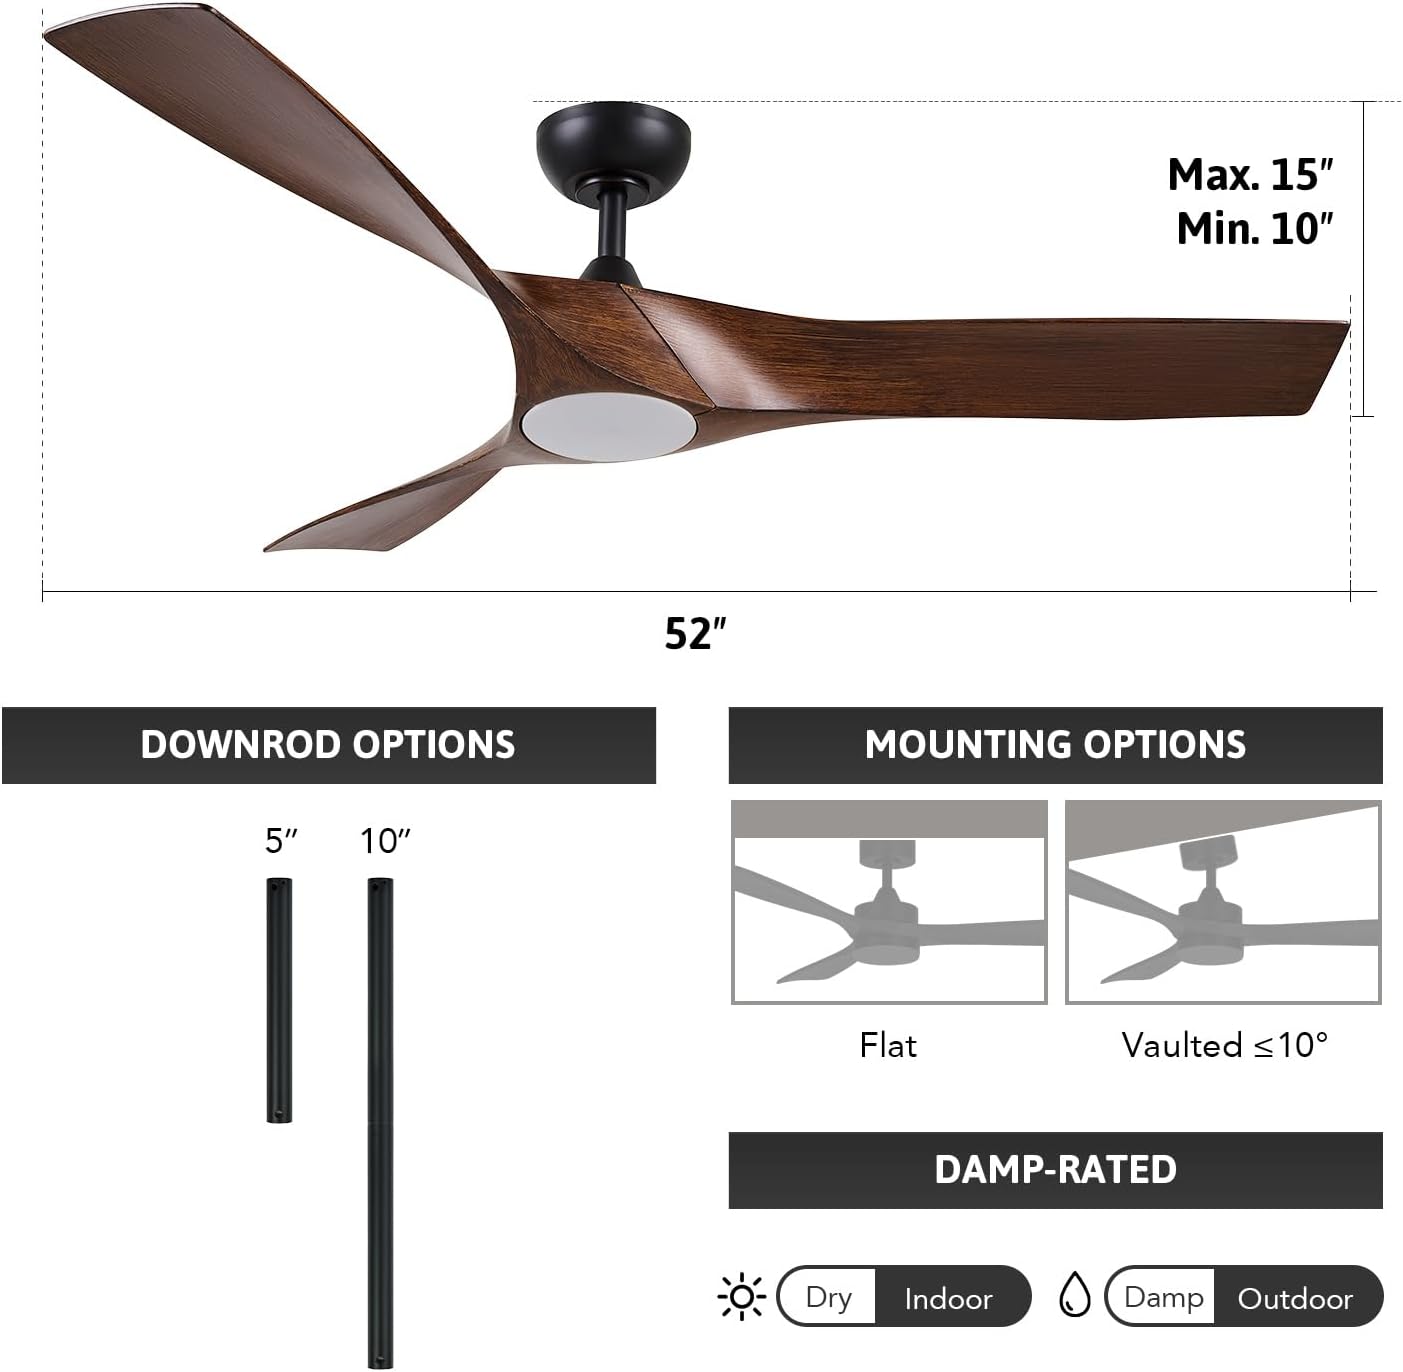
Figure 2: Downrod and mounting options for the ceiling fan.
5.2 Installation Steps Overview
- Secure the Mounting Bracket: Attach the mounting bracket to the ceiling junction box. Ensure it is securely fastened and can support the fan's weight.
- Assemble the Downrod: Feed the fan wires through the chosen downrod. Secure the downrod to the fan motor assembly.
- Hang the Fan: Carefully lift the fan assembly and hang it from the mounting bracket.
- Wire Connections: Connect the electrical wires according to the wiring diagram provided in the full manual. Ensure all connections are secure.
- Install Fan Blades: Attach the three fan blades to the motor housing.
- Install Light Kit: Connect and secure the LED light kit.
- Final Assembly: Attach the canopy and any decorative covers.
5.3 Installation Video
For a visual guide, please refer to the official installation video:
Video 1: Official VONLUCE guide on how to install the ceiling fan.
5.4 Installation Tips
- Mounting Bracket: If the hole spread on the mounting bracket does not align with your junction box, an adjustment bracket may be required.
- Receiver Box: The receiver box for the remote control can be a tight fit within the mounting bracket. Carefully position it to avoid pinching wires.
- Blade Alignment: When attaching blades, loosely install all screws first, then adjust the blades for proper alignment before fully tightening all screws. This helps ensure a balanced fan operation.
6. Operating Instructions
Your VONLUCE ceiling fan is operated using the included remote control. Ensure batteries are correctly installed in the remote.
6.1 Remote Control Functions
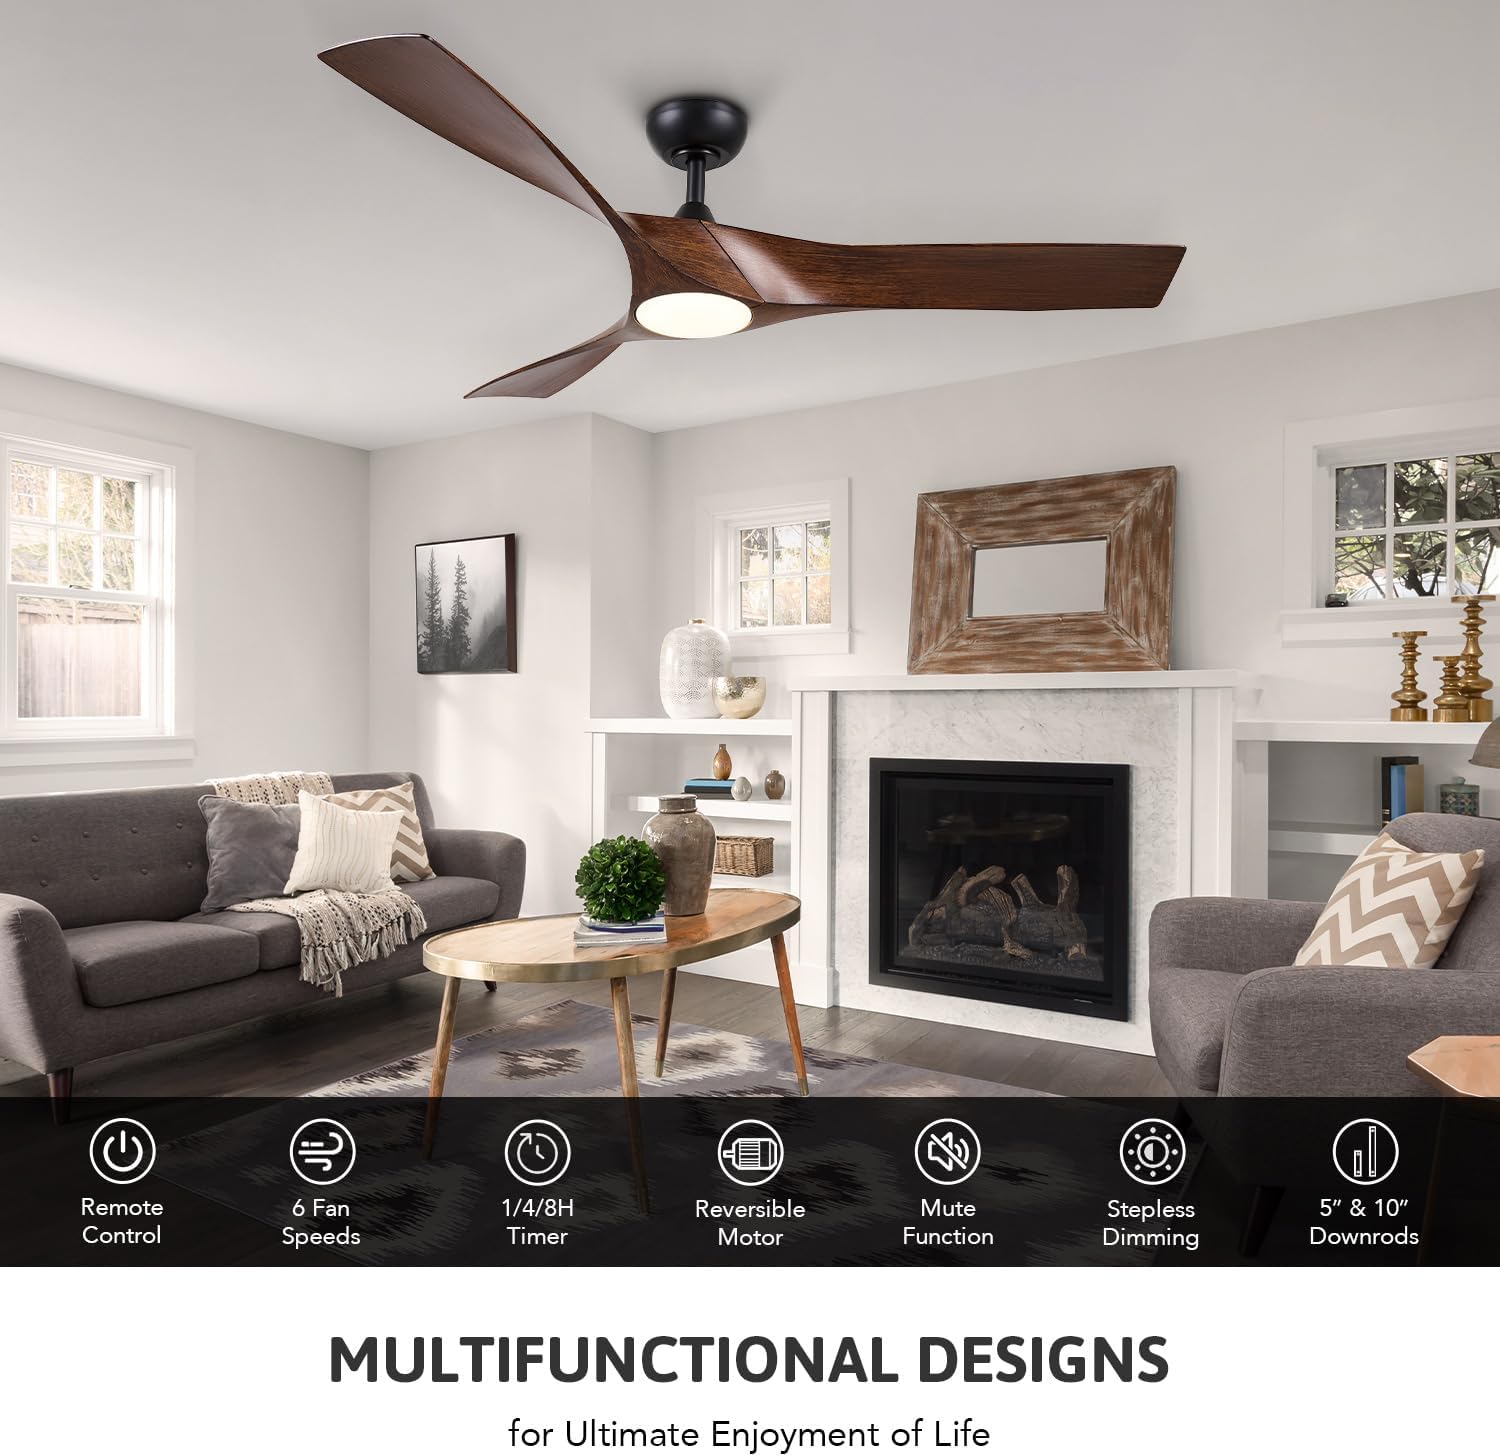
Figure 3: The remote control for your VONLUCE ceiling fan.
- Power Button: Turns the fan and light ON/OFF.
- Fan Speed Buttons (1-6): Adjusts the fan speed from 1 (lowest) to 6 (highest).
- Light ON/OFF: Toggles the LED light.
- Light Color Temperature Adjustment: Changes the light color from warm white (3000K) to cool daylight (6500K).
- Light Brightness Adjustment: Dims or brightens the light from 10% to 100%.
- Reverse Function: Changes the direction of blade rotation for summer or winter mode.
- Timer Buttons (1H/4H/8H): Sets the fan to turn off automatically after 1, 4, or 8 hours.
6.2 Adjustable Fan Speeds
The fan offers 6 adjustable speeds to suit your comfort needs:
- Speed 1-2: Gentle Breeze (Sleep Mode)
- Speed 3-4: Natural Wind (Nature Mode)
- Speed 5-6: Cooling Air (High Speed Mode)
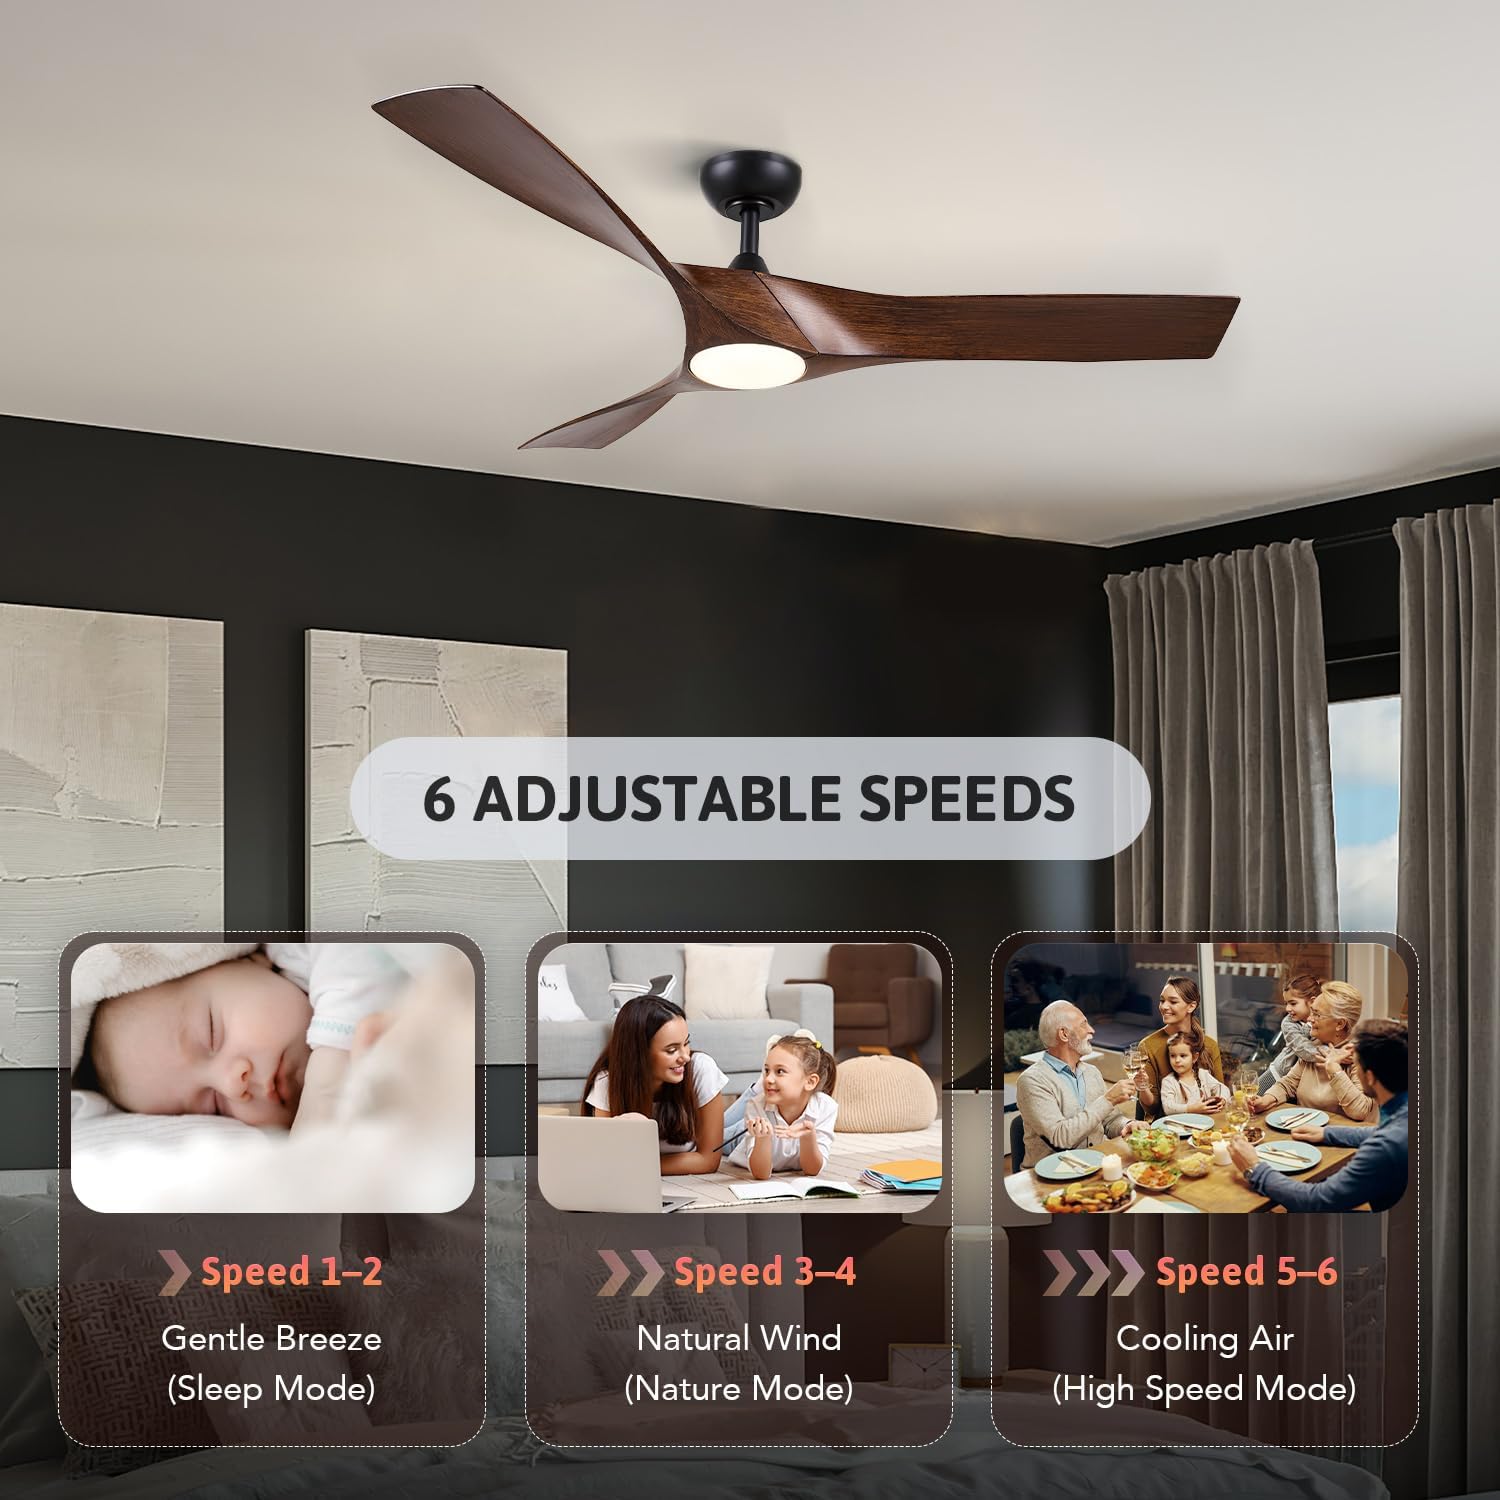
Figure 4: Six adjustable fan speeds for various comfort levels.
6.3 Adjustable LED Light
The integrated LED light kit provides independent and stepless adjustments for both color temperature and brightness:
- Color Temperature: Adjusts from 3000K (warm white) to 6500K (cool daylight).
- Brightness: Dimmable from 10% to 100%.
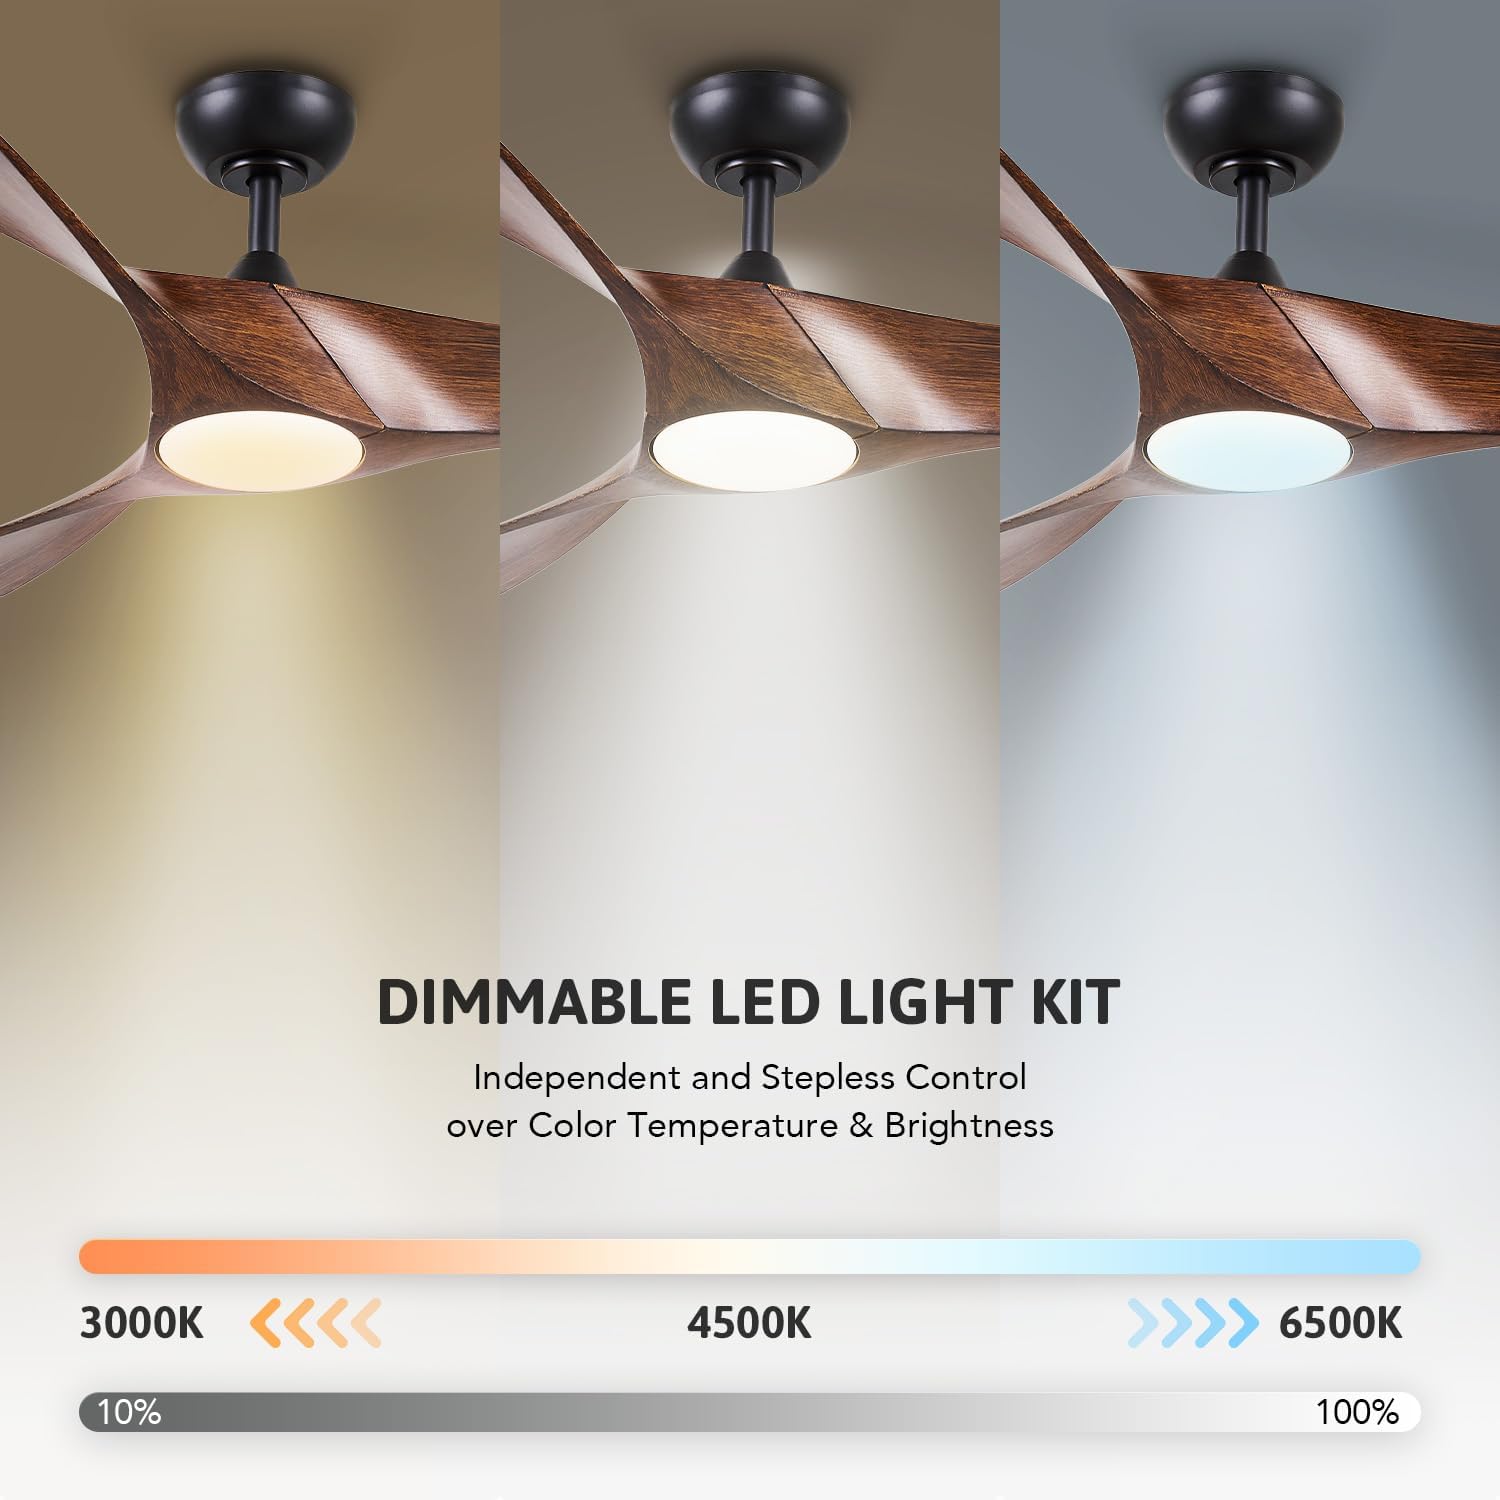
Figure 5: Dimmable LED light kit with adjustable color temperature and brightness.
6.4 Reversible DC Motor
The reversible DC motor allows you to change the direction of the fan blades to optimize air circulation for different seasons:
- Summer Mode: Downward airflow creates a cooling effect.
- Winter Mode: Upward airflow circulates warm air trapped near the ceiling.
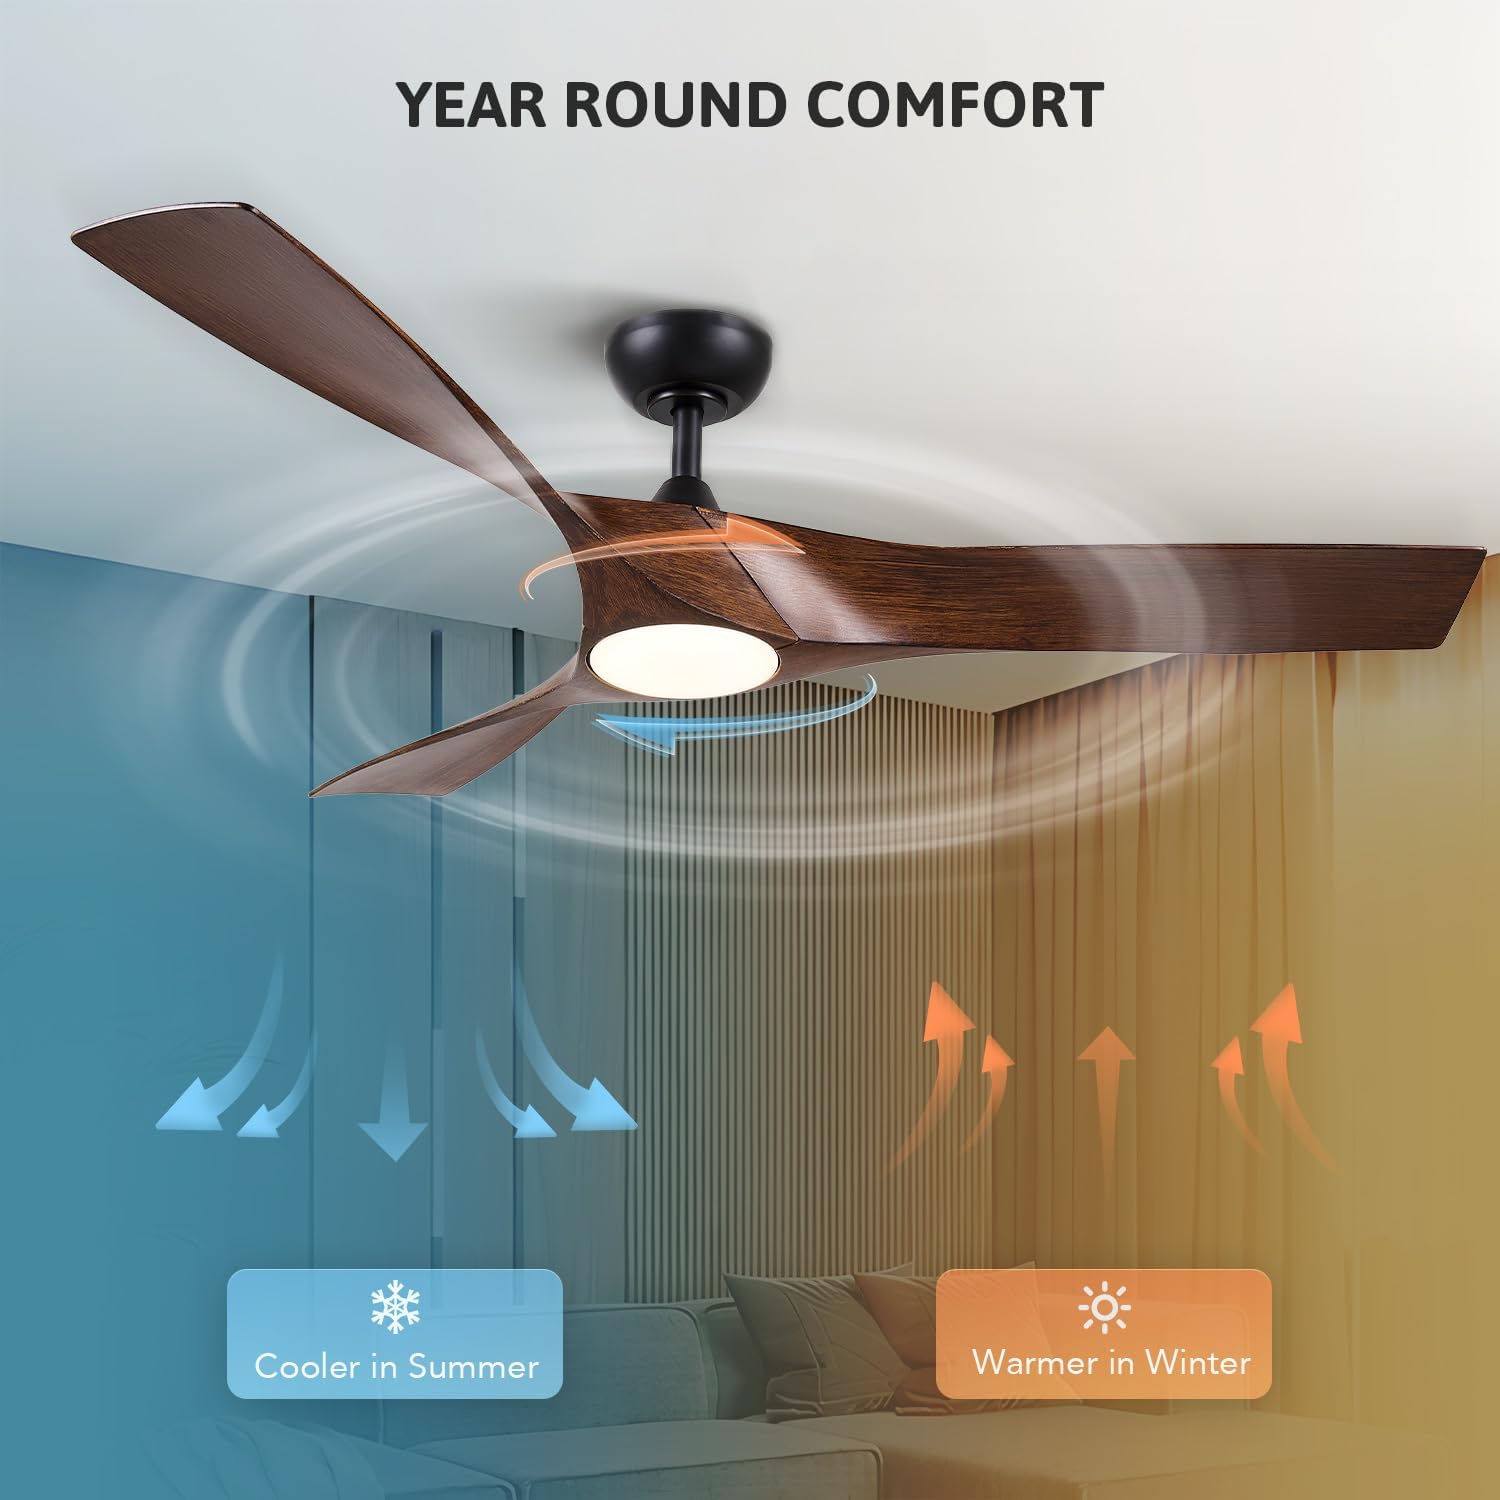
Figure 6: Reversible DC motor for year-round comfort.
6.5 Timer Function and Quiet Operation
The fan features a timer function (1, 4, or 8 hours) for automatic shut-off. Its DC motor ensures ultra-quiet operation, with a noise level less than 35dB, suitable for bedrooms and quiet living environments.
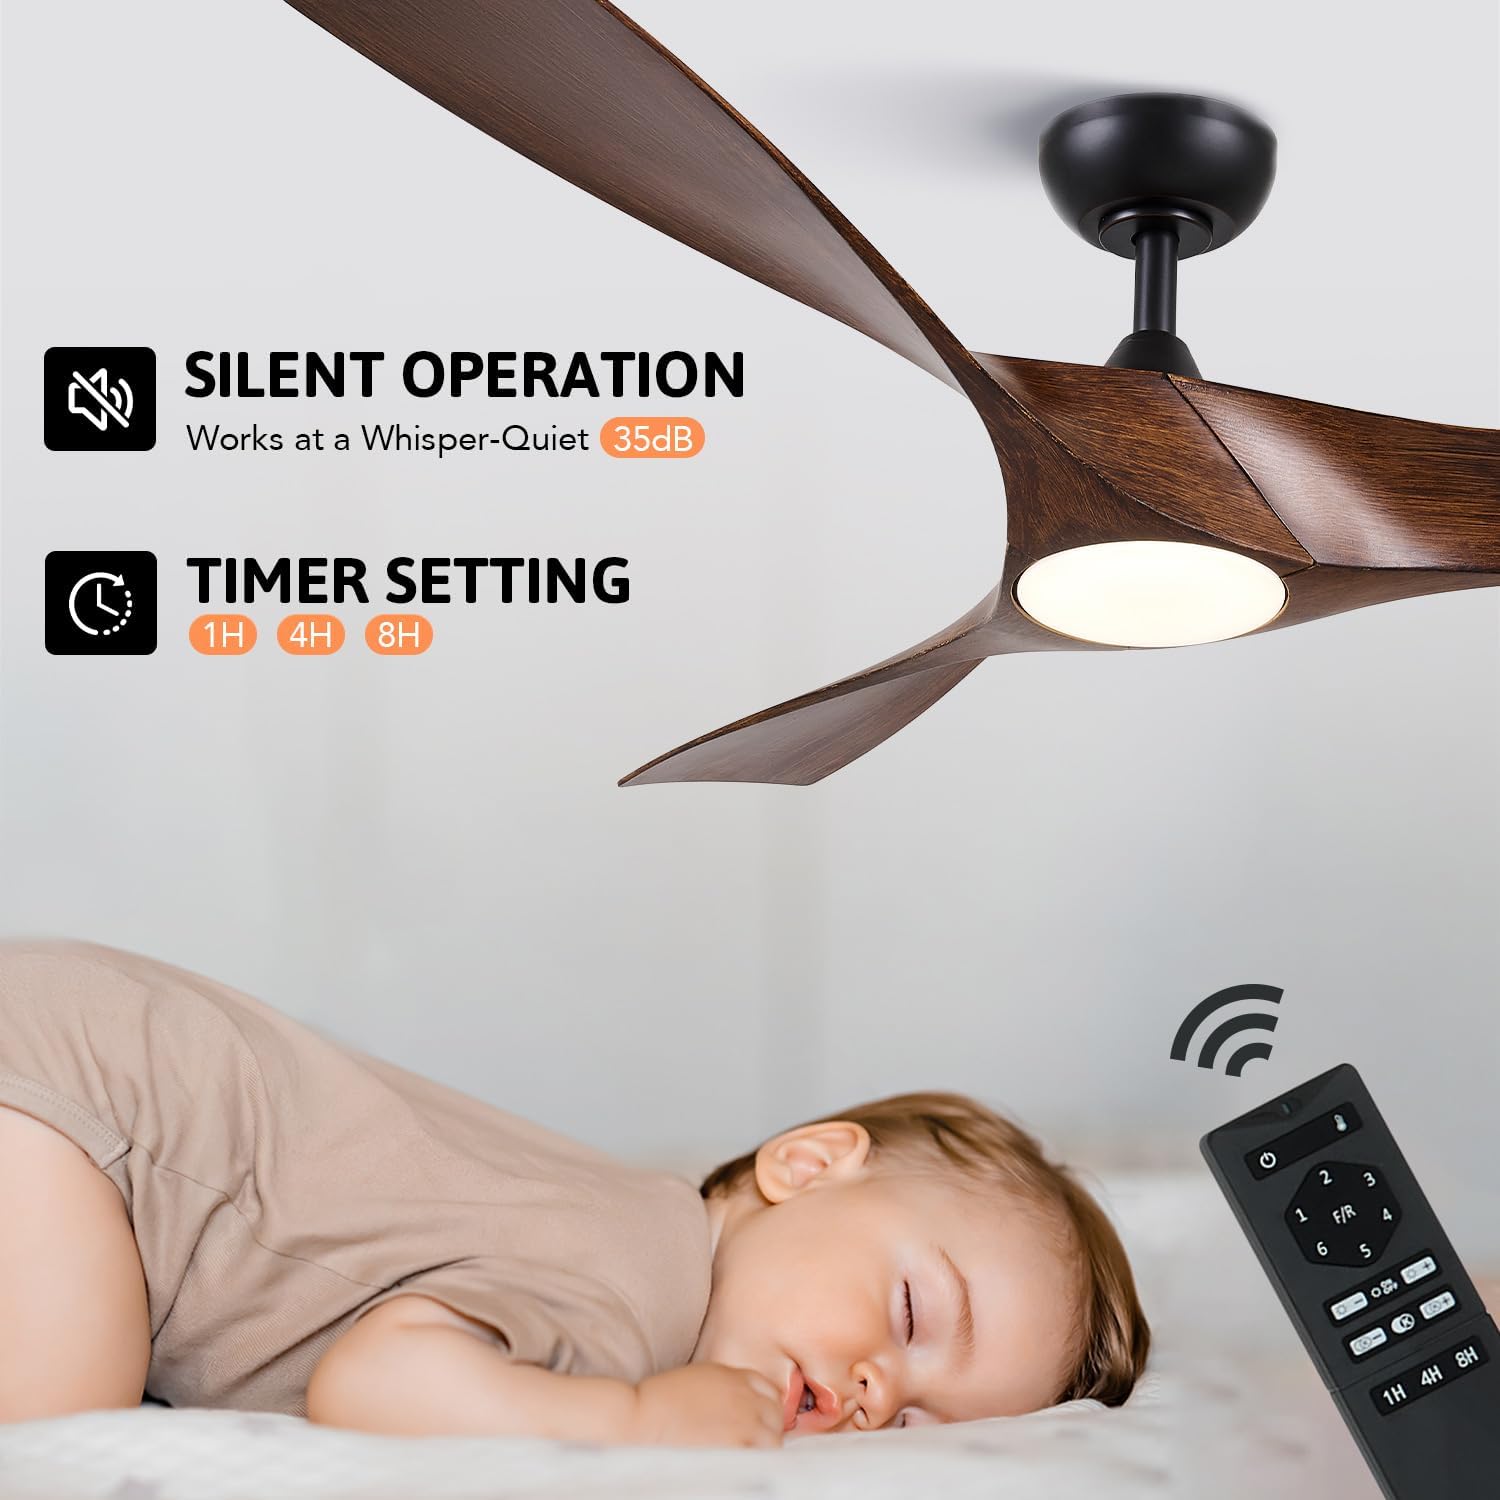
Figure 7: Silent operation and timer settings for undisturbed comfort.
6.6 Memory Function
The fan includes a memory function. When turned off and then back on (after more than 10 seconds), it will resume the last light and fan speed settings.
6.7 Product Showcase Video
View a showcase of the fan's features and design:
Video 2: A visual demonstration of the VONLUCE ceiling fan's features.
7. Maintenance
Regular maintenance helps ensure the longevity and optimal performance of your ceiling fan.
- Cleaning: Periodically clean the fan blades and motor housing with a soft, damp cloth. Do not use abrasive cleaners or solvents, as these can damage the finish.
- Dusting: Dust the fan regularly to prevent buildup, which can affect performance and balance.
- Tightness Check: Annually check all screws and fasteners for tightness. Over time, vibrations can cause them to loosen.
- Light Kit: The LED light source is designed for long life and is not user-replaceable. If the light fails, contact customer support.
Important: Always disconnect power to the fan at the circuit breaker before performing any cleaning or maintenance.
8. Troubleshooting
If you experience issues with your fan, refer to the following common problems and solutions:
| Problem | Possible Cause | Solution |
|---|---|---|
| Fan does not start | No power to the fan; Loose wire connections; Remote control not paired or faulty. | Check circuit breaker/fuses. Ensure all wire connections are secure. Re-pair the remote control (refer to remote instructions). Replace remote batteries. |
| Light does not work | Loose wire connection to light kit; Faulty light kit; Remote control issue. | Check light kit wiring. Ensure remote batteries are fresh and remote is paired. If light kit is faulty, contact customer support. |
| Fan is noisy | Loose screws on motor housing or blades; Unbalanced blades; Fan not securely mounted. | Tighten all screws on the fan blades and motor housing. Check for any bent blades. Ensure the mounting bracket is securely fastened to the ceiling. |
| Remote control not responding | Dead batteries; Remote not paired; Interference. | Replace batteries. Re-pair the remote control with the fan. Ensure no other devices are causing signal interference. |
| Fan wobbles | Loose blades or blade holders; Unbalanced blades; Improper mounting. | Ensure all blade screws are tight. Use a balancing kit (not included) if necessary. Verify the fan is securely mounted to the ceiling junction box. |
9. Warranty & Support
VONLUCE products are manufactured to high-quality standards. For specific warranty details, please refer to the warranty card included with your purchase or visit the official VONLUCE website.
If you require technical assistance, replacement parts, or have any questions regarding your VONLUCE ceiling fan, please contact our customer support team. Contact information can typically be found on our website or on the packaging.