1. Important Safety Information
Always prioritize safety when operating welding equipment. Failure to follow safety precautions can result in serious injury or death. This section outlines general safety guidelines. Refer to local regulations and additional safety resources for comprehensive information.
- Eye Protection: Always wear a proper welding helmet with appropriate shade settings to protect your eyes from intense light and UV radiation. The included protective mask is for basic observation; a professional auto-darkening helmet is highly recommended for active welding.
- Body Protection: Wear flame-resistant clothing, welding gloves, and closed-toe shoes to protect against sparks, heat, and electrical shock.
- Ventilation: Ensure adequate ventilation to avoid inhaling welding fumes, which can be hazardous. Work in a well-ventilated area or use a fume extractor.
- Electrical Safety: Ensure the welding machine is properly grounded. Do not operate in wet conditions. Inspect cables and connections for damage before each use.
- Fire Prevention: Keep flammable materials away from the welding area. Have a fire extinguisher readily available.
- Work Area: Keep the work area clean and free of clutter. Ensure stable footing.
- Children and Bystanders: Keep children and unauthorized personnel away from the welding area.
2. Product Overview and Features
The SereneLife SLMIGWL135 is a compact and powerful inverter MIG welding machine designed for flux-cored welding without the need for shielding gas. It offers dual voltage compatibility (110V/220V) and adjustable settings for various welding tasks.
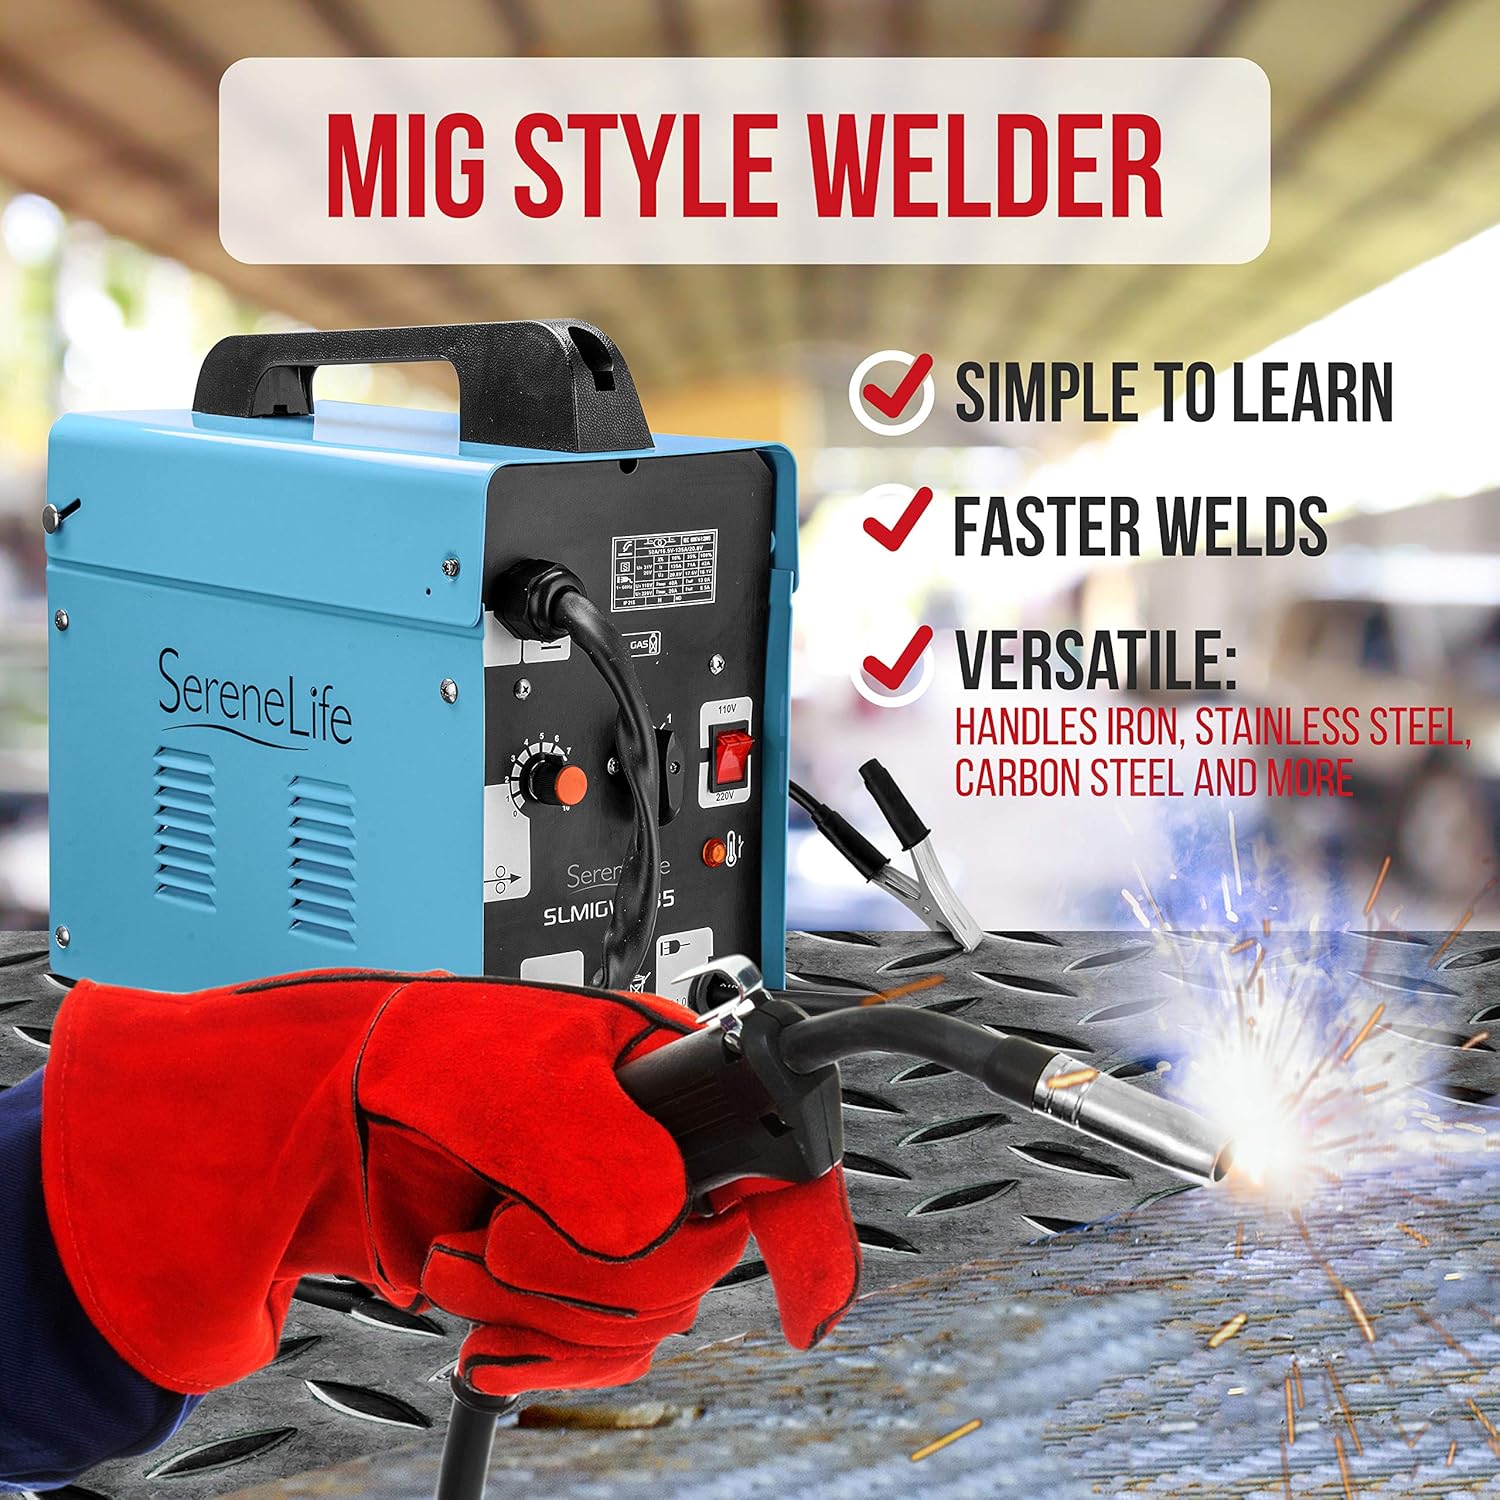
Image: The SereneLife SLMIGWL135 Inverter MIG Welding Machine, showcasing its compact design and key features.
Key Features:
- Dual Voltage Capability: Operates on both 110V and 220V power supplies, offering versatility for different work environments.
- Gasless Flux-Cored Welding: Eliminates the need for external shielding gas, simplifying setup and reducing operational costs.
- Adjustable Output: Up to 120 Amp output for welding steel up to 0.24"-0.3" plate thickness.
- Adjustable Wire Feed Speed: Control welding speed up to 6.7 meters per minute for precise bead formation.
- Durable Construction: Features an anti-corrosion and water-resistant metal machine case to protect internal components.
- Thermal Overload Protection: Automatically adjusts inverter pulse width for output stability and includes a thermal overload indicator.
- Portable Design: Equipped with a convenient carry handle for easy transport and storage.

Image: Illustration highlighting the gasless flux-cored welding capability of the machine, showing wire spools.
3. What's in the Box
Upon unpacking your SereneLife SLMIGWL135 Inverter MIG Welding Machine, ensure all components listed below are present:
- SereneLife SLMIGWL135 Welding Machine
- Welding Gun
- Ground Wire Clip (1.6 meters)
- Brush
- Protective Mask (for basic observation, professional helmet recommended)
- 2.5m²1.8m Big USA Plug
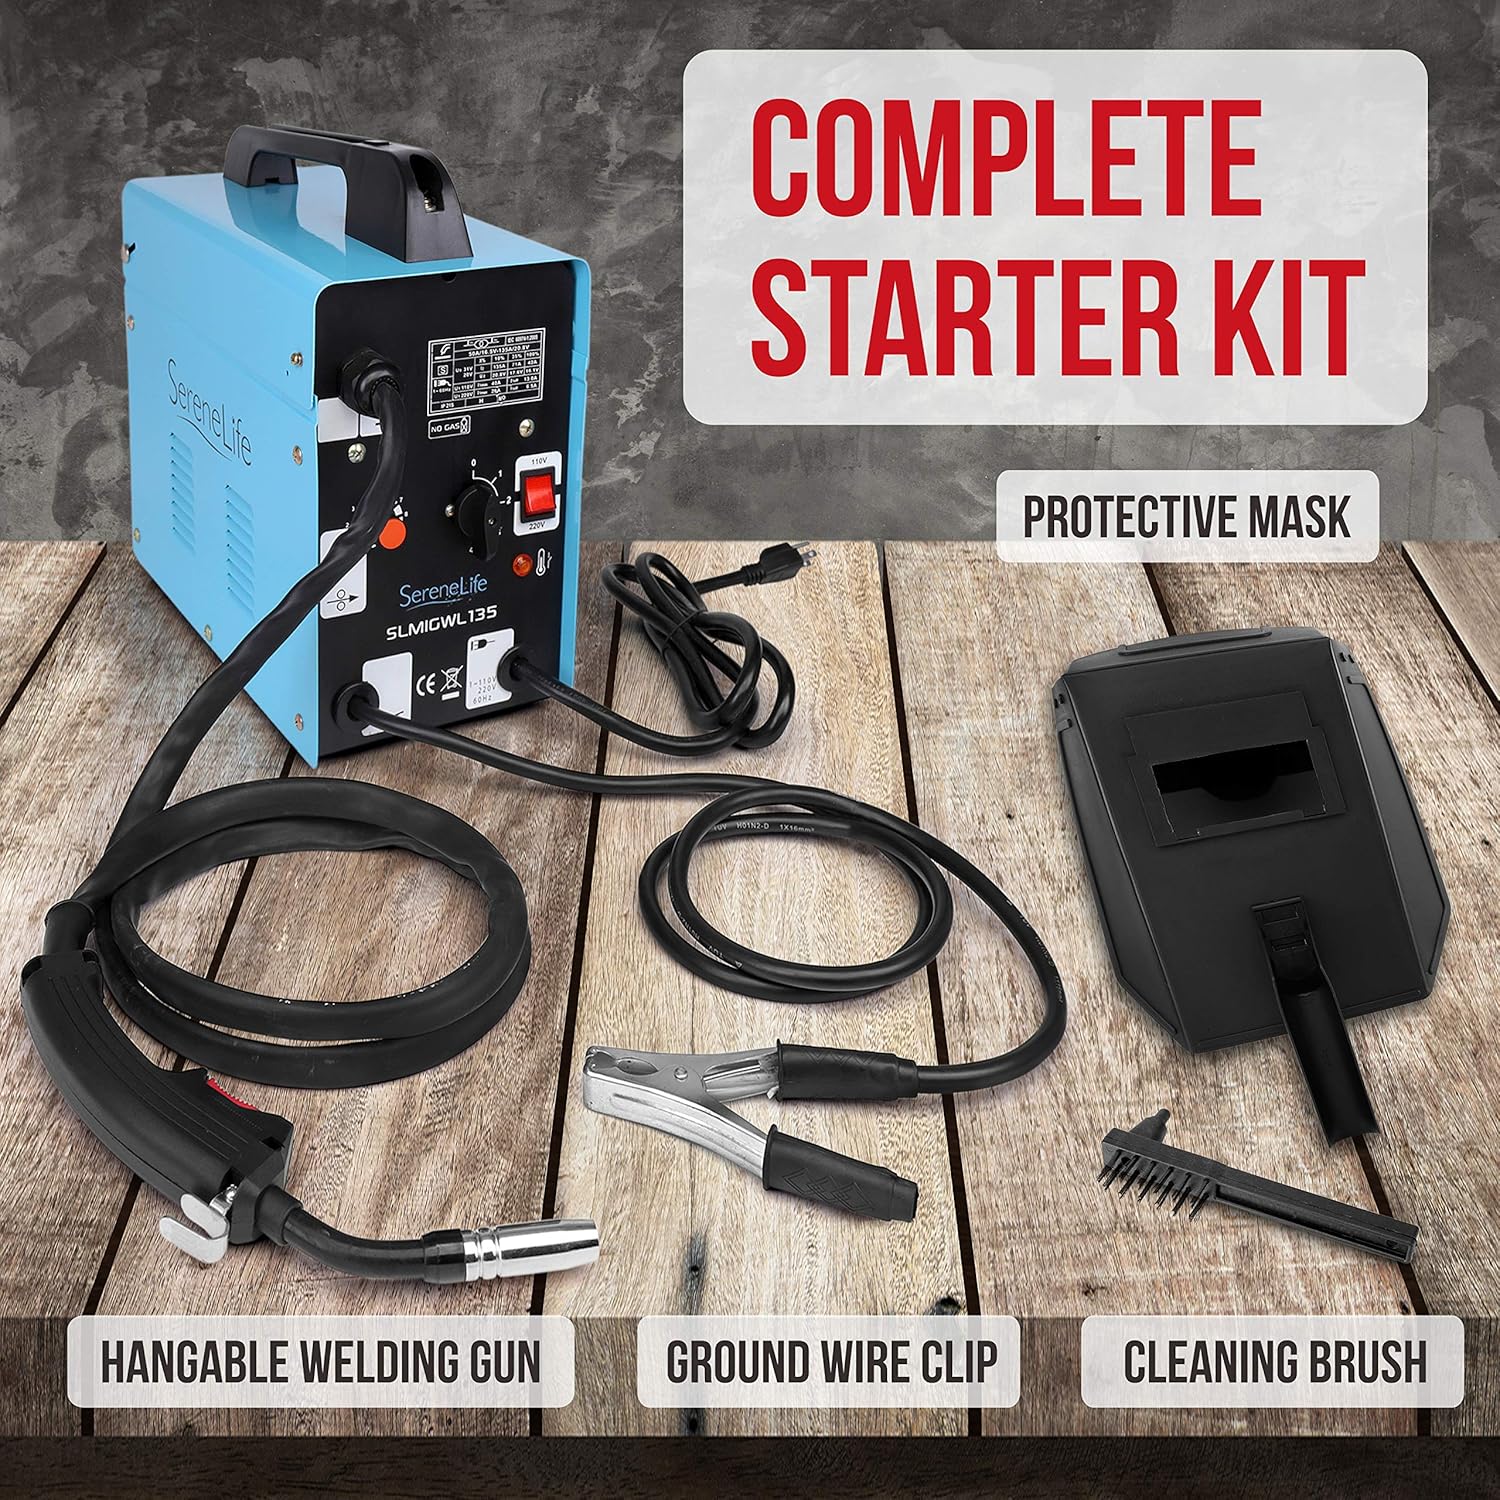
Image: All components included in the SereneLife SLMIGWL135 starter kit, laid out for inspection.
4. Setup Instructions
Follow these steps to set up your welding machine for safe and effective operation:
- Placement: Place the welding machine on a stable, level surface in a well-ventilated area, away from flammable materials.
- Power Connection:
- Ensure the voltage selector switch on the machine is set to the correct input voltage (110V or 220V) before plugging in.
- Connect the power plug to a suitable electrical outlet. For 110V operation, use a standard 110V outlet. For 220V operation, a 220V adapter (not included) and appropriate outlet are required.
- A dedicated 30A time-delay (slow-blow) circuit breaker is recommended for maximum performance, especially at 220V.
- Ground Clamp Connection: Connect the ground wire clip to the designated terminal on the welding machine. Securely attach the ground clamp to a clean, bare metal section of your workpiece or work table to ensure a good electrical connection.
- Welding Gun Connection: Connect the welding gun cable to the appropriate terminal on the machine.
- Wire Spool Installation:
- Open the side panel of the machine to access the wire feed mechanism.
- Place the 2.2 lbs flux-cored wire spool onto the spool holder. Ensure it rotates freely. Note: Only 4" spools will fit this machine.
- Feed the wire through the guide tube and into the wire feed roller mechanism.
- Close the wire feed roller tension arm and adjust the tension as needed.
- Press the trigger on the welding gun to feed the wire through the gun's liner and out of the contact tip. Trim any excess wire.

Image: Step-by-step visual guide on how to properly install and feed the welding wire into the SereneLife SLMIGWL135 machine.

Image: Close-up of the SereneLife SLMIGWL135 control panel, showing the dual voltage switch and adjustable current settings.
5. Operating Instructions
Once the machine is set up and all safety precautions are in place, you can begin welding:
- Power On: Turn on the welding machine using the main power switch.
- Adjust Settings:
- Use the "Wire Feed Rate" dial to adjust the speed at which the welding wire is fed.
- Use the "Current" (4-mode switch) to select the appropriate amperage/voltage for your material thickness and desired weld. Refer to the machine's specifications for guidance on settings.
- Welding Technique:
- Position the welding gun at the desired starting point on the workpiece.
- Press the trigger on the welding gun to initiate the arc and wire feed.
- Maintain a consistent travel speed and gun angle to create a uniform weld bead.
- Release the trigger to stop welding.
- Duty Cycle: The machine has a 10% duty cycle at 130A. This means you can weld for 1 minute at 130A, then the machine requires 9 minutes of rest to cool down. Exceeding the duty cycle can damage the machine.
- Material Compatibility: This machine is suitable for welding mild steel from 18 gauge (0.039") to 3/16" (0.24") thick. It is not designed for welding aluminum.

Image: Detailed view of the SereneLife SLMIGWL135 control panel, showing the wire feed rate dial and current adjustment.
6. Maintenance
Regular maintenance ensures the longevity and optimal performance of your welding machine:
- Cleaning: Regularly clean the machine's exterior with a dry cloth. Use compressed air to clear dust and debris from the cooling vents.
- Wire Feed Mechanism: Inspect the wire feed rollers for wear and tear. Clean any debris or wire shavings from the rollers and guide tubes. Ensure proper tension.
- Welding Gun: Check the contact tip, nozzle, and diffuser for spatter buildup or damage. Replace worn parts as necessary.
- Cables and Connections: Periodically inspect all cables and connections for cuts, fraying, or loose connections. Replace damaged cables immediately.
- Storage: Store the welding machine in a dry, clean environment when not in use.
7. Troubleshooting
This section addresses common issues you might encounter with your welding machine:
| Problem | Possible Cause | Solution |
|---|---|---|
| No Power | Machine not plugged in; power switch off; circuit breaker tripped; faulty power cable. | Check power connection; turn on switch; reset breaker; inspect/replace cable. |
| No Wire Feed | Wire spool empty or jammed; wire feed rollers loose or dirty; contact tip clogged; welding gun trigger not pressed. | Check/replace wire spool; adjust roller tension; clean contact tip; ensure trigger is pressed. |
| Poor Weld Quality (e.g., excessive spatter, weak penetration) | Incorrect voltage/wire speed settings; improper gun angle or travel speed; dirty workpiece; worn contact tip. | Adjust settings (refer to operating section); maintain correct technique; clean workpiece thoroughly; replace contact tip. |
| Machine Overheating (Thermal Overload Indicator On) | Exceeded duty cycle; insufficient ventilation. | Allow machine to cool down (indicator will turn off); ensure proper airflow around the machine. |
8. Specifications
| Feature | Detail |
|---|---|
| Model Number | SLMIGWL135 |
| Power Supply | 110V/220V |
| Maximum Input Current (110V) | 8A |
| Maximum Input Current (220V) | 19A |
| Frequency Response | 50/60Hz |
| Rated Input Power | 4.2KVA |
| Current & Voltage Adjustment Range (MIG) | 60A/17V - 130A/20.5V |
| Duty Cycle (10% @ 130A) | 1 minute weld, 9 minutes rest |
| Usable Wire Diameter | 0.02'' - 0.04'' inch (0.8-1.0mm Flux-Cored Wire) |
| Wire Spool Capacity | 2.2 lbs. Spool (4" spools only) |
| Maximum Metal Thickness | 0.24" - 0.3" (mild steel) |
| Welding Output | 60-130A, AC |
| Product Dimensions (L x W x H) | 13.4'' x 7.5'' x 14'' inches |
| Item Weight | 36.4 pounds |
| Shell Protective Grade | IP21S |
| Insulation Grade | H |
9. Warranty and Support
For warranty information and technical support, please refer to the documentation included in your product packaging or visit the official SereneLife website. Product registration may be required to activate your warranty.


