
1. Introduction
The G-MARK G14S is a professional 4-channel UHF wireless microphone system designed for various applications including parties, family events, churches, weddings, DJ performances, outdoor activities, and stage performances. This system features a robust metal receiver and four durable metal handheld microphones, each with adjustable frequencies to ensure clear and stable audio transmission.
Key features include a frequency range of 520-580 MHz, 20 adjustable channels per microphone, a cardioid pickup pattern to minimize feedback, and a reliable operating range of up to 150 meters (line of sight). The receiver offers independent volume control for each channel and versatile output options (6.35mm and XLR) for easy integration with existing audio systems.
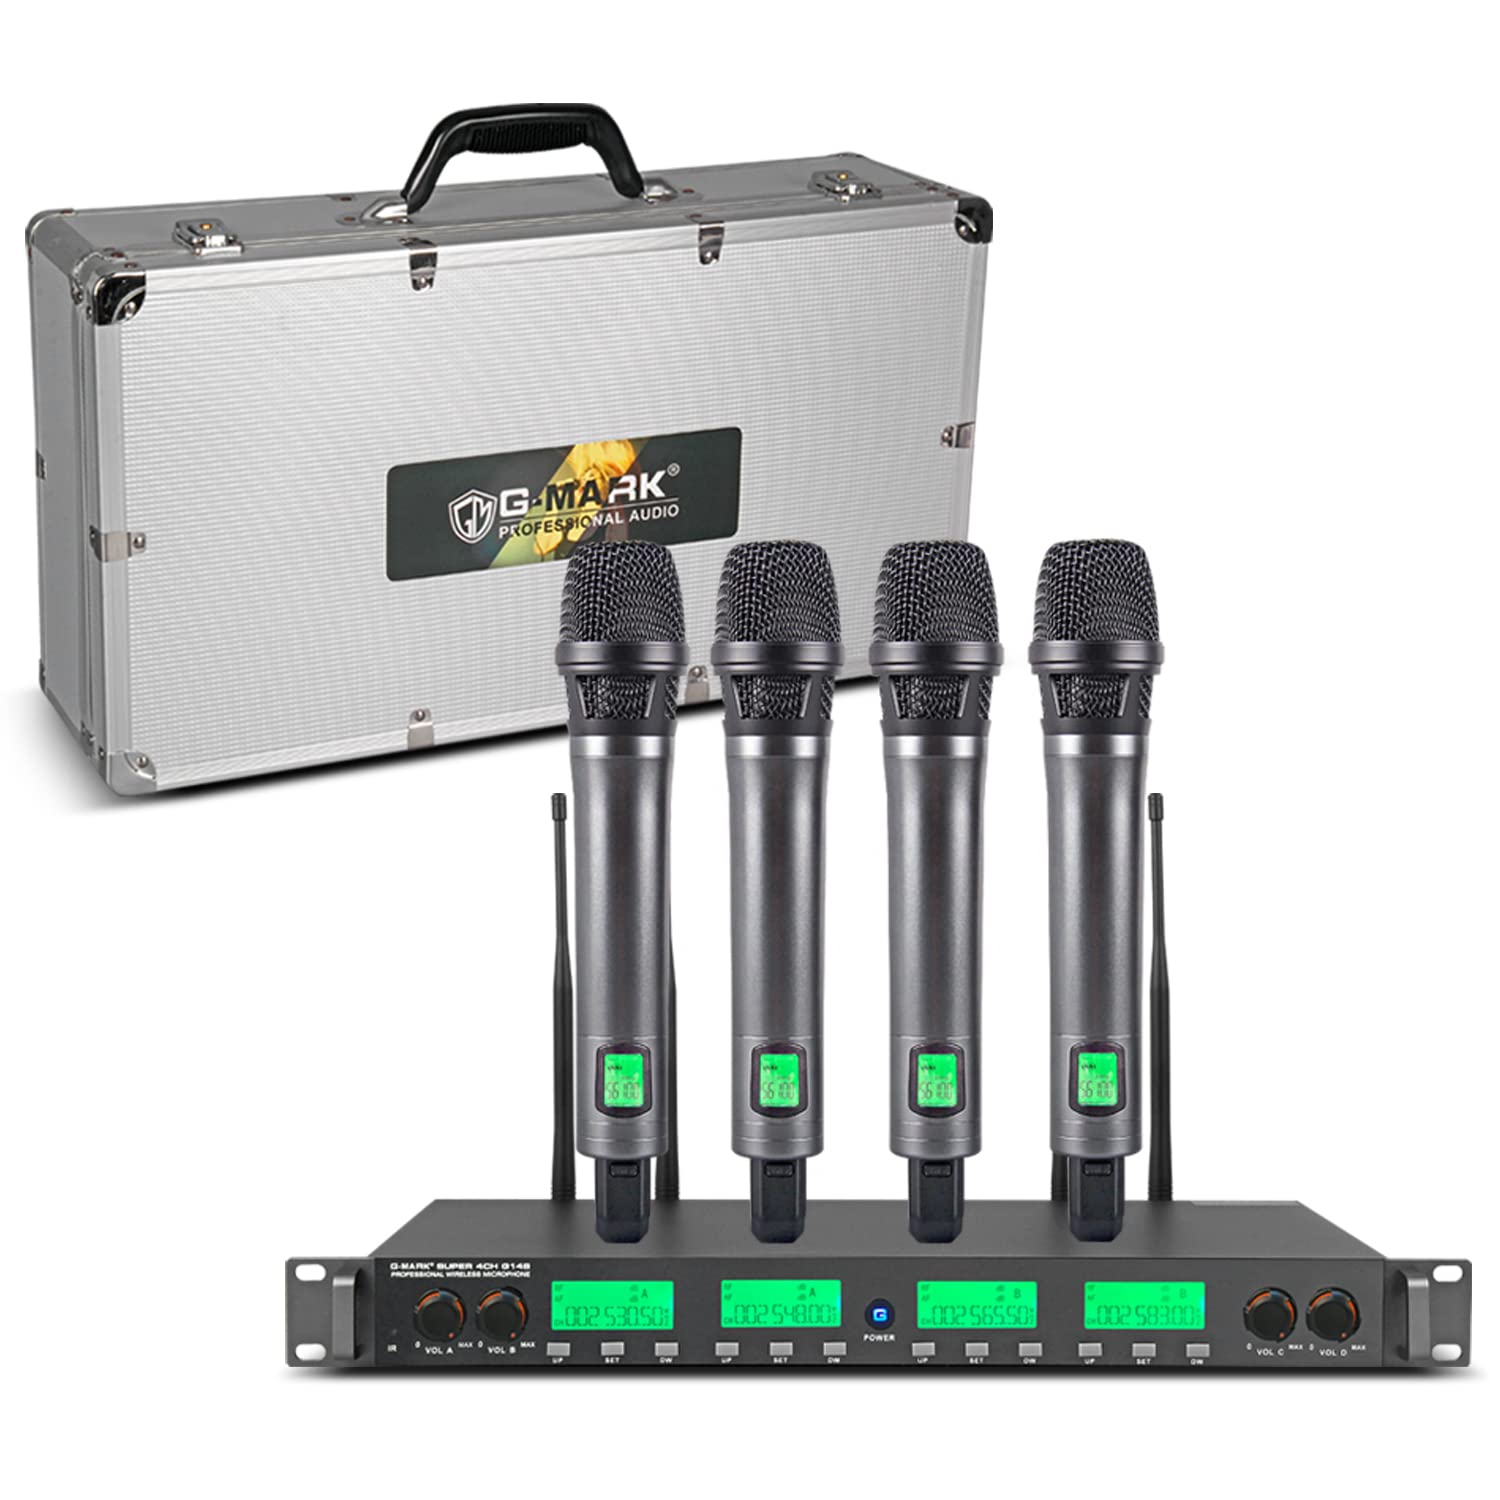
Image: An overview of the G-MARK G14S 4-channel UHF wireless microphone system, showing the receiver unit with four antennas and four handheld microphones.
2. Package Contents
Before setup, please verify that all items listed below are present in your package. If any items are missing or damaged, contact your retailer.
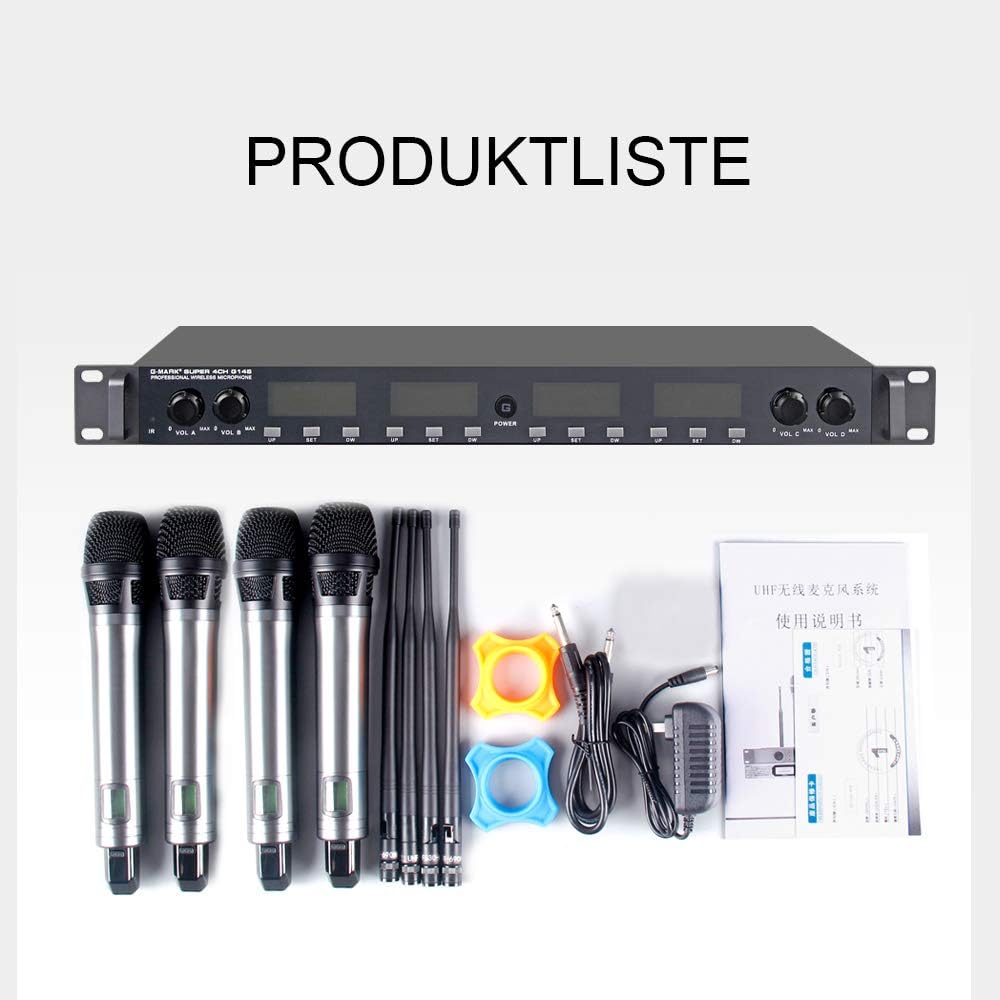
Image: Overview of the G-MARK G14S wireless microphone system package contents, including the receiver, four handheld microphones, antennas, power adapter, audio cable, and user manual.
- 1 x G-MARK G14S UHF Wireless Receiver
- 4 x G-MARK Handheld Wireless Microphones
- 4 x Receiver Antennas
- 1 x Power Adapter
- 1 x 6.35mm Audio Cable
- 4 x Anti-roll Rings (color-coded)
- 1 x User Manual
- Batteries (1 Lithium ion battery required per microphone, typically included)
3. Setup Instructions
3.1 Receiver Setup
- Placement: Position the receiver on a stable, flat surface, ensuring good line of sight to the area where the microphones will be used. Avoid placing it near large metal objects or other wireless devices that may cause interference.
- Antenna Connection: Screw the four provided antennas into the antenna ports on the rear panel of the receiver. Ensure they are securely tightened and positioned vertically for optimal signal reception.
- Power Connection: Connect the included power adapter to the DC 12V input on the rear panel of the receiver, then plug the adapter into a suitable power outlet.
- Audio Output Connection:
- Mixed Output: For a combined output of all four microphones, connect one end of the 6.35mm audio cable to the "MIX OUT" port on the receiver and the other end to the input of your mixer, amplifier, or PA system.
- Individual XLR Outputs: For separate control of each microphone channel, connect XLR cables from the "BALANCED A", "BALANCED B", "BALANCED C", and "BALANCED D" ports on the receiver to the corresponding XLR inputs on your mixer.

Image: Detailed view of the G-MARK G14S receiver's front panel (showing volume controls, function buttons, and displays) and rear panel (showing power input, antenna interfaces, and XLR audio output ports).
3.2 Microphone Setup
- Battery Installation: Unscrew the bottom part of each handheld microphone to access the battery compartment. Insert the required Lithium-ion battery, ensuring correct polarity. Securely reattach the bottom part.
- Power On: Press and hold the power button on each microphone until the display illuminates.
- Frequency Synchronization (IR Link):
- Ensure the receiver is powered on.
- On the receiver, select the desired channel (A, B, C, or D) you wish to pair.
- Press the "SET" button on the receiver for the chosen channel. The display will indicate it's ready for IR sync.
- Align the IR sensor on the microphone (usually near the display) with the IR window on the receiver (labeled "IR").
- The microphone and receiver will automatically synchronize their frequencies. The microphone display will show the new frequency. Repeat for all four microphones.

Image: Illustration of the infrared (IR) link mode for synchronizing the microphone's frequency with the receiver, showing the microphone held near the receiver's IR sensor.

Image: Close-up views of the G-MARK G14S microphone, showing the metal body, grille, battery compartment, and display with frequency information.
4. Operating Instructions
4.1 Powering On/Off
- Receiver: Press the "POWER" button on the front panel of the receiver to turn it on or off. The display will illuminate when powered on.
- Microphones: Press and hold the power button on each microphone for a few seconds to turn it on or off. The microphone's display will show its status.
4.2 Volume Control
The receiver features independent volume control knobs for each microphone channel (VOL A, VOL B, VOL C, VOL D). Adjust these knobs to achieve the desired audio level for each microphone. Start with the volume at a lower setting and gradually increase it to prevent sudden loud sounds.

Image: Close-up of the G-MARK G14S receiver's front panel, highlighting the individual volume control knobs for channels A, B, C, and D, along with the power button and frequency adjustment buttons.
4.3 Frequency Adjustment
Each microphone has 20 adjustable channels within the 520-580 MHz frequency range. If you experience interference, you can change the operating frequency:
- On the receiver, press the "UP" or "DW" (Down) buttons for the specific channel to cycle through available frequencies.
- Once a new frequency is selected on the receiver, perform the IR synchronization process again (as described in Section 3.2) to pair the corresponding microphone to the new frequency.
4.4 Optimal Performance
- Maintain a clear line of sight between the microphones and the receiver. Obstacles can reduce the effective range.
- Keep the receiver away from other electronic devices that may emit radio frequency interference (e.g., Wi-Fi routers, cordless phones).
- Ensure microphone batteries are sufficiently charged for uninterrupted performance.
- The cardioid pickup pattern of the microphones is designed to pick up sound primarily from the front, reducing background noise and feedback. Position the microphone correctly towards the sound source.
5. Maintenance
- Cleaning: Use a soft, dry cloth to clean the receiver and microphones. Do not use liquid cleaners, solvents, or abrasive materials, as these can damage the finish or internal components.
- Battery Care: Remove batteries from microphones if they will not be used for an extended period to prevent leakage and damage. Dispose of used batteries responsibly.
- Storage: Store the system in a cool, dry place, away from direct sunlight, extreme temperatures, and high humidity. The original packaging or a protective case is recommended for transport and storage.
- Antennas: Handle antennas carefully to avoid bending or breaking.
6. Troubleshooting
| Problem | Possible Cause | Solution |
|---|---|---|
| No sound from microphone |
|
|
| Signal drops or intermittent audio |
|
|
| Poor sound quality, static, or feedback |
|
|
7. Specifications
| Feature | Detail |
|---|---|
| Model | G14S |
| Brand | G-MARK |
| Product Dimensions (L x W x H) | 52.5 x 32.5 x 14.5 cm |
| Product Weight | 5.53 kg |
| Frequency Range | UHF 520-580 MHz |
| Number of Channels | 4 (receiver), 20 adjustable per microphone |
| Connectivity Technology | Wireless, XLR |
| Connector Type | XLR, 6.35mm Jack |
| Microphone Power Source | 1 Lithium ion battery (per microphone) |
| Receiver Power Source | Wired (DC 12V) |
| Polar Pattern | Unidirectional (Cardioid) |
| Special Features | Independent Volume Control, Frequency Adjustment, Metal Housing |
| Recommended Use | Karaoke, Stage Performances, Public Speaking |
| Operating Range | Up to 150 meters (line of sight) |
8. Warranty and Support
Warranty Information: Specific warranty terms and conditions may vary by region and retailer. Please refer to the warranty card included with your product or contact your point of purchase for detailed warranty information.
Customer Support: For technical assistance, troubleshooting beyond this manual, or service inquiries, please contact G-MARK customer support through their official website or the contact information provided with your purchase. Ensure you have your product model number (G14S) and purchase details ready when contacting support.


