
1. Introduction
This manual provides instructions for the installation, operation, and maintenance of your Hunter Builder Plus 51111 52-inch Indoor Ceiling Fan with LED Lights. This traditional ceiling fan is designed to complement various room aesthetics while providing efficient air circulation and lighting. It features a Whisper Wind motor for quiet performance and dimmable LED bulbs for adjustable ambiance. The fan includes a three-position mounting system for versatile installation and reversible blades for seasonal use.

Figure 1: Hunter Builder Plus 51111 52-inch Ceiling Fan. An overhead view of the Hunter Builder Plus 51111 ceiling fan, showcasing its brushed nickel motor housing, five light wood-grain blades, and three frosted glass light shades.
2. Safety Information
Read and understand all instructions before beginning installation. Failure to follow these instructions may result in electric shock, fire, or personal injury.
- Electrical Safety: Always disconnect power at the main circuit breaker or fuse box before starting installation or performing any maintenance. Ensure all electrical connections comply with local codes and ordinances. If you are unfamiliar with electrical wiring, consult a qualified electrician.
- Mounting: The fan must be mounted to a structurally sound ceiling joist or an outlet box rated for fan support (at least 35 lbs). Ensure the mounting location can support the fan's weight.
- Blade Clearance: Maintain a minimum clearance of 7 feet from the floor to the bottom edge of the fan blades. Ensure there is adequate clearance from walls and other obstructions to prevent injury or damage.
- Fan Operation: Do not insert objects into the path of the fan blades while the fan is operating.
- Light Kit: Use only the specified bulb type and wattage. Allow bulbs to cool before replacing.
3. Package Contents
Verify that all components listed below are included in your package before beginning installation. If any parts are missing or damaged, contact Hunter customer support.
- Motor Housing Assembly
- 5 Fan Blades (reversible finish)
- Blade Brackets
- Light Kit Assembly with 3 Frosted Glass Shades
- LED Light Bulbs (3 included)
- Canopy and Mounting Bracket
- 2-inch Downrod
- 3-inch Downrod
- Hardware Pack (screws, washers, wire nuts)
- Pull Chains (for fan speed and light control)
4. Setup & Installation
Follow these steps for proper installation of your ceiling fan. It is recommended to have two people for installation.
- Turn Off Power: Before starting, ensure power is disconnected at the circuit breaker or fuse box to prevent electrical shock.
- Install Mounting Bracket: Secure the mounting bracket to the ceiling outlet box. Ensure the outlet box is rated for ceiling fan support (minimum 35 lbs) and is securely fastened to a building structure.
- Assemble Downrod: Choose the appropriate downrod (2-inch or 3-inch) for your ceiling height. Feed the electrical wires from the fan motor through the downrod.
- Hang Fan Assembly: Carefully lift the fan motor assembly and place the downrod ball into the mounting bracket. Ensure the tab in the mounting bracket aligns with the slot in the downrod ball.
- Wire the Fan: Connect the electrical wires from the fan to the house wiring according to the wiring diagram provided in the full instruction manual (not included here). Ensure all connections are secure with wire nuts.
- Secure Canopy: Slide the canopy up to the ceiling and secure it to the mounting bracket with the provided screws.
- Attach Fan Blades: Attach each fan blade to its blade bracket using the provided screws. Then, attach the blade assemblies to the motor housing. The blades feature a reversible finish (light wood-grain and darker wood-grain); choose your preferred side.
- Install Light Kit: Connect the light kit wiring to the fan motor wiring. Secure the light kit assembly to the bottom of the fan motor housing. Install the three LED bulbs and then attach the frosted glass shades.
- Attach Pull Chains: Thread the decorative pull chains through the designated holes in the light kit.
- Restore Power: Once installation is complete, restore power at the circuit breaker.

Figure 2: Fan installed in a bedroom. The Hunter Builder Plus 51111 ceiling fan mounted in a modern bedroom setting, demonstrating its aesthetic integration and size within a living space.

Figure 3: Fan installed in a living room. The Hunter Builder Plus 51111 ceiling fan installed in a spacious living room, highlighting its suitability for larger common areas.
5. Operating Instructions
Your Hunter Builder Plus 51111 ceiling fan is designed for ease of use with pull chain controls.
Fan Speed Control
The fan speed is controlled by one of the pull chains. Each pull will cycle through the available speeds (High, Medium, Low, Off). Pull the chain until you reach your desired fan speed.
Light Control
The light kit is controlled by the other pull chain. Pull the chain to turn the lights On or Off. The included LED bulbs are dimmable, allowing you to adjust the light intensity (dimming functionality may require specific wiring or a compatible dimmer switch, consult a qualified electrician if unsure).
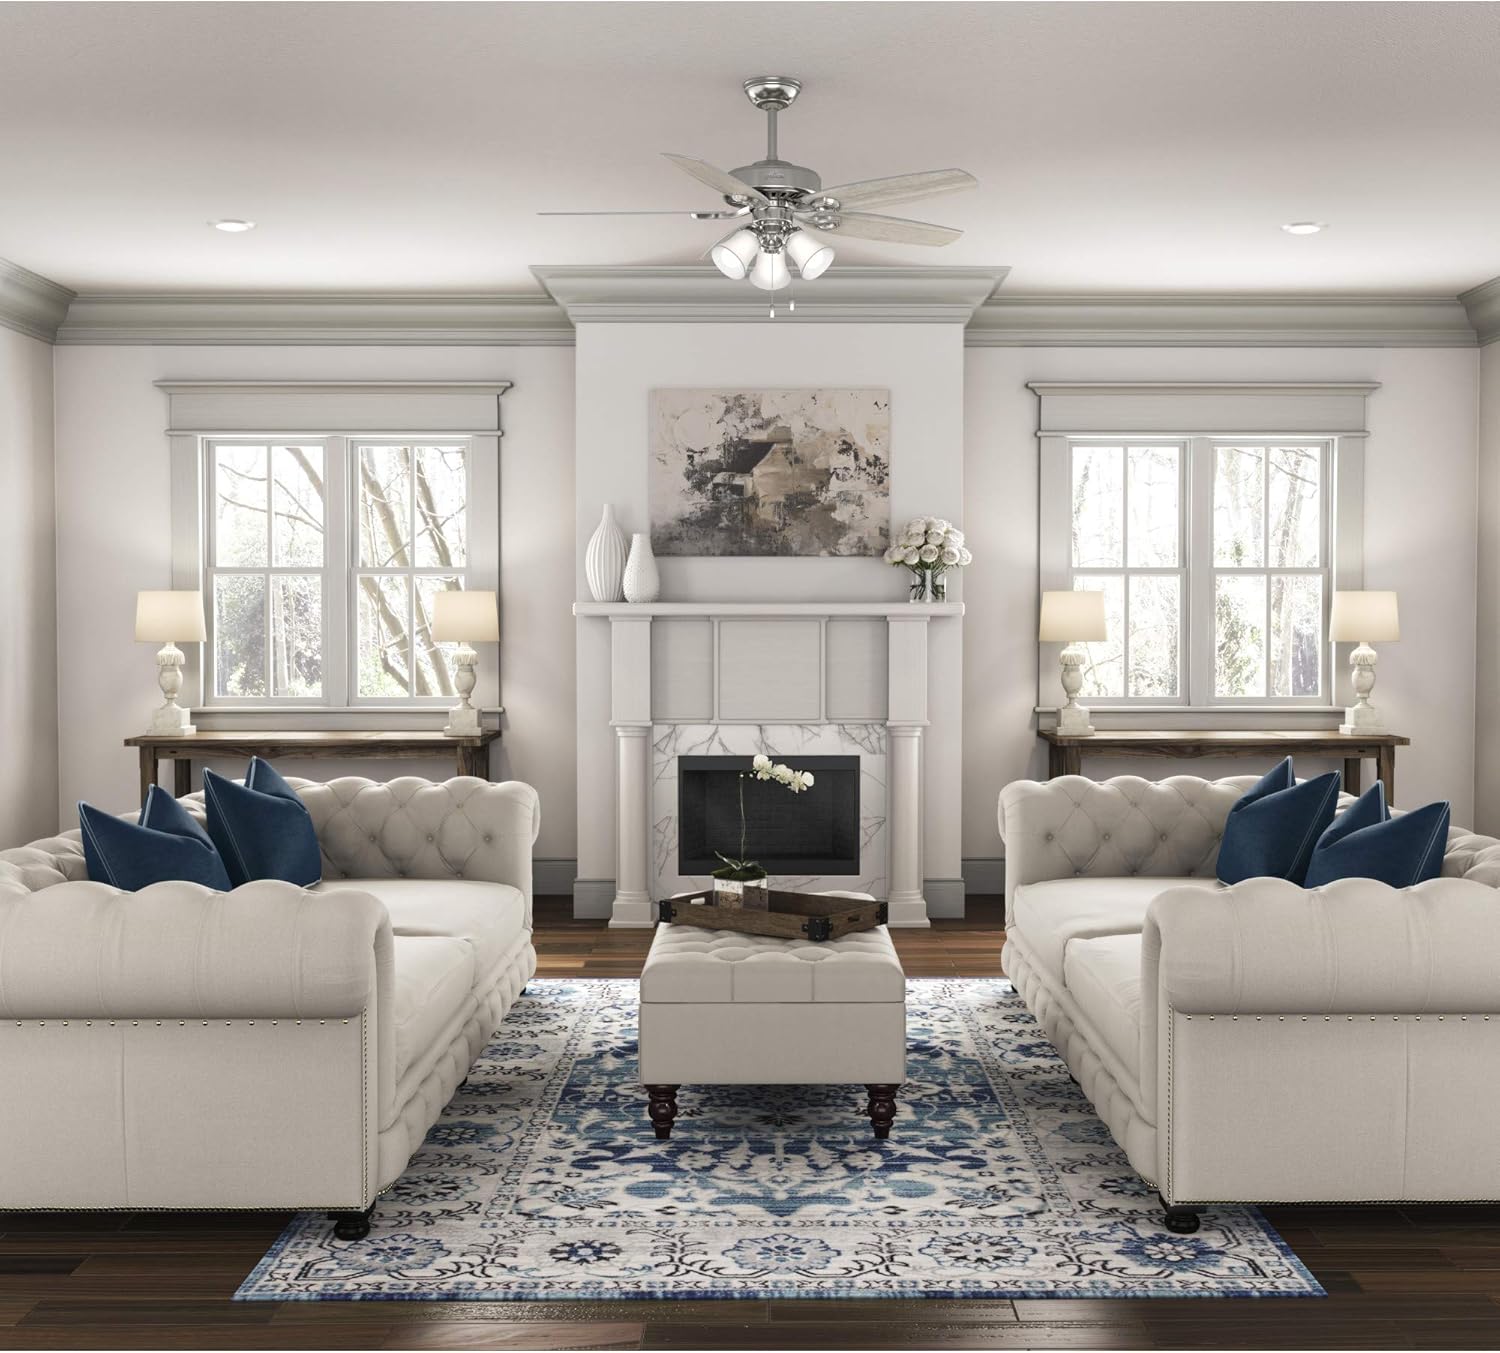
Figure 4: Close-up of fan controls. A detailed view of the central motor housing and light kit of the Hunter Builder Plus 51111 fan, showing the brushed nickel finish, frosted glass shades, and the two pull chains for fan speed and light control.
Reversible Motor Function
The fan features a reversible motor for year-round comfort. A switch on the fan motor housing allows you to change the direction of blade rotation.
- Summer Operation (Downdraft): Set the switch to allow the blades to rotate counter-clockwise, creating a downdraft that produces a cooling breeze.
- Winter Operation (Updraft): Set the switch to allow the blades to rotate clockwise, creating an updraft that circulates warm air trapped near the ceiling, helping to warm the room.
Always turn off the fan and wait for the blades to stop completely before changing the direction of the motor.

Figure 5: Light wood-grain blade finish. A close-up image of one of the fan blades, featuring a light wood-grain texture on one side.

Figure 6: Dark wood-grain blade finish. A close-up image of one of the fan blades, featuring a darker wood-grain texture on the reverse side, indicating reversible blade finishes.
6. Maintenance
Regular maintenance ensures optimal performance and longevity of your ceiling fan.
- Cleaning: To clean the fan, wipe with a soft, damp cloth. Do not use abrasive cleaners or solvents, as these can damage the finish.
- Blade Cleaning: Dust the fan blades regularly to prevent dust buildup, which can affect fan balance and performance.
- Light Bulb Replacement: Ensure power is off before replacing LED bulbs. Allow bulbs to cool completely. Replace with LED bulbs of the same type and wattage (6.5 watts, 1800 lumens, 3000 Kelvin, 120 volts).
- Tighten Fasteners: Periodically check and tighten all screws and fasteners on the fan blades and mounting hardware to ensure secure operation.
7. Troubleshooting
If you experience issues with your ceiling fan, refer to the following common problems and solutions:
| Problem | Possible Cause | Solution |
|---|---|---|
| Fan does not start | No power to the fan; Loose wire connections; Motor switch not engaged. | Check circuit breaker/fuse; Ensure all wire connections are secure; Verify the motor reverse switch is fully engaged in either direction. |
| Fan wobbles | Loose blade screws; Unbalanced blades; Loose mounting bracket. | Tighten all blade screws; Use a balancing kit (sold separately) to balance blades; Ensure mounting bracket is securely fastened to the ceiling joist. |
| Light does not work | Loose bulb; Faulty bulb; Loose wire connection in light kit. | Ensure bulbs are screwed in tightly; Replace bulbs; Check light kit wiring connections. |
| Noisy operation | Loose screws; Motor hum; Blades hitting an obstruction. | Tighten all screws; Ensure canopy is not vibrating against the ceiling; Check for any obstructions in the blade path. |
8. Specifications
| Brand | Hunter |
| Model Name | Builder Plus |
| Model Number | 51111 |
| Product Dimensions | 52"D x 52"W x 18.06"H |
| Color | Brushed Nickel finish |
| Number of Blades | 5 |
| Switch Type | Pull Chain |
| Power Source | AC |
| Voltage | 120 Volts |
| Wattage (Light Kit) | 6.5 watts (per bulb) |
| Luminous Flux | 1800 Lumen |
| Type of Bulb | LED |
| Indoor/Outdoor Usage | Indoor |
| Item Weight | 18.96 Pounds |
| UPC | 049694511119 |
9. Warranty Information
Your Hunter Builder Plus 51111 ceiling fan comes with a Limited Lifetime Motor Warranty. This warranty is backed by Hunter Fan Company, a manufacturer with over 130 years of experience in the fan business. For specific terms and conditions, please refer to the warranty documentation included with your product or visit the official Hunter website.
10. Customer Support
For further assistance, troubleshooting, or to inquire about replacement parts, please contact Hunter customer support. You can find contact information on the official Hunter website or within the packaging materials.
Visit the official Hunter store for more information: Hunter Fan Company Store


