
1. Introduction
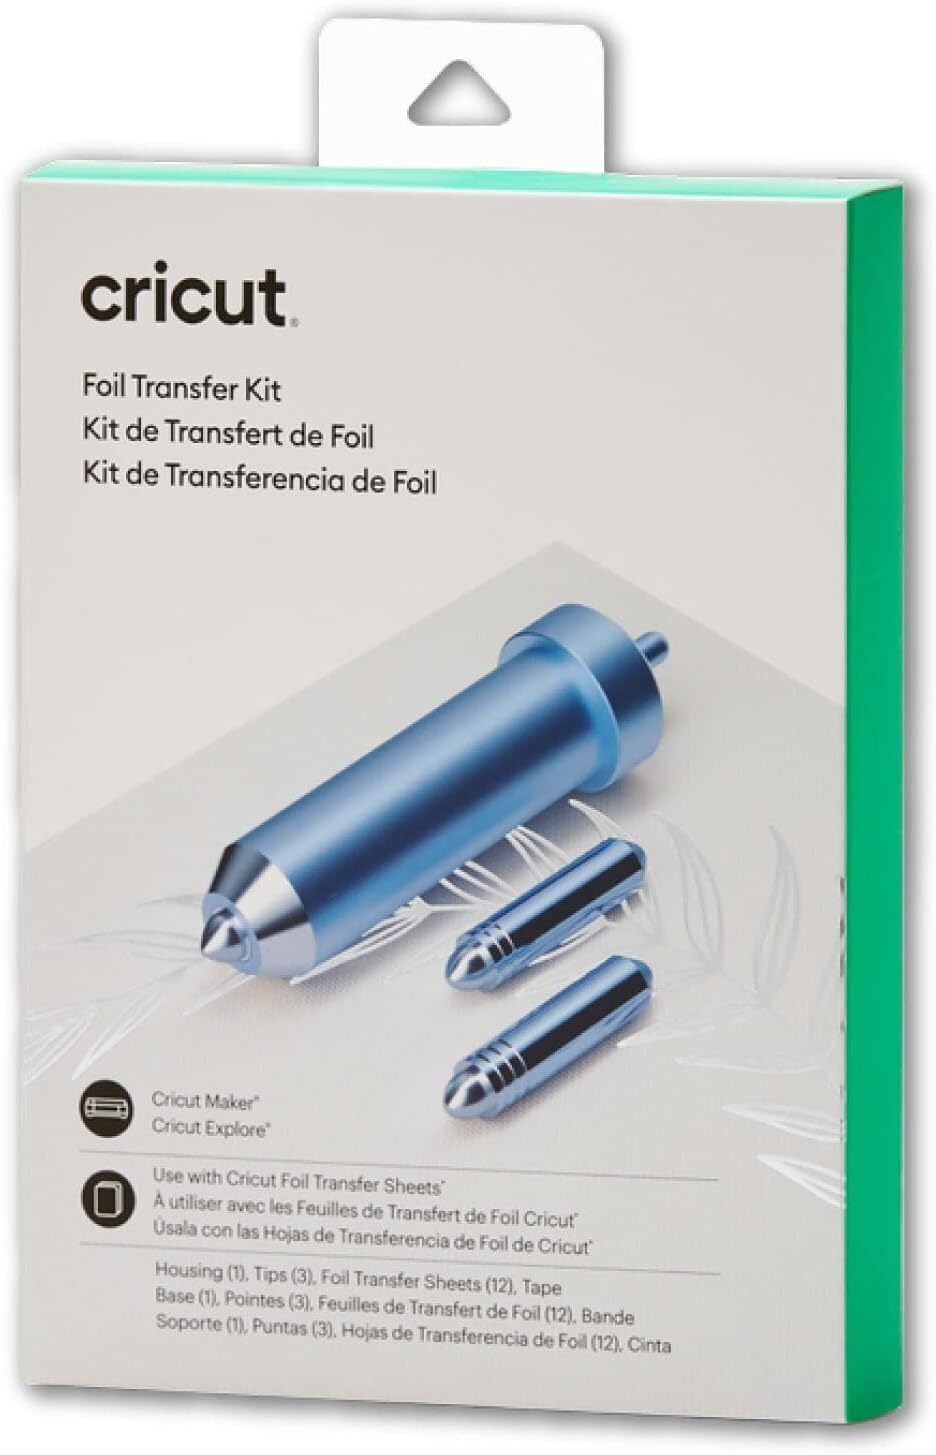
The Cricut Foil Transfer Kit allows you to add stunning foil accents to your craft projects. This kit utilizes unique, pressure-activated tools to deliver polished, long-lasting results without the need for heat. It is designed for seamless integration with Cricut Maker and Cricut Explore machines, making personalized crafting both fun and efficient.
This manual provides essential information for setting up, operating, and maintaining your Foil Transfer Kit to ensure optimal performance and beautiful results.
2. What's in the Box
- 1 x Foil Transfer Tool Housing
- 3 x Interchangeable Foil Transfer Tips (Fine, Medium, Bold)
- 12 x Cricut Foil Transfer Sheets (6 Gold, 6 Silver, 4" x 6")
- 1 x Adhesive Tape Roll
3. Setup
3.1. Tool Assembly
- Select the desired foil transfer tip (Fine, Medium, or Bold) based on your project's design requirements.
- Insert the chosen tip into the Foil Transfer Tool Housing. The tip is magnetic and will securely snap into place.

3.2. Material Preparation
- Place your chosen material (cardstock, paper, or leather) onto a Cricut cutting mat.
- Position a Cricut Foil Transfer Sheet over the area where you want the foil design to appear. Ensure the shiny, colored side of the foil faces up.
- Secure the foil sheet to your material and mat using the provided adhesive tape. Ensure the tape does not cover any part of your design area.

3.3. Machine Compatibility
The Cricut Foil Transfer Kit is compatible with Cricut Maker and Cricut Explore family machines, including Explore, Explore One, Explore Air, and Explore Air 2. It is not compatible with Cricut Joy machines.
4. Operating Instructions
- Load the prepared mat with your material and foil into your Cricut Maker or Explore machine.
- Follow the prompts in Cricut Design Space for your foil transfer project. Design Space will guide you through the process, including selecting the correct tip and material settings.
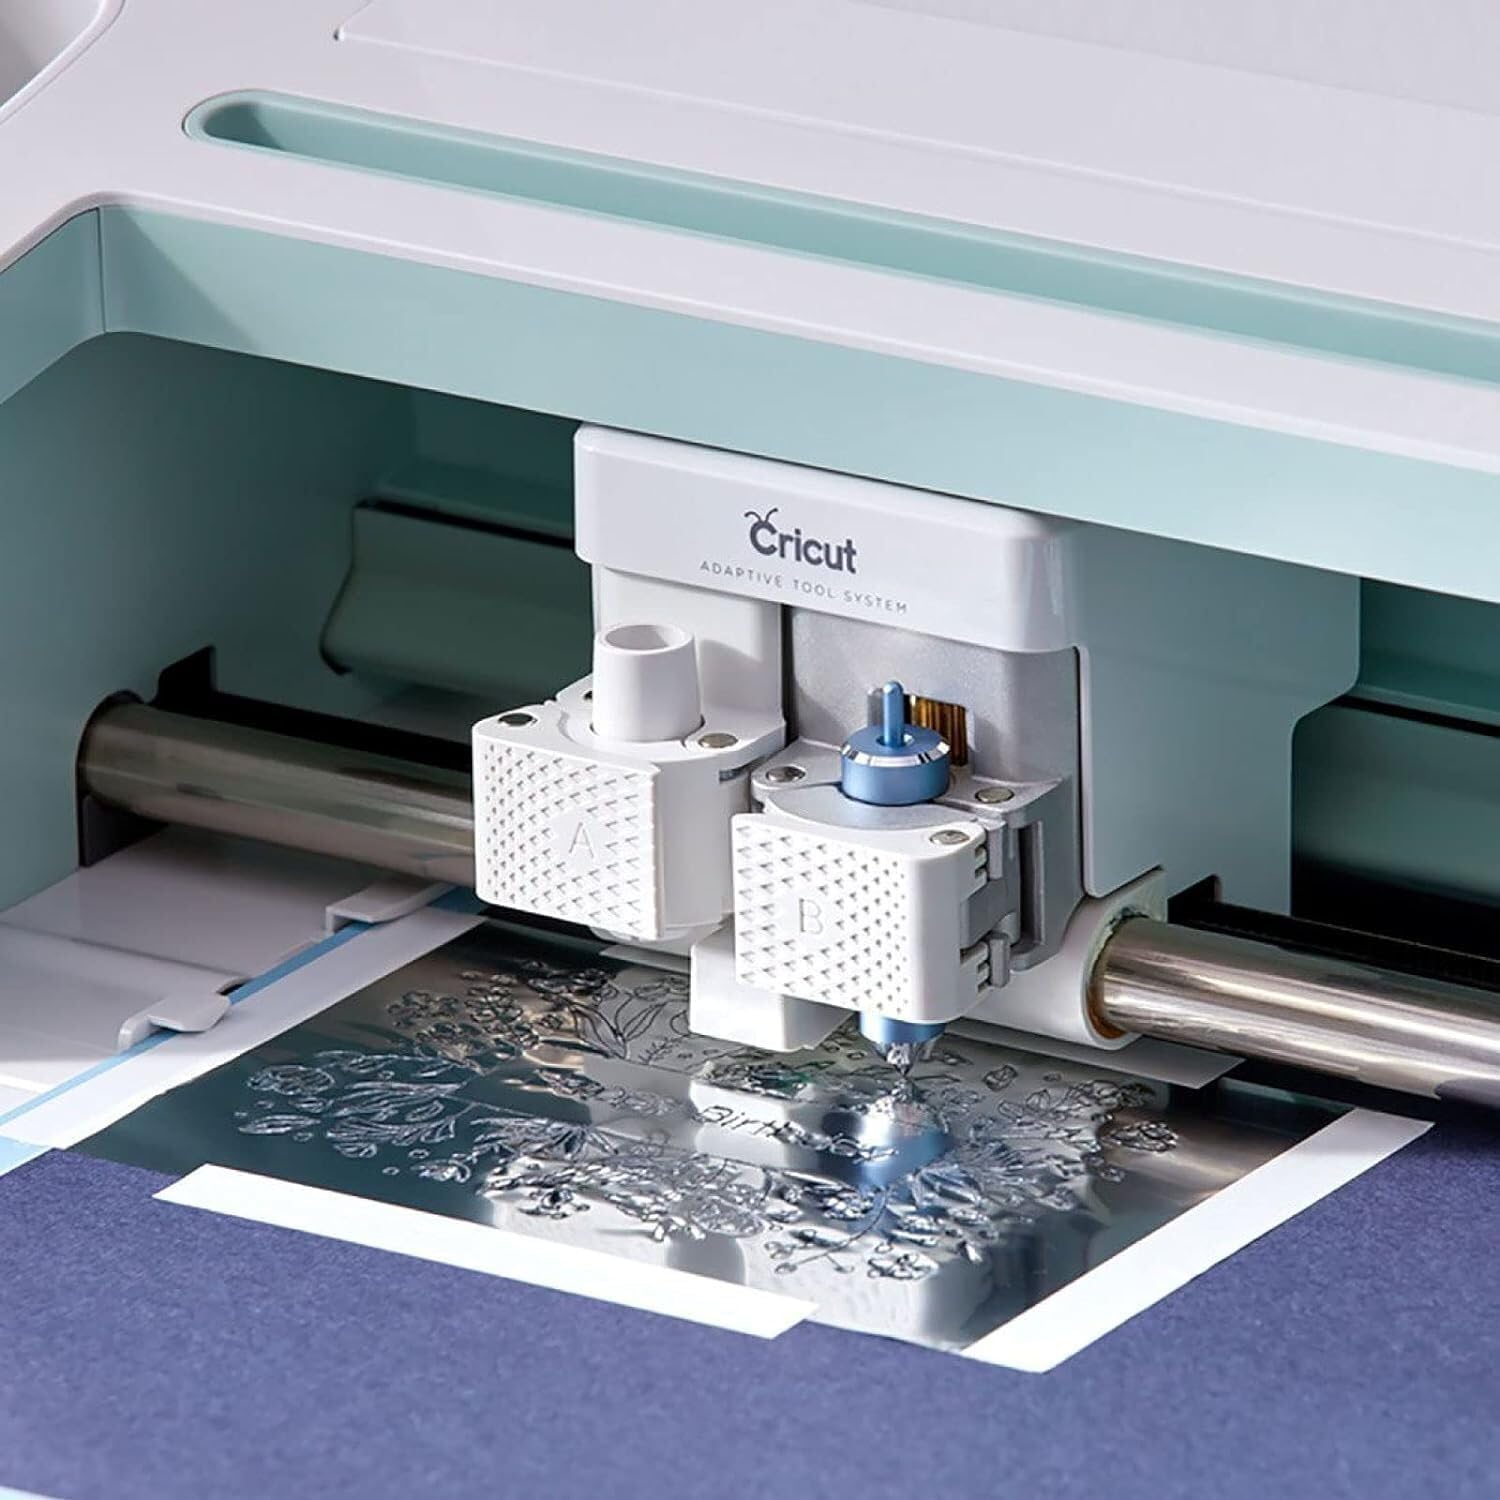
- Insert the assembled Foil Transfer Tool into Clamp B of your Cricut machine when prompted.
- Start the machine. The pressure-activated tool will transfer the foil onto your material.
- Once the machine completes the transfer, carefully unload the mat. Gently peel away the adhesive tape and the foil sheet to reveal your glimmering design.
4.1. Important Considerations
- The foil transfer process relies on pressure, not heat.
- For best results, use materials with some texture or 'tooth' such as cardstock or leather. Smooth materials like transparencies or plastics may not allow the foil to adhere properly.
- Ensure the foil sheet is taut and free of wrinkles before starting the transfer.

4.2. Official Product Videos
Video 1: An overview of the Cricut Foil Transfer Kit and its components, demonstrating its ease of use.
Video 2: A quick review and demonstration of the Cricut Foil Transfer Kit, highlighting its application process.
5. Maintenance
To ensure the longevity and optimal performance of your Cricut Foil Transfer Kit, keep the tool housing and tips clean and free of debris. Store the tips in their protective casing when not in use. Avoid touching the tip directly to prevent damage or dulling.
6. Troubleshooting
If you encounter issues with foil transfer, consider the following:
- Foil not adhering: Ensure the shiny side of the foil is facing up. Verify that your material is compatible (e.g., not too smooth). Check that the foil is securely taped down and taut.
- Incomplete transfer: Confirm that the correct tip is installed and that the machine settings in Design Space match your material and desired effect.
- Foil tearing: Make sure the foil is not wrinkled and is taped securely. Ensure the material is properly adhered to the cutting mat.
7. Specifications
| Feature | Detail |
|---|---|
| Brand | Cricut |
| Model Number | 2008726 |
| Material | Metal |
| Operation Mode | Manual (with machine assistance) |
| Item Weight | 2.4 ounces |
| Product Dimensions | 7 x 5 x 1 inches |
| Print Media Compatibility | Card stock, Leather (materials with 'tooth') |
8. Warranty and Support
For warranty information, product registration, or further technical support, please visit the official Cricut website or contact Cricut customer service directly. Keep your purchase receipt as proof of purchase for any warranty claims.
Online resources and community forums are also available for project ideas and troubleshooting tips.
