Introduction
This manual provides comprehensive instructions for the safe and effective use of your veicomtech Ionic Foot Bath Detox Machine. Please read this manual thoroughly before operating the device and retain it for future reference. Proper understanding of these instructions will ensure optimal performance and longevity of your product.
Safety Information
Always follow the instructions provided with the product. Do not use the detox machine without first reading and understanding the safety precautions. Keep the machine and power cord away from water to prevent electrical shock. Do not use the machine if you have any medical conditions or are pregnant without first consulting a doctor.
Package Contents
Your veicomtech Ionic Foot Bath Detox Machine package includes the following components:
- Detox Machine Console
- Power Cord
- Ionic Array
- Wrist Strap
- Far Infrared Waist Belt
- Aluminum Carrying Case

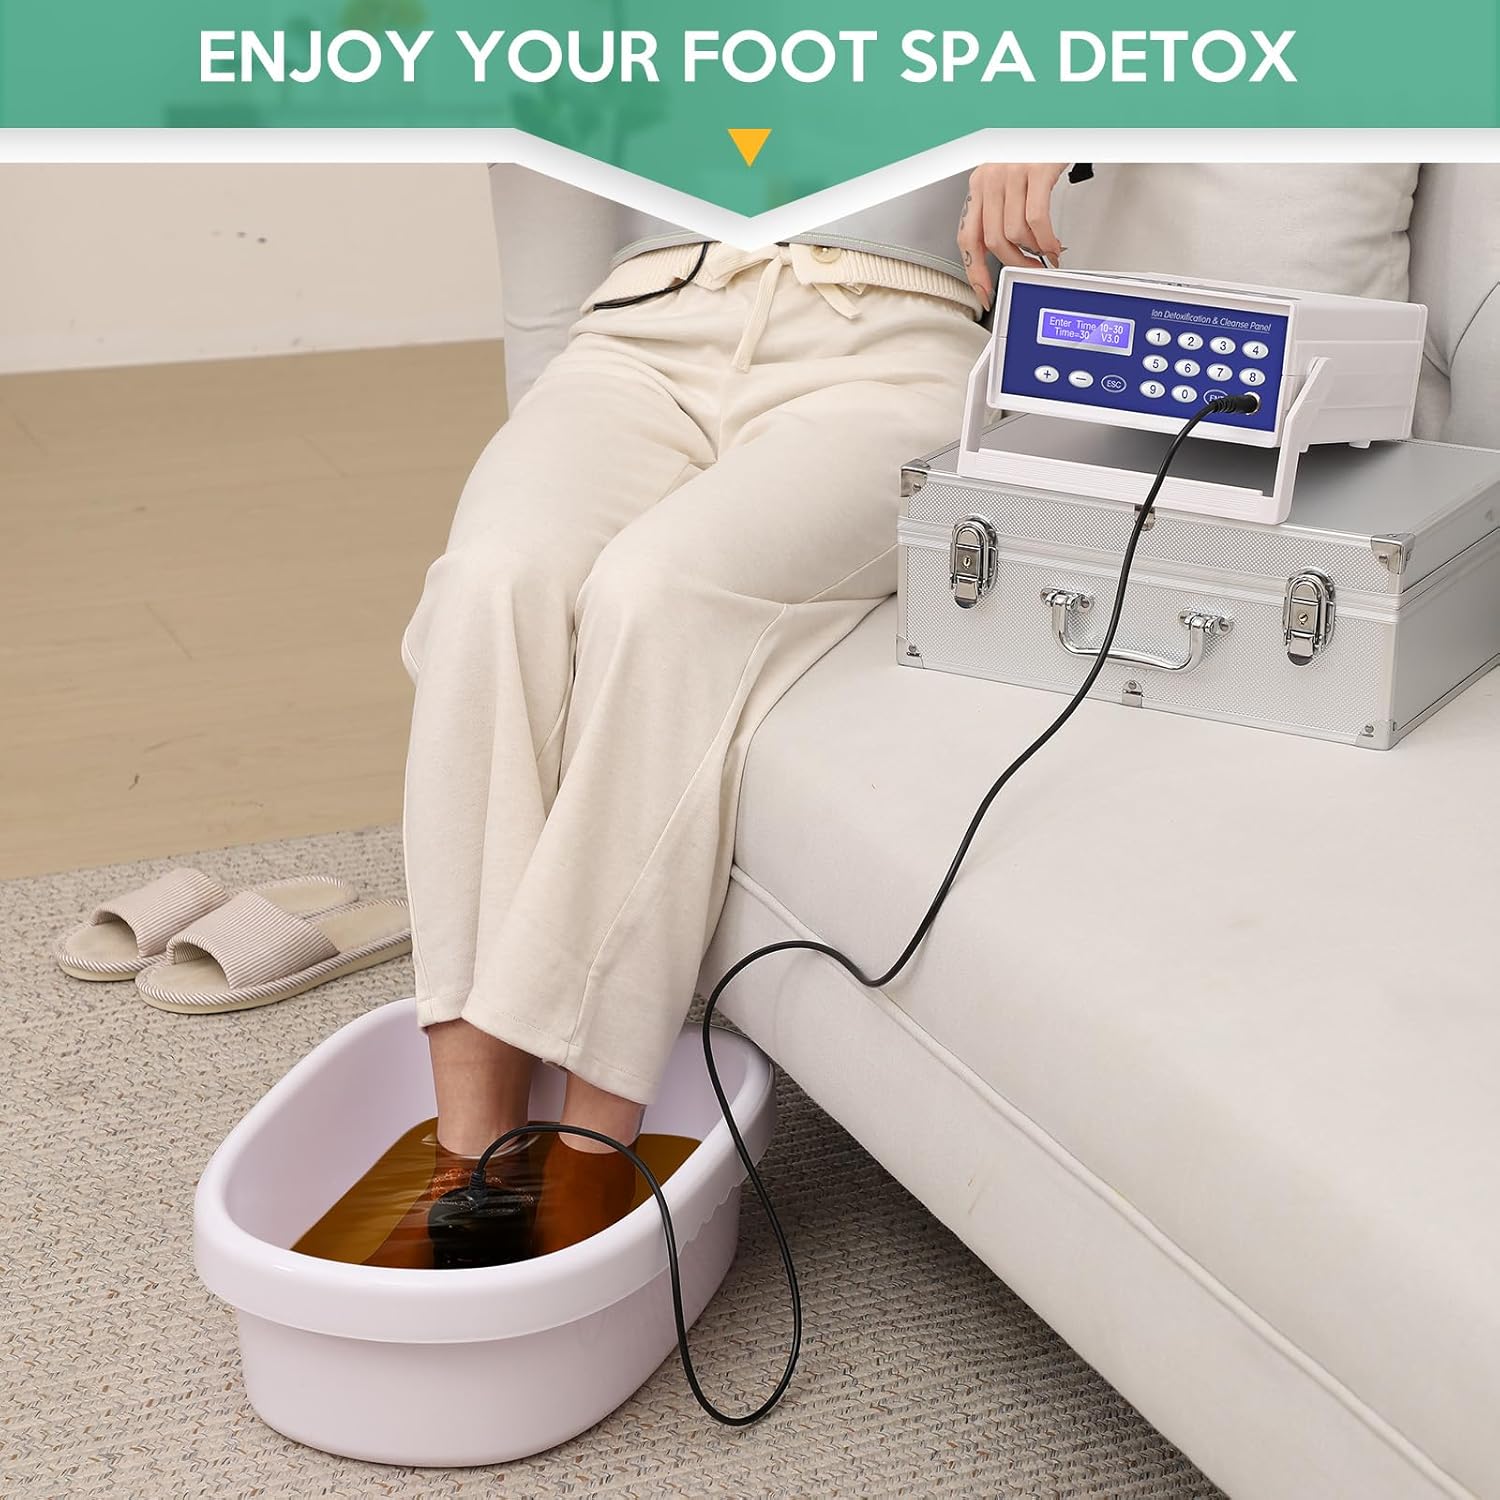
Product Overview
The veicomtech Ionic Foot Bath Detox Machine is designed for personal use, offering a single-user ionic foot spa experience. It features a control panel for setting time and mode, an ionic array for water ionization, a wrist strap for conductivity, and a far infrared waist belt for additional comfort. The entire system is housed in a portable aluminum carrying case.

Setup Instructions
- Unpack Components: Carefully remove all items from the aluminum carrying case.
- Position the Machine: Place the main detox machine console on a stable, flat surface near a power outlet.
- Connect Power: Plug the power cord into the back of the machine and then into a wall outlet. Ensure the power switch on the back of the unit is in the OFF position before plugging in.
- Connect Ionic Array: Insert the cable from the ionic array into the designated port on the machine.
- Connect Wrist Strap: Plug the wrist strap cable into its corresponding port on the machine.
- Prepare Foot Basin: Fill a suitable foot basin (not included) with warm water. Ensure the water level is sufficient to cover your feet and submerge the ionic array.
- Add Salt: Add 2-3 spoonfuls of sea salt (not included) to the water. The exact amount may vary based on water conductivity; adjust as needed to achieve optimal operation.

Operating Instructions
- Power On: Flip the power switch on the back of the machine to the ON position. The control panel will illuminate.
- Wear Wrist Strap: Securely attach the wrist strap to your wrist. For optimal conductivity, ensure good skin contact; applying a small amount of lotion or using a wet paper towel under the strap can help.
- Place Feet and Array: Submerge both your feet and the ionic array into the prepared foot basin. Ensure the array is almost fully submerged.
- Set Time: Use the control panel to set your desired session time. Typical sessions range from 10 to 30 minutes.
- Start Session: Press the "ENT" button to begin the ionic foot bath session. The machine will start operating, and you may observe changes in the water color.
- Monitor Session: Relax during the session. The machine will automatically stop when the set time expires.
- End Session: After the session, power off the machine, remove your feet from the basin, and disconnect the wrist strap and array.
Far Infrared Waist Belt Usage
The Far Infrared Waist Belt can be used concurrently with the foot bath or separately.
- Connect Waist Belt: Plug the waist belt cable into its dedicated port on the detox machine console.
- Wear Belt: Wrap the waist belt comfortably around your waist or desired area.
- Select Heat Mode: The waist belt offers three heat modes: Low, Middle, and High. Select your preferred temperature setting using the machine's controls.
- Enjoy: Experience the comfortable warmth provided by the far infrared technology.


Maintenance
- Clean Ionic Array: After each use, thoroughly clean the ionic array with soap and water. Residue can build up on the array, affecting its performance.
- Clean Foot Basin: Empty and clean the foot basin after every session.
- Wipe Down Machine: Use a soft, damp cloth to wipe the exterior of the detox machine console. Do not use abrasive cleaners or immerse the unit in water.
- Storage: Store all components in the aluminum carrying case in a cool, dry place when not in use.
Troubleshooting
| Problem | Possible Cause | Solution |
|---|---|---|
| Machine does not power on. | Power cord not connected; power switch off; power outlet issue. | Ensure power cord is securely plugged into the machine and a working outlet. Check that the power switch on the back of the unit is ON. |
| No activity or error message during session. | Incorrect salt concentration; array not fully submerged; wrist strap loose or poor contact. | Adjust salt levels in the water (add more if too little, dilute if too much). Ensure the ionic array is almost fully submerged. Tighten the wrist strap and ensure good skin contact (use lotion or a wet paper towel if needed). |
| Water turns rusty color without feet in. | This is a normal reaction of the ionic array with water and salt, not necessarily an indication of detox. | This is expected. The color change is primarily due to the electrolysis process and interaction of the array's metals with the water and salt. |
Specifications
| Feature | Detail |
|---|---|
| Product Dimensions | 15 x 6.7 x 12.2 inches |
| Item Weight | 9.99 Pounds |
| Model Number | Ionic Foot Bath Detox Machine |
| Power Source | Corded Electric |
| Material | Acrylonitrile Butadiene Styrene |
| Brand | veicomtech |
Warranty and Support
The veicomtech Ionic Foot Bath Detox Machine comes with a 12-month warranty from the date of purchase, ensuring your satisfaction with the product. We also offer a 100% satisfaction guarantee.
For any issues, questions, or support needs, please contact veicomtech customer service directly. Refer to your purchase documentation for specific contact details.
Optional protection plans are available for extended coverage:
- 2-Year Protection Plan
- 3-Year Protection Plan
- Complete Protect Plan (monthly billing)
These plans are offered separately and provide additional coverage beyond the standard manufacturer's warranty.


