
ThruNite Archer 2A Pro
ThruNite Archer 2A Pro Flashlight Instruction Manual
Model: Archer 2A Pro
Introduction
The ThruNite Archer 2A Pro is a high-performance, USB-C rechargeable flashlight designed for various applications, from everyday carry (EDC) to tactical use, camping, and hiking. It features a powerful 1020-lumen output with a long-range throw of up to 365 meters, dual-switch control, and multiple lighting modes. Built with aerospace-grade aluminum, it is IPX8 waterproof and 1.5-meter drop resistant, ensuring durability in challenging environments.
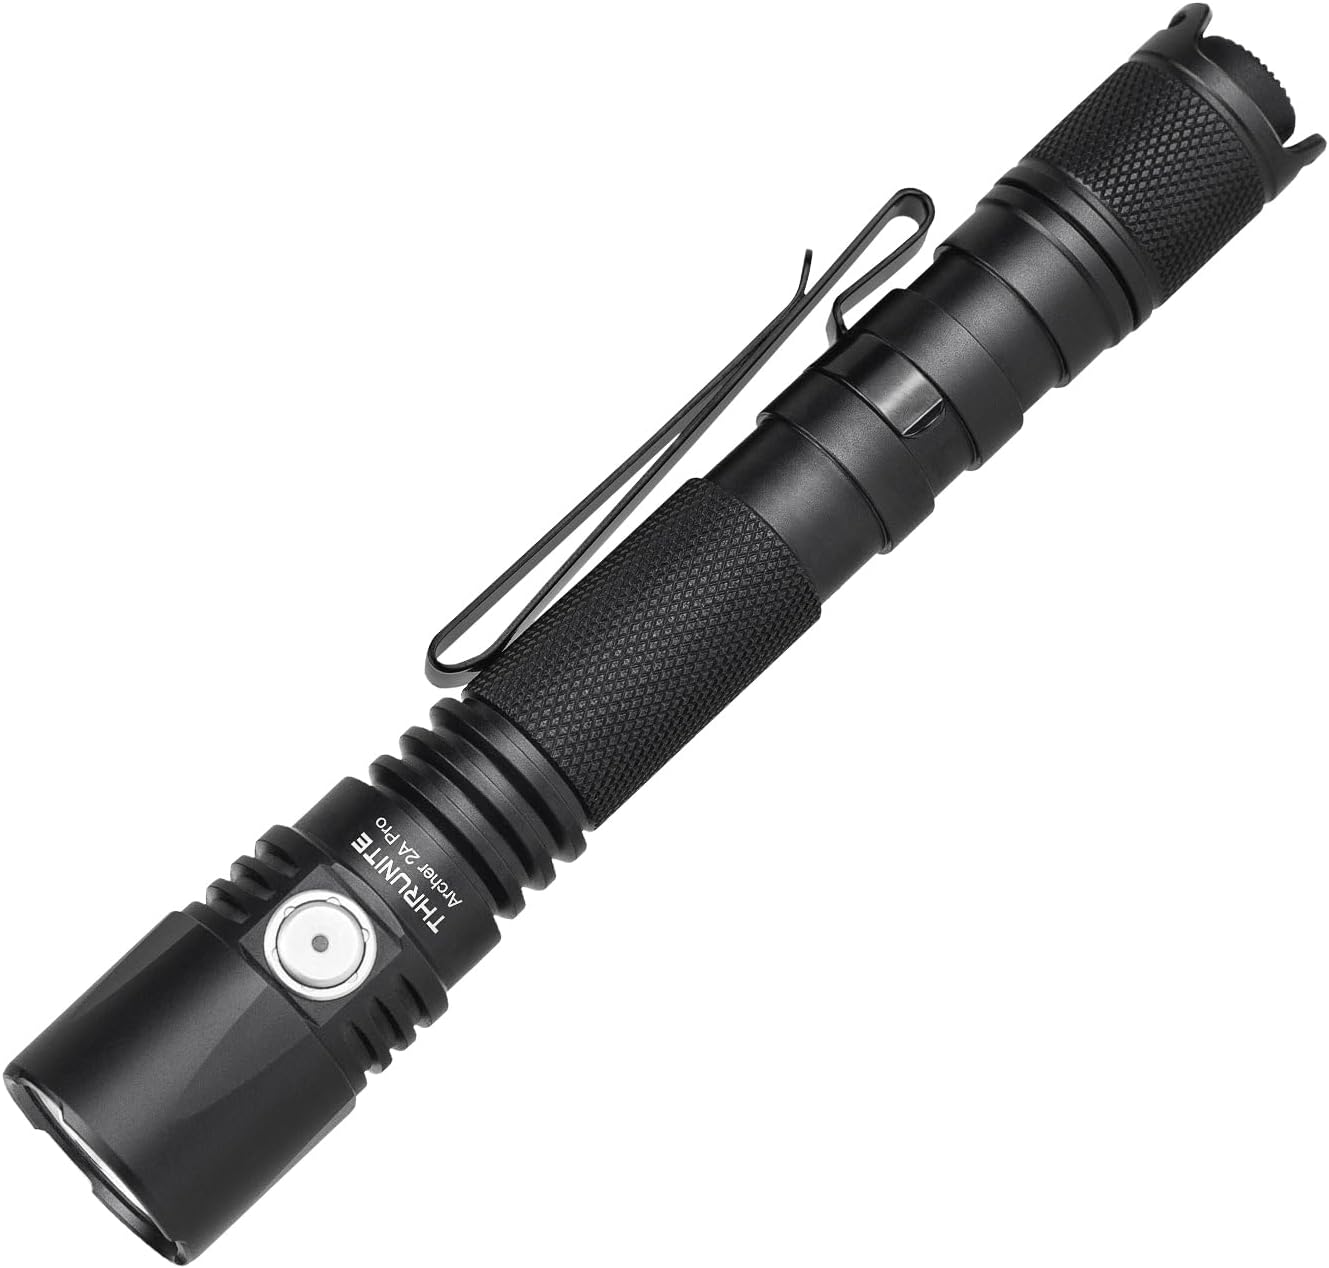
Image: The ThruNite Archer 2A Pro Flashlight, a durable and versatile lighting tool.
Setup
1. Battery Installation
The Archer 2A Pro is compatible with 2*AA alkaline batteries or 2*AA rechargeable NiMH batteries. A ThruNite 1900mAh USB-C rechargeable battery is included with some models. To install batteries:
- Unscrew the tail cap of the flashlight.
- Insert the batteries with the positive (+) end facing towards the head of the flashlight.
- Screw the tail cap back on tightly to ensure proper contact and water resistance.

Image: Diagram illustrating the compatibility with AA alkaline or rechargeable NiMH batteries, and the included rechargeable battery.
2. Charging (for rechargeable battery models)
The Archer 2A Pro features a direct USB-C charging port, eliminating the need for battery removal.
- Locate the USB-C port on the side of the flashlight.
- Plug the included USB-C charging cable into the port and connect the other end to a USB power source.
- The indicator light will show charging status: red for charging, green for fully charged.

Image: Close-up of the USB-C charging port on the flashlight, showing direct charging capability.
Operating Instructions
The Archer 2A Pro utilizes a dual-switch system for intuitive control.
Tail Switch Operation
- Momentary On: Press the tail switch halfway for momentary activation. Release to turn off.
- Constant On/Off: Fully click the tail switch to turn the light on or off.
Video: Official ThruNite video demonstrating the Archer 2A Pro's features, including tail switch operation.
Side Switch Operation
- Turn On/Off: A short press of the side switch turns the light on or off. The light will remember the last used mode (except Turbo and Strobe).
- Cycle Modes: When the light is on, long press the side switch to cycle through Firefly, Low, Medium, and High modes. Release the switch to select the desired mode.
- Instant Turbo: Double-click the side switch from any mode (or off) to activate Turbo mode.
- Instant Strobe: Triple-click the side switch from any mode (or off) to activate Strobe mode.

Image: Illustration of the dual-switch control system, detailing functions of the tail and side switches.
Smart Standby Glow
Even when the flashlight is off, the indicator light on the side switch will pulse green. This feature allows you to easily locate the flashlight in dark conditions without draining significant power.

Image: Depiction of the Smart Standby Glow feature, showing the green indicator light for easy location in the dark.
Maintenance
- Cleaning: Regularly clean the threads and O-rings with a clean cloth. Apply a thin layer of silicone grease to the O-rings periodically to maintain water resistance.
- Battery Care: If the flashlight will not be used for an extended period, remove the batteries to prevent leakage and damage. For rechargeable batteries, ensure they are charged regularly to prolong their lifespan.
- Contact Points: Keep the battery contact points clean to ensure reliable operation.
- O-Rings: Replace worn O-rings with the spare O-rings provided in the package to maintain the IPX8 waterproof rating.
Troubleshooting
- Flashlight does not turn on or flickers:
- Ensure batteries are inserted correctly with the positive (+) end towards the head.
- Check if the tail cap is screwed on tightly. A loose tail cap can interrupt the circuit.
- Clean the battery contact points and threads with an alcohol swab.
- Replace batteries with fresh ones. Low battery power can cause flickering or prevent activation, especially in higher modes.
- Light output is dim or inconsistent:
- Check battery charge level. Recharge or replace batteries if low.
- Ensure the lens is clean and free from obstructions.
- Water ingress:
- Ensure all parts are screwed on tightly.
- Inspect O-rings for damage or wear. Replace if necessary using the spare O-rings.
Specifications
| Feature | Detail |
|---|---|
| Model | Archer 2A Pro |
| Light Output (Max) | 1020 lumens |
| Beam Distance (Max) | 365 meters |
| Intensity (Max) | 33,187 candela |
| Power Source | 2 x AA batteries (Alkaline or NiMH) |
| Charging | USB-C Rechargeable (for compatible batteries) |
| Material | Aerospace-grade Aluminum |
| Water Resistance | IPX8 (2 meters submersible) |
| Impact Resistance | 1.5 meters |
| Dimensions (D x W x H) | 6.1" x 0.87" x 0.87" (156.5mm x 25.4mm x 18.5mm) |
| Weight | 48g (without battery) / 107.8g (with battery) |
| Included Components | Archer 2A Pro flashlight, Lanyard, Pocket clip, Spare O-rings, USB-C Charging Cable, Rechargeable Battery (model dependent) |
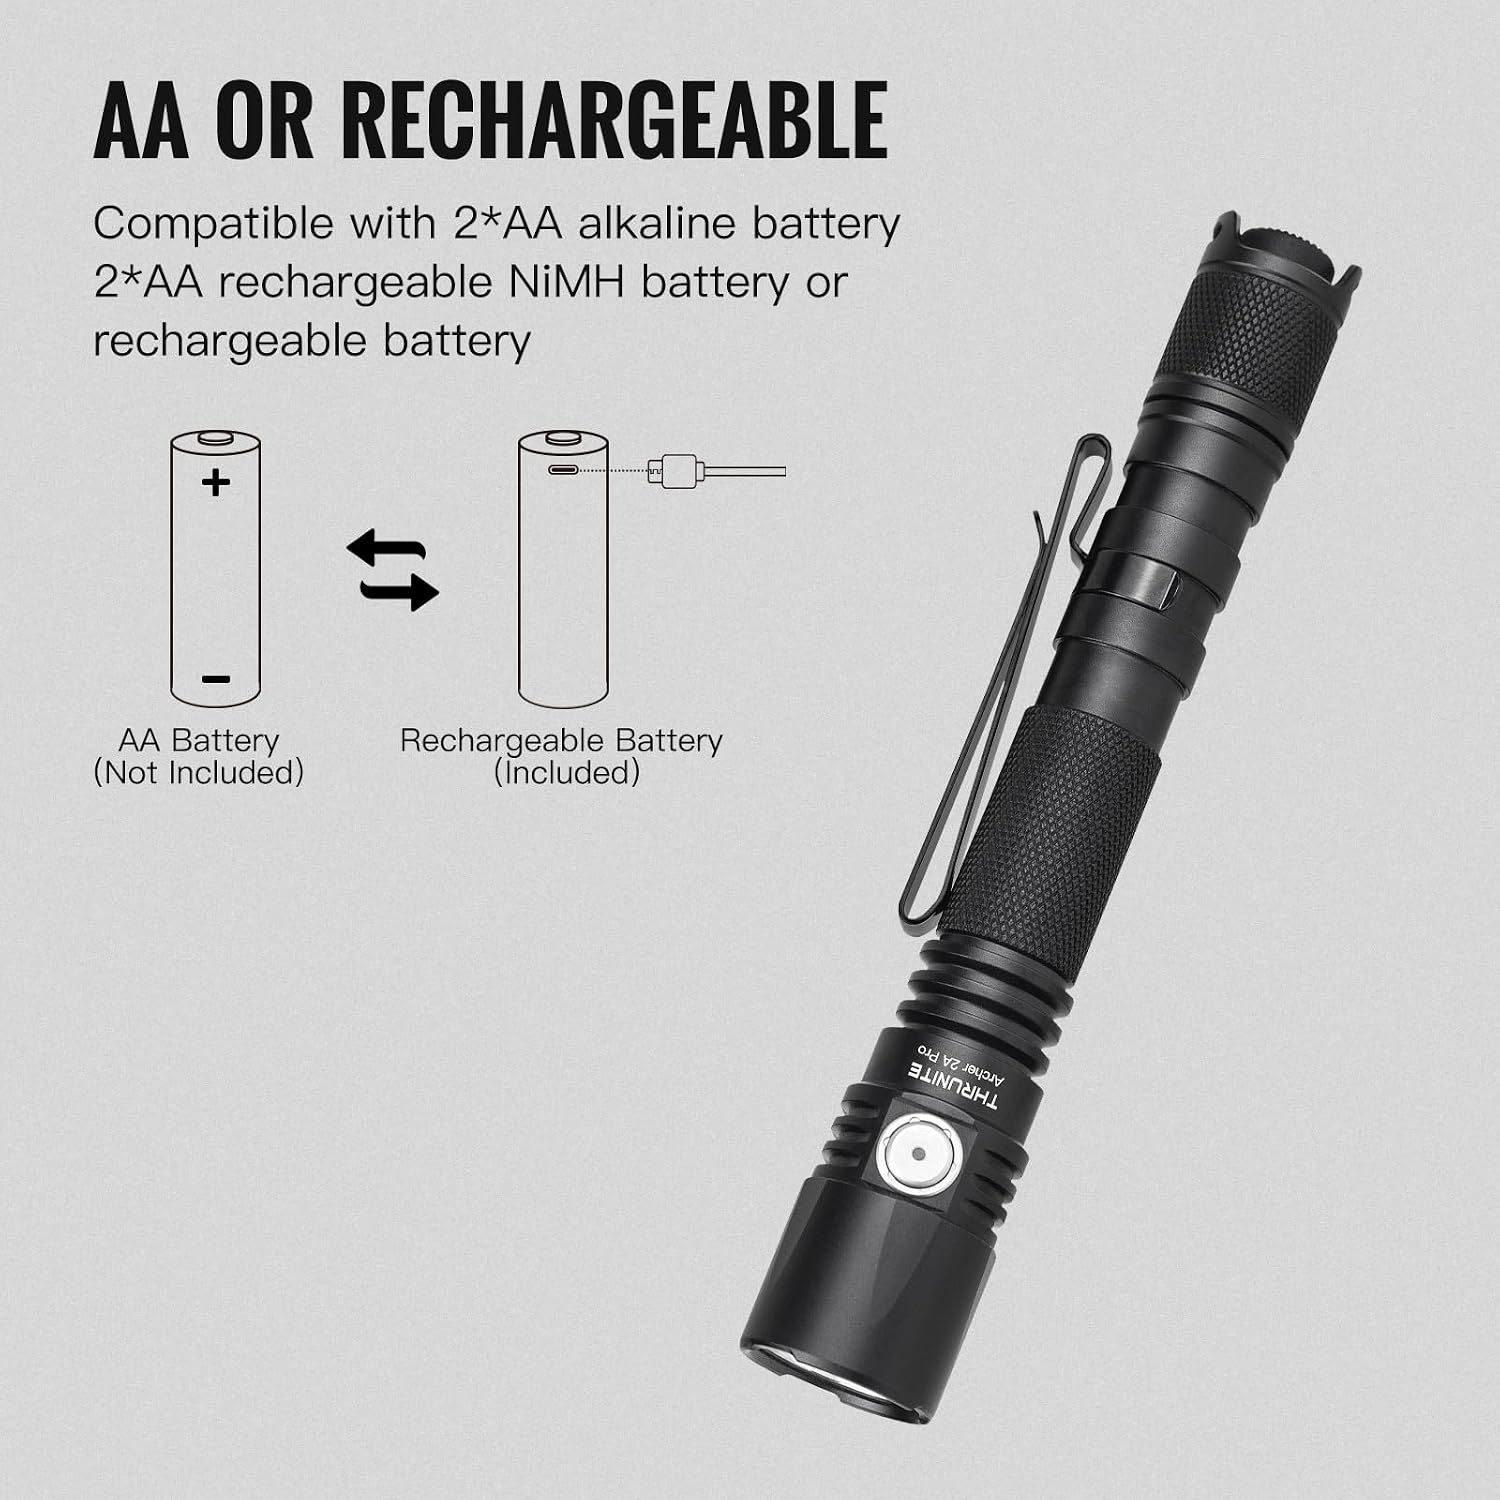
Image: Detailed table showing output, runtime, distance, and intensity for each lighting mode.
Warranty Information
The ThruNite Archer 2A Pro Flashlight comes with a 2-year free replacement warranty. This warranty covers manufacturing defects and issues arising from normal use. Additionally, ThruNite provides lifetime maintenance support for its products. For specific details regarding warranty claims or service, please refer to the official ThruNite website or contact customer support.
Customer Support
For further assistance, technical support, or inquiries regarding your ThruNite Archer 2A Pro Flashlight, please visit the official ThruNite website or contact their customer service department. Contact information can typically be found on the product packaging or the manufacturer's website.
ThruNite Official Website: www.thrunite.com
Related documentsArcher 2A Pro


Ask a question about this manual
Ask about setup, troubleshooting, compatibility, parts, safety, or missing instructions. Manuals+ will review the question and use this page’s manual context to help answer it.