
1. Introduction
This operation manual provides detailed instructions for the safe and efficient use of your new Sharp Carousel II Microwave Oven, models R-4P60 and R-5P60. Please read this manual thoroughly before operating your oven and retain it for future reference. Proper use and maintenance will ensure years of reliable service from your appliance.
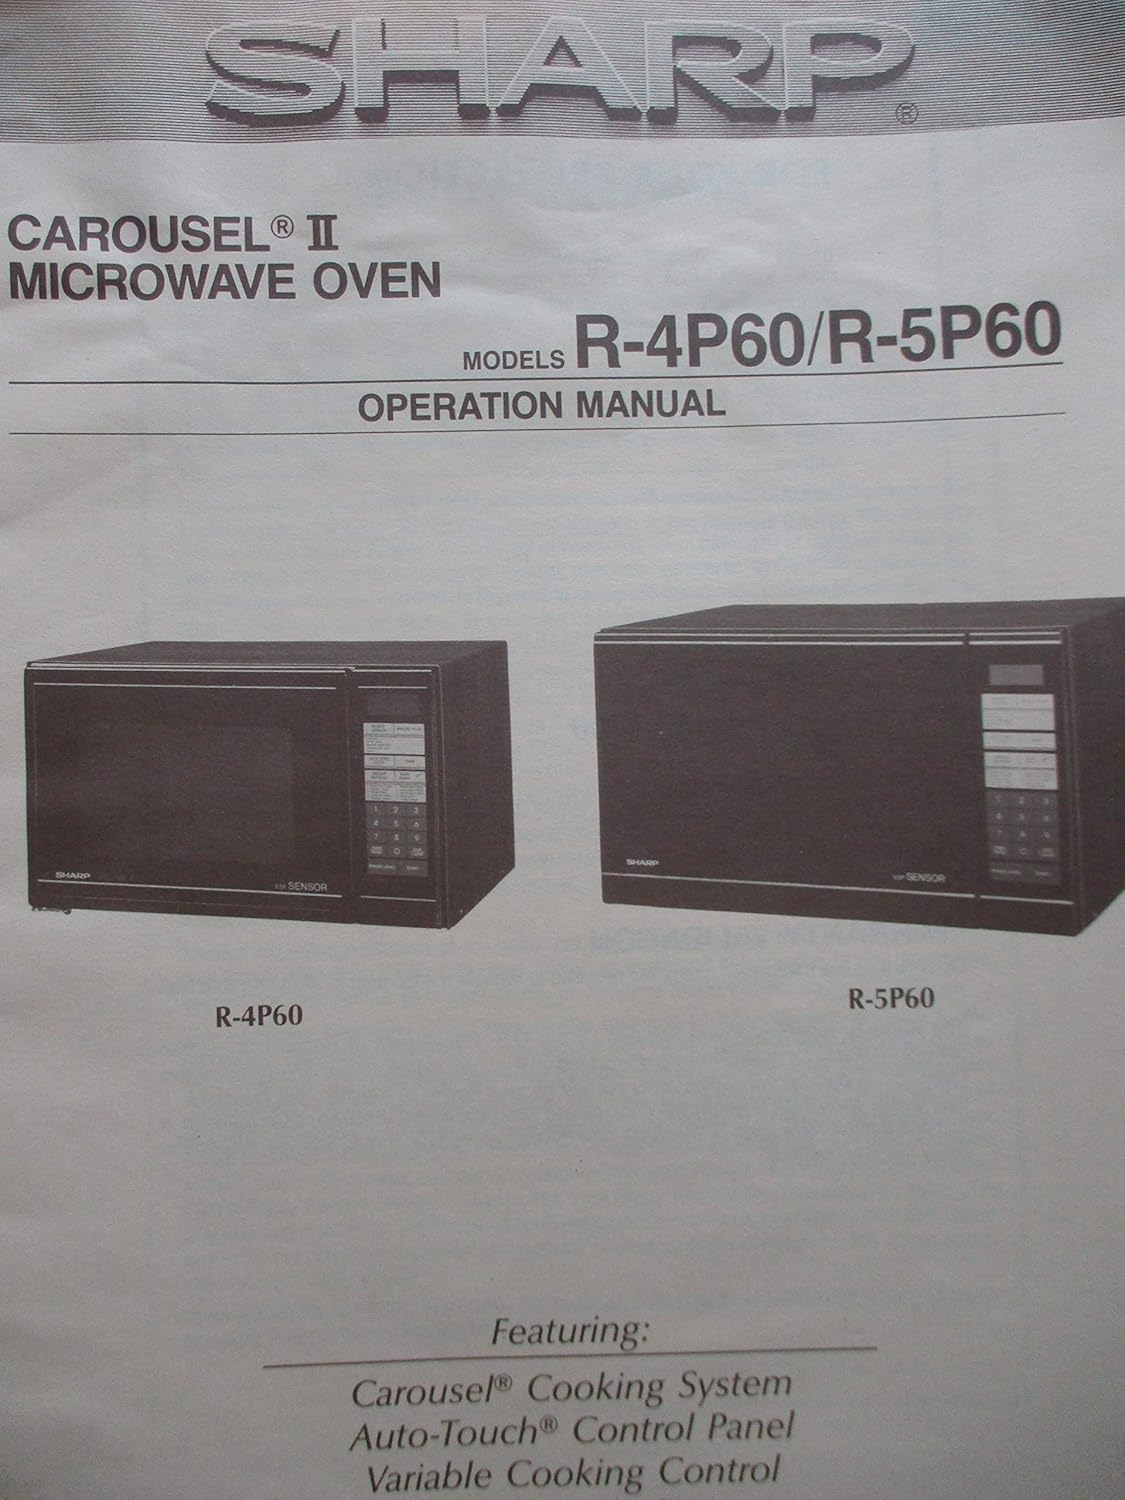
Image 1: Front cover of the operation manual, displaying both the R-4P60 and R-5P60 microwave oven models. The R-4P60 is shown on the left, and the R-5P60 on the right, illustrating their distinct designs.
2. Important Safety Instructions
When using electrical appliances, basic safety precautions should be followed, including the following:
- Read all instructions before using the oven.
- Do not attempt to operate this oven with the door open as this can result in harmful exposure to microwave energy.
- Do not place any object between the oven front face and the door, or allow soil or cleaner residue to accumulate on sealing surfaces.
- Do not operate the oven if it is damaged. It is particularly important that the oven door closes properly and that there is no damage to the: (1) door (bent), (2) hinges and latches (broken or loosened), (3) door seals and sealing surfaces.
- The oven should not be adjusted or repaired by anyone except properly qualified service personnel.
- Always ensure food is heated thoroughly to kill harmful bacteria.
- Do not heat sealed containers, as they may explode.
3. Setup and Installation
Proper installation is crucial for the safe and efficient operation of your microwave oven.
- Unpacking: Carefully remove the oven from its carton. Remove all packing materials and accessories. Check the oven for any damage, such as dents or a misaligned door. Do not install if damaged.
- Placement: Place the oven on a flat, stable surface that can support its weight. Ensure there is adequate ventilation space around the oven: at least 4 inches (10 cm) of space on the top, back, and sides for proper airflow. Do not block air vents.
- Power Supply: Plug the oven into a dedicated 3-prong grounded outlet. Do not use extension cords or adapters. Ensure the voltage and frequency match the specifications on the oven's rating label.
- Turntable Installation: Place the turntable ring inside the oven cavity. Position the glass turntable plate securely on top of the turntable hub. Ensure it rotates freely.
4. Operating Instructions
Your Sharp Carousel II Microwave Oven is designed for ease of use with advanced features.
4.1 Basic Operation
- Setting Cook Time: Open the oven door, place food in the center of the turntable. Close the door. Use the numeric keypad to enter the desired cooking time.
- Starting Cooking: Press the "START" button. The oven will begin cooking and the turntable will rotate.
- Pausing/Stopping: To pause cooking, open the door or press the "STOP/CLEAR" button once. To cancel cooking entirely, press "STOP/CLEAR" twice.
4.2 Carousel® Cooking System
The Carousel® Cooking System ensures even cooking by continuously rotating the food during operation. This eliminates hot spots and provides more uniform heating results. Always ensure the turntable is properly seated before cooking.
4.3 Auto-Touch® Control Panel
The Auto-Touch® control panel features pre-programmed settings for common foods and functions, simplifying your cooking experience. Refer to the specific buttons on your model for functions such as:
- Popcorn: Automatically adjusts cooking time for popcorn bags.
- Beverage: Heats beverages to an optimal temperature.
- Reheat: Quickly reheats various food items.
- Defrost: Offers time or weight defrost options for frozen foods.
To use an Auto-Touch® function, simply press the corresponding button. Some functions may require you to enter the quantity or weight.
4.4 Variable Cooking Control
This feature allows you to select different power levels for precise cooking. Lower power levels are ideal for delicate foods, simmering, or holding food warm, while higher power levels are suitable for quick cooking and boiling.
To adjust power level:
- Enter the desired cooking time.
- Press the "POWER LEVEL" button.
- Use the numeric keypad to select the desired power level (e.g., 10 for 100%, 7 for 70%, 5 for 50%).
- Press "START".
5. Maintenance and Cleaning
Regular cleaning and maintenance will prolong the life of your microwave oven.
- Interior Cleaning: After each use, wipe the interior with a damp cloth and mild detergent. For stubborn stains, place a bowl of water with lemon slices inside and heat for 2-3 minutes until steam forms, then wipe clean.
- Exterior Cleaning: Clean the exterior surfaces with a soft, damp cloth. Avoid abrasive cleaners.
- Turntable: The glass turntable and turntable ring can be washed in warm, soapy water or in the dishwasher. Ensure they are completely dry before placing them back in the oven.
- Door Seals: Regularly inspect and clean the door seals and sealing surfaces to ensure proper closure and prevent microwave leakage.
- Odor Removal: To remove odors, combine 1 cup of water with several tablespoons of lemon juice or vinegar in a microwave-safe bowl. Heat on high for 5-7 minutes.
Caution: Always unplug the oven before cleaning.
6. Troubleshooting
Before calling for service, please check the following common issues and solutions:
| Problem | Possible Cause | Solution |
|---|---|---|
| Oven does not start | Door not closed properly; Plug not inserted firmly; Fuse blown or circuit breaker tripped. | Ensure door is securely closed; Check plug and outlet; Reset circuit breaker or replace fuse. |
| Food not cooking evenly | Food not stirred or rotated; Turntable not rotating. | Stir or rearrange food during cooking; Check turntable placement and ensure it's not obstructed. |
| Light not working | Bulb burned out. | Contact qualified service personnel for bulb replacement. |
| Oven smells bad | Food spills inside. | Clean oven interior thoroughly. Use odor removal method (Section 5). |
7. Specifications
Technical specifications for Sharp Carousel II Microwave Oven Models R-4P60 and R-5P60.
- Model Numbers: R-4P60, R-5P60
- Power Source: 120V AC, 60Hz
- Features: Carousel® Cooking System, Auto-Touch® Control Panel, Variable Cooking Control
Note: Specific output power, oven capacity, and external dimensions are not provided in this manual. Please refer to the rating label located on your specific unit for precise technical details.
8. Warranty and Customer Support
For warranty information and customer support, please refer to the warranty card included with your original purchase or visit the official Sharp website. This manual does not contain specific warranty terms or contact details, as they may vary by region and purchase date.
When contacting support, please have your model number (R-4P60 or R-5P60) and serial number ready.