
1. Introduction
This manual provides detailed instructions for assembling your JEKCA Boxer 01S-M03 Dog Plastic Building Blocks kit. Please read all instructions carefully before beginning assembly to ensure a correct and enjoyable building experience. This kit is designed for individuals aged 14 years and above.
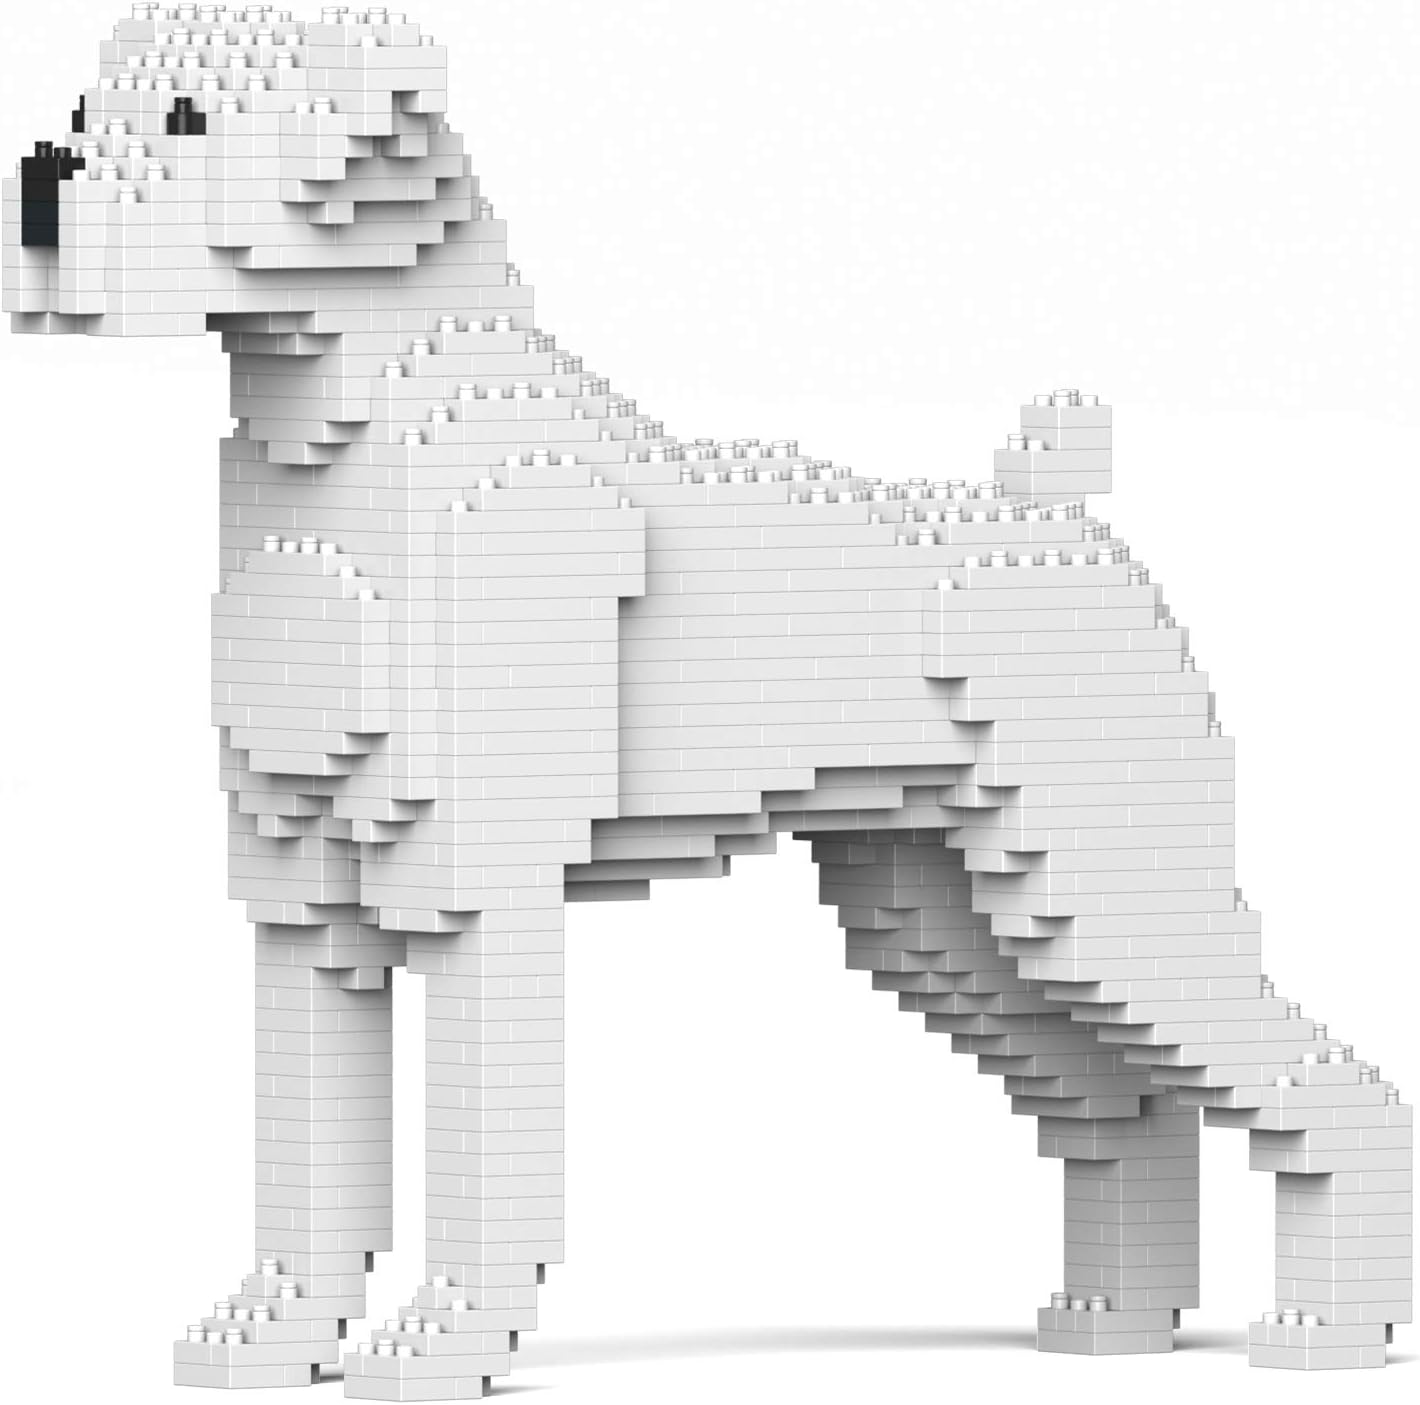
Image: The completed JEKCA Boxer 01S-M03 model, showcasing the intricate detail of the white dog sculpture built from interlocking plastic blocks.
2. Safety Information
- Age Recommendation: This product contains small parts and is recommended for individuals aged 14 years and up. It is not suitable for young children due to choking hazards.
- Small Parts: Keep all small building block pieces and pins away from infants and young children.
- Assembly Environment: Assemble the model in a well-lit area with a clean, flat surface to prevent loss of small parts.
3. Package Contents
Verify that all components listed below are present in your package before starting assembly. If any parts are missing, please contact customer support.
- Instruction Manual (this document)
- Building Bricks (over 960 pieces)
- Interlocking Pins
- Pin Driver Tool
- Quick Guide

Image: A close-up view of JEKCA building bricks, illustrating the variety of shapes and sizes included in the kit.
4. Assembly Instructions
The JEKCA building system utilizes a unique interlocking brick-through system with pins to create sturdy and stable models. Follow the steps below and refer to the included detailed building manual for specific model construction.
4.1 Understanding the Interlocking System
Unlike traditional building blocks, JEKCA bricks are secured using small pins inserted through the bricks. This method ensures a strong and durable connection.

Image: A visual guide demonstrating the JEKCA interlocking system. It shows a pin being inserted through colorful bricks and turned 90 degrees with a pin driver for a secure connection.
4.2 Step-by-Step Pin Insertion
- Align Bricks: Place the bricks together as indicated in your model's specific instruction manual. Ensure the holes in the bricks align perfectly.
- Insert Pin: Take a pin and insert it through the aligned holes of the bricks. Use the provided pin driver tool to gently push the pin through.
- Secure Connection: Once the pin is fully inserted, use the pin driver to turn the pin 90 degrees. This action locks the bricks together, creating a robust bond.
- Repeat: Continue this process for all connections as guided by your model's instruction manual.

Image: A circular diagram detailing the three steps for securing JEKCA bricks: placing bricks, inserting pins, and rotating pins 90 degrees for a firm connection.
4.3 General Assembly Tips
- Refer to the included detailed instruction manual for your specific Boxer 01S-M03 model. It provides step-by-step visual guides for each section of the build.
- Organize your bricks by color and size before starting to streamline the building process.
- Apply gentle, even pressure when inserting pins. Do not force them.
- Ensure each pin is turned 90 degrees to fully lock the bricks.
5. Care and Maintenance
- Cleaning: To clean your assembled JEKCA model, gently wipe it with a soft, dry cloth. For stubborn dust, a slightly damp cloth can be used, followed by immediate drying. Avoid harsh chemicals or abrasive cleaners.
- Storage: Store the model in a stable location away from direct sunlight and extreme temperatures to prevent material degradation or discoloration.
- Disassembly: If you need to disassemble the model, carefully turn the pins back 90 degrees using the pin driver and gently pull the bricks apart. Avoid excessive force to prevent damage to the bricks or pins.
6. Troubleshooting
- Bricks Not Fitting: Ensure you are using the correct bricks for the step indicated in the manual. Double-check the orientation of the bricks.
- Pins Not Inserting: Verify that the holes in the bricks are perfectly aligned. Do not force the pin; gently adjust the bricks until the pin slides in smoothly.
- Model Instability: Ensure all pins are fully inserted and turned 90 degrees to lock the bricks. Review previous steps in the instruction manual to confirm all connections are secure.
- Missing Parts: If you find any parts missing from your kit, please contact JEKCA customer support with your product details and proof of purchase.
7. Specifications
| Feature | Detail |
|---|---|
| Model Number | ST19PT40-M03 |
| Product Dimensions (L x W x H) | 11.34 x 3.46 x 10.16 inches (28.8 x 8.8 x 25.8 cm) |
| Item Weight | 1.87 pounds |
| Number of Pieces | Over 960 |
| Recommended Age | 14 years and up |
| Material | Plastic |

Image: The JEKCA Boxer 01S-M03 model shown with its approximate dimensions in centimeters, providing a clear understanding of the finished product's size.
8. Warranty Information
For specific warranty details regarding your JEKCA Boxer 01S-M03 building blocks, please refer to the warranty card included in your product packaging or visit the official JEKCA website. Warranty terms typically cover manufacturing defects.
9. Customer Support
If you require further assistance, have questions about assembly, or need to report missing parts, please contact JEKCA customer support. You can typically find contact information on the product packaging, the official JEKCA website, or through your retailer.
For online resources, visit the JEKCA Store on Amazon.