
1. Introduction
This manual provides detailed instructions for the safe and proper installation and operation of your ELIVED Full Motion TV Wall Mount. Please read all instructions carefully before beginning installation. Retain this manual for future reference.

Image 1.1: Overview of the ELIVED Full Motion TV Wall Mount and included accessories.
2. Important Safety Information
WARNING: Failure to read and follow these instructions may result in serious personal injury, property damage, or voiding of your warranty. If you do not understand these instructions or have doubts about the safety of the installation, please contact a qualified installer.
- Do not install into drywall alone. The mount must be secured to wood studs, concrete, or brick walls.
- Ensure the wall structure can safely support the combined weight of the mount and the television.
- Use only the hardware provided by the manufacturer. Do not use the provided wrench for lag bolts during wall installation.
- This product is intended for indoor use only.
- Keep children and pets away during installation.
3. TV and Wall Compatibility
Before installation, verify that your television and wall are compatible with this mount.
3.1 TV Compatibility
- TV Size: Most 37-82 inch TVs.
- Weight Capacity: Up to 132 lbs (60 kg).
- VESA Patterns: From 150x100mm to 600x400mm. Common VESA patterns include 150x100, 200x100, 200x200, 200x300, 200x400, 300x200, 300x300, 300x400, 400x200, 400x300, 400x400, 600x400.

Image 3.1: Illustration of VESA mounting hole patterns on a TV back.
3.2 Wall Compatibility
- Wood Studs: Fits 8", 12", 16" wood stud spacing. Do not install into drywall alone.
- Concrete/Brick Walls: Can be installed on solid concrete or brick walls. Concrete anchors may be required and should be requested if not included.

Image 3.2: Visual guide for checking TV and wall compatibility, including VESA, weight, TV size, and wall types.
4. Setup and Installation
Follow these steps for a secure installation. It is recommended to have two people for TV mounting.
4.1 Tools Required (Not Included)
- Pencil
- Stud Finder (for wood stud installation)
- Drill with appropriate drill bits
- Socket Wrench (for lag bolts, not the included adjustment wrench)
- Measuring Tape
- Level (a small bubble level is included, but a larger one is recommended for accuracy)
4.2 Installation Steps
- Locate Wall Studs (for wood stud installation): Use a stud finder to locate the edges and center of two adjacent wood studs. Mark the center of the studs at the desired height for the top of your TV.
- Position Wall Plate: Hold the wall plate against the wall, aligning the mounting holes with your marked stud centers. Use a level to ensure the wall plate is perfectly horizontal. Mark the drill points.
- Drill Pilot Holes: Drill pilot holes at the marked locations. For wood studs, use a 7/32 inch (5.5mm) drill bit. For concrete/brick, use a 3/8 inch (10mm) masonry drill bit and insert concrete anchors (if applicable).
- Attach Wall Plate: Secure the wall plate to the wall using the provided lag bolts and washers. Tighten firmly with a socket wrench.
- Attach TV Brackets to TV: Lay your TV face down on a soft, clean surface. Identify the correct screws and spacers for your TV's VESA mounting holes. Attach the vertical TV brackets to the back of your TV. Ensure the brackets are centered and securely fastened.
- Hang TV on Wall Plate: With assistance, carefully lift the TV and hook the TV brackets onto the wall plate. Ensure the brackets are properly seated on the wall plate.
- Secure TV to Mount: Tighten the security screws or locking mechanisms on the bottom of the TV brackets to prevent the TV from accidentally lifting off the wall plate.

Image 4.1: Illustration of wall compatibility, showing installation on wood studs (max 16" spacing) and concrete/brick walls.
5. Operating the TV Mount
The ELIVED Full Motion TV Wall Mount offers various adjustments for optimal viewing.
5.1 Swivel Adjustment
The mount allows for a swivel range of +/-45 degrees. Gently push or pull the TV to the desired left or right angle. Ensure cables are not pinched or strained during adjustment.

Image 5.1: Demonstrates the +/-45 degree swivel capability of the mount.
5.2 Tilt Adjustment
The TV can be tilted +5 degrees upwards and -13 degrees downwards to reduce glare and optimize viewing angles. Use the included adjustment wrench to loosen the tilt screws, set the desired angle, and then re-tighten the screws firmly.

Image 5.2: Illustrates the tilt range (+5/-13 degrees) and extension/retraction capabilities.
5.3 Level Adjustment
After installation, the TV can be leveled +/-3 degrees to correct any slight misalignment. Use the included adjustment wrench to loosen the level screws, adjust the TV to be perfectly horizontal, and then re-tighten the screws.

Image 5.3: Shows how to adjust the TV level by +/-3 degrees after initial installation.

Image 5.4: Detail of the included wrench for tilt and level adjustments. Note: This wrench is not for wall plate lag bolts.
5.4 Extension and Retraction
The articulating arms allow the TV to extend up to 15.7 inches (39.9 cm) from the wall and retract back to 2.46 inches (6.2 cm). Gently pull or push the TV to achieve the desired distance from the wall.
6. Maintenance
Regular maintenance ensures the longevity and safe operation of your TV mount.
- Periodic Inspection: Periodically check all screws and connections to ensure they remain tight and secure. Re-tighten if necessary.
- Cleaning: Clean the mount with a soft, dry cloth. Avoid using abrasive cleaners or solvents that could damage the finish.
- Lubrication: The articulating joints are designed for smooth movement. If movement becomes stiff over time, a small amount of silicone-based lubricant can be applied to the pivot points.
7. Troubleshooting
If you encounter issues during or after installation, refer to the following common solutions.
- TV is not level: Use the level adjustment feature described in Section 5.3 to correct the horizontal alignment.
- Mount feels loose: Re-check all wall plate lag bolts and TV bracket screws. Ensure they are tightened securely. If installed on wood studs, confirm the lag bolts are fully engaged in the stud center.
- Difficulty moving the TV: Ensure no cables are obstructing movement. Check for any debris in the articulating joints. If stiff, apply a small amount of silicone lubricant.
- Missing parts: If any parts are missing from the package, contact ELIVED customer support for assistance.
8. Specifications
| Feature | Specification |
|---|---|
| Brand | ELIVED |
| Model | Full Motion TV Wall Mount (for 37-82 Inch TVs) |
| Compatible TV Sizes | 37-82 inches |
| Weight Capacity | 132 lbs (60 kg) |
| VESA Compatibility | 150x100mm to 600x400mm |
| Movement Type | Articulating, Swivel, Tilt |
| Swivel Range | +/-45 degrees |
| Tilt Range | +5/-13 degrees |
| Level Adjustment | +/-3 degrees |
| Extension from Wall | 2.46 inches (retracted) to 15.7 inches (extended) |
| Material | Alloy Steel |
| Product Dimensions | 17.3 x 7.2 x 3.1 inches (packaging) |
| Item Weight | 12.63 pounds |
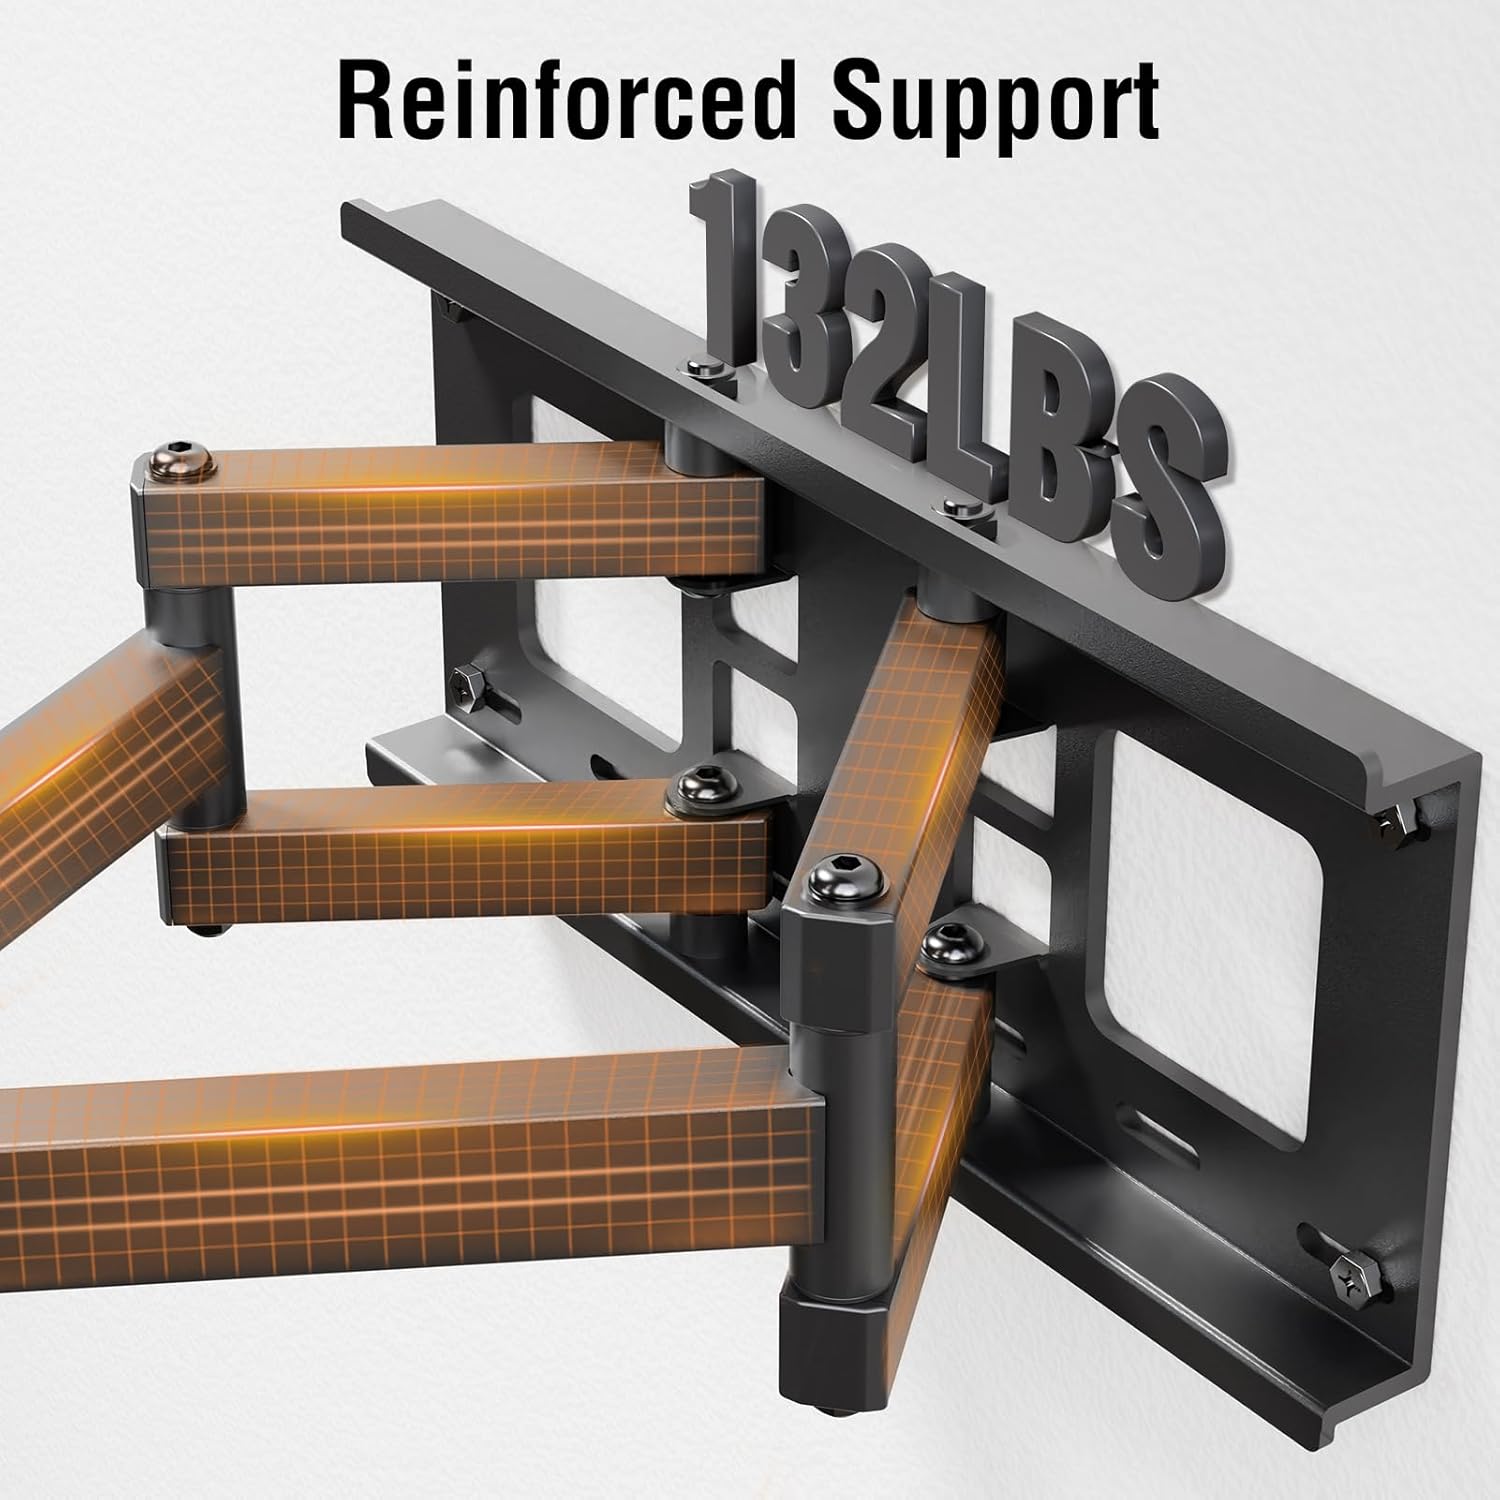
Image 8.1: Illustration of the reinforced support arms designed to hold up to 132 lbs.
9. Warranty Information
For specific warranty details regarding your ELIVED TV Wall Mount, please refer to the warranty card included with your product or contact ELIVED customer support directly. Warranty terms typically cover manufacturing defects and material flaws under normal use.
10. Customer Support
If you have any questions, require technical assistance, or need to report a missing part, please contact ELIVED customer support through the retailer where you purchased the product or visit the official ELIVED website for contact information.


