1. Introduction
This manual provides essential information for the safe and efficient operation of your EVERSECU 16-Channel 4K CCTV Power Supply. This unit is designed to provide stable, interference-free power for up to 16 4K IP/CCTV cameras and other security devices, featuring adjustable voltage output and comprehensive protection mechanisms. Please read this manual thoroughly before installation and use.
2. Product Overview
The EVERSECU CP1216-32A-4K is a robust power supply solution for large-scale security systems. It features a reinforced metal housing, 16 independent output channels, and advanced anti-interference circuitry.
Key Features:
- 4K-Optimized Anti-Ripple & Anti-EMI: Ensures crystal-clear footage for 4K IP/CCTV cameras with ripple suppression (≤300mVpp).
- 16 Independent Channels: Provides 2A per channel (480W total) to power up to 16 security devices simultaneously.
- 12V-15V Adjustable Voltage: Factory set to 12.2V, compatible with diverse security peripherals.
- Intelligent Cooling: Features an auto-start fan (45±5℃) and PTC over-temperature protection (85±5℃) for 24/7 reliability.
- Global Compliance: Supports 90-264VAC input and holds RoHS/UL/IEC/EN certifications for worldwide use.
- Secure Design: Includes a key lock for anti-tampering and an AC plug for convenient setup.
- Reinforced Metal Housing: Compressive and wear-resisting structure for enhanced safety and durability.
Product Components:
The power supply unit includes the main enclosure, internal power board with output terminals, AC power input, and a key lock mechanism.

Figure 1: Front view of the EVERSECU 16-Channel 4K CCTV Power Supply.

Figure 2: Angled view of the power supply unit.
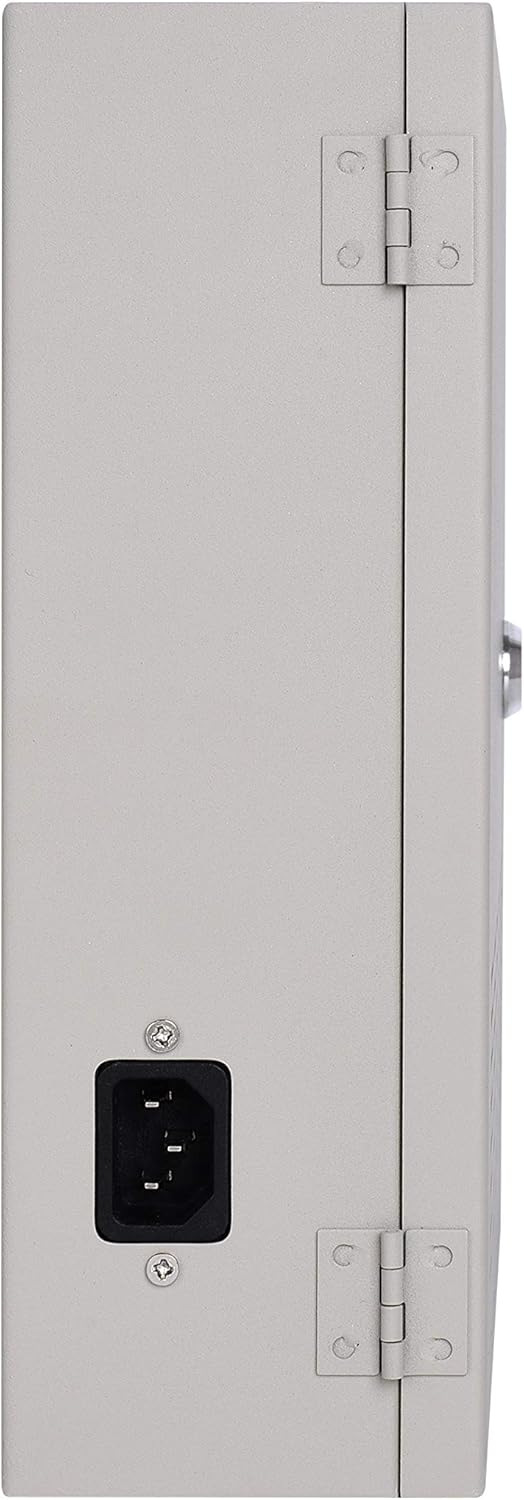
Figure 3: Side view showing the AC power input.
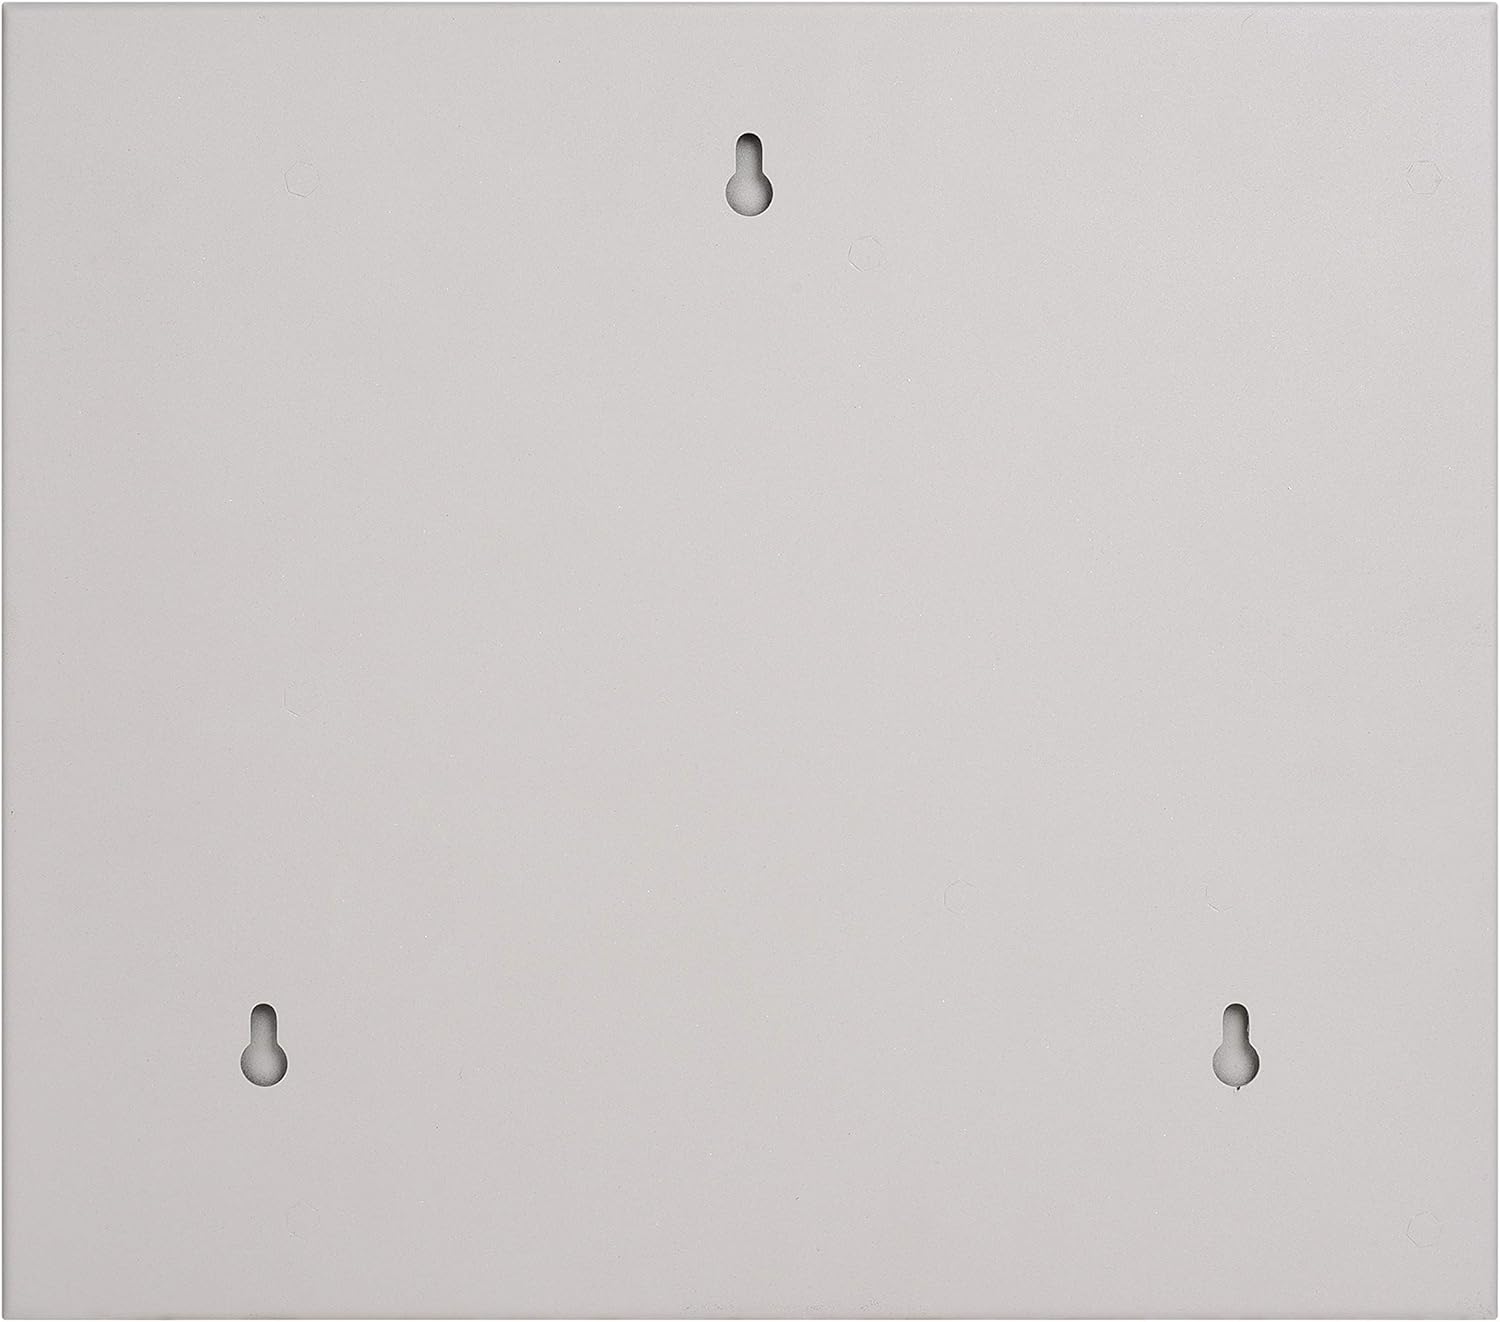
Figure 4: Rear view with mounting points.
3. Safety Information
Always observe the following safety precautions to prevent injury or damage to the device:
- Ensure the power supply is disconnected from the mains before performing any installation, maintenance, or troubleshooting.
- Only qualified personnel should install and service this equipment.
- Verify correct voltage and current ratings for all connected devices to avoid overload.
- Do not expose the unit to moisture or extreme temperatures.
- Check for wire damage before use and confirm correct polarity for all connections.
- If the LED indicators fail to light or flash abnormally, disconnect power immediately and consult the troubleshooting section.
4. Installation
Follow these steps for proper installation of your power supply unit:
- Mounting: Securely mount the power supply box to a wall or suitable surface using appropriate fasteners through the designated mounting holes on the back of the unit (refer to Figure 4).
- Open the Enclosure: Use the provided key to unlock and open the front cover of the power supply box.
- Connect AC Power: Use the included AC plug to connect the power supply to a standard 90-264VAC mains outlet. Ensure the power switch inside the unit is in the "OFF" position before connecting.
- Connect Devices: Thread the wires from your security cameras or other devices through the wire holes. Connect the positive (+) and negative (-) leads of each device to the corresponding output terminals on the power distribution board. Each channel is independent.
- Close and Secure: Once all connections are made and verified, close the front cover and lock it with the key to prevent unauthorized access.
Installation Overview Video:
Video 1: This video demonstrates the physical overview and internal components of a similar EVERSECU CCTV power supply, including how to open the unit and access the connection terminals. Note that the model shown is a 9-channel version, but the general principles of installation and component layout are similar.
5. Operation
- Power On: After installation, switch the internal power switch to the "ON" position. The output LED indicator for each channel should illuminate green, indicating power is being supplied.
- Voltage Adjustment: The output voltage is adjustable between 12V and 15V DC. To fine-tune the voltage for optimal 4K camera performance or to compensate for voltage drop over long cable runs, rotate the built-in resistor button located on the power board. The factory setting is typically 12.2V.
- Monitoring: Observe the LED indicators for each channel. A green light signifies normal operation.
6. Maintenance
Regular maintenance ensures the longevity and optimal performance of your power supply:
- Cleaning: Periodically clean the exterior of the unit with a dry, soft cloth. Ensure vents are free from dust and debris to maintain proper airflow for the intelligent cooling fan.
- Temperature Control: The internal cooling fan automatically activates when the temperature reaches 45±5℃. Ensure the unit is installed in a location with adequate ventilation.
- Storage: When not in use, store the power supply in a dry, cool environment. The reinforced metal housing provides durability during transportation and storage.
- Fuse Check: The unit uses PTC 2.6A resettable fuses for overload protection. These fuses automatically reset once the overload condition is removed and the unit cools down. No manual replacement is typically needed.
7. Troubleshooting
If you encounter issues, refer to the following common troubleshooting steps:
- No Power/LEDs Off:
- Check if the AC power cord is securely plugged into both the unit and the wall outlet.
- Ensure the internal power switch is in the "ON" position.
- Verify the wall outlet is supplying power.
- Individual Channel Not Working/LED Off:
- Check the wiring for the specific camera/device connected to that channel for loose connections or incorrect polarity.
- The PTC fuse for that channel may have tripped due to an overload or short circuit. Disconnect the device, wait a few minutes for the fuse to reset, and then reconnect. If the issue persists, the device may be faulty or drawing too much current.
- Test the camera/device with a known working power source to rule out device malfunction.
- Poor Video Quality (Interference/Ripple):
- Ensure all connections are tight and properly insulated.
- Adjust the output voltage slightly using the resistor button to optimize for your specific cameras and cable lengths.
- Verify that the total current draw does not exceed the unit's capacity or individual channel limits.
- Overheating:
- Ensure adequate ventilation around the unit. Clear any obstructions from the vents.
- Verify the ambient operating temperature is within the specified range (0℃ ~ 40℃).
8. Specifications
| Category | Specification |
|---|---|
| Model Number | CP1216-32A-4K |
| Input Voltage | 90-264VAC (Nominal: 100-240VAC) |
| Input Frequency | 47-63Hz (Nominal: 50/60Hz) |
| Max Input Current | ≤10A (minimum input voltage, full load) |
| Output Voltage | 12-15VDC (adjustable) |
| Total Output Current | 32 Amp (480W total) |
| Per Channel Current | 2A max |
| Overcurrent Protection (OCP) | 2.5-3A per channel |
| Ripple & Noise | ≤300mVpp |
| Fuse Type | PTC 2.6A resettable fuse |
| Operating Temperature | 0℃ ~ 40℃ (32°F ~ 104°F) |
| Storage Temperature | -20℃ ~ 75℃ (-4°F ~ 167°F) |
| Humidity | 20%-85% RH (Operating, non-condensing) / 10%-90% RH (Storage, non-condensing) |
| Dimensions | 28.8 × 25.4 × 8.24 cm (11.3 × 10.0 × 3.2 inches) |
| Net Weight | 2.85 Kg (6.3 lbs) |
| Compliance | RoHS, IEC60950, UL60950-1, EN62368-1, EN55032, FCC Part 15 Subpart B |
9. Warranty and Support
For warranty information and technical support, please refer to the EVERSECU official website or contact their customer service directly. Keep your purchase receipt for warranty claims.


