Introduction
This manual provides essential instructions for the safe and effective assembly, operation, and maintenance of your TOOLPORT 10x10 ft Pop-Up Canopy Tent. Please read all instructions carefully before use and retain this manual for future reference.
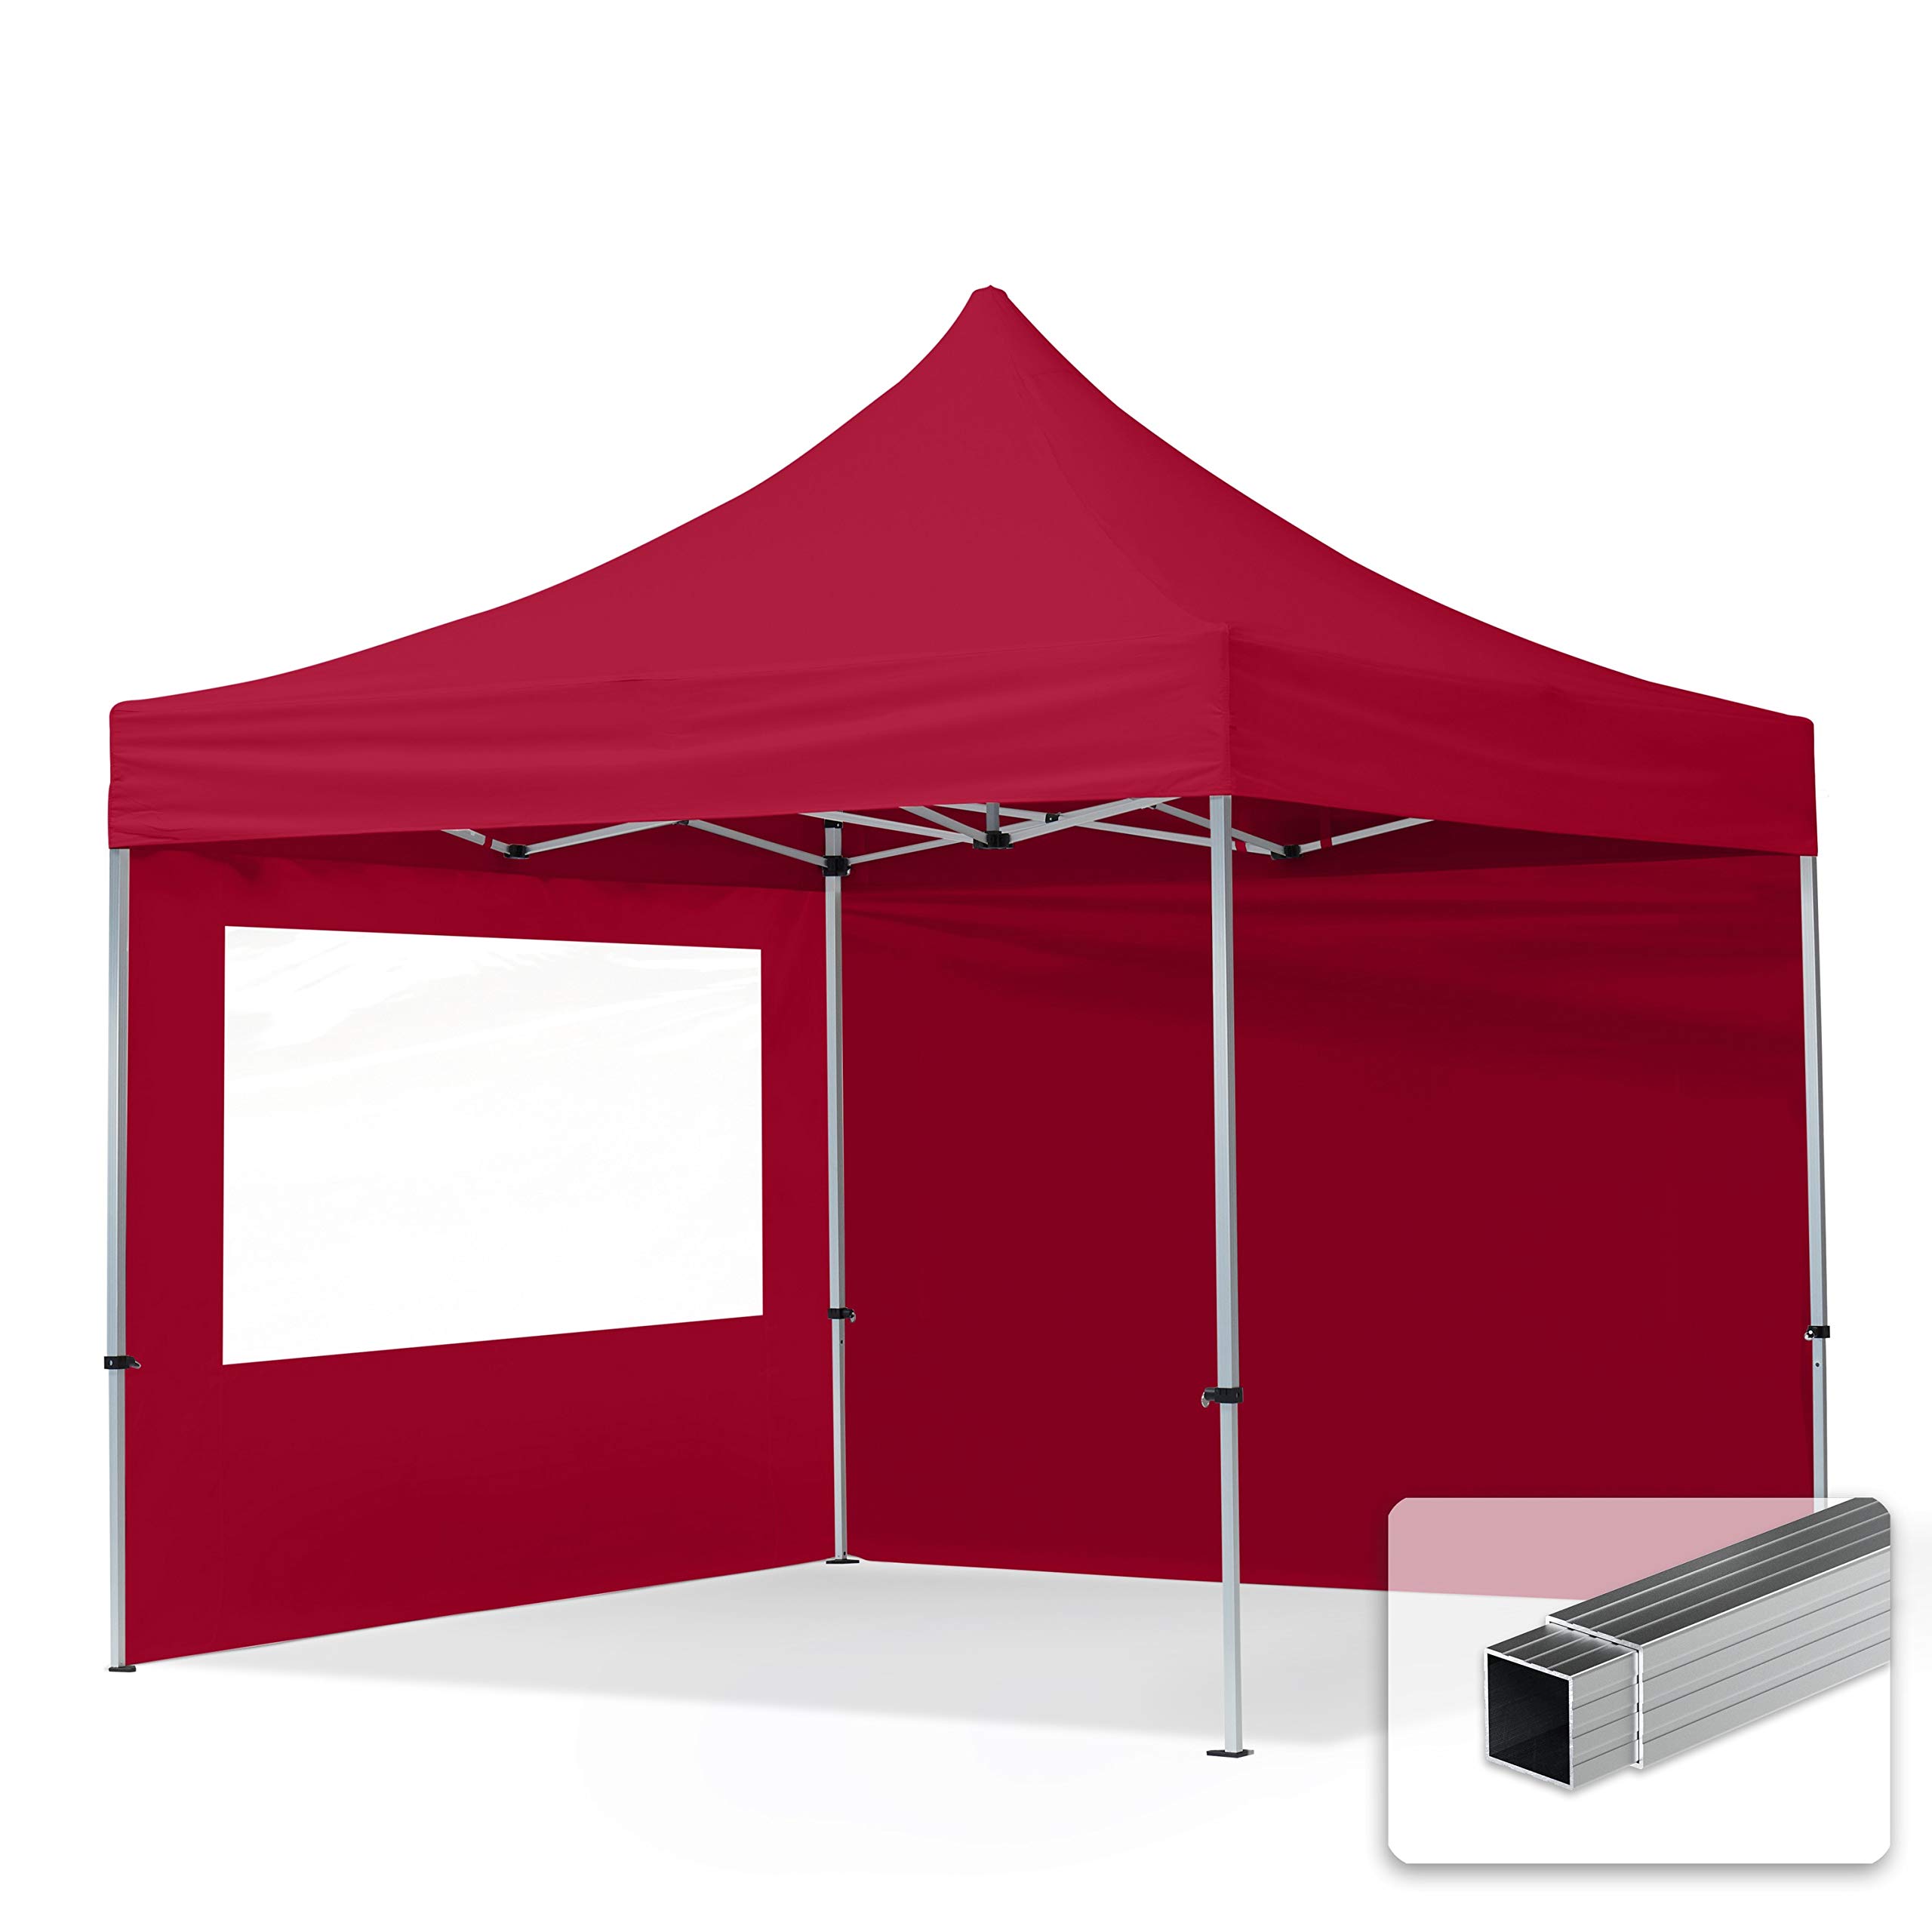
Image: The TOOLPORT 10x10 ft Pop-Up Canopy Tent in red, fully assembled.
The TOOLPORT Pop-Up Canopy Tent is designed for quick setup and portability, featuring a lightweight yet durable aluminum frame and a water-resistant PES 700 PVC-coated polyester roof tarp. It includes two sidewalls with panorama windows for added versatility.
Safety Information
WARNING: Failure to follow these safety instructions may result in injury or damage to the product.
- Wind and Snow Loads: This gazebo has not been tested for specific wind and snow loads. Always ensure the tent is assembled correctly and securely anchored.
- Weather Conditions: In moderate snowfall, promptly clear the roof. In emerging wind conditions, use a storm set (not included, but recommended for additional stability). For strong winds, heavy snowfall, or heavy rainfall, temporary disassembly of the gazebo is recommended to prevent damage.
- Heat Sources: Keep the tarpaulin away from heat sources and open flames to prevent fire hazards.
- Anchoring: Always secure the gazebo to the ground with the included guy ropes and pegs, especially in windy conditions.
- Water Resistance: The roof tarp is water-resistant, but the gazebo is not fully waterproof. Do not use in heavy rain or thunderstorms.
- Proposition 65 Warning: This product may expose you to chemicals known to the State of California to cause cancer and birth defects or other reproductive harm. For more information, go to www.P65Warnings.ca.gov.
Package Contents
Verify that all components are present before beginning assembly:
- Pop-up/Scissors Mechanism Frame (Aluminum)
- Roof Tarp (PES 700 PVC-coated polyester)
- 2 Sidewalls (with Panorama Windows)
- Guy Ropes
- Ground Stakes/Pegs
- Carrying Bag
- Assembly Instructions (this manual)

Image: Illustration showing the two types of sidewalls included: one with panorama windows and one solid.

Image: The black carrying bag, designed for easy transport and storage of the folded canopy tent.
Setup Instructions
Assembly typically requires 1-2 people and no tools. Follow these steps for quick setup:
- Unpack Components: Remove the frame, roof tarp, sidewalls, guy ropes, and ground stakes from the carrying bag.
- Position the Frame: Place the folded aluminum frame in the desired location. Ensure there is enough clear space around the tent for full expansion.
- Partially Expand the Frame: With one person at each end (or two people on opposite sides), gently pull the outer legs of the frame outwards. The scissors mechanism will begin to expand. Do not force it.
- Attach the Roof Tarp: Drape the roof tarp over the partially expanded frame. Align the corners of the tarp with the corners of the frame. Secure the tarp to the frame using the integrated hook-and-loop fasteners or clips. Ensure the tarp is centered and taut.

Image: Detail of reinforced contact areas where the tarp meets the frame, ensuring durability.

Image: A hand securing a sidewall to the canopy frame using a hook-and-loop strap.
- Fully Expand the Frame: Continue pulling the outer legs until the frame is fully extended and the roof is taut. The central hub should lock into place.
- Adjust Height: Press the push-button releases on each leg and extend the telescopic legs to your desired height. There are 5 adjustable height settings. Ensure all legs are set to the same height for stability.

Image: Detail of the leg adjustment mechanism, showing the pull-pin for height settings.
- Attach Sidewalls (Optional): If using, attach the sidewalls to the frame using the integrated fasteners.
- Secure the Canopy: Use the provided guy ropes and ground stakes to anchor the canopy firmly to the ground. This is crucial for stability, especially in windy conditions.

Image: Detailed view of the aluminum frame's internal structure, highlighting the robust polymer composite connections.
Operating Instructions
Once assembled, your TOOLPORT Pop-Up Canopy Tent provides a versatile shelter. Here are some operational guidelines:
- Height Adjustment: The canopy offers 5 height settings. To adjust, ensure the area around each leg is clear. Press the push-button on each leg and slide the inner leg to the desired height. Ensure all four legs are locked at the same height before use.
- Sidewall Usage: The included sidewalls can be attached or removed as needed for privacy, wind protection, or sun shade. The panorama windows allow light and visibility.
- Disassembly: To disassemble, reverse the setup steps. Lower the legs, detach sidewalls, remove the roof tarp, and then collapse the frame by pushing the central hub upwards and bringing the outer legs together. Store all components in the carrying bag.
Maintenance
Proper maintenance will extend the life of your canopy tent:
- Cleaning the Tarp: The PVC-coated polyester tarp is designed for easy cleaning. Use a mild soap solution and a soft brush or cloth to clean any dirt or stains. Rinse thoroughly with water and allow to air dry completely before folding and storing. Do not use harsh chemicals or abrasive cleaners.
- Frame Care: The aluminum frame is corrosion-resistant. Wipe down the frame with a damp cloth to remove any dirt or debris. Inspect the frame for any damage or loose connections periodically.
- Storage: Ensure the roof tarp and sidewalls are completely dry before folding and storing them in the carrying bag. Store the canopy in a cool, dry place away from direct sunlight and extreme temperatures.
- Component Inspection: Regularly inspect guy ropes, ground stakes, and frame connections for wear or damage. Replace any damaged parts immediately.

Image: Water beading on the PES 700 PVC-coated polyester roof tarp, illustrating its water-resistant properties.
Troubleshooting
| Problem | Possible Cause | Solution |
|---|---|---|
| Canopy difficult to open/close | Frame joints are stiff or misaligned. | Ensure the frame is on a flat surface. Gently wiggle joints to loosen. Do not force. Check for any obstructions. |
| Water pooling on roof | Tarp not taut enough or uneven ground. | Ensure the tarp is securely fastened and stretched tightly over the frame. Adjust leg heights if necessary to create proper tension and drainage. |
| Canopy unstable in light wind | Not properly anchored. | Ensure all guy ropes are attached and staked firmly into the ground. Consider using additional weight bags (not included) for extra stability. |
| Legs not locking at desired height | Push-button mechanism obstructed or damaged. | Check if the push-button is fully depressed and the inner leg is aligned with the locking hole. Clear any debris. If damaged, contact support. |
Specifications
| Brand | TOOLPORT |
| Model Number | 59013 |
| Size | 10x10 ft (3.0m x 3.0m) |
| Product Dimensions (L x W x H) | 118"L x 118"W x 132"H (approx. 3.0m L x 3.0m W x 3.35m H) |
| Frame Material | Aluminum |
| Tarp Material | PES 700 PVC-coated polyester |
| Color | Red |
| Item Weight | 44.1 pounds (20000 Grams) |
| Water Resistance Level | Water Resistant |
| UV Light Protection | No |
| Assembly Required | No (refers to tools, quick assembly) |

Image: Dimensional diagram of the canopy tent, showing height and width measurements in meters and feet.
Warranty and Support
For any questions, concerns, or assistance with your TOOLPORT Pop-Up Canopy Tent, please contact TOOLPORT customer support. While specific warranty details are not provided in this manual, TOOLPORT is committed to customer satisfaction.
All connections in the roof construction are joined with stable nylon material. All parts are connected with screws to assure that all components can be replaced easily. A dedicated US customer service and sales support team is available to help you quickly.
Please refer to your purchase documentation or the TOOLPORT official website for the most current warranty information and contact details.


