
1. Introduction
This manual provides essential information for the safe installation, operation, and maintenance of your USHA Heleous 1220mm Premium BLDC Ceiling Fan. Please read these instructions carefully before use and retain them for future reference.
The USHA Heleous fan features advanced BLDC (Brushless DC) motor technology for energy efficiency, rust-free ABS blades for durability, and an RF (Radio Frequency) remote control for convenient operation.
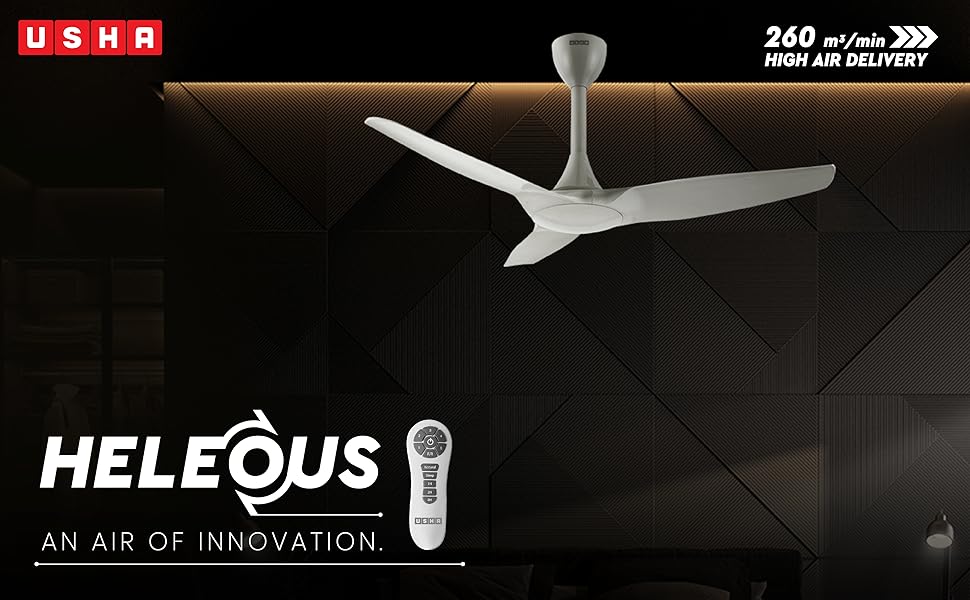
Image 1.1: Overview of USHA Heleous Ceiling Fan features.
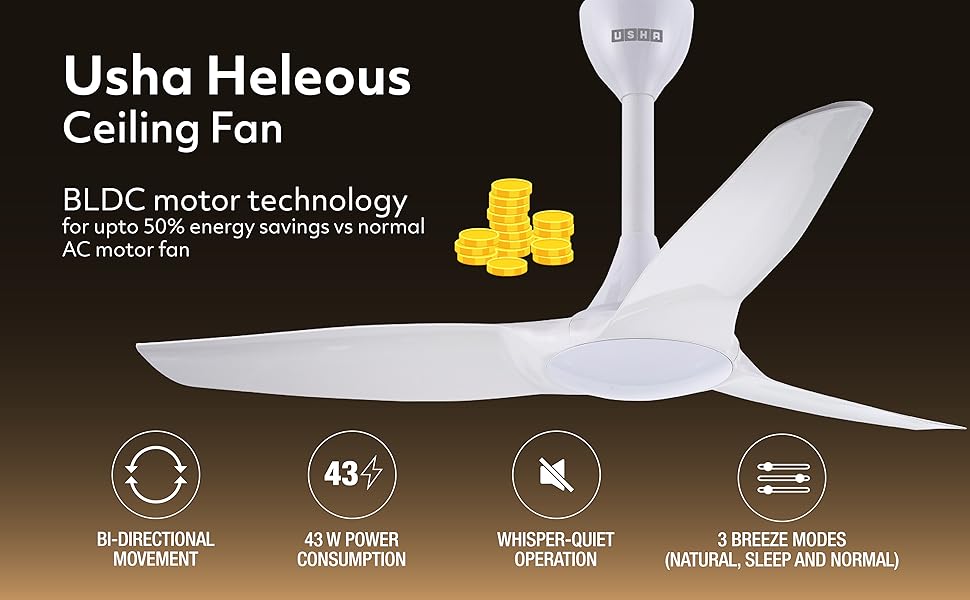
Image 1.2: Benefits of BLDC Motor Technology.
2. Safety Instructions
Always follow basic safety precautions when installing, operating, and maintaining electrical appliances to reduce the risk of fire, electric shock, and personal injury.
- Ensure the main power supply is disconnected before installation, cleaning, or maintenance.
- Installation should be performed by a qualified electrician in accordance with local electrical codes.
- Verify that the ceiling structure can support the weight of the fan (approximately 6.5 kg).
- Ensure proper earthing is established for safe operation.
- Do not connect the fan to a dimmer switch or a standard fan regulator, as this fan is designed for remote control operation. Disconnect any existing regulator before installation.
- Keep the remote control away from water and extreme temperatures.
- Do not insert fingers or any objects into the fan blades while the fan is operating.
- Regularly check all connections and mounting hardware for security.
3. Package Contents
Carefully unpack the box and ensure all the following components are present:
- 1 Fan Motor
- 1 Top Canopy
- 1 Bottom Canopy
- 1 Middle Canopy
- 1 Downrod
- 1 Shackle Assembly kit
- 1 Safety Wire
- 1 RF Remote Control Set
- 1 Instruction Manual (this document)
- 3 Unassembled Blades
4. Setup and Installation
For detailed installation steps, refer to the separate installation guide provided with your fan. Professional installation is highly recommended.
4.1 Pre-Installation Checks
- Ensure the power supply to the installation area is switched off at the main circuit breaker.
- Confirm that the mounting surface is structurally sound and capable of supporting the fan's weight.
- Remove any existing fan regulators or dimmer switches from the circuit.
4.2 Assembly Steps Overview
- Mounting Bracket Installation: Securely attach the mounting bracket to the ceiling joist or a suitable electrical junction box.
- Downrod Assembly: Insert the downrod through the canopies and motor housing. Secure it with the provided pin and clip.
- Wiring: Connect the fan's electrical wires to the household wiring according to the wiring diagram in the detailed manual. Ensure proper earthing.
- Motor Housing Attachment: Carefully lift the fan assembly and hang it on the mounting bracket.
- Blade Attachment: Attach the three ABS blades to the motor housing using the provided screws. Ensure they are securely fastened.
- Canopy Installation: Slide the canopies up to cover the wiring and mounting bracket, securing them in place.

Image 4.1: Exploded view of fan components for assembly reference.

Image 4.2: Detail of motor housing and downrod connection.

Image 4.3: Attaching a fan blade to the motor.
5. Operating Instructions
The USHA Heleous fan is operated using the provided RF remote control. Ensure batteries are correctly inserted into the remote.
5.1 Remote Control Functions

Image 5.1: RF Remote Control with labeled functions.
- Power Button: Turns the fan ON or OFF.
- Speed Buttons (1-5): Adjusts the fan speed from 1 (lowest) to 5 (highest).
- F/R (Forward/Reverse) Button: Changes the direction of blade rotation. Double-click to activate.
- Natural Mode: Simulates natural breeze by varying fan speed.
- Sleep Mode: Operates at a low, quiet speed for comfortable sleep.
- Timer Functions (1H, 2H, 4H): Sets the fan to automatically turn off after 1, 2, or 4 hours, respectively.
5.2 Bidirectional Rotation
The fan offers bidirectional rotation for year-round comfort:
- Counter-clockwise (Standard): Pushes air downwards, creating a cooling effect. Ideal for warm weather.
- Clockwise (Reverse): Draws air upwards, circulating warm air near the ceiling. Ideal for cool weather to destratify air.
To change direction, press the F/R button on the remote control. The fan will briefly stop and then resume rotation in the opposite direction.
6. Maintenance
Regular maintenance ensures optimal performance and longevity of your fan.
- Cleaning: Ensure the power is OFF before cleaning. Use a soft, damp cloth to wipe down the fan blades and motor housing. Do not use abrasive cleaners or solvents.
- Blade Material: The rust-free ABS blades require minimal maintenance beyond regular dusting.
- Tightness Check: Periodically check all screws and connections for tightness. Loose connections can cause noise or malfunction.
7. Troubleshooting
If you encounter issues with your fan, refer to the following common problems and solutions:
| Problem | Possible Cause | Solution |
|---|---|---|
| Fan does not turn ON | No power supply Remote control batteries dead Loose wiring connection | Check circuit breaker and wall switch Replace remote control batteries Verify all electrical connections are secure (consult electrician) |
| Remote control not responding | Batteries are low or incorrectly inserted Obstruction between remote and receiver Remote control malfunction | Replace batteries, ensure correct polarity Ensure clear line of sight to fan receiver Contact customer support for remote replacement |
| Fan makes excessive noise | Loose screws on blades or mounting Unbalanced blades Motor issue | Tighten all screws Ensure blades are correctly installed and balanced Contact customer support |
| Fan wobbles | Loose mounting bracket Unbalanced blades Downrod not secured | Ensure mounting bracket is firmly attached Check blade balance and attachment Verify downrod pin and clip are secure |
8. Specifications
Detailed technical specifications for the USHA Heleous 1220mm BLDC Ceiling Fan:
| Feature | Specification |
|---|---|
| Brand | USHA |
| Model Name | Heleous |
| Model Number | 11104HL11W |
| Colour | White |
| Electric Fan Design | Ceiling Fan |
| Power Source | Corded Electric |
| Product Dimensions (D x W x H) | 48D x 48W x 19.1H Centimeters |
| Mounting Type | Downrod Mount |
| Controller Type | Remote Control (RF) |
| Wattage | 43 Watts |
| Number of Blades | 3 |
| Air Flow Capacity | 260 Cubic Meters Per Minute (9180 cfm) |
| Speed | 310 RPM |
| Noise Level | 6 Decibels |
| Number Of Speeds | 3 (Normal, Natural, Sleep) |
| Motor Type | BLDC |
| Blade Material | Acrylonitrile Butadiene Styrene (ABS) |
| Blade Length | 1220 Millimetres |
| Item Weight | 6500 Grams |
| Indoor Outdoor Usage | Indoor |
9. Warranty Information
Your USHA Heleous BLDC Ceiling Fan comes with the following warranty:
- Motor Winding and Lamination: 4 Years
- Other Parts of the Fan: 2 Years
Please retain your purchase receipt as proof of purchase for warranty claims.
10. Customer Support
For any queries, technical assistance, or service requests, please contact USHA International Ltd. customer support:
- Toll-Free Number: 1800 1033 111
- Manufacturer: USHA INTERNATIONAL LTD.
- Registered Office: Surya Kiran Building 19, Kasturba Gandhi Marg, New Delhi (India) 110 006

