
1. Introduction
This manual provides essential information for the safe and efficient operation, installation, and maintenance of your Ingco Peripheral Pump VPM3708. Please read these instructions carefully before using the pump to ensure proper function and to prevent injury or damage. Keep this manual for future reference.
2. Safety Instructions
Always adhere to the following safety precautions to reduce the risk of electric shock, fire, or serious injury.
- Electrical Safety: Ensure the power supply matches the pump's specifications (220-240V~50Hz). Connect the pump to a properly grounded outlet. Do not operate the pump with damaged cords or plugs. Avoid operating the pump in wet conditions or with wet hands.
- Water Safety: Do not pump flammable or corrosive liquids. Ensure the pump is not run dry, as this can cause severe damage.
- Installation: Install the pump in a well-ventilated area, protected from direct sunlight, rain, and freezing temperatures. Secure the pump to a stable surface to prevent vibration and movement.
- Maintenance: Disconnect power before performing any maintenance or cleaning. Allow the pump to cool down before handling.
- Children and Pets: Keep children and pets away from the pump during operation.
3. Product Overview
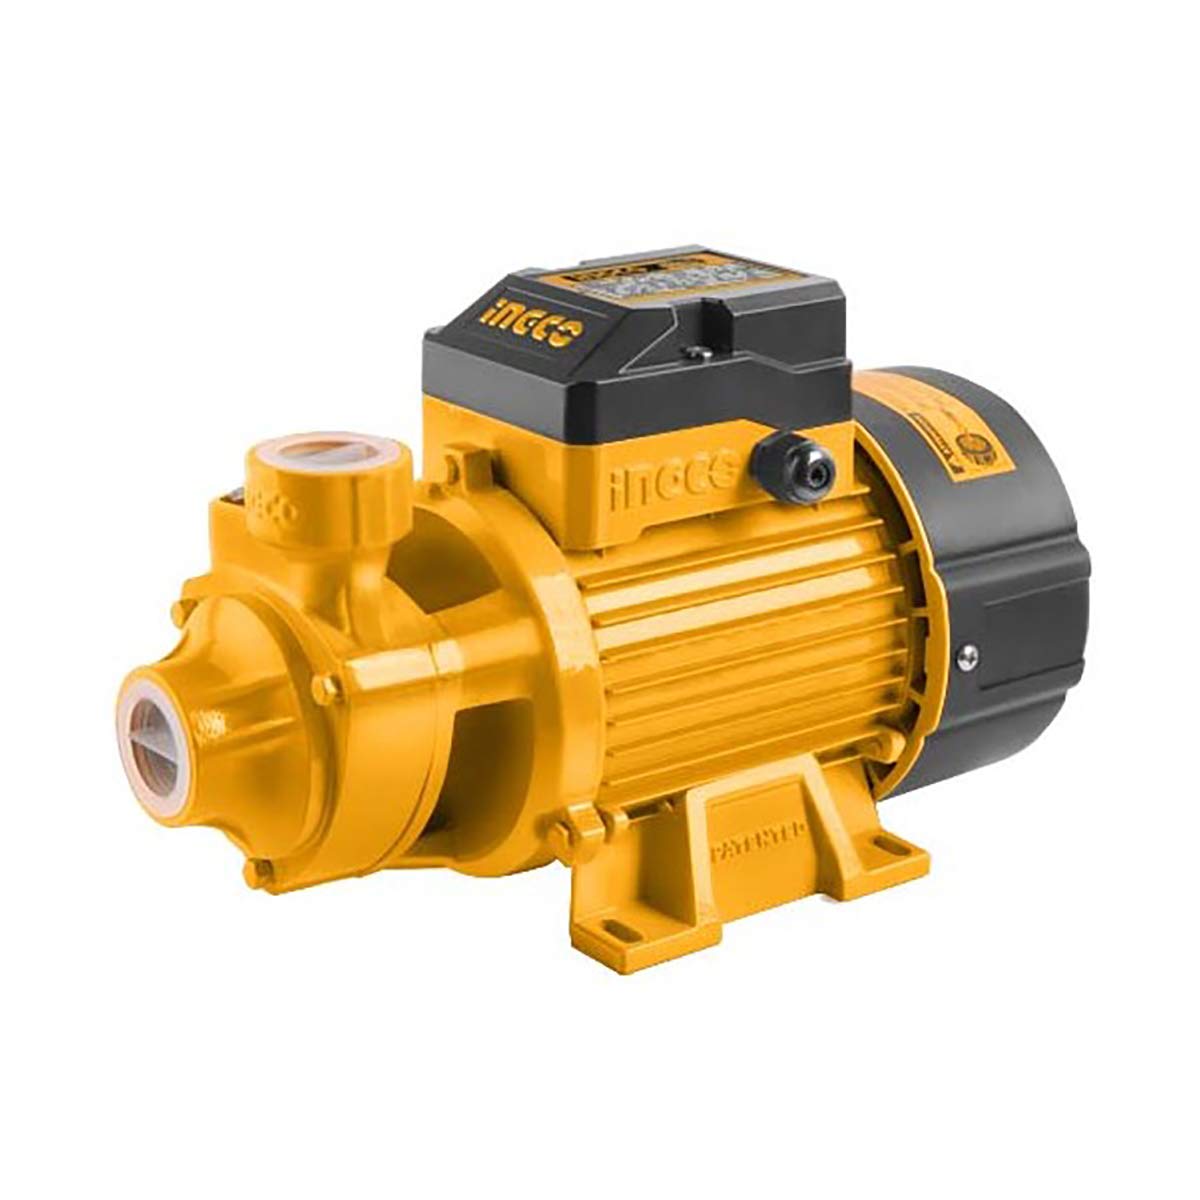
The Ingco VPM3708 Peripheral Pump is designed for efficient water transfer in various applications. It features a robust copper wire motor and a brass impeller for durability and reliable performance.

4. Specifications
Below are the technical specifications for the Ingco Peripheral Pump VPM3708:
| Feature | Specification |
|---|---|
| Voltage | 220-240V ~ 50Hz |
| Rated Power | 370W (0.5HP) |
| Maximum Head | 35 meters |
| Maximum Flow Rate | 35 liters/minute |
| Maximum Suction | 8 meters |
| Pipe Diameter | 1 inch x 1 inch |
| Motor Type | Copper Wire Motor |
| Impeller Material | Brass |
| Product Dimensions (L x W x H) | 67 x 45 x 21 cm |
| Item Weight | 5.1 kg |
| Power Source | Corded Electric |
| Item Model Number | 17371 |

5. Setup
5.1 Unpacking
Carefully remove the pump from its packaging. Inspect for any signs of damage during transit. Retain packaging for future storage or transport.
5.2 Location Requirements
- Place the pump on a firm, level surface to minimize vibration.
- Ensure the location is dry, well-ventilated, and protected from frost, rain, and direct sunlight.
- Allow sufficient space around the pump for ventilation and maintenance.
5.3 Piping Connection
Connect the inlet and outlet pipes to the pump. The pipe diameter for both is 1 inch. Use appropriate fittings and sealants to ensure watertight connections.
- Inlet Pipe: Ensure the suction pipe is as short and straight as possible, with a minimum number of bends. The maximum suction height is 8 meters.
- Outlet Pipe: Connect the discharge pipe to your water system.
- Valves: Install a foot valve with a strainer at the end of the suction pipe to prevent debris from entering the pump and to maintain prime. Install a gate valve on the discharge side for flow control.
5.4 Electrical Connection
Connect the pump to a suitable power supply (220-240V~50Hz) using a grounded plug. If extending the power cable, ensure the extension is rated for outdoor use and has adequate gauge for the pump's power requirements.
5.5 Priming the Pump
Before initial startup, the pump must be primed to ensure it is filled with water and can create suction.
- Remove the priming plug (usually located on top of the pump casing).
- Fill the pump casing completely with clean water until it overflows.
- Replace the priming plug securely.
- Open any valves on the discharge side to allow air to escape.

6. Operating Instructions
6.1 Initial Startup
- Ensure the pump is properly primed (refer to Section 5.5).
- Verify all connections are secure and leak-free.
- Plug the pump into the grounded power outlet.
- Turn on the power. The pump should start immediately.
- Monitor the pump for the first few minutes for unusual noises or vibrations. If the pump does not draw water within a few minutes, turn it off, re-prime, and check for air leaks in the suction line.
6.2 Normal Operation
Once the pump is running and drawing water, it will operate continuously as long as power is supplied. The pump is designed for continuous duty. Avoid running the pump dry for extended periods.
6.3 Shutting Down
To turn off the pump, simply disconnect it from the power supply or switch off the dedicated circuit breaker.
7. Maintenance
Regular maintenance ensures the longevity and optimal performance of your pump. Always disconnect power before performing any maintenance.
7.1 Regular Checks
- Inspect for Leaks: Periodically check all pipe connections for leaks. Tighten fittings as necessary.
- Listen for Unusual Noises: Abnormal noises can indicate issues with the motor or impeller.
- Check for Overheating: Ensure the motor housing is not excessively hot. Good ventilation is crucial.
- Clean Strainer: If a foot valve with a strainer is used, periodically clean the strainer to prevent blockages.
7.2 Winterization (for cold climates)
If the pump is exposed to freezing temperatures, it must be drained to prevent damage from ice expansion.
- Disconnect power to the pump.
- Open the drain plug (if available) or disconnect the suction and discharge pipes to allow all water to drain from the pump casing.
- Store the pump in a warm, dry place if possible, or ensure it is completely dry before reassembly.
8. Troubleshooting
This section addresses common issues you might encounter with your peripheral pump.
| Problem | Possible Cause | Solution |
|---|---|---|
| Pump does not start | No power supply Motor overload Seized impeller | Check power connection and circuit breaker Allow motor to cool; check for blockages Contact qualified service personnel |
| Pump runs but no water is delivered | Pump not primed Air leak in suction line Suction lift too high Foot valve clogged or faulty | Re-prime the pump Check all suction connections for leaks Reduce suction lift or relocate pump Clean or replace foot valve |
| Low water flow or pressure | Partial blockage in suction/discharge Air in the system Worn impeller | Check and clear pipes Re-prime the pump; check for air leaks Contact qualified service personnel |
| Pump is noisy or vibrates excessively | Cavitation (air in water) Loose mounting Bearing wear | Check for air leaks; ensure adequate water supply Tighten mounting bolts Contact qualified service personnel |
9. Warranty and Support
For warranty information, technical support, or service inquiries, please refer to the warranty card included with your product or contact your authorized Ingco dealer or customer service center. Keep your purchase receipt as proof of purchase.

