
Introduction
This manual provides detailed instructions for the installation, operation, and maintenance of your A-Tech 4GB DDR3 1600MHz PC3-12800 SODIMM memory module. This module is specifically designed for compatibility with the Samsung ATIV Book 5 NP540U4E laptop model. Please read these instructions carefully before proceeding with installation.

Image: A-Tech 4GB DDR3 SODIMM memory module in its protective retail packaging.
Setup and Installation
Installing a memory module requires careful handling. Follow these steps to ensure proper installation and avoid damage to your system or the memory module.
1. Pre-Installation Checklist
- Compatibility: Confirm your system, the Samsung ATIV Book 5 NP540U4E, supports DDR3 SODIMM memory at 1600MHz. This module is specifically designed for this model.
- Power Off: Completely shut down your laptop and disconnect the power adapter. Remove the battery if possible.
- Static Protection: Discharge any static electricity from your body by touching a grounded metal object before handling the memory module. Consider using an anti-static wrist strap.
- Tools: You may need a small Phillips head screwdriver to open your laptop's memory compartment.
2. Physical Installation Steps
- Access Memory Bay: Carefully open your laptop's memory compartment. Refer to your laptop's specific service manual for instructions on how to access the SODIMM slots.
- Locate Slot: Identify an available SODIMM slot. If replacing an existing module, gently push the retaining clips outwards to release it, then pull it out at an angle.
- Insert Module: Hold the A-Tech SODIMM module by its edges, avoiding touching the gold connectors. Align the notch on the module with the key in the SODIMM slot.
- Secure Module: Insert the module firmly into the slot at a 45-degree angle. Once fully seated, push the module down until the retaining clips on both sides snap into place, securing it horizontally.
- Close Compartment: Replace the memory compartment cover and secure it with screws. Reinsert the battery and reconnect the power adapter.
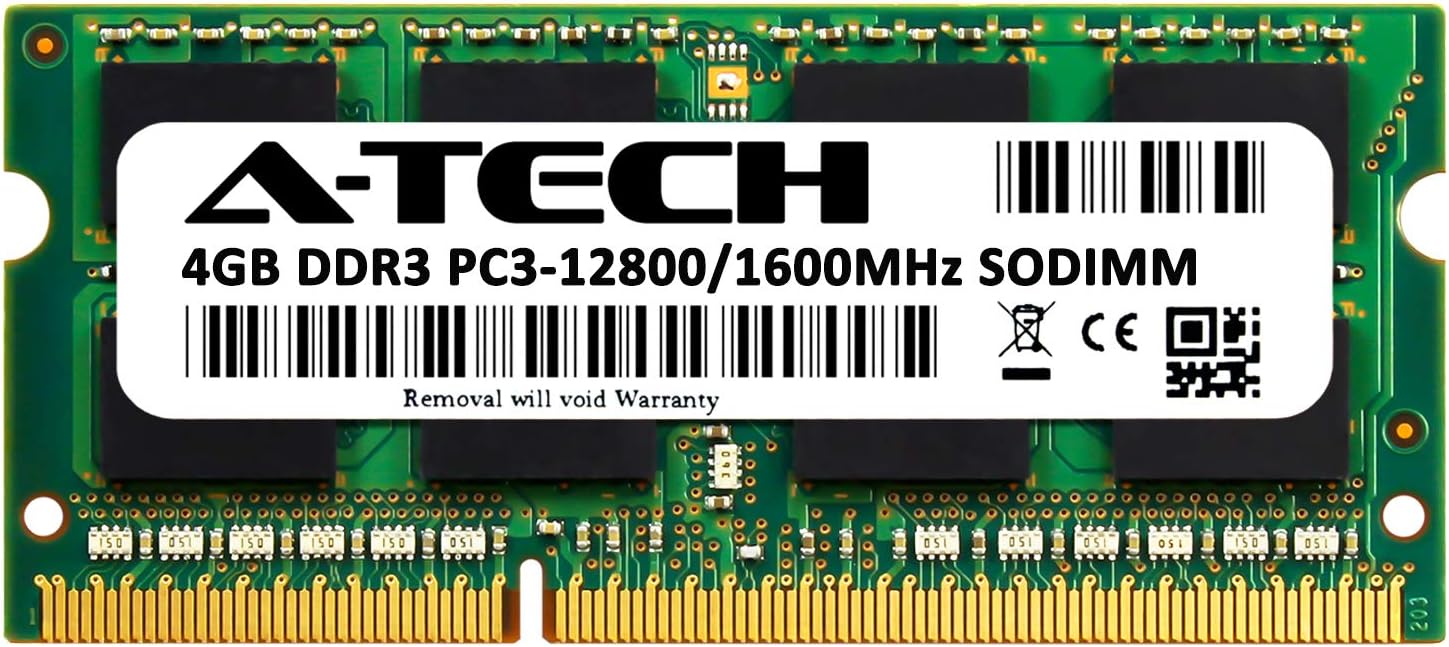
Image: A-Tech 4GB DDR3 SODIMM module, illustrating its physical appearance and label.

Image: Dimensions of the A-Tech SODIMM module (67.60mm x 30mm).
Operating Verification
After installation, power on your laptop and verify that the new memory module is recognized correctly.
1. System Boot
- Turn on your laptop. It should boot normally. If it does not, refer to the Troubleshooting section.
2. Verify Memory in Operating System
- Windows: Right-click on 'This PC' or 'My Computer', then select 'Properties'. The installed RAM amount will be displayed.
- BIOS/UEFI: During startup, press the designated key (often F2, F10, DEL, or ESC) to enter the BIOS/UEFI settings. Navigate to the system information or memory section to confirm the detected RAM.
Maintenance
Memory modules generally require minimal maintenance. Follow these guidelines for optimal performance and longevity.
- Handling: Always handle the memory module by its edges to prevent damage to the components or gold contacts.
- Cleaning: If necessary, gently clean the gold contacts with a lint-free cloth and isopropyl alcohol. Ensure the module is completely dry before reinstallation.
- Environment: Store unused modules in an anti-static bag in a cool, dry place, away from direct sunlight and extreme temperatures.
Troubleshooting
If you encounter issues after installing your A-Tech memory module, consider the following troubleshooting steps.
Common Issues and Solutions:
- System Does Not Boot / Black Screen:
- Ensure the memory module is fully seated in its slot. Remove and re-insert it, ensuring the retaining clips snap into place.
- Verify the module is compatible with your laptop model (Samsung ATIV Book 5 NP540U4E).
- If multiple modules are installed, try booting with only the new A-Tech module.
- Incorrect RAM Amount Detected:
- Check your system's BIOS/UEFI settings to confirm the detected RAM.
- Ensure the operating system is 64-bit to fully utilize more than 4GB of RAM.
- Re-seat the module to ensure proper contact.
- System Instability / Blue Screens:
- Run a memory diagnostic tool (e.g., Windows Memory Diagnostic) to check for errors.
- Ensure your laptop's BIOS is updated to the latest version, as this can improve memory compatibility.
Specifications
Key technical specifications for the A-Tech 4GB DDR3 1600MHz SODIMM memory module (Model: AOG620).
| Feature | Specification |
|---|---|
| Memory Size | 4 GB |
| RAM Technology | DDR3 |
| Memory Speed | 1600 MHz |
| Form Factor | SODIMM (204-Pin) |
| Voltage | 1.5V |
| Error Correction | Non-ECC Unbuffered |
| Compatible Devices | Laptop (Specifically Samsung ATIV Book 5 NP540U4E) |
| Model Number | AOG620 |
Warranty and Support
A-Tech stands behind the quality of its products.
Lifetime Warranty
This A-Tech memory module is backed by a Lifetime Warranty. This warranty covers defects in materials and workmanship for the life of the product. For detailed warranty terms and conditions, please visit the official A-Tech website.
Technical Support
A-Tech provides Free United States Based Technical Support to assist you with any questions or issues regarding your memory module. For assistance, please contact A-Tech support through their official website or the contact information provided with your purchase.
For more information and support resources, visit atechmemory.com/pages/qr.

