
GOTOTOP Portable Electric Nail Drill Machine
Portable Electric Nail Drill Machine User Manual
Brand: GOTOTOP
1. Introduction
Thank you for choosing the GOTOTOP Portable Electric Nail Drill Machine. This device is designed for efficient and precise manicure and pedicure tasks, suitable for both professional and personal use. It features adjustable speed settings and comes with various grinding bits and sanding bands to meet diverse nail care needs. Please read this manual thoroughly before first use to ensure safe and optimal operation.
2. Safety Information
WARNING: To reduce the risk of burns, electrocution, fire, or injury to persons:
- Always use the nail drill at a safe distance from the skin to avoid injury.
- Keep the drill away from water and other liquids to prevent electrical hazards.
- Wear protective eyewear to guard against flying debris or dust.
- Do not operate the drill while it is plugged in for storage.
- Unplug the appliance before cleaning or when not in use.
- Do not use attachments not recommended by the manufacturer.
- Keep out of reach of children.
3. Package Contents
Please verify that all items listed below are included in your package:
- 1 x Electric Nail Drill Machine
- 6 x Grinding Drill Bits
- 6 x Sanding Bands
- 1 x Power Adapter (Charger)
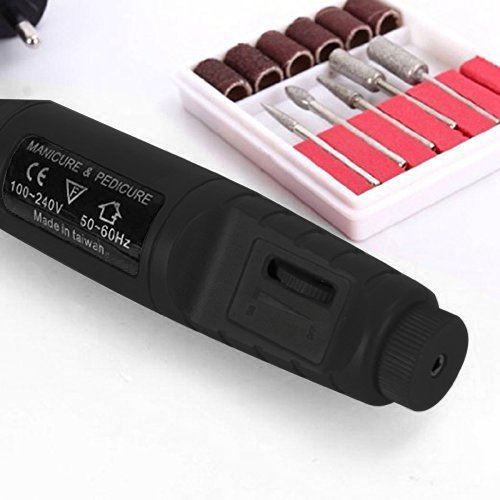
Image 3.1: Overview of the Electric Nail Drill Machine and its included accessories.
4. Setup
4.1 Attaching Drill Bits
Follow these steps to correctly insert and secure the grinding drill bits:
- Press and hold the button located on the top of the drill machine. This will lock the chuck.
- While holding the button, unscrew the chuck counter-clockwise until it loosens.
- Insert the desired grinding drill bit or sanding band into the chuck opening. Ensure it is fully seated.
- While still holding the button, tighten the chuck clockwise until the bit is securely fastened. Release the button.
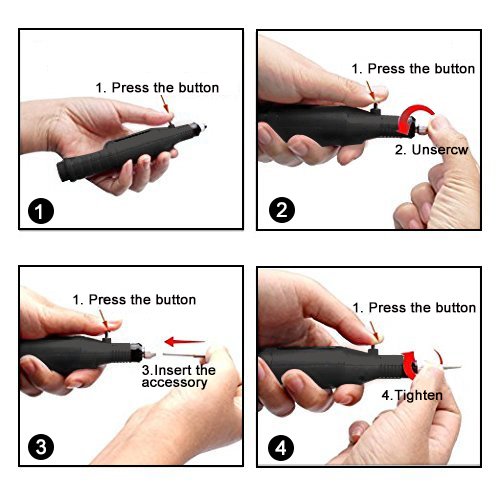
Image 4.1: Step-by-step guide for inserting and securing drill bits into the machine.
4.2 Power Connection
Connect the power adapter to the drill machine and then plug the adapter into a standard electrical outlet (100-240V, 50/60Hz). Ensure the connection is secure.
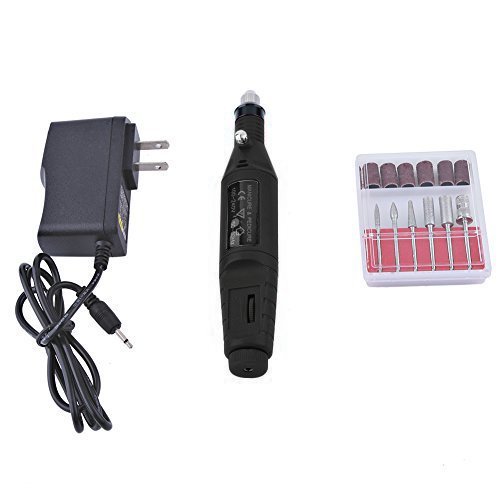
Image 4.2: The power adapter used to supply electricity to the nail drill.
5. Operating Instructions
5.1 Basic Operation
Once the drill bit is attached and the device is powered, you can begin operation:
- Hold the drill machine comfortably in your hand.
- Locate the power switch/speed control dial on the side of the machine.
- Push the switch to the 'ON' position. There are typically two speed settings: 'Fast' and 'Slow'. Select the appropriate speed for your task.
- Slowly bring the rotating grinding head close to the fingernail or toenail surface you wish to work on. Apply gentle pressure.
- Move the drill smoothly across the nail surface to achieve the desired shape or finish.
- After use, switch the machine to the 'OFF' position and unplug it from the power source.

Image 5.1: Proper grip for operating the electric nail drill.
5.2 Speed Control
The drill features a speed control dial, allowing you to adjust the rotational speed from 2,000 to 18,000 RPM. Use lower speeds for delicate work and higher speeds for more aggressive filing or shaping. Always start with a lower speed and gradually increase as needed.
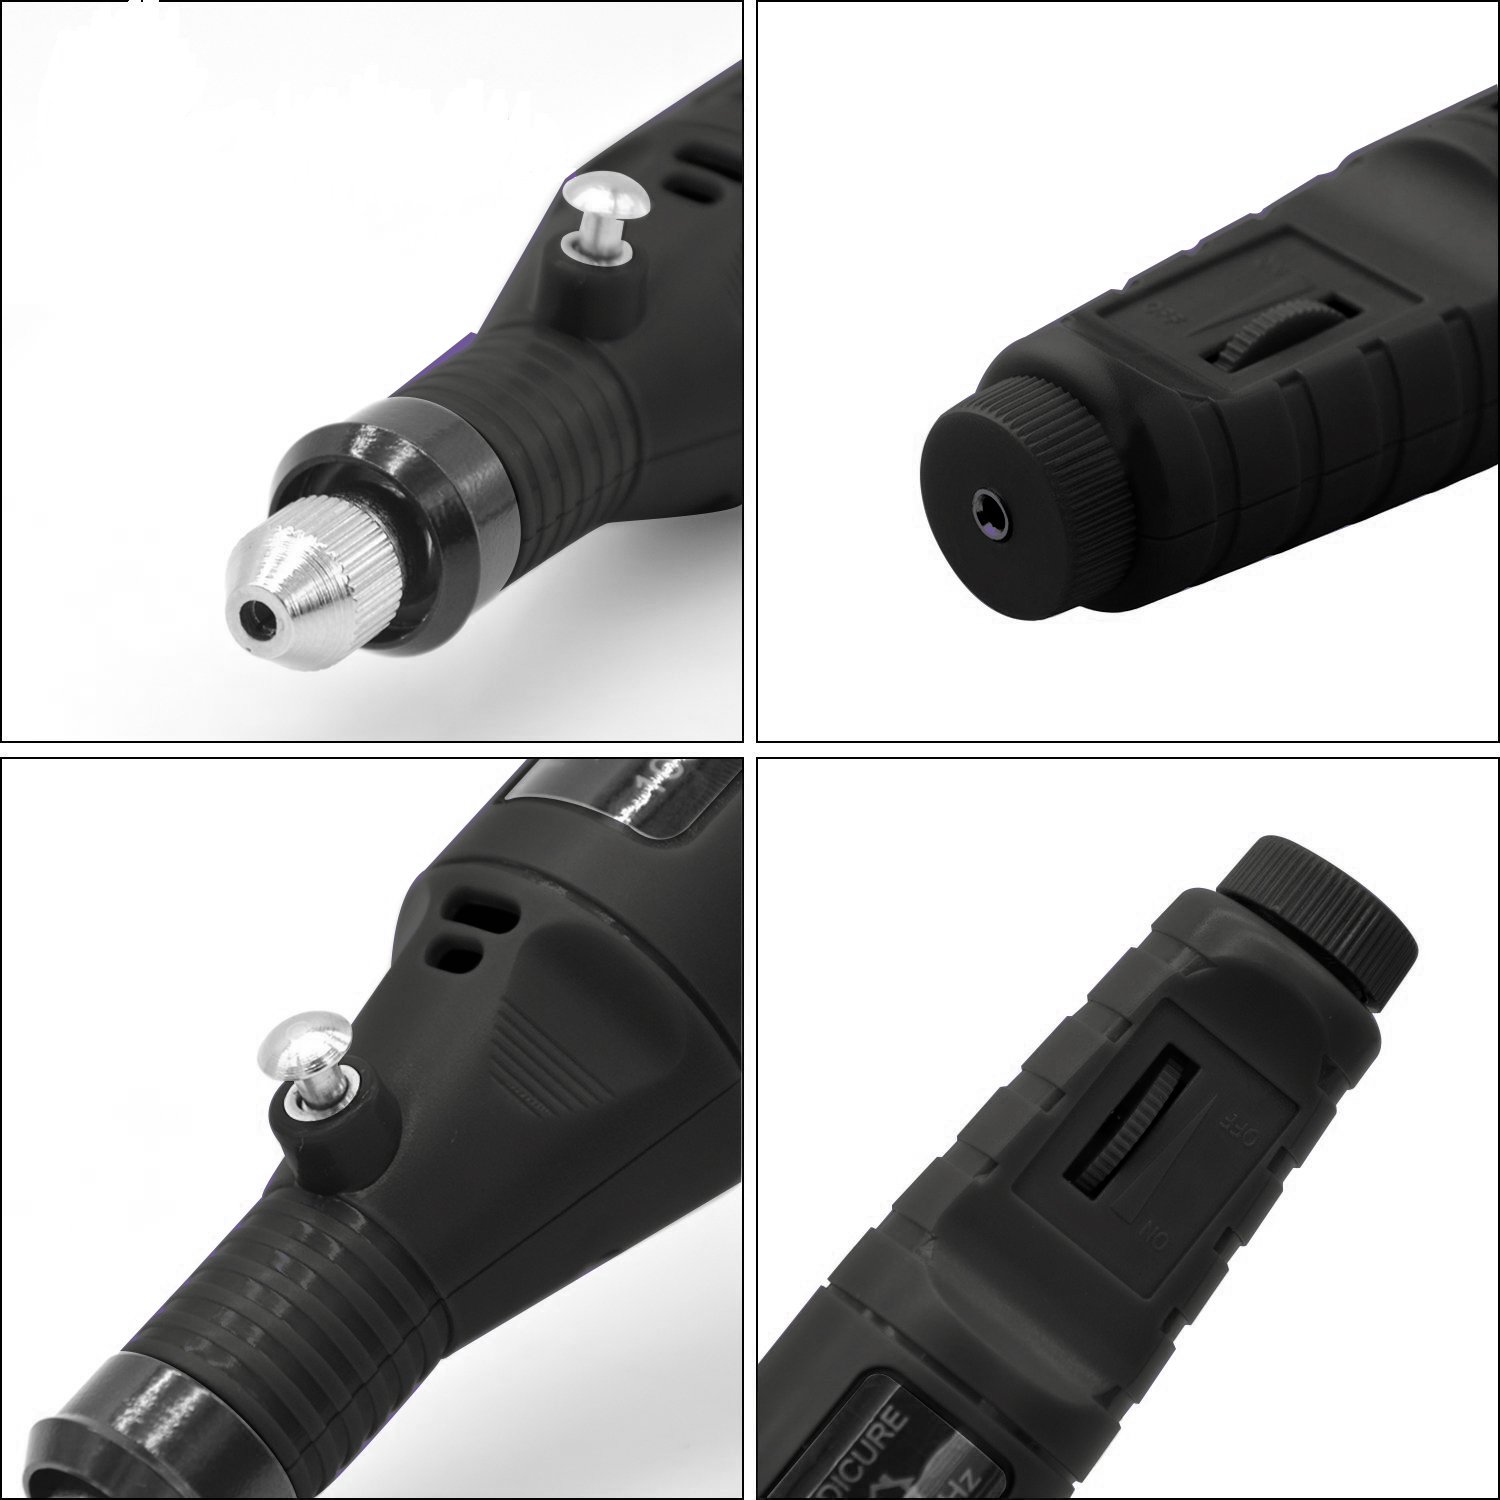
Image 5.2: Detailed view of the drill's components, including the speed control.
5.3 Bit Selection and Usage
The kit includes 6 different grinding drill bits and 6 sanding bands, each designed for specific tasks:
- Grinding Bits: Used for shaping, filing, and refining nail edges, as well as removing dead skin or calluses.
- Sanding Bands: Ideal for surface work, such as preparing the nail plate for acrylic or gel application, or for removing product.
Choose the appropriate bit based on the desired outcome. Refer to the visual guide for bit types.
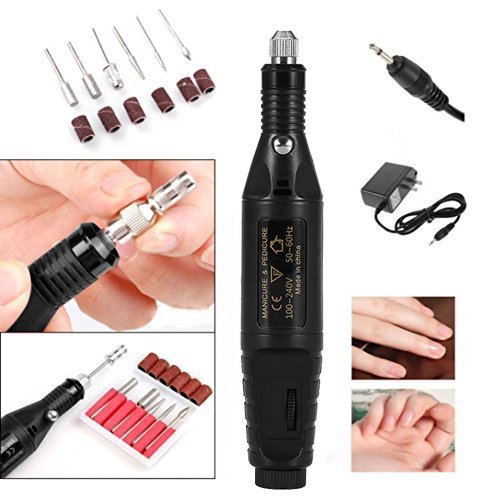
Image 5.3: Assortment of grinding bits and sanding bands.
6. Maintenance
- Cleaning: After each use, unplug the device. Use a soft, dry cloth to wipe down the drill machine. For the grinding bits, use a small brush to remove dust and debris. Do not use harsh chemicals or abrasive cleaners.
- Storage: Store the nail drill and its accessories in a cool, dry place, away from direct sunlight and moisture. Keep all bits organized to prevent loss or damage.
- Bit Replacement: Replace grinding bits and sanding bands when they become dull or worn to ensure optimal performance and prevent damage to nails.
7. Troubleshooting
- Drill not turning on: Ensure the power adapter is securely plugged into both the drill and the electrical outlet. Check if the power switch is in the 'ON' position.
- Bits not fitting/falling out: Ensure you are pressing the button to lock the chuck before unscrewing and tightening. The chuck must be fully tightened after inserting the bit. Refer to Section 4.1.
- Weak rotation/lack of power: Verify the power connection. Ensure the speed setting is appropriate for the task. If the issue persists, the motor may be faulty, and professional assistance might be required.
- Excessive vibration or noise: Ensure the grinding bit is properly inserted and tightened. A loose or bent bit can cause vibration. If the issue continues, the drill may be damaged.
8. Specifications
| Feature | Specification |
|---|---|
| Item Type | Electric Nail Drill |
| Material | Plastic |
| Power Supply | Single Phase 50 + 60HZ |
| Voltage | 100-240V |
| Rotational Speed | 2,000 - 18,000 RPM (adjustable) |
| Chuck Specifications | Approx. 2.4mm / 0.09inch Or 3.2mm / 0.13inch |
| Drill Machine Length | Approx. 15.7cm / 6.2inch |
| Drill Machine Diameter | Approx. 2.39cm / 0.94inch |
| Input Power | 15 Watts |
9. Warranty and Support
For any questions regarding installation, operation, or product issues, please contact GOTOTOP customer service. We are committed to providing satisfactory solutions to our customers.
While specific warranty details are not provided in this manual, please retain your proof of purchase for any potential warranty claims. For the most up-to-date support information, please visit the official GOTOTOP store or contact their customer service directly.
Note: Product specifications and appearance are subject to change without prior notice for improvement.
Related documentsPortable Electric Nail Drill Machine


Ask a question about this manual
Ask about setup, troubleshooting, compatibility, parts, safety, or missing instructions. Manuals+ will review the question and use this page’s manual context to help answer it.