
1. Introduction
This manual provides detailed instructions for the tesha Active Digital Stylus Pen, designed for use with compatible ASUS touchscreen devices. It features an ultra-fine tip, 1024 pressure sensitivity, and palm rejection technology, enabling precise drawing and writing. Please read this manual thoroughly to ensure proper use and maintenance of your stylus pen.
2. Product Overview
2.1 Key Features
- 1024 Pressure Sensitivity: Provides a natural writing and drawing experience, similar to traditional pen and paper.
- Ultra-Fine Tip: Ensures precision and accuracy for detailed work.
- Palm Rejection: Allows you to rest your hand on the screen naturally without interfering with the pen's input.
- Right-Click Button: Functions like a mouse's right-click, offering quick access to context menus or specific application features.
- Eraser Button: Enables quick and easy erasing of digital ink.
2.2 Package Contents
- 1 x tesha Active Digital Stylus Pen (Black)
- 1 x Extra Pen Tip
- 1 x AAAA Battery
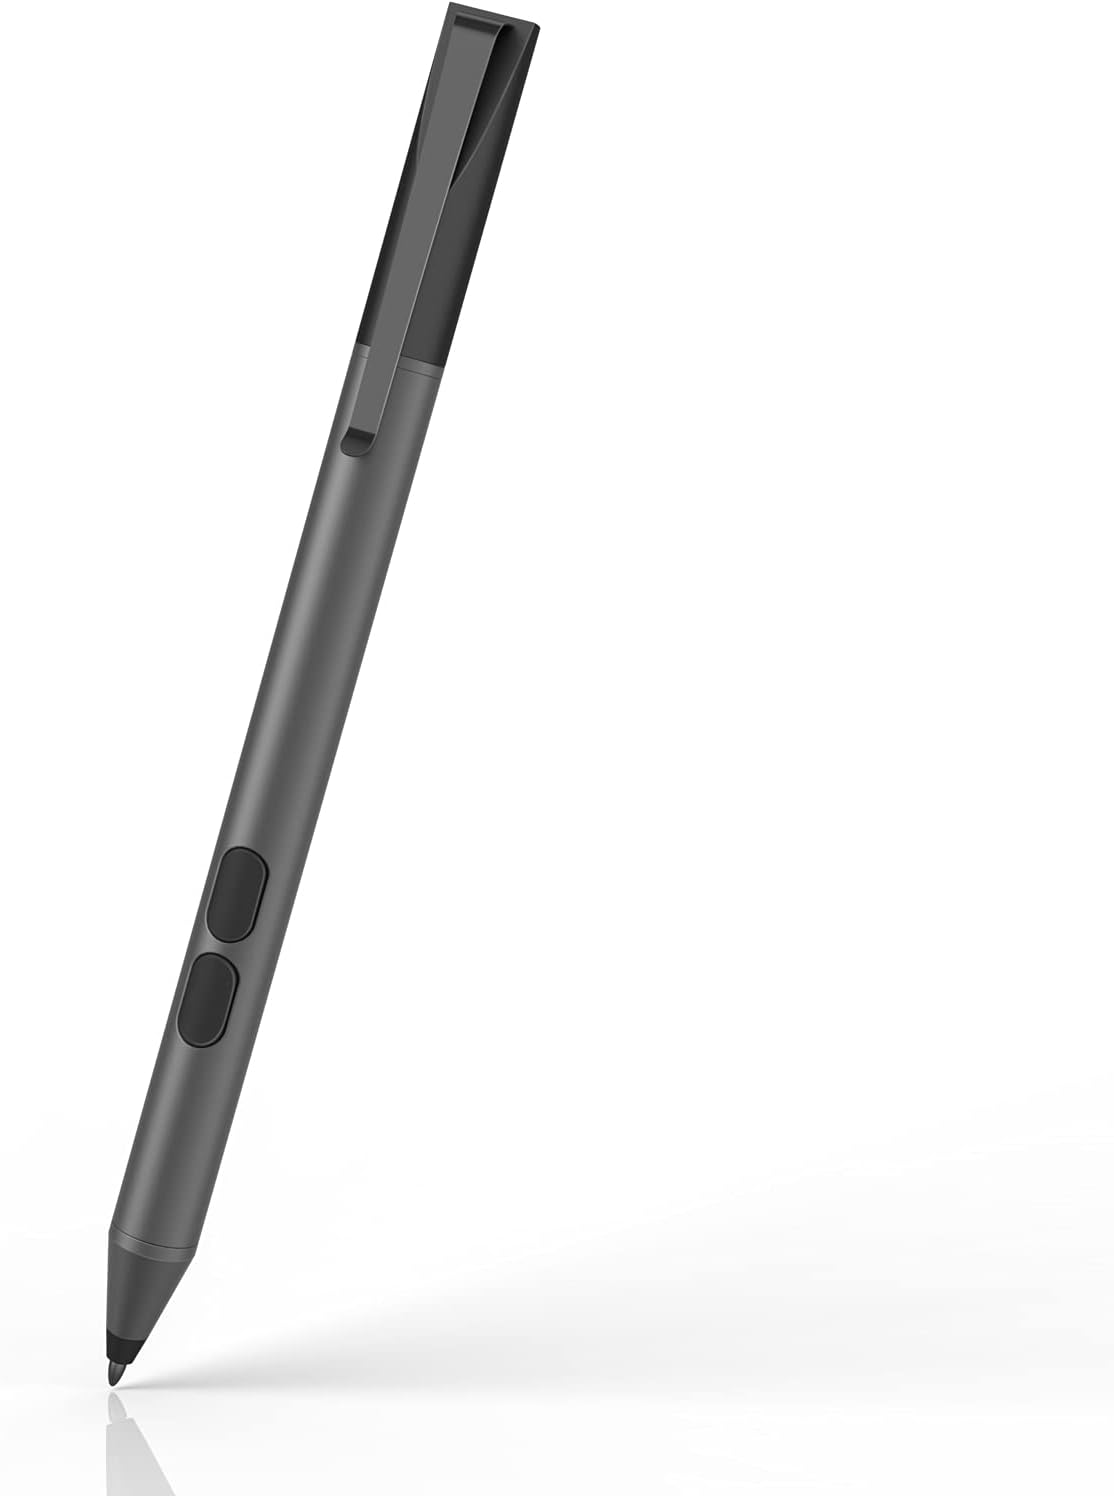
Image: The tesha Active Digital Stylus Pen in black, showcasing its sleek design and buttons.

Image: Diagram illustrating the right-click button, eraser button, and tip of the tesha Active Pen.
3. Setup
3.1 Battery Installation
The tesha Active Digital Stylus Pen requires one AAAA battery (included). To install the battery:
- Gently twist the top cap of the stylus counter-clockwise to open the battery compartment.
- Insert the AAAA battery with the positive (+) end facing towards the tip of the pen.
- Replace the top cap by twisting it clockwise until securely closed.
3.2 Initial Connection
The stylus pen is designed for immediate use with compatible ASUS devices. No drivers or Bluetooth pairing are required. Simply insert the battery correctly, and the pen will be ready to function.
4. Operating Instructions
4.1 Using the Right-Click Button
The right-click button is located on the side of the pen, closer to the tip. Pressing this button acts like a right-click on a mouse. In applications like OneNote, it can bring up a menu to choose pen color, thickness, and other options. You can also click and hold to select text.
4.2 Using the Eraser Button
The eraser button is located on the side of the pen, above the right-click button. Hold down the eraser button and move the pen tip over the area you wish to erase. This function is ideal for quickly correcting digital ink.
4.3 Palm Rejection
The stylus features palm rejection technology, allowing you to rest your hand comfortably on the screen while writing or drawing without creating unintended marks. This enhances the natural feel of using the pen.

Image: The stylus pen being used on an ASUS laptop screen, highlighting its 1024 pressure levels and pen-tip force for precise input.

Image: A hand using the stylus pen to draw on a tablet screen, demonstrating low friction and no screen scratches.
5. Compatibility
This tesha Stylus Pen is specifically designed for and compatible with a wide range of ASUS touchscreen devices. It offers performance similar to ASUS Original Models SA200H, SA201H, and SA203H. Please ensure your device model is listed below before purchase. The model number is typically found on a label at the bottom of your ASUS laptop.
Compatible ASUS Series and Models:
- ASUS ZenBook Flip Series: UX461UA/UN/FA, UX462FA, UX362FA, UX370UA/UAF/UAR, UX391UA/UAF/UAR, UX560UA/UQ/UX, UX562FD/FA, 13 UX363, UX564EH, 14 UM462DA, S UX371, 15 Q528EH, 14 UX463, 15 UX563FD, TM420UA, 15 UX564, Q529Z, 15 Q508, 15 UM562, Pro 15 UX580GD, 15 Flip OLED Q539, 15 Flip OLED UP6502, 14 OLED UX6404, 14 Duo OLED (UX8402), Q539ZD-EVO, UX434, Q508UG, 14 Flip OLED UN5401/UP5401/UP3404, 14X OLED UX5400, S 13 OLED (UM5302), 14X OLED (Q420), Q410VA, 14X UX3404VC, S 16 Flip Laptop (TP3604), Duo UX481, 15 SE, UX581, 14 (UX482), Pro Duo 15 OLED (UX582).
- ASUS Vivobook Flip Series: TP410UA/UR/UAR/URR/UF, TP412UA/UR/UAR/URR/FA, TP203NA, TP401NA/CA/MA, TP510UA/UQ, UX550VE/VD, 14 TP412UA, 14 J401MA, J202NA-DH01T, 14 TP470, TM420I, 14 TP410UR, 14 TP470E, Pro X580VD, S 14 Flip (TN3402/TP3402), Go 14 Flip (J1400), T3300K, Q405UA, Q325UA, Q326FA, Q406FA, Q536FD/FDX, Q526FA, Q506FA, Q546FDX, Q505UA, Q535UD, TP1400KA, TP1401KA.
- ASUS Transformer Series: Mini T102HA/T103HA, T303UA/T304UA/T305CA.
- ASUS Notebook Series: Q405UA, Q406FA, Q325UA, Q326FA, Q505UA, Q506FA, Q525UA, Q526FA, Q536FD, Q547FD, Q539ZD, Q427FL, Q537FD, Q507IQ, Q538EI.
- ASUS ROG Series: Flow Z13, GV301, GV601RW.
- ASUS ExpertBook Series: B5302F OLED, B3402FEA, B5402F, B3300FEA, B7402FEA, B3302FEA.

Image: Visual representation of the compatible ASUS ZenBook, VivoBook, Transformer, Notebook, ROG, and ExpertBook series.

Image: A message from tesha emphasizing the importance of verifying device compatibility and offering support for inquiries.
6. Maintenance
6.1 Replacing the Pen Tip
The stylus comes with an extra pen tip for replacement. If the tip becomes worn or damaged, follow these steps:
- Gently pull out the old pen tip from the stylus.
- Insert the new pen tip firmly into the stylus until it clicks into place.

Image: Step-by-step diagram illustrating the easy process of pulling out and inserting a new pen tip.
6.2 Battery Replacement
When the stylus performance degrades or it stops responding, it may be time to replace the AAAA battery. Follow the battery installation steps in Section 3.1.
6.3 Cleaning
To clean your stylus pen, gently wipe it with a soft, dry, lint-free cloth. Avoid using harsh chemicals or abrasive materials, as these can damage the pen's surface or internal components.
7. Troubleshooting
7.1 Common Issues and Solutions
- Pen not responding:
- Ensure the AAAA battery is correctly installed and has sufficient charge. Replace if necessary.
- Verify that your ASUS device is listed in the compatible models section (Section 5).
- Restart your ASUS device.
- Inconsistent pressure sensitivity or lag:
- Check if the pen tip is securely installed or if it needs replacement.
- Ensure your device's operating system and display drivers are up to date.
- Some applications may have their own pen settings; check these settings.
- Buttons not functioning:
- Confirm the battery is not low.
- Test the buttons in different applications to rule out software-specific issues.
If you encounter issues not covered here or require further assistance, please contact tesha customer support.
8. Specifications
| Attribute | Detail |
|---|---|
| Product Dimensions | 5.4 x 0.37 x 0.37 inches |
| Item Weight | 0.705 ounces (20 Grams) |
| Model Number | ASUS PEN |
| Battery Type | 1 x AAAA battery (included) |
| Battery Average Life Standby | 521 days |
| Pressure Sensitivity | 1024 levels |
| Material | Aluminum |
| Color | Black |
| First Available Date | August 15, 2020 |
9. Warranty and Support
9.1 Warranty Information
The tesha Active Digital Stylus Pen comes with a 1-year after-sales service from the date of purchase. We also offer a 30-day free return and replacement policy.
9.2 Customer Support
For any questions, concerns, or assistance with your product, our customer service team is available to help. We aim to respond to all inquiries within 12 hours.
You can reach us by:
- Logging into your Amazon account, navigating to "Your Account" > "Your Orders", and selecting "Ask Product Question" for this item.

Image: Information on tesha's commitment to customer satisfaction, including faster shipping, 24-hour customer support, and worldwide product availability.

Image: Details on tesha's satisfaction guarantee, including 30-day price protection and 24-hour customer support, with a sample chat interaction.