Product Overview
The WAVLINK AC2100 WiFi Router is designed to provide high-speed wireless internet connectivity for home and small office environments. Featuring dual-band capabilities and Gigabit Ethernet ports, it offers robust performance for various online activities, including 4K streaming and online gaming.

Image: Front view of the WAVLINK AC2100 WiFi Router with its six external antennas.
Key Features:
- AC2100 Dual Band WiFi: Combined wireless speeds of 2.4GHz (300Mbps) and 5GHz (1733Mbps) for reduced buffering and optimal 4K streaming.
- 5 Gigabit Ports: Includes 1 Gigabit WAN port and 4 Gigabit LAN ports for multiple internet plans and high-speed wired connections.
- USB 3.0 Port: Allows sharing of files and media with networked devices.
- Enhanced Wireless Performance: Six antennas boost WiFi range, and MU-MIMO technology supports high speeds for multiple devices simultaneously.
- Touch-Link Function: Enables password-free guest Wi-Fi connection by touching the WAVLINK logo for two minutes.
Package Contents
Before proceeding with the setup, please ensure all items listed below are present in your package:
- WAVLINK AC2100 WiFi Router
- Power Adapter
- Ethernet Cable
- Quick Start Guide

Image: Contents of the WAVLINK AC2100 WiFi Router package, including the router, power adapter, Ethernet cable, and quick start guide.
Setup Instructions
1. Hardware Connection
- Positioning the Router: Place the router in a central location in your home or office, away from obstructions and electronic devices that may cause interference. Ensure the antennas are oriented vertically for optimal signal strength.
- Connect the Power Adapter: Plug one end of the power adapter into the DC 5V port on the back of the router and the other end into a power outlet. Press the ON/OFF button to power on the router.
- Connect to the Internet (WAN): Connect one end of the provided Ethernet cable to the WAN port on the router and the other end to your modem's Ethernet port.
- Connect Devices (LAN - Optional): For wired connections, connect your computer or other network devices to any of the LAN1-LAN4 ports using Ethernet cables.

Image: Detailed view of the router's back panel showing USB 3.0, LAN ports (LAN1-LAN4), WAN port, DC 5V power input, and ON/OFF switch. Also shows front LED indicators for WPS, WiFi, WAN, LAN, PWR, and Turbo.
2. Initial Configuration
After connecting the hardware, you can configure the router via a web browser:
- Connect to the Router:
- Wired: Ensure your computer is connected to one of the router's LAN ports.
- Wireless: Connect to the router's default Wi-Fi network (SSID and password usually found on a label on the router or in the Quick Start Guide).
- Access Web Interface: Open a web browser and enter the default IP address (e.g., 192.168.10.1) or domain name (e.g., wifi.wavlink.com) provided in the Quick Start Guide.
- Login: Enter the default username and password (e.g., admin/admin). You will be prompted to change these for security.
- Follow Setup Wizard: The router's web interface will guide you through the initial setup, including internet connection type (DHCP, Static IP, PPPoE), Wi-Fi network name (SSID), and password settings for both 2.4GHz and 5GHz bands.
Operating Instructions
Dual Band Wi-Fi Operation
The WAVLINK AC2100 router operates on two frequency bands: 2.4GHz and 5GHz. The 2.4GHz band offers wider coverage, while the 5GHz band provides faster speeds and less interference, ideal for bandwidth-intensive activities.

Image: Graph illustrating the speed progression from 802.11g (300Mbps) to 802.11n (1200Mbps) and 802.11ac (2100Mbps), highlighting the AC2100Mbps capability.
Touch-Link Function
The Touch-Link feature allows guests to connect to your Wi-Fi network without needing to enter a password. Simply touch the WAVLINK logo on the top of the router. The guest Wi-Fi will become accessible for two minutes, allowing devices to connect automatically.
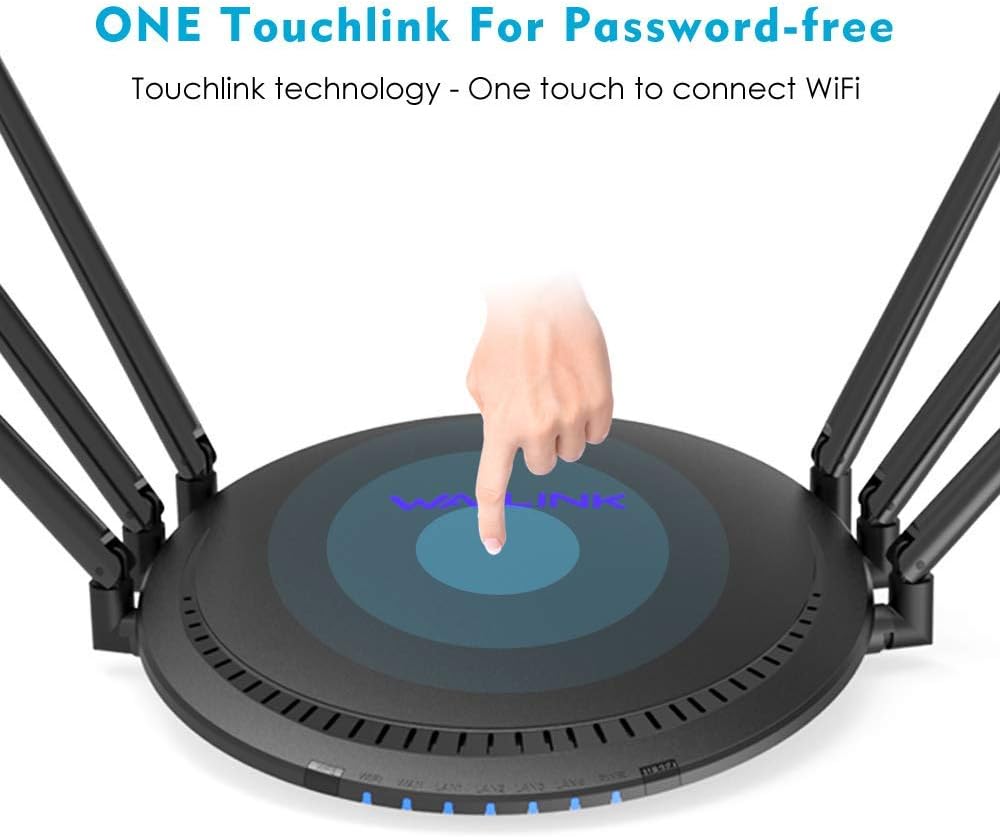
Image: Top view of the router with an illuminated area indicating the touch-sensitive WAVLINK logo for the Touch-Link function.
USB 3.0 Port Usage
The integrated USB 3.0 port (5Gbps) allows you to connect external storage devices (like USB drives) to the router. This enables you to share files and media across your network, creating a simple network-attached storage (NAS) solution. USB 3.0 offers significantly faster data transmission speeds compared to USB 2.0.

Image: Close-up view of the router's back panel highlighting the USB 3.0 port with a USB drive inserted, and a comparison graphic showing USB 3.0 (5Gbps) vs USB 2.0 (480Mbps) speeds.
WPS (Wi-Fi Protected Setup)
The WPS button on the router allows for easy and secure connection of WPS-compatible devices to your Wi-Fi network without manually entering the password. Press the WPS button on the router, then activate WPS on your device within two minutes.
Turbo Button
The Turbo button (if present and active) can be pressed to optimize network performance, potentially boosting signal strength or throughput for a short period. Refer to the web interface for specific details on its functionality.
Maintenance
- Regular Reboots: Periodically rebooting your router (unplugging the power for 10 seconds and plugging it back in) can help clear its memory and improve performance.
- Firmware Updates: Check the WAVLINK official website for firmware updates. Keeping your router's firmware up-to-date ensures optimal performance, security, and access to new features.
- Physical Cleaning: Keep the router clean and free from dust. Ensure ventilation holes are not blocked to prevent overheating.
- Secure Placement: Place the router in a secure location where it is not easily knocked over or exposed to extreme temperatures or moisture.
Troubleshooting
Common Issues and Solutions:
- No Internet Connection:
- Check if the WAN LED on the router is lit.
- Ensure the Ethernet cable from your modem is securely connected to the router's WAN port.
- Reboot both your modem and router.
- Contact your Internet Service Provider (ISP) to confirm service status.
- Weak Wi-Fi Signal or Slow Speeds:
- Relocate the router to a more central position.
- Ensure antennas are properly oriented.
- Reduce interference from other electronic devices (cordless phones, microwaves).
- Consider using the 5GHz band for closer devices requiring higher speeds.
- Cannot Access Router's Web Interface:
- Verify your device is connected to the router (wired or wireless).
- Ensure you are using the correct IP address or domain name.
- Clear your browser's cache or try a different browser.
- Temporarily disable any firewall or antivirus software on your computer.
- Forgot Wi-Fi Password or Admin Password:
- You can perform a factory reset by pressing and holding the RESET button on the back of the router for about 10 seconds while it's powered on. This will revert all settings to factory defaults, including Wi-Fi and admin passwords. Note: This will erase all your custom settings.
Specifications
| Feature | Detail |
|---|---|
| Model Number | 531A6 |
| Wireless Standard | 802.11ac |
| Frequency Band | Dual-Band (2.4GHz & 5GHz) |
| Max Wireless Speed | Up to 2100 Mbps (300Mbps 2.4GHz + 1733Mbps 5GHz) |
| Ethernet Ports | 1 x Gigabit WAN, 4 x Gigabit LAN |
| USB Port | 1 x USB 3.0 |
| Antenna Type | Retractable, 6 High-Gain Antennas |
| Special Features | WPS, Touch-Link Function, MU-MIMO |
| Product Dimensions | 11.02 x 9.84 x 3.15 inches |
| Item Weight | 2.24 pounds |
Warranty and Support
WAVLINK products are backed by a one-year warranty. For technical support, warranty claims, or any inquiries, please contact WAVLINK customer service.
- Phone Support: +1 8889730883 (Mon - Fri, 9AM - 6PM UTC -5)
- Email Support: Contact@wavlink.com
- Online Resources: Visit the official WAVLINK website for FAQs, driver downloads, and additional support information.

Image: WAVLINK brand logo.


