
Lorex LZV2925SB
Lorex Indoor/Outdoor 1080p Pan & Tilt Metal Dome Security Camera
Model: LZV2925SB User Manual
1. Introduction
This manual provides detailed instructions for the installation, operation, and maintenance of your Lorex Indoor/Outdoor 1080p Pan & Tilt Metal Dome Security Camera (Model: LZV2925SB). This camera is designed to provide comprehensive surveillance with its Pan-Tilt-Zoom (PTZ) capabilities, 1080p HD resolution, color night vision, and robust weatherproof construction.
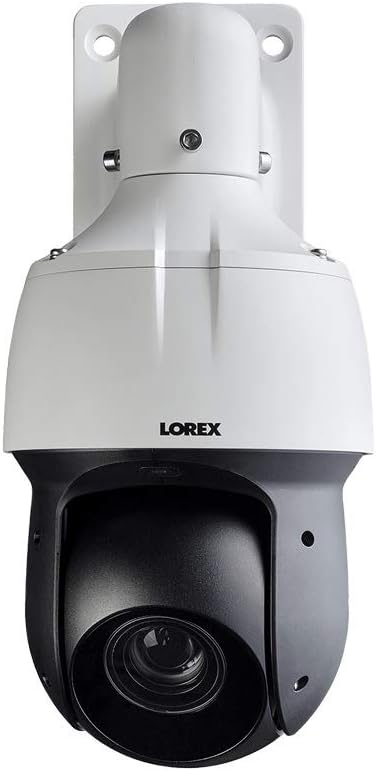
Image: Front view of the Lorex LZV2925SB PTZ security camera.
2. What's Included
Verify that all components listed below are present in your package:
- HD PTZ Security Camera
- Wall Mount with Screws
- Power Adapter
- Mounting Screws
- Drywall Anchors
- Allen Key
- 60ft BNC Extension Cable
- Safety Chain
- Quick Start Guide & Safety Information

Image: Visual representation of all items included in the Lorex LZV2925SB package.
3. Setup
3.1. Site Selection
Choose a suitable location for your camera, considering coverage area, power access, and cable routing. The camera is rated for both indoor and outdoor use.
3.2. Mounting the Camera
- Secure the wall mount to your chosen surface using the provided mounting screws and drywall anchors (if applicable). Ensure the mounting surface can support the camera's weight.
- Attach the camera to the wall mount. Use the Allen key to tighten the Allen bolts, ensuring the camera is securely fastened.
- Connect the safety chain to prevent accidental drops during installation or maintenance.

Image: Lorex PTZ camera shown with its wall mount bracket.
3.3. Connecting the Camera
- Connect the 60ft BNC extension cable to the camera's video output and to your compatible DVR system (e.g., DV700FS, DV800, DV900, LHV2000, LHV5100, D841, D841B, D861, D862, D862B, D871B, LHV2000FS, LHV5100W, D231, D241, D242, D251, D441).
- Connect the power adapter to the camera's power input and plug it into a power outlet.
- Ensure all connections are secure and weatherproof, especially for outdoor installations.
4. Operating the Camera
4.1. Pan, Tilt, and Zoom (PTZ) Control
The camera's Pan, Tilt, and Zoom functions can be controlled via your connected DVR system or through the Lorex Home app. Pan allows horizontal movement, Tilt allows vertical movement, and Zoom allows optical magnification of the image.
4.2. Color Night Vision and IR Night Vision
The camera features Color Night Vision, providing full-color video in low ambient light conditions. In complete darkness, the infrared (IR) LEDs activate, delivering crisp black and white video up to 135 feet (41 meters).
4.3. Program Security Tours
Utilize your DVR settings to create automated
Related documentsLZV2925SB


Ask a question about this manual
Ask about setup, troubleshooting, compatibility, parts, safety, or missing instructions. Manuals+ will review the question and use this page’s manual context to help answer it.