
Arebos AR-HE-AB1700
Arebos 1700W Demolition Hammer Instruction Manual
Model: AR-HE-AB1700 | Brand: Arebos
1. Safety Instructions
Always read and understand all safety warnings, instructions, illustrations, and specifications provided with this power tool. Failure to follow all instructions listed below may result in electric shock, fire, and/or serious injury.
1.1 General Power Tool Safety Warnings
- Work Area Safety: Keep work area clean and well lit. Cluttered or dark areas invite accidents. Do not operate power tools in explosive atmospheres, such as in the presence of flammable liquids, gases or dust.
- Electrical Safety: Power tool plugs must match the outlet. Never modify the plug in any way. Do not abuse the cord. Never use the cord for carrying, pulling or unplugging the power tool. Keep cord away from heat, oil, sharp edges or moving parts.
- Personal Safety: Always wear appropriate personal protective equipment (PPE) including safety glasses, hearing protection, dust mask, and heavy-duty gloves. Stay alert, watch what you are doing and use common sense when operating a power tool.
- Tool Use and Care: Do not force the power tool. Use the correct power tool for your application. Disconnect the plug from the power source before making any adjustments, changing accessories, or storing power tools.
1.2 Specific Demolition Hammer Safety
- Vibration: This tool produces significant vibration. Prolonged exposure to vibration may cause hand-arm vibration syndrome. Take regular breaks and use anti-vibration gloves.
- Dust: Demolition work generates dust. Ensure adequate ventilation and wear a suitable dust mask.
- Secure Workpiece: Always ensure the material you are working on is stable and securely supported to prevent movement and potential injury.
- Proper Grip: Maintain a firm grip on both the main handle and the auxiliary handle to control the tool effectively.
2. Product Overview
The Arebos 1700W Demolition Hammer is designed for heavy-duty breaking and chiseling tasks in concrete, brick, and stone. It features a robust construction and powerful motor for efficient performance.

Figure 2.1: The Arebos Demolition Hammer, including its robust wheeled transport case, pointed chisel, flat chisel, and lubricant.
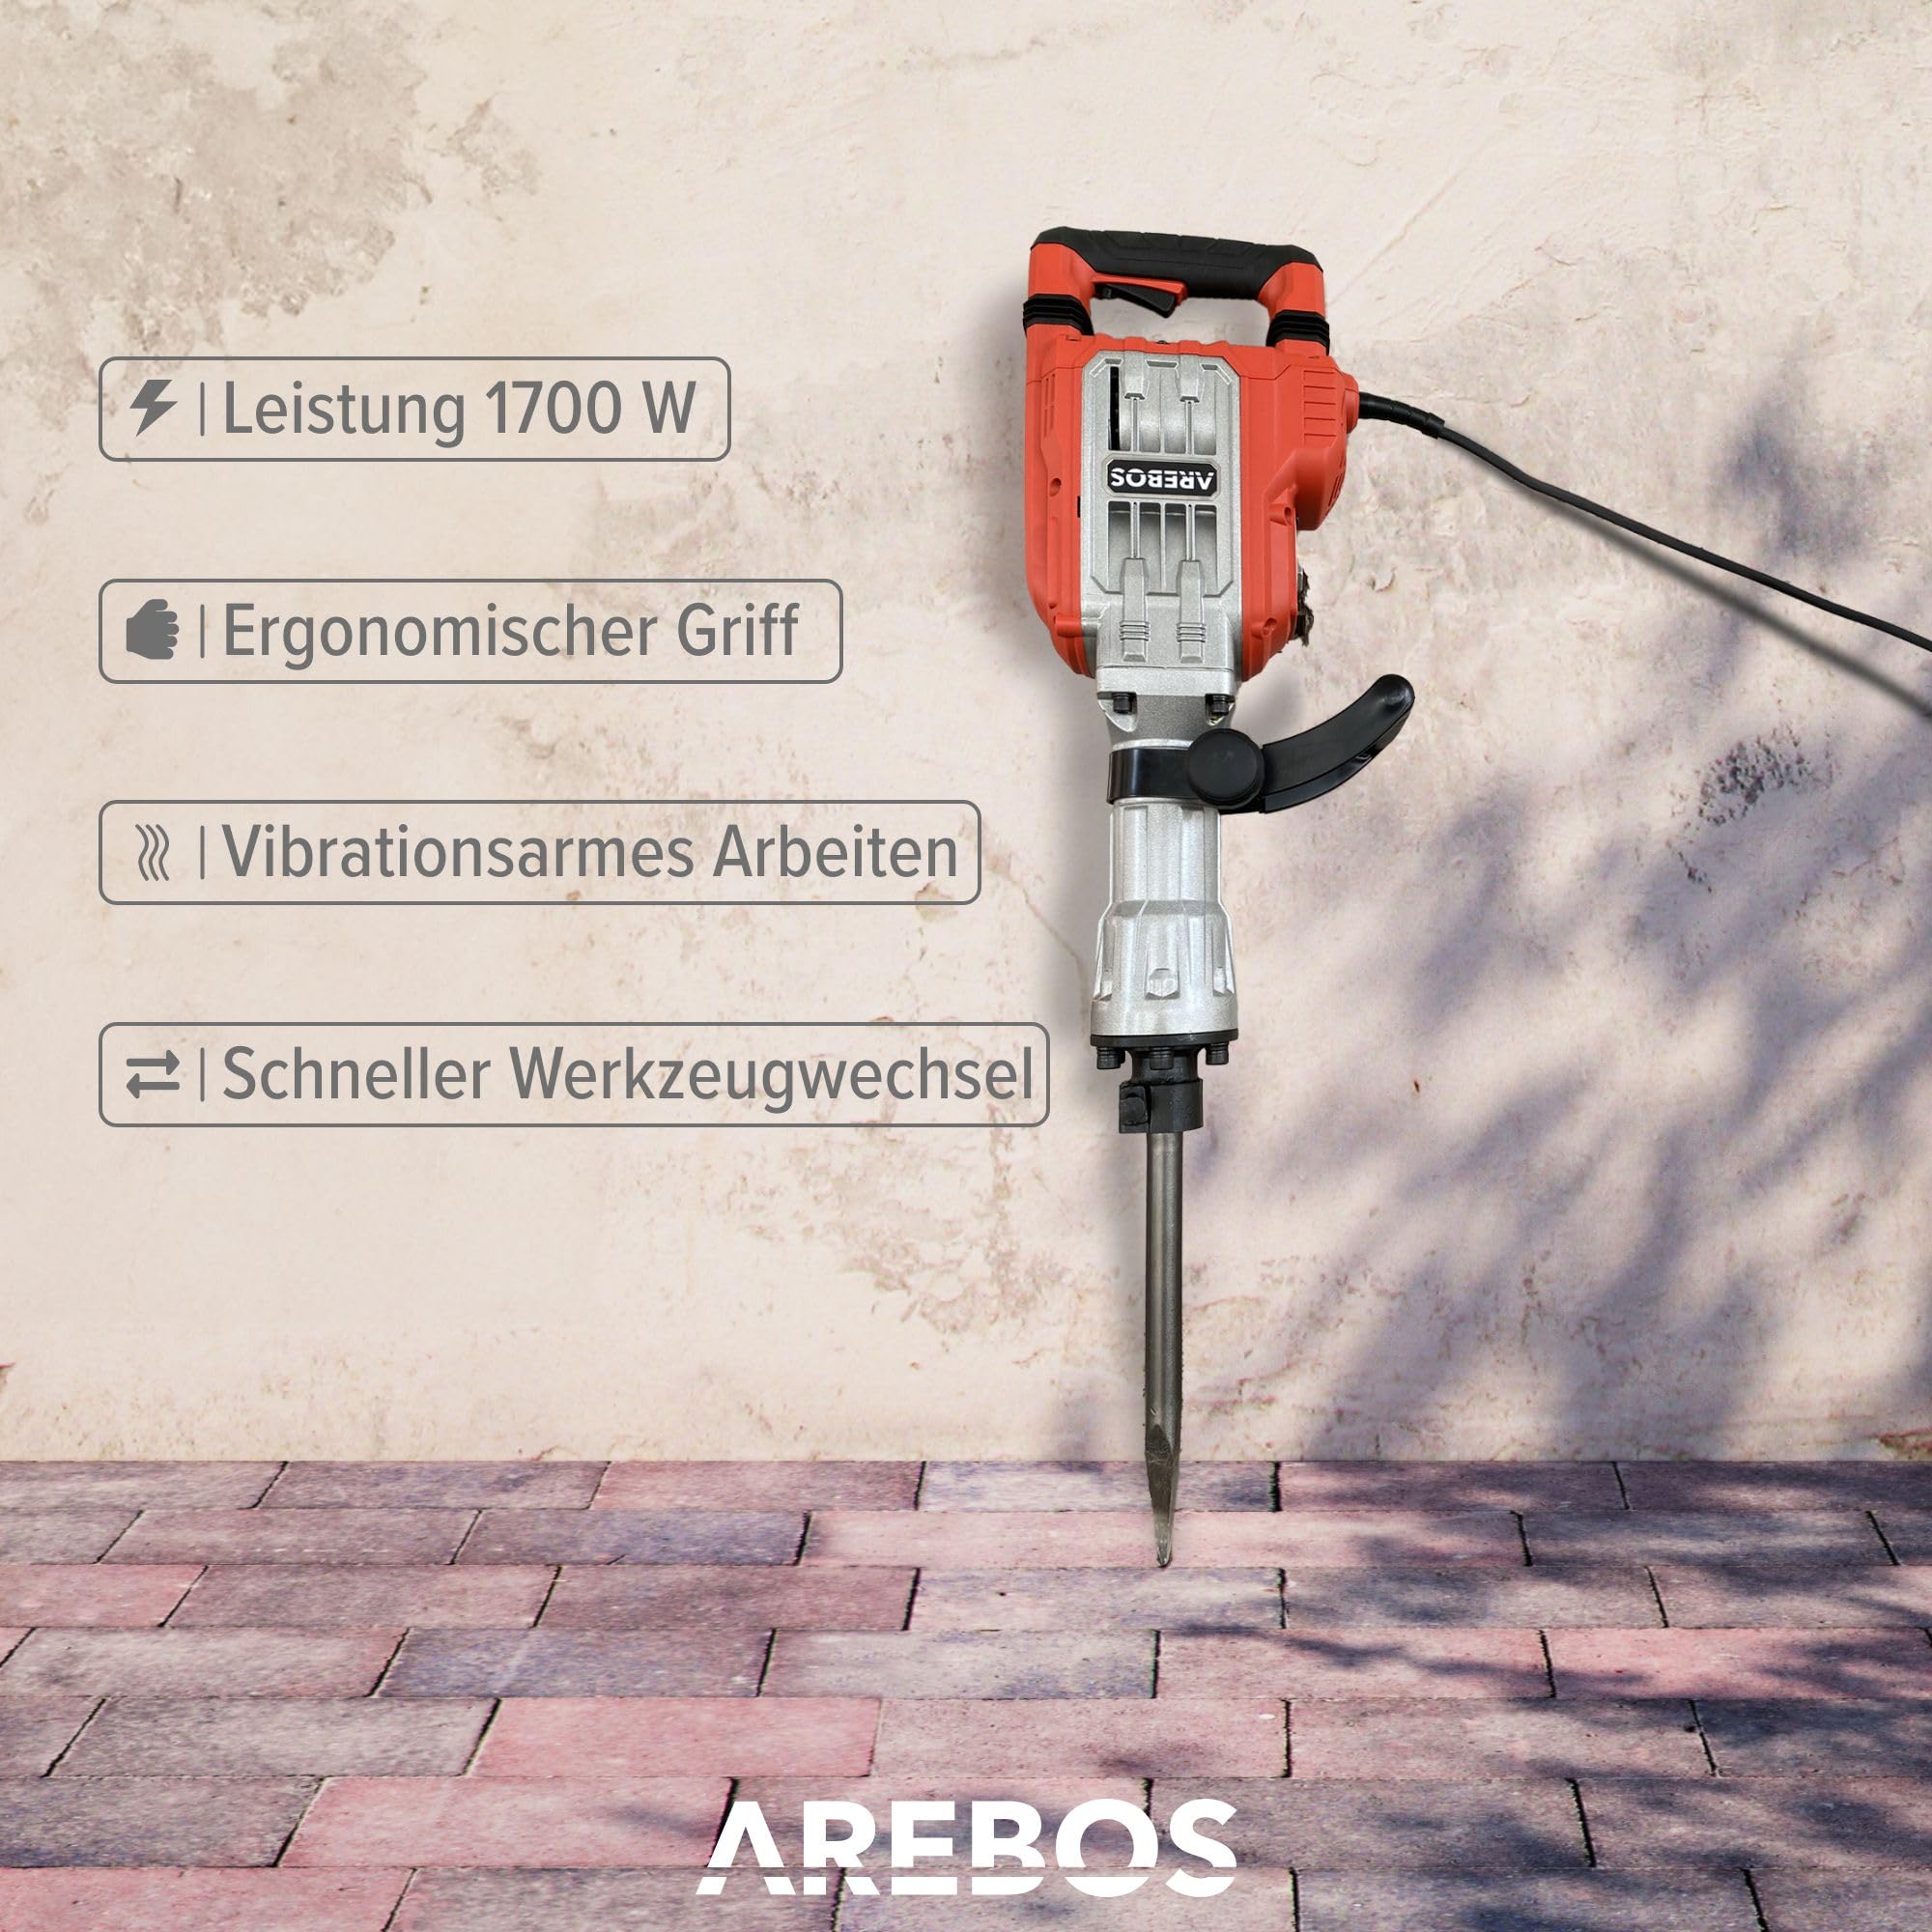
Figure 2.2: Key features of the hammer: 1700W power, ergonomic grip, reduced vibration, and quick tool change system.
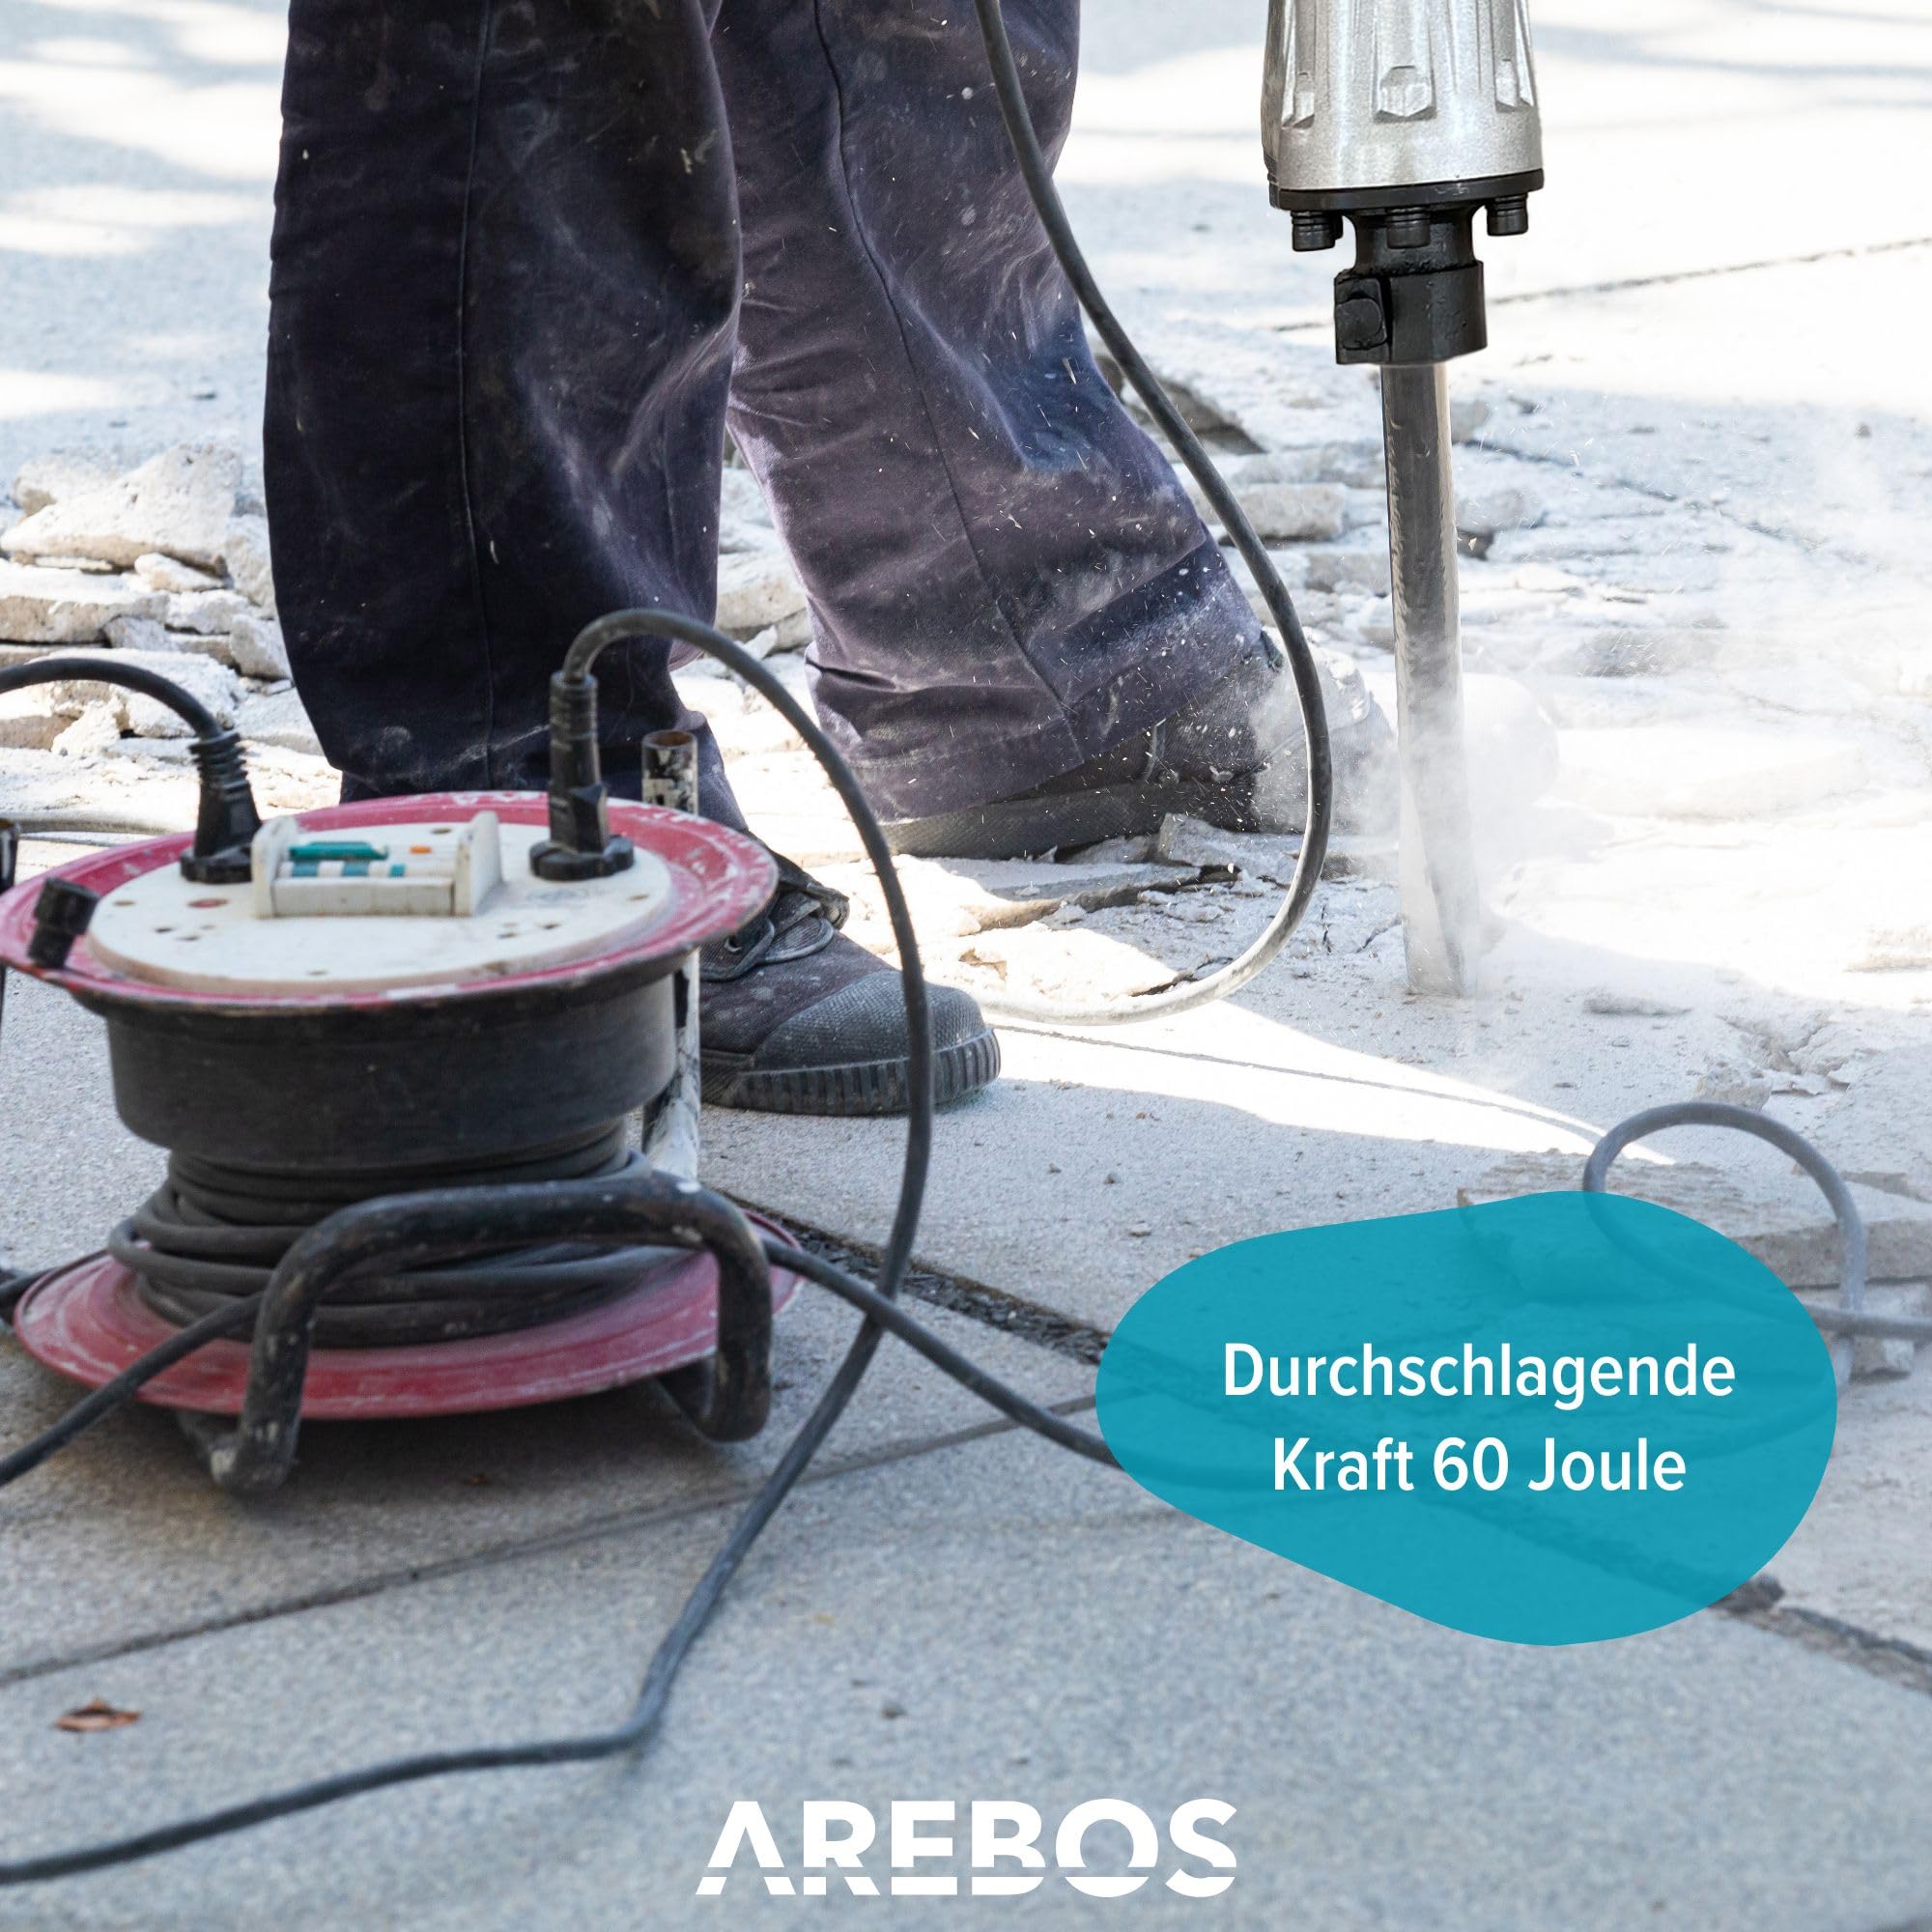
Figure 2.3: Demonstrating the powerful 60 Joule impact force during operation on concrete.
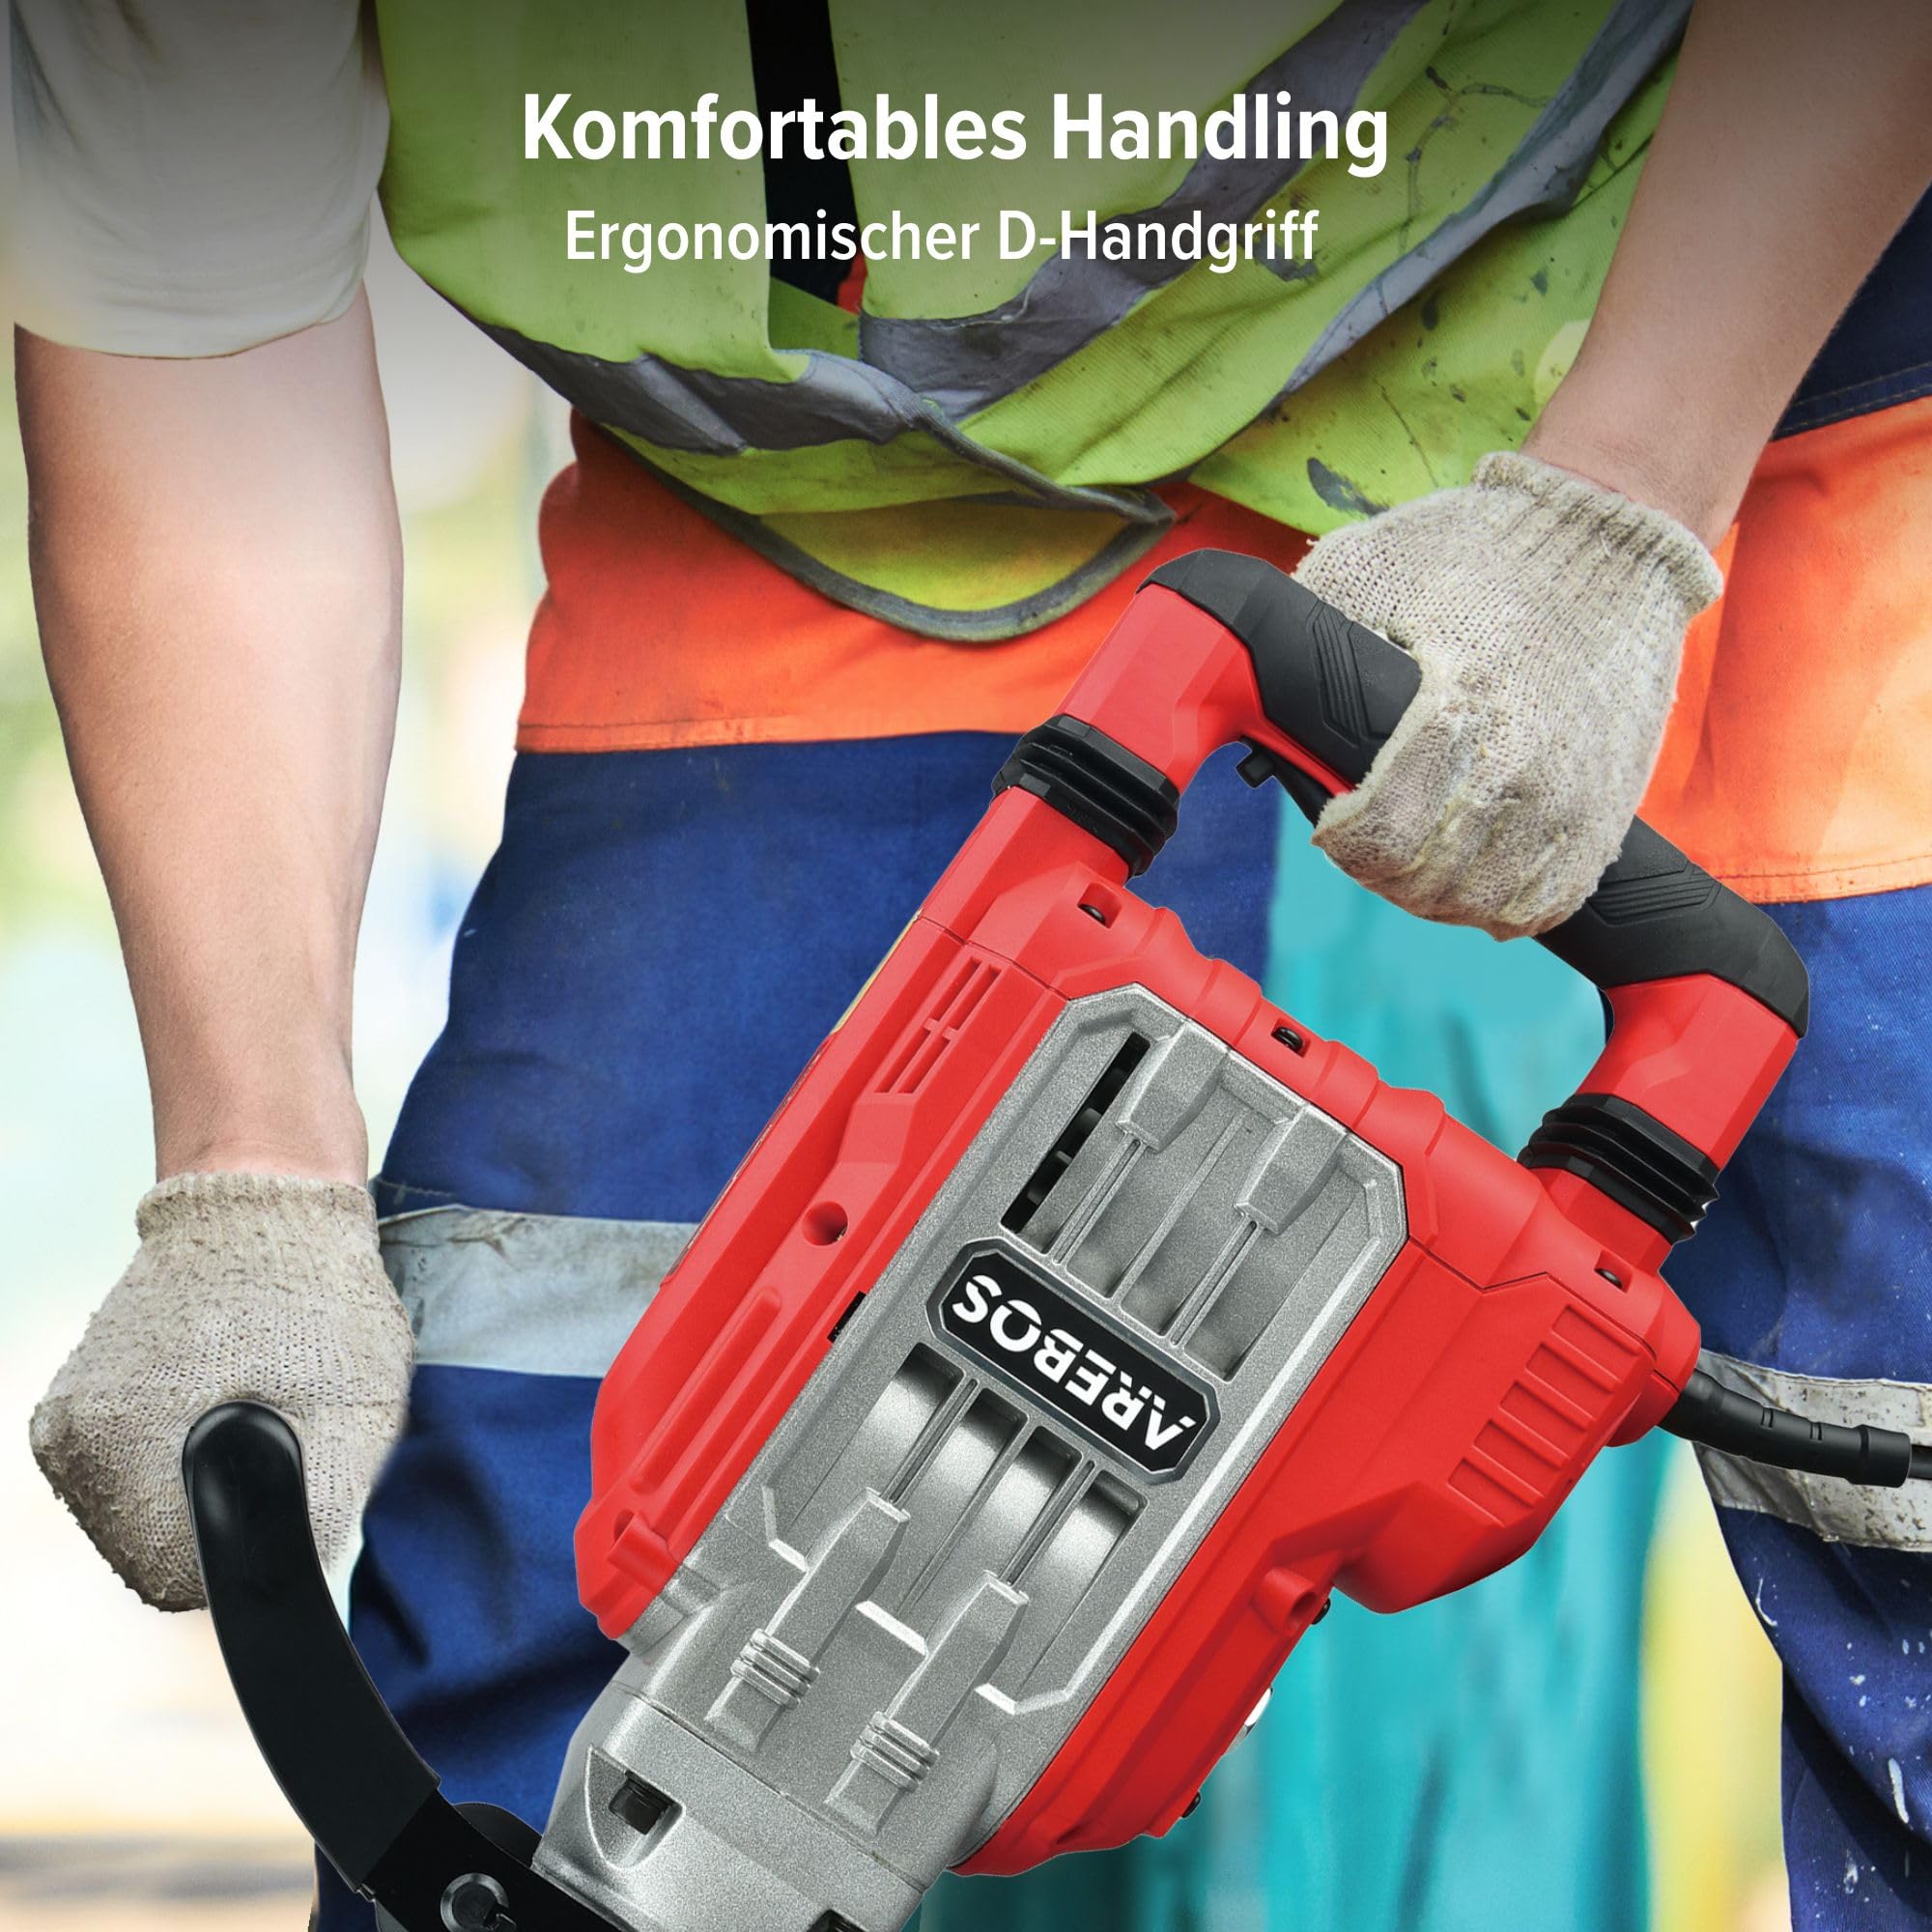
Figure 2.4: The ergonomic D-handle provides comfortable and secure handling during extended use.
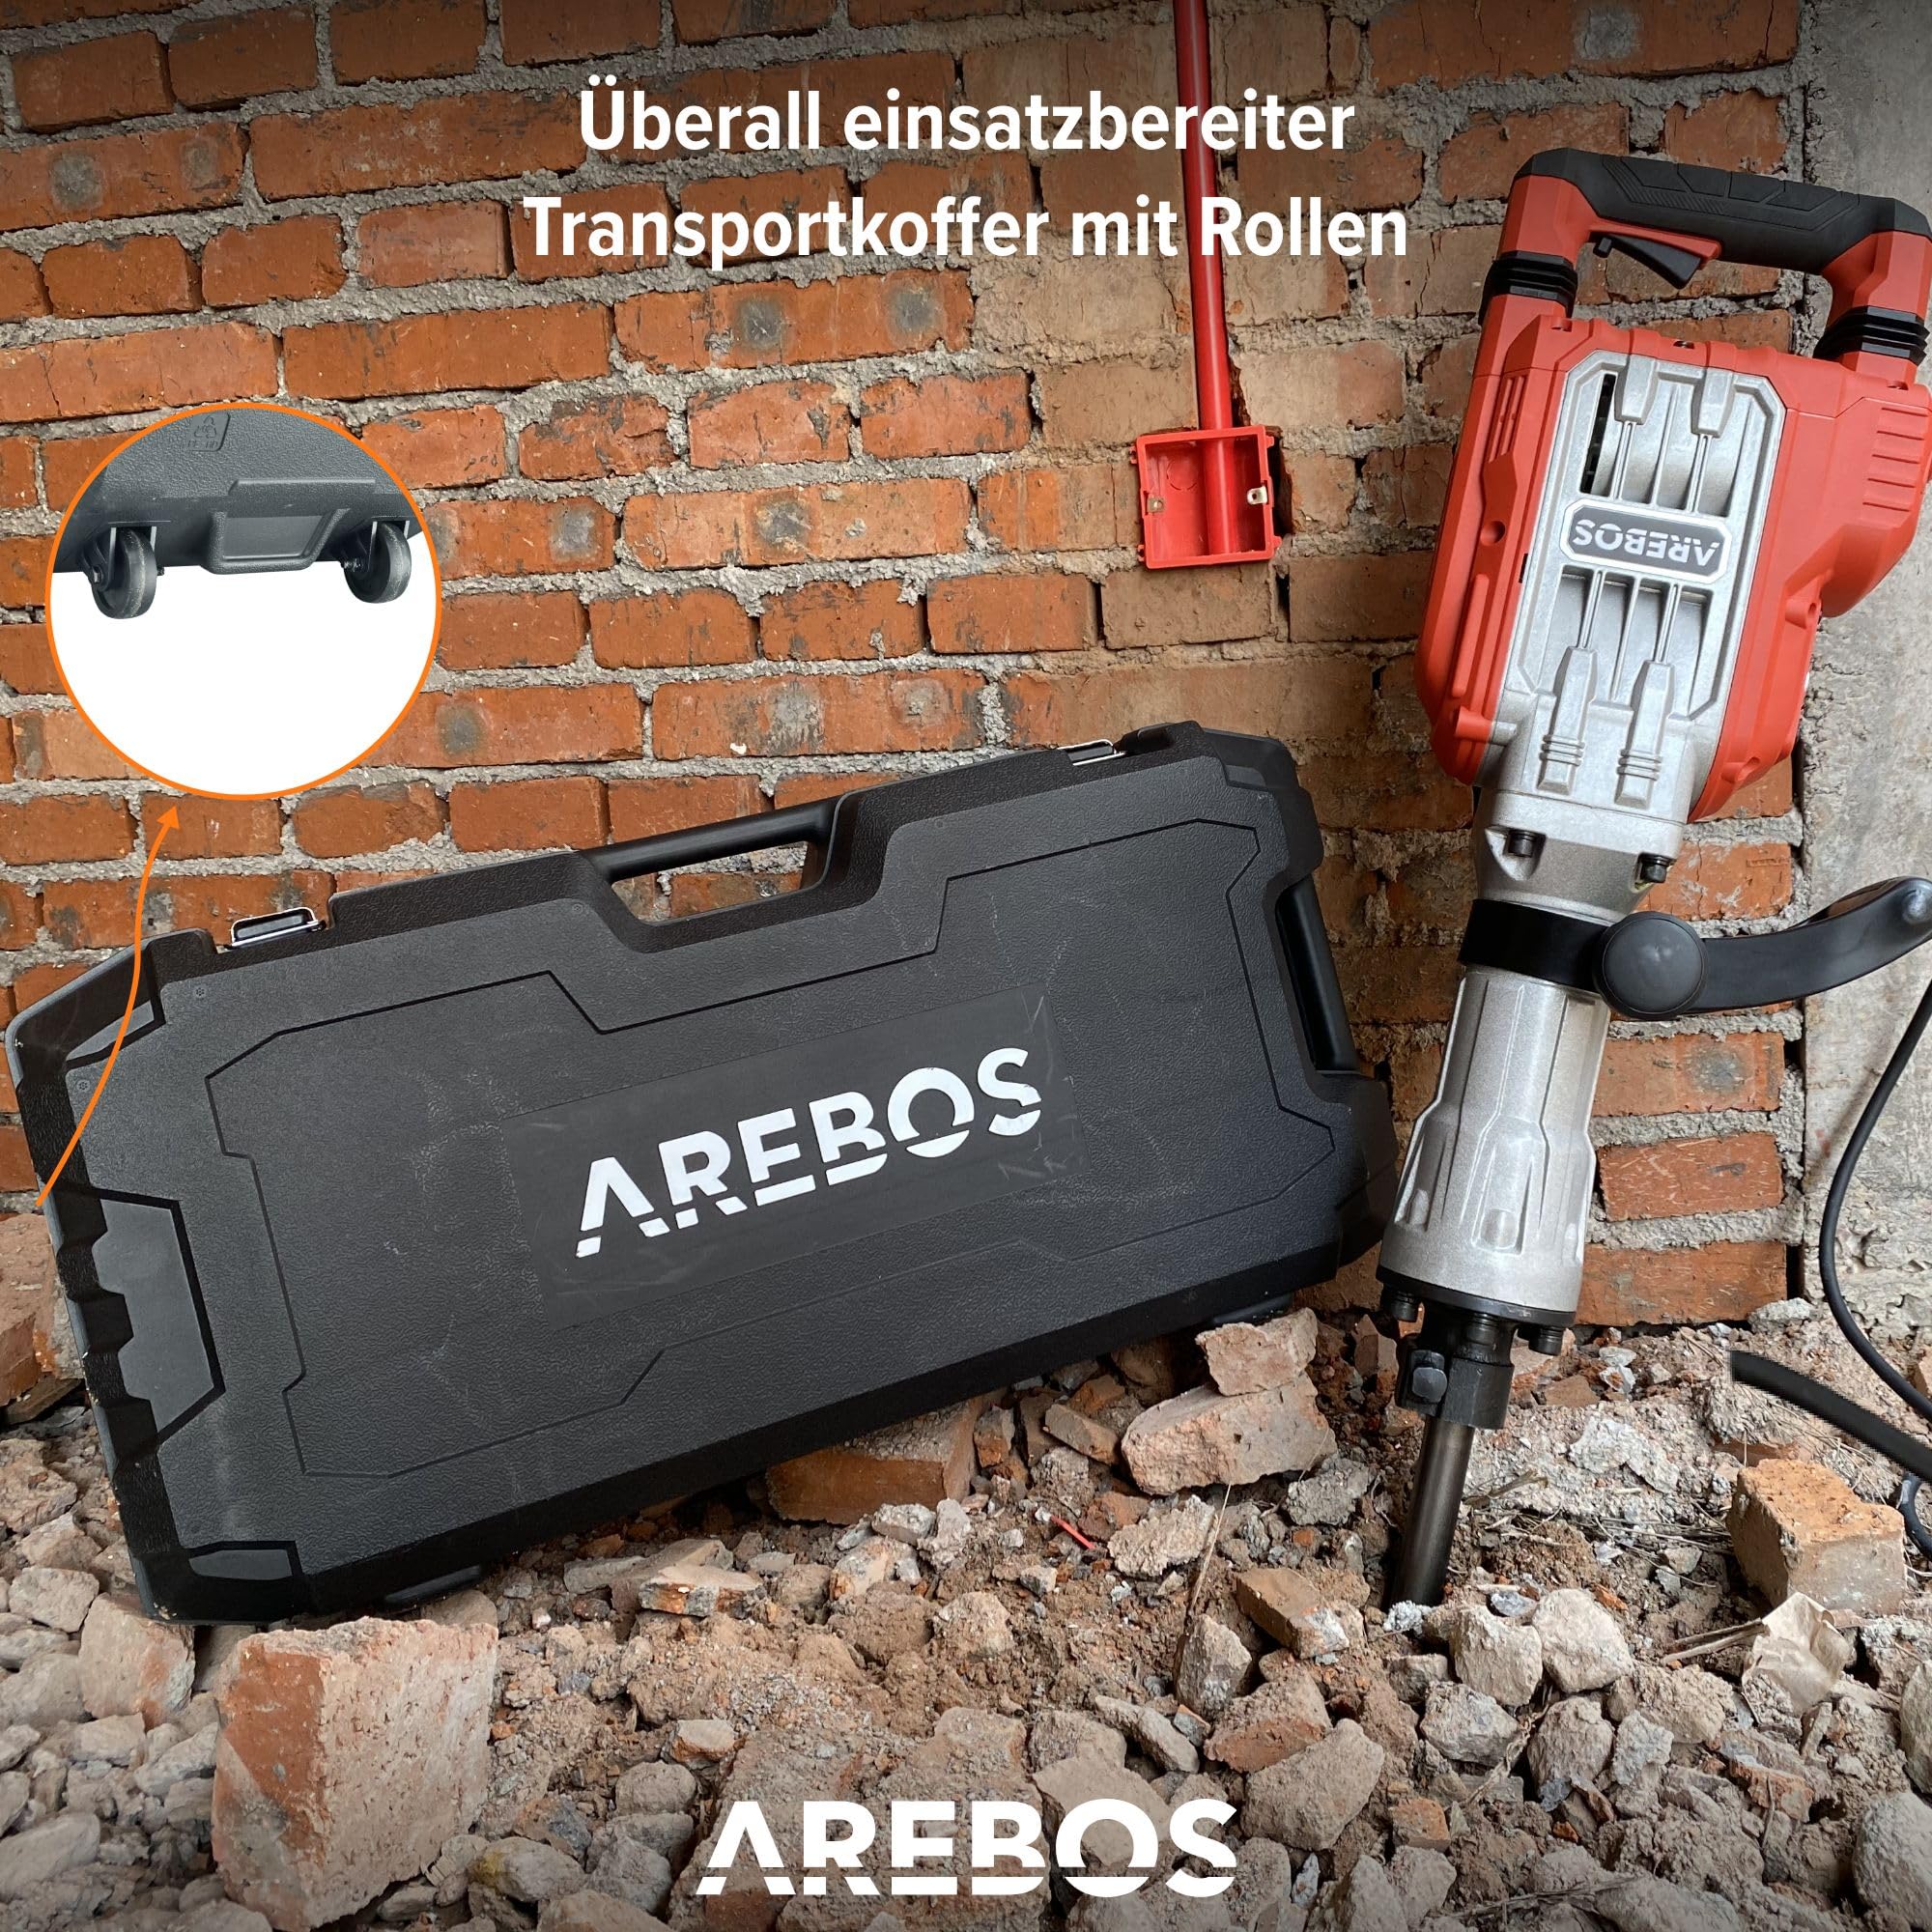
Figure 2.5: The included transport case features wheels for easy portability to and from job sites.
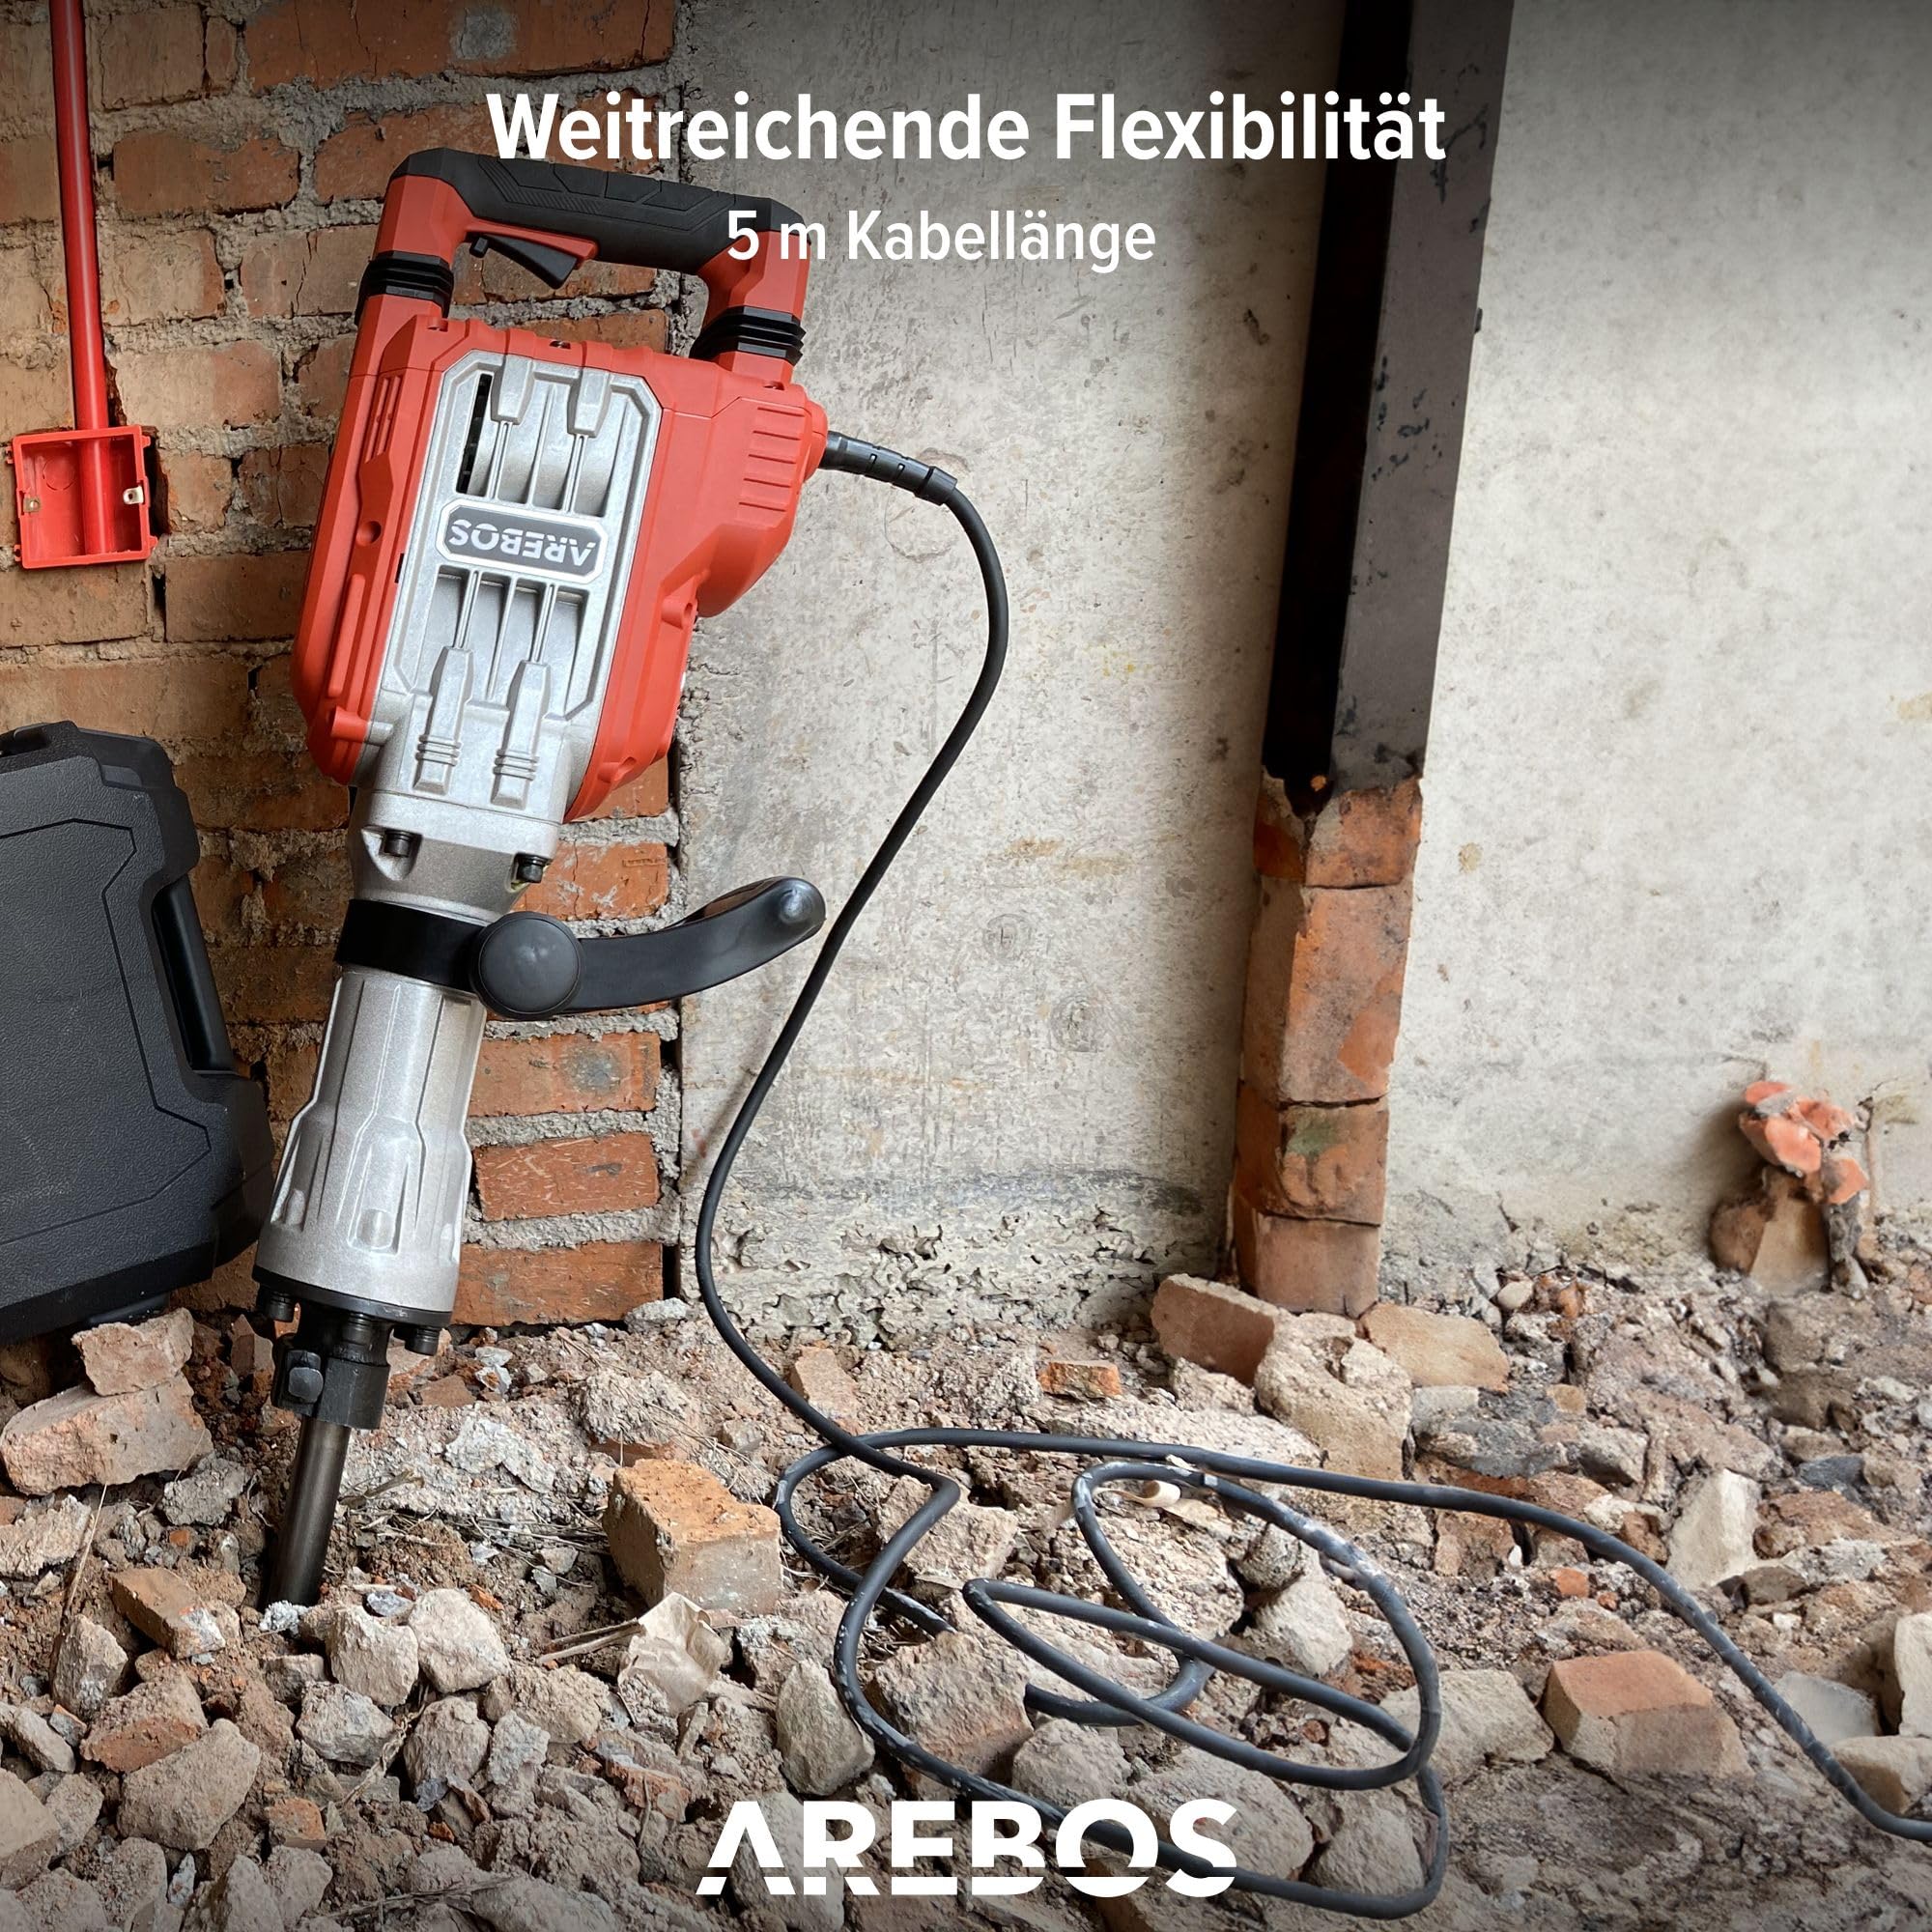
Figure 2.6: The 5-meter power cable offers extended reach and flexibility during operation.

Figure 2.7: Dimensional overview of the demolition hammer and the included 30mm chisels.
2.1 Components
- Main Handle (with power switch)
- Auxiliary D-Handle
- Chisel Holder / Tool Chuck
- Power Cord
- Ventilation Openings
2.2 Included Accessories
- Pointed Chisel
- Flat Chisel
- Lubricant (Oil for refilling)
- Transport Case with Wheels
3. Setup
3.1 Attaching the Auxiliary Handle
- Loosen the locking mechanism on the auxiliary D-handle.
- Slide the handle onto the tool body to a comfortable and secure position.
- Tighten the locking mechanism firmly to secure the handle. Ensure it does not rotate during operation.
3.2 Installing Chisels
The demolition hammer features a quick-change system for chisels.
- Ensure the tool is unplugged from the power source.
- Clean the shank of the chisel and apply a thin layer of lubricant (oil) to it.
- Insert the chisel into the tool chuck, pushing and rotating slightly until it clicks into place.
- Pull on the chisel to ensure it is securely locked. It should not come out easily.
- To remove, pull back the locking collar on the tool chuck and pull out the chisel.
4. Operating Instructions
Before starting, ensure all safety precautions are followed and the work area is clear.

Figure 4.1: Proper technique for operating the demolition hammer, maintaining a firm grip and stable posture.
4.1 Powering On/Off
- To Start: Plug the tool into a suitable 230V power outlet. Press the power switch located on the main handle.
- To Stop: Release the power switch. For prolonged operation, some models may have a lock-on button; press the switch again to release it.
4.2 Working with the Demolition Hammer
- Positioning: Place the tip of the chisel firmly against the material to be broken.
- Applying Pressure: Apply moderate, consistent downward pressure. Do not lean excessively on the tool; allow the hammer's weight and impact force to do the work.
- Angle: For optimal breaking, position the chisel at an angle to the surface, typically between 30-60 degrees, depending on the material and desired outcome.
- Overheating: If the tool becomes excessively hot, stop operation and allow it to cool down. Do not block the ventilation openings.
- Breaks: Take regular breaks to reduce fatigue and exposure to vibration.
5. Maintenance
Regular maintenance ensures the longevity and optimal performance of your demolition hammer.
5.1 Cleaning
- Always unplug the tool before cleaning.
- Clean the tool's housing with a soft, damp cloth. Do not use harsh chemicals or abrasive cleaners.
- Regularly clear dust and debris from the ventilation openings to prevent overheating. Use compressed air if available.
- Clean the tool chuck after each use to remove concrete dust and ensure smooth chisel insertion.
5.2 Lubrication
The internal mechanism requires lubrication. The product includes oil for refilling.
- Refer to the tool's specific lubrication points, usually indicated by a cap or plug.
- Check the lubricant level periodically, especially after extended use.
- Refill with the provided lubricant or a suitable equivalent as per manufacturer recommendations.
5.3 Chisel Care
- Inspect chisels for wear or damage before each use. Replace worn or blunt chisels.
- Keep chisels clean and lightly oiled to prevent rust and ensure proper function in the tool chuck.
5.4 Storage
- Store the tool in its transport case in a dry, secure location, out of reach of children.
- Protect the power cord from damage during storage.
6. Troubleshooting
This section addresses common issues you might encounter.
| Problem | Possible Cause | Solution |
|---|---|---|
| Tool does not start | No power supply Damaged power cord/plug Faulty switch | Check power outlet and circuit breaker Inspect cord and plug for damage; replace if necessary Contact qualified service personnel |
| Reduced impact power | Worn chisel Insufficient lubrication Internal wear | Replace or sharpen chisel Check and refill lubricant Contact qualified service personnel |
| Excessive vibration/noise | Loose chisel Internal component issue | Ensure chisel is securely locked Stop use and contact qualified service personnel |
| Tool overheats | Blocked ventilation openings Prolonged heavy use | Clean ventilation openings Allow tool to cool down; take breaks |
7. Specifications
| Feature | Specification |
|---|---|
| Model Number | AR-HE-AB1700 |
| Power Input | 1700 W |
| Impact Force | 60 Joules |
| Impact Rate | 1900 strokes/minute |
| Voltage | 230 V |
| Cable Length | 5 meters |
| Weight | 16 kg |
| Dimensions (L x W x H) | 65 x 25.5 x 16 cm |
| Material | Aluminum housing |
8. Warranty and Support
For warranty information, technical support, or service inquiries, please refer to the official Arebos website or contact their customer service department. Keep your purchase receipt as proof of purchase.
Related documentsAR-HE-AB1700

Ask a question about this manual
Ask about setup, troubleshooting, compatibility, parts, safety, or missing instructions. Manuals+ will review the question and use this page’s manual context to help answer it.