
1. Introduction
This manual provides essential information for the proper use and maintenance of your HCDZ Replacement Remote Control. This remote is designed to be compatible with various JMGO projector models, including V8, N7L, N7, J6S, P3, G1, X3, G7S, J9, U1, S3, H6, and S2. It functions as a direct replacement, requiring no complex programming.
2. Setup
2.1 Battery Installation
The remote control requires two AAA batteries (not included). Follow these steps to install them:
- Locate the battery compartment cover on the back of the remote control.
- Slide the cover downwards or press the latch (if present) to open the compartment.
- Insert two new AAA batteries, ensuring the positive (+) and negative (-) terminals align correctly with the markings inside the compartment.
- Replace the battery compartment cover by sliding it back into place until it clicks securely.

Figure 2.1: Remote control with battery compartment open for battery insertion.
Once batteries are correctly installed, the remote control is ready for use without any additional programming.
3. Operating Instructions
This HCDZ Replacement Remote Control is designed for immediate use with compatible JMGO projector models. No programming or pairing is required. Simply point the remote control towards your projector and press the desired function button.
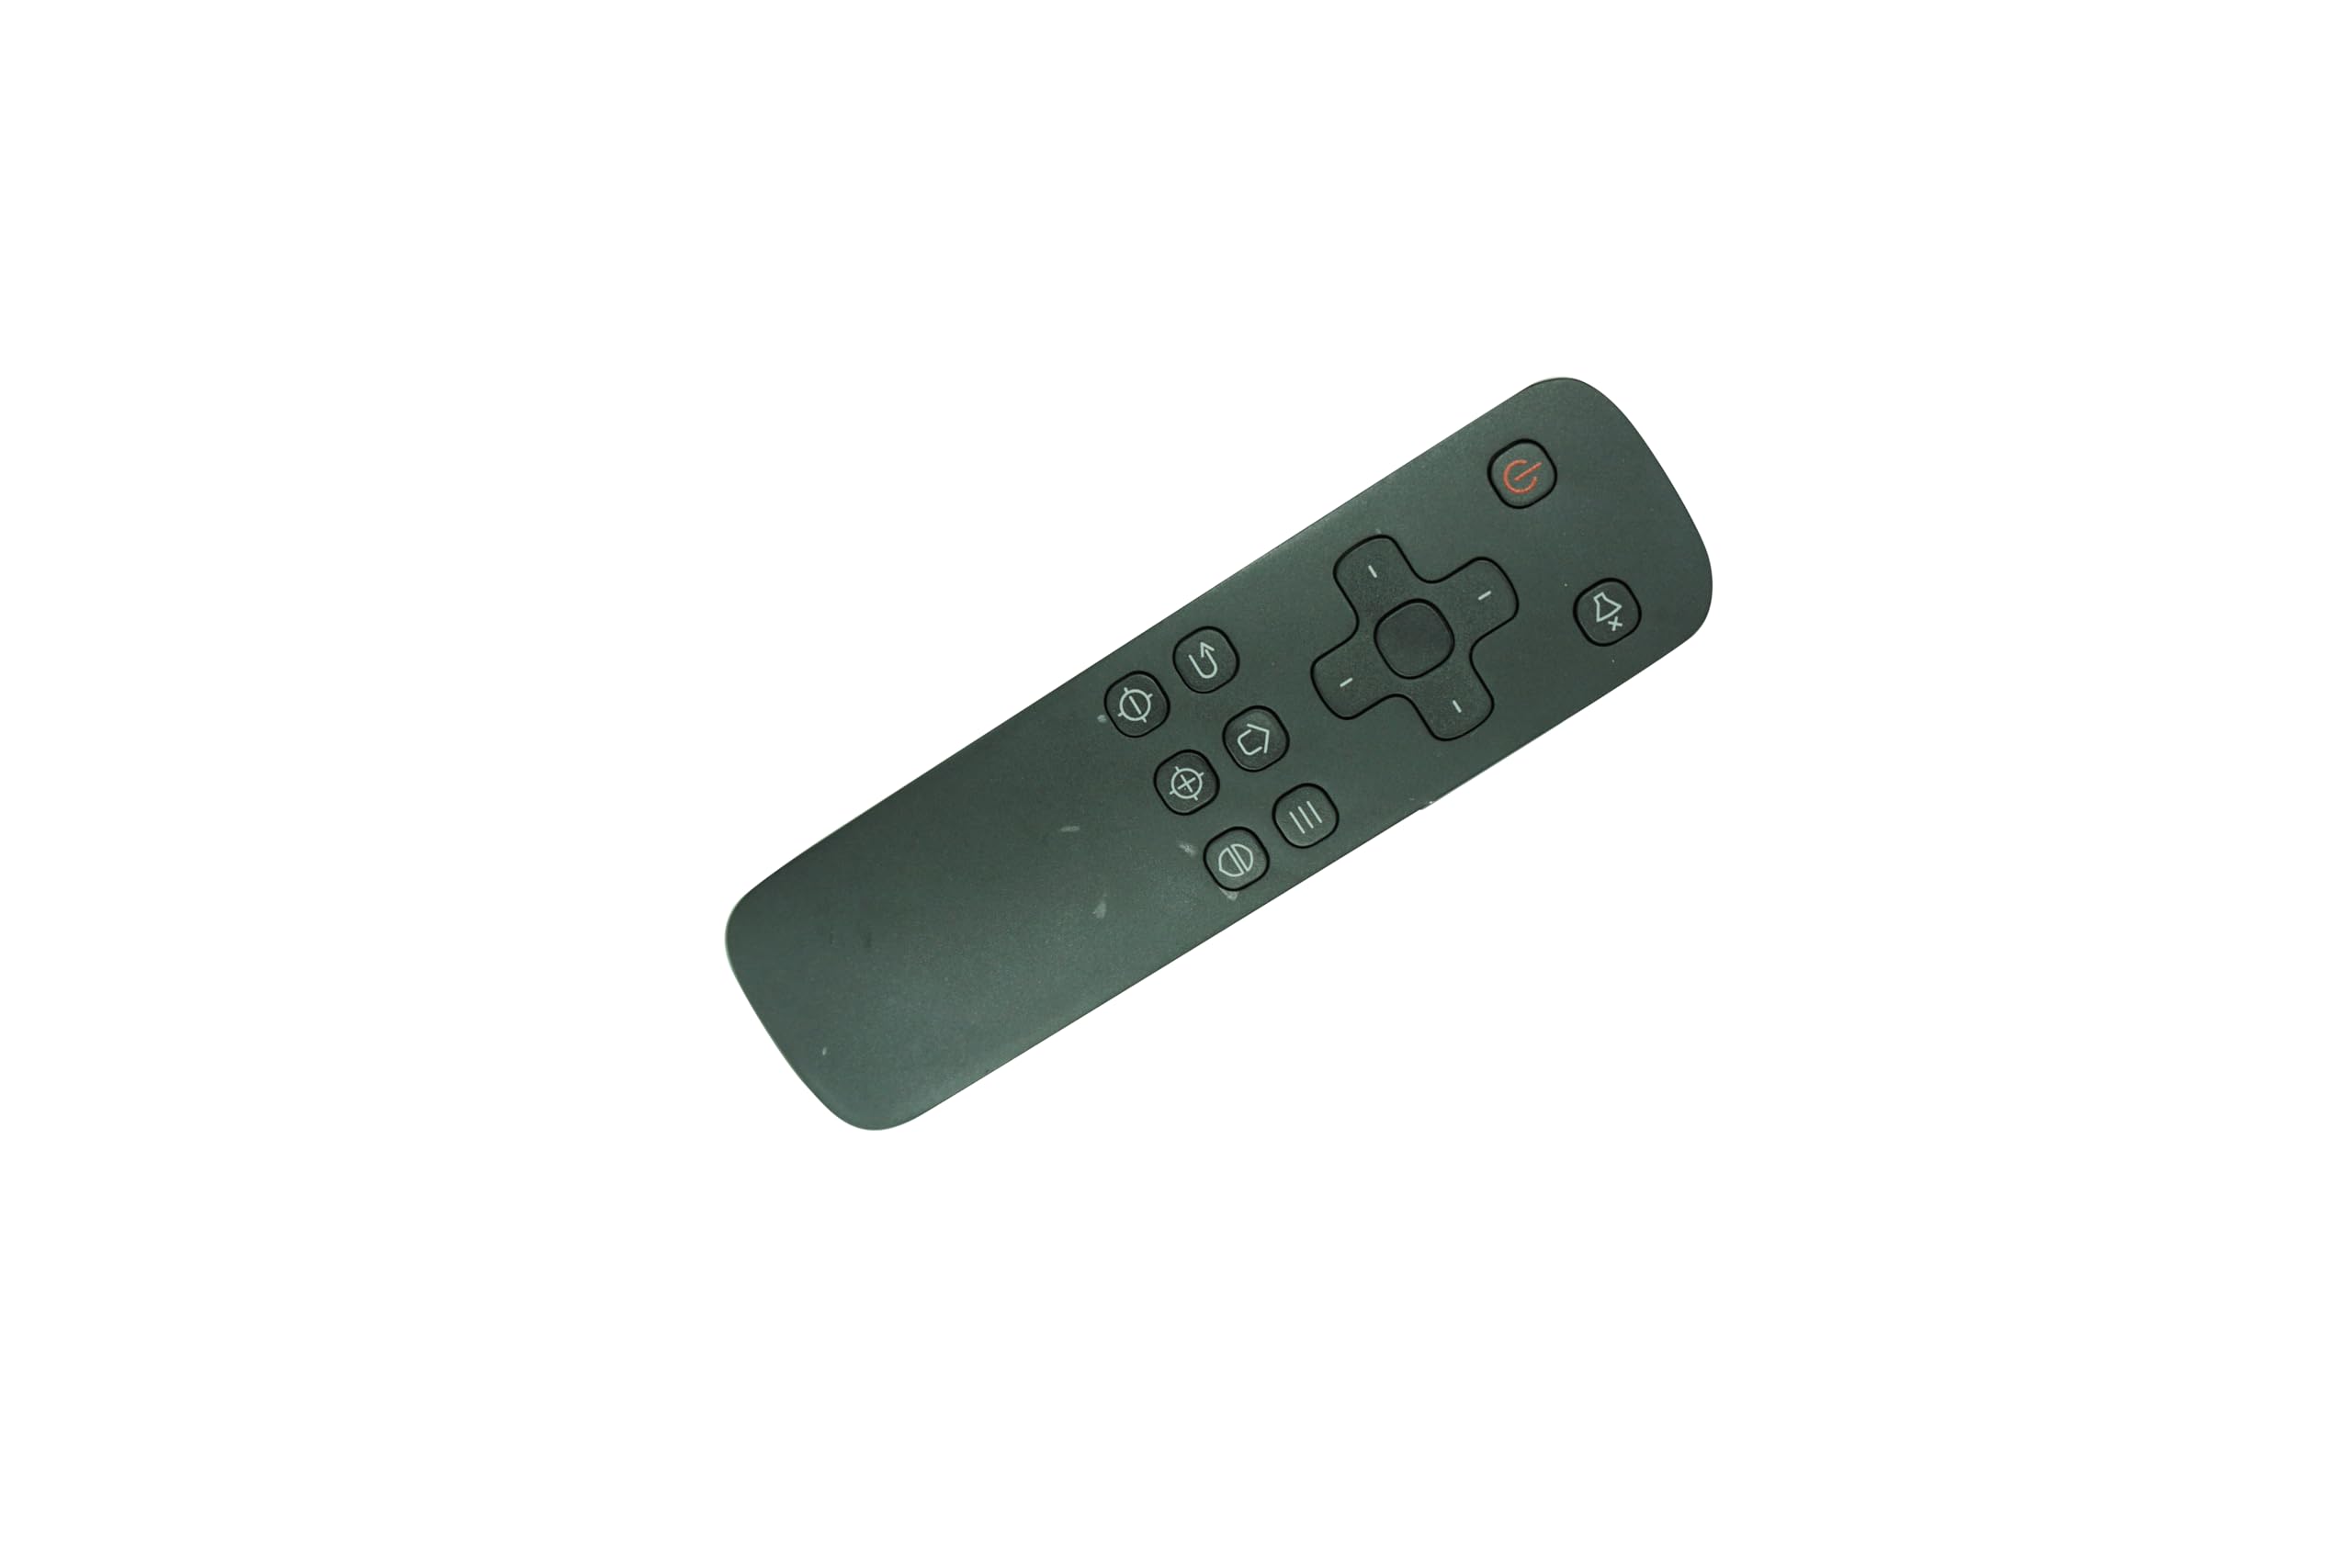
Figure 3.1: Front view of the HCDZ Replacement Remote Control.
4. Maintenance
To ensure the longevity and proper functioning of your remote control, please observe the following maintenance guidelines:
- Storage: Do not leave the remote control in an extremely hot or humid environment. High temperatures or excessive moisture can damage internal components.
- Battery Usage: Avoid mixing new batteries with old ones. Always replace all batteries with new ones simultaneously.
- Sensor Exposure: Do not expose the remote control's infrared (IR) sensor to direct sunlight or strong lighting apparatuses. This may interfere with its operation or cause a malfunction.
- Long-Term Storage: If the remote control will not be used for an extended period, remove the batteries to prevent potential damage from battery leakage and corrosion.
- Cleaning: Use a soft, dry cloth to clean the remote control. Avoid using liquid cleaners or abrasive materials.

Figure 4.1: Back view of the HCDZ Replacement Remote Control.
5. Troubleshooting
If your remote control is not functioning as expected, please refer to the following common troubleshooting steps:
- Remote Not Responding:
- Check if the batteries are inserted correctly, observing the positive (+) and negative (-) polarity.
- Replace old batteries with a fresh set of two AAA batteries.
- Ensure there are no obstructions between the remote control and the projector's IR receiver.
- Confirm that the remote control is pointed directly at the projector.
- Intermittent Functionality:
- This could indicate low battery power. Replace the batteries.
- Ensure the remote sensor is not exposed to strong light sources that might interfere with the signal.
6. Specifications
| Feature | Detail |
|---|---|
| Brand | HCDZ |
| Compatible Devices | JMGO Home Theater Projectors (V8, N7L, N7, J6S, P3, G1, X3, G7S, J9, U1, S3, H6, S2) |
| Power Source | 2 x AAA Batteries (not included) |
| Special Feature | No programming needed, ready to use out of package |
| Color | Black |
| Max Number of Supported Devices | 1 |
7. Warranty and Support
Information regarding specific warranty terms for this HCDZ Replacement Remote Control is not provided in the product details. For any support inquiries, troubleshooting assistance beyond this manual, or questions regarding warranty, please contact the HCDZ manufacturer or your point of purchase directly.
You may visit the HCDZ Store on Amazon for more information.